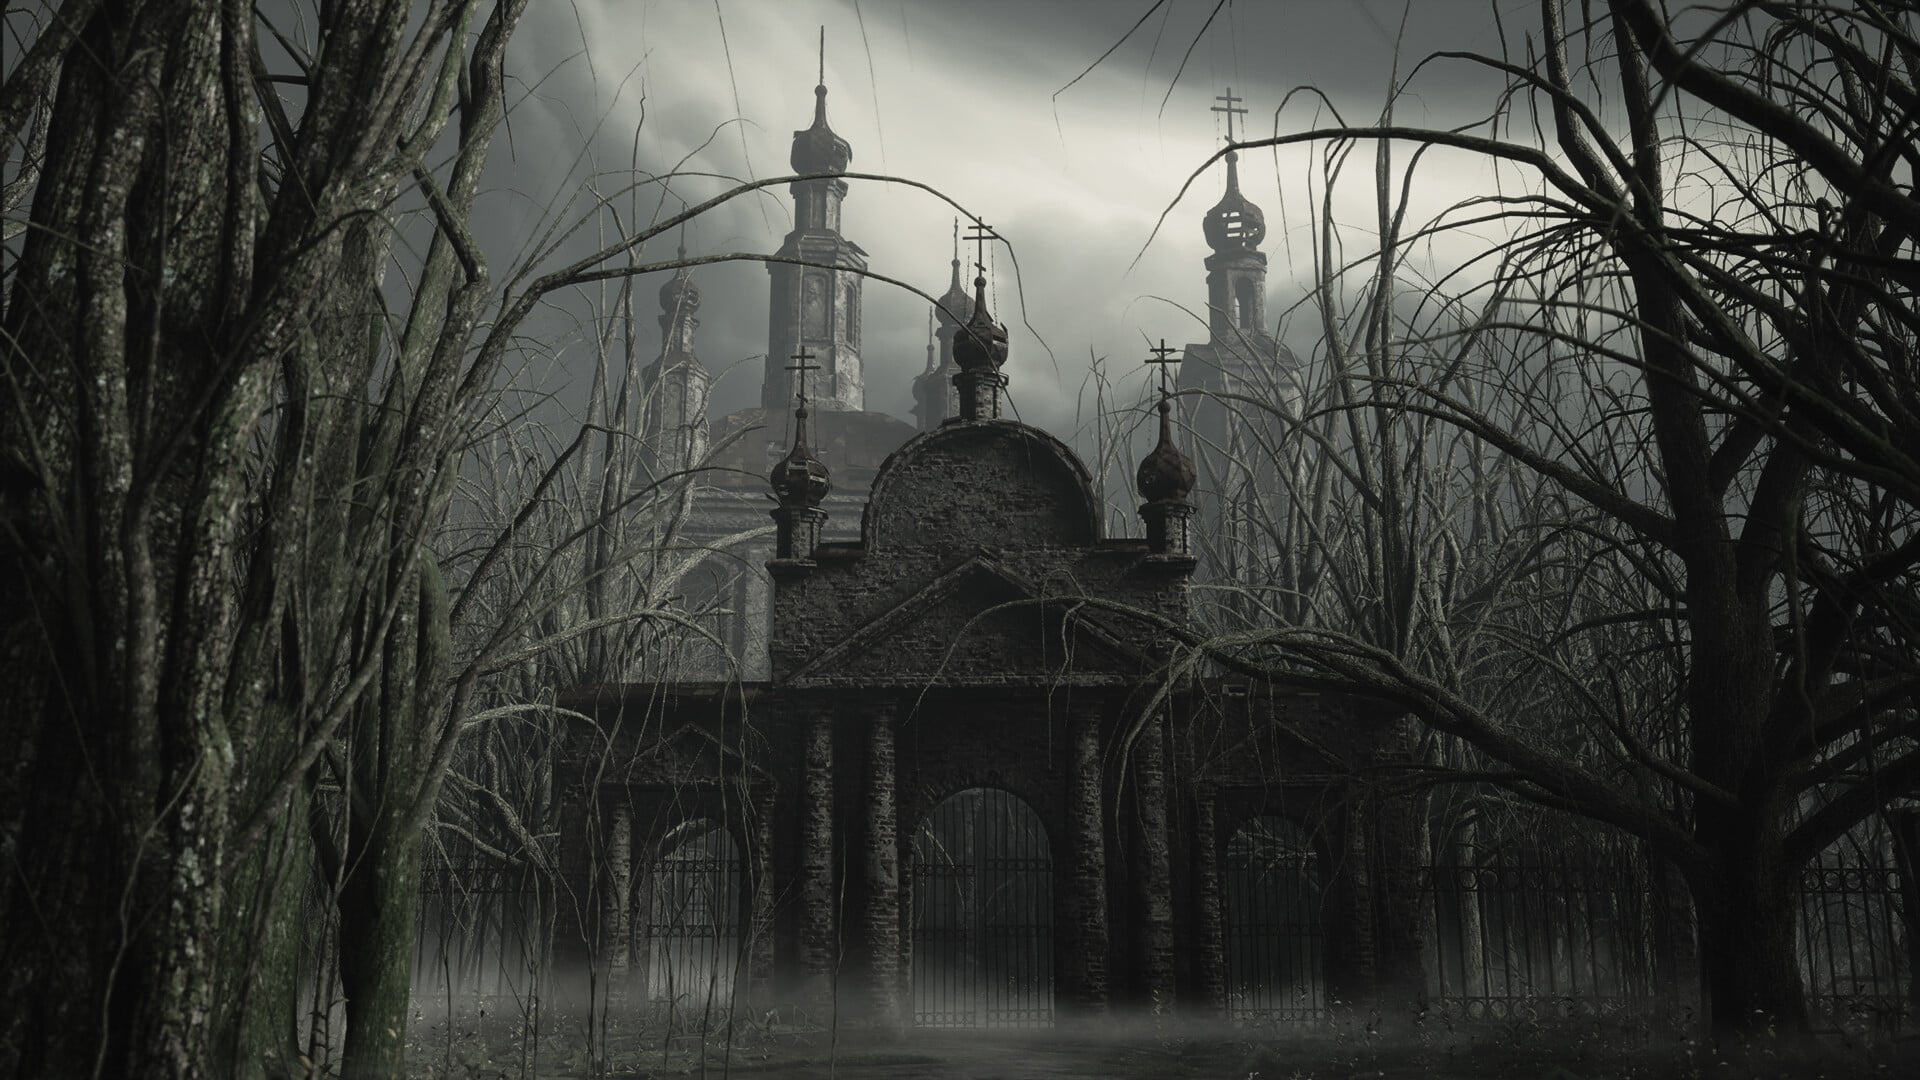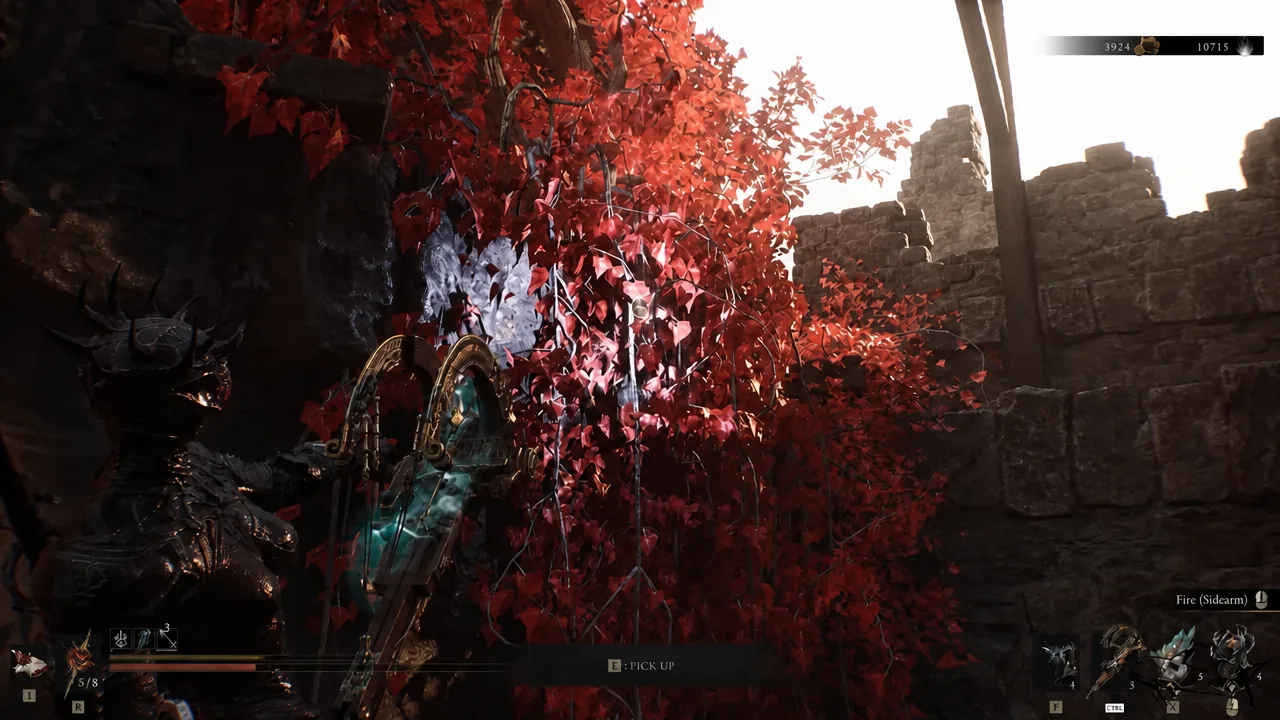
Blackmarrow Keys are the currency for cosmetics in Mortal Shell 2, and the game never explains where they are or what they open. One of them sits in the Abbey area of Mammon, behind a combat trial and a short platforming section that most players walk straight past.
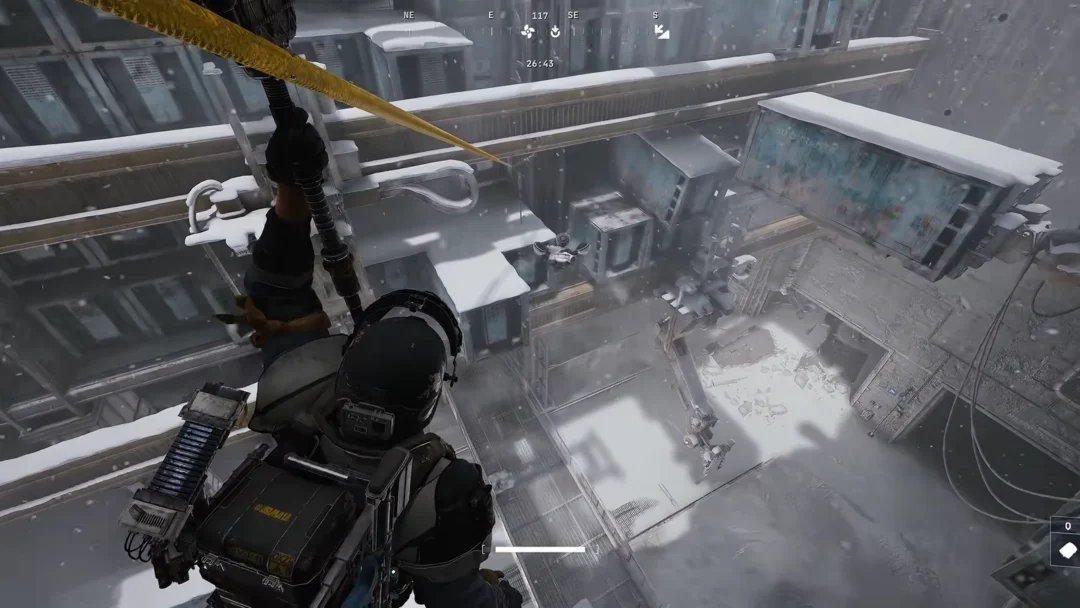
Quick answer: From the Abbey Entrance beacon in Mammon, work through Sester’s Refuge, cross the bridge, follow the wooden scaffolding to the Revenant Graves, clear the trial there, then jump across the white nest platforms into the ruined tower and open the stone chest.
What a Blackmarrow Key opens in Marrow Keep
The key has exactly one use. It unlocks the chests standing around the lift in Marrow Keep, and each chest holds a unique Shade — an alternate appearance — for one of the eight Shells. There are eight chests and eight keys hidden across a playthrough, so a completionist run can open every one of them.
Two conditions matter. A chest only opens if you have already recruited the Shell it belongs to, and the key is consumed the moment you use it. After unlocking a Shade, swap to it with the Change Shade option while resting at any Beacon.
Route to the Abbey Blackmarrow Key from Outskirts of Mammon
If you have not reached the Abbey yet, start at the Outskirts of Mammon beacon. If the Abbey Entrance beacon is already lit, fast travel there and skip to Step 4.
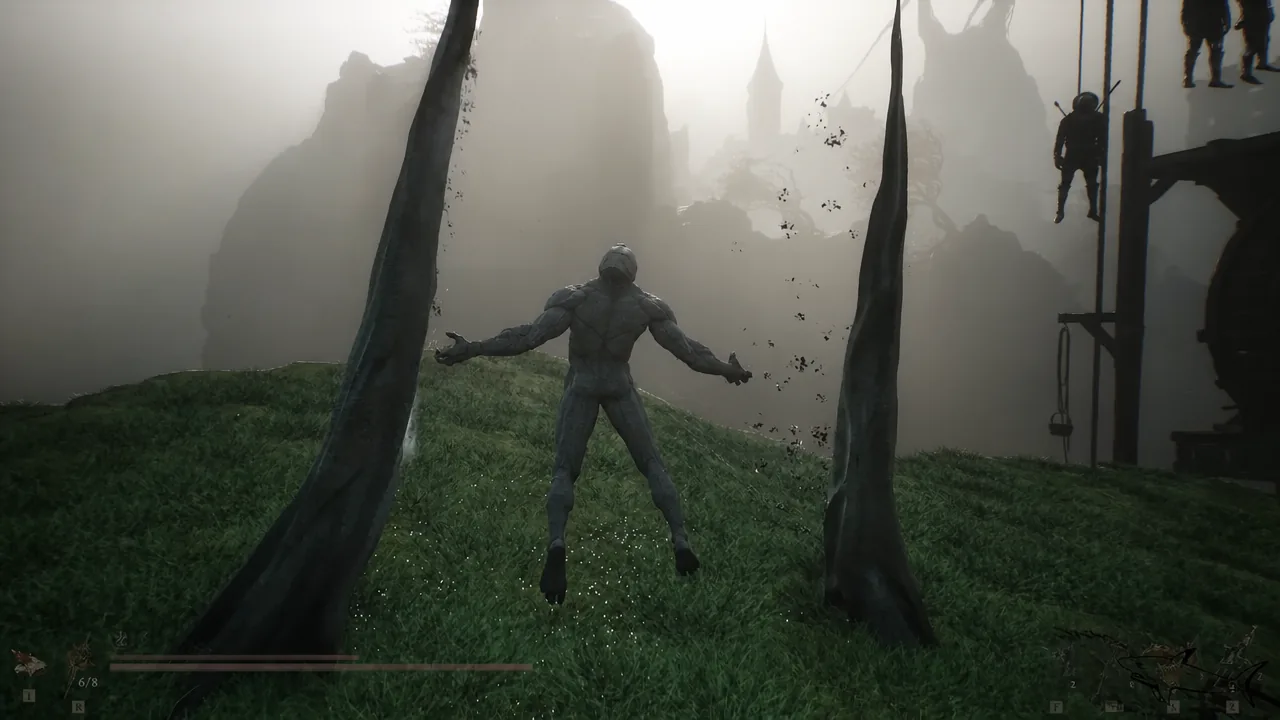
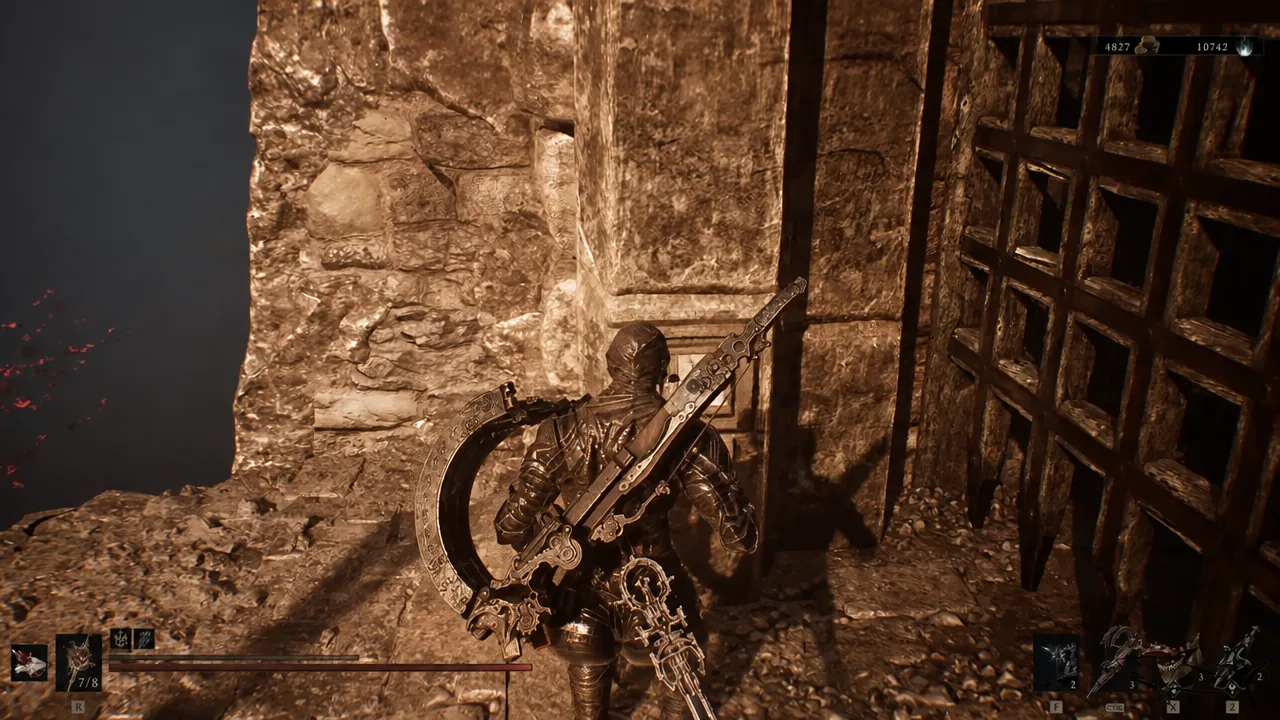
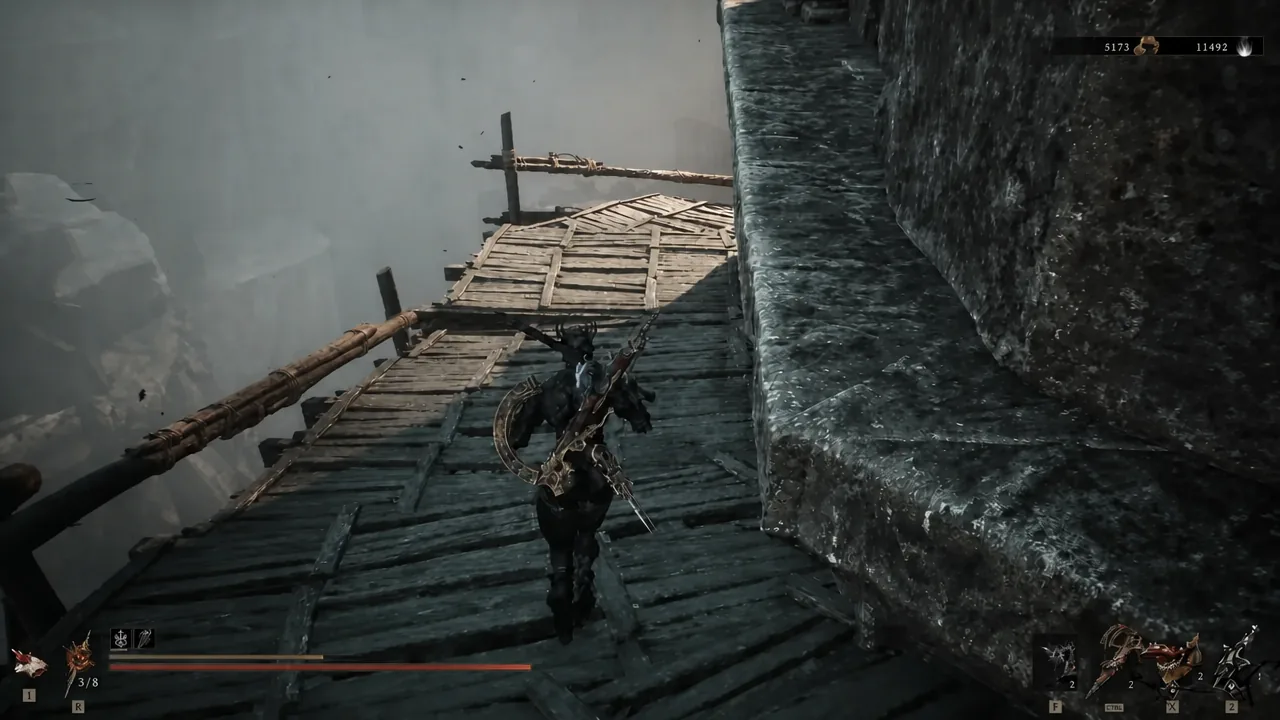
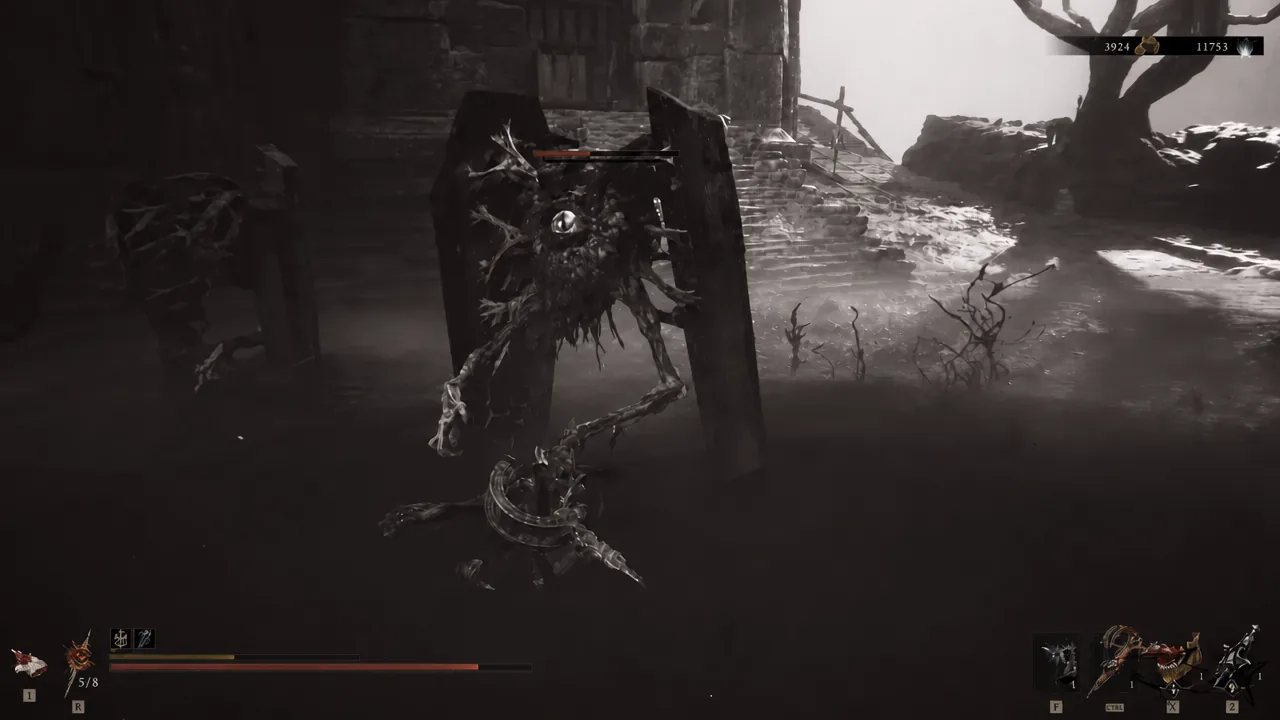
Note: the same tower area also contains an updraft that carries you back up to the bridge level, so you do not need to retrace the whole scaffolding walk if you drop down while exploring.
How to confirm you picked it up
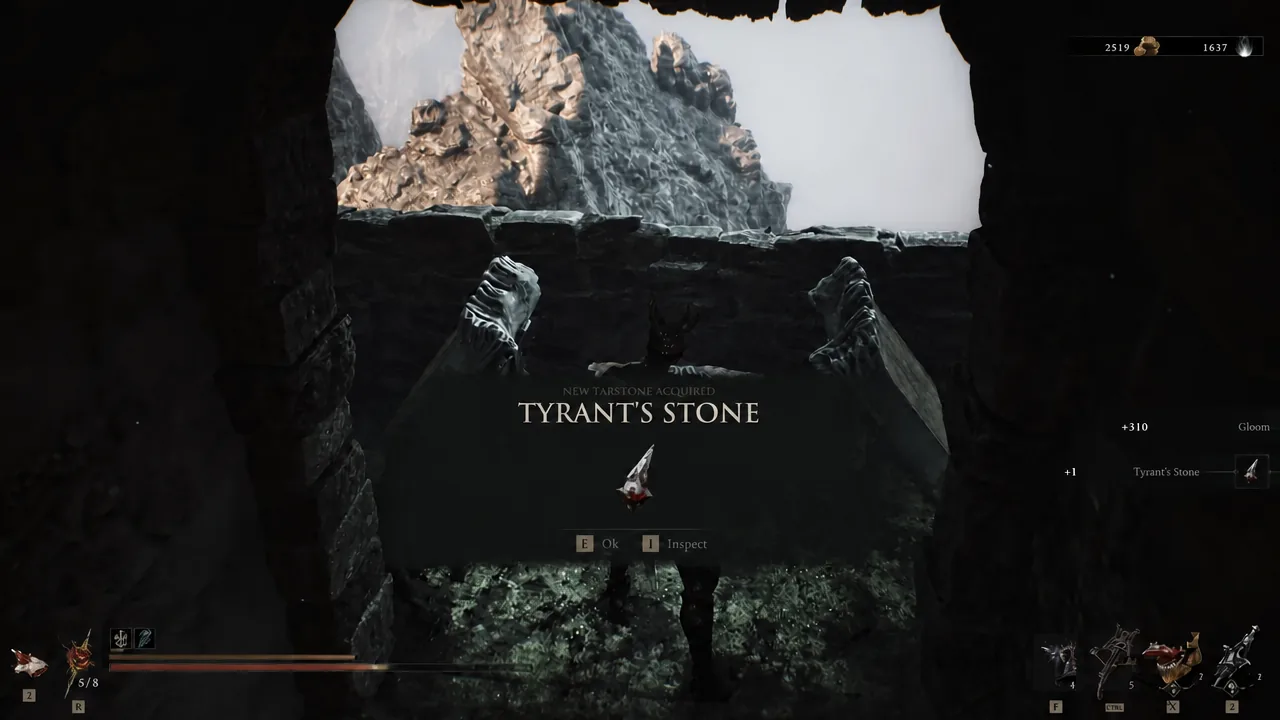
Opening the chest triggers the item acquisition prompt, and the key then appears in your inventory as Blackmarrow Key under key items, with the description line about the Mether’s bones and Gloom. If it is not listed there, the chest was not actually opened.
Back at Marrow Keep, walk up to a Shade chest by the lift. If the interaction prompt does nothing, the Shell tied to that chest has not been recruited yet — pick a different chest or unlock that Shell first. On a successful unlock the key disappears from your inventory and the Shade becomes selectable at any Beacon.
Other Blackmarrow Key locations
Because each chest consumes a key, the Abbey one alone covers a single Shade. These are the other confirmed sources.
| Source | How to get it |
|---|---|
| Abandoned Outpost, Mammon | Night Mode only. The Collector, a night merchant south of the beacon, sells one for 1,500 Gold. |
| Shrine of Sorrows | Night Mode only. Clear the first-person dungeon southwest of the Mushroom Village beacon. |
| Mushroom Village | At night, past the bonfire and across the bridge, accept the large mushroom’s invitation and solve its non-combat puzzle. |
| Desolate Keep | Secret dungeon under Marrow Keep. Take the Slayer Seal, break the arrow-marked wall in the training chamber, free the chained chalice, and use Commune with Chaos. Reward sits at the end of the dungeon. |
| Child’s Feeding Ground | Beat the Lost Child in Sanguine Caverns, cleanse the beacon, then re-enter the dungeon and open the chest in the secret room where the Ova was. |
Keys are not the only route to new Shades. Pre-order and Devout Edition upgrade buyers receive their own exclusive appearances, which do not consume anything.
The Abbey key is one of the more approachable finds of the eight, mostly because the route runs through beacons you will light anyway. Cleanse Sester’s Refuge before starting the Revenant Graves trial and the whole detour costs you a few minutes rather than a long walk back.