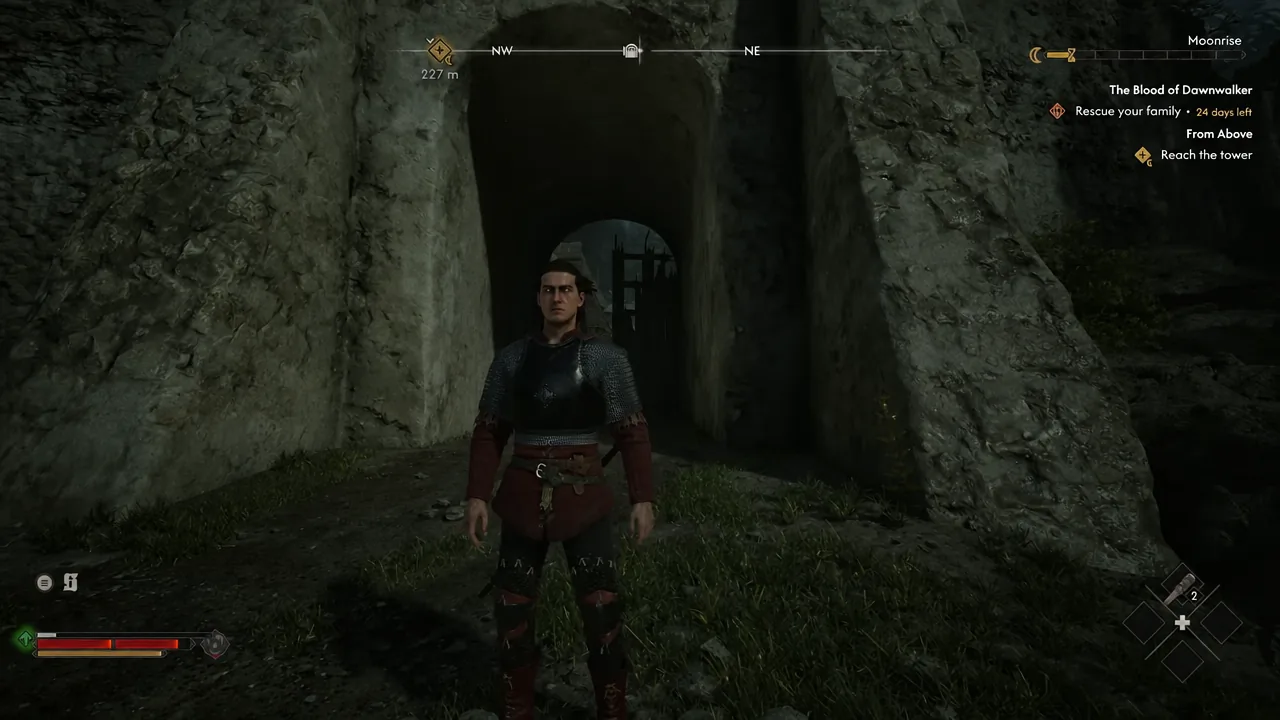
The opening hour of The Blood of Dawnwalker is unusual because the clock is not running against you. Time in Vale Sangora is a resource you spend, and walking around spending nothing is the single most powerful early habit you can build. That means your first hour should be about grabbing gear, unlocking shrines, and scouting map markers — actions that mostly cost you nothing while making Coen dramatically stronger for the 30 days and 30 nights ahead.
Quick answer: Start at night, clear the bandit camp at Outlaw’s Gorge for the Broad Swing Manual, finish Dead Drop for the Ring of Purging, dig the Laslea Glen treasure for the Polished Long Cleaver, take the Mireleaf Bracers from the cave near Blackwater Hollow, kill Murohn to force daytime, buy and upgrade armor at Vera and the Armorer, then loot Durandal from under the bridge at Coward’s Path.
How time slots work before you spend any
You have 30 days and 30 nights to rescue Coen’s family before Brencis’s coronation. The clock only moves when you take specific actions, and the game shows you the cost before you commit. Missing the deadline does not trigger a game over, but it changes how Coen’s story ends.
| Action | Time cost |
|---|---|
| Walking, exploring, talking, looting normal containers | Free |
| Fast travel between shrines | Free |
| Combat and boss fights | Free |
| Learning a skill at a shrine | Costs a slot |
| Digging up buried treasure with a shovel | 1 slot |
| Opening certain marked chests | Costs a slot |
| Larger quest activities | Up to 3 slots |
Because fast travel is free, treat shrines as the backbone of your route. Every shrine you touch in the first hour is a free teleport you will reuse for the next 29 days.
Settings to change before your first fight
Combat is directional. You aim swings and blocks, and the timing of parries decides most fights. There are four presets — Story, Fair, Challenging, and Duelist — and you can retune individual sliders such as enemy health, enemy damage, aggressiveness, and the perfect-block window at any point, so nothing is locked in at the start.
Omniblock and Omniattack handle swing and parry direction automatically by pressing a single bumper. They are a reasonable crutch, but they drain stamina faster. Directional parries and blocks do not consume stamina at all, which is why they are worth learning early even if the first few fights feel clumsy.
Turn on Use Consumables from Inventory in Combat in the menu settings. Without it you can only use what is slotted on your quick wheel, which matters most during daytime fights where healing is limited to items.
Night route: Outlaw’s Gorge, Dead Drop, and the Polished Long Cleaver
You start at night, which is the correct half of the cycle for this route. Vampirism abilities only function after dark, blood vials only heal at night, and mending ointments only heal during the day. Swordmastery works around the clock.
Equip it and check your Weapon Arts. Weapons and bracers each carry their own Weapon Art on a cooldown, triggered with RB+LB, and these attacks are unblockable and hit hard. Set up separate day and night gear loadouts here so you are not reshuffling equipment every time the sun moves.
Blackwater Hollow cave: Mireleaf Bracers and the Forgotten Guardian
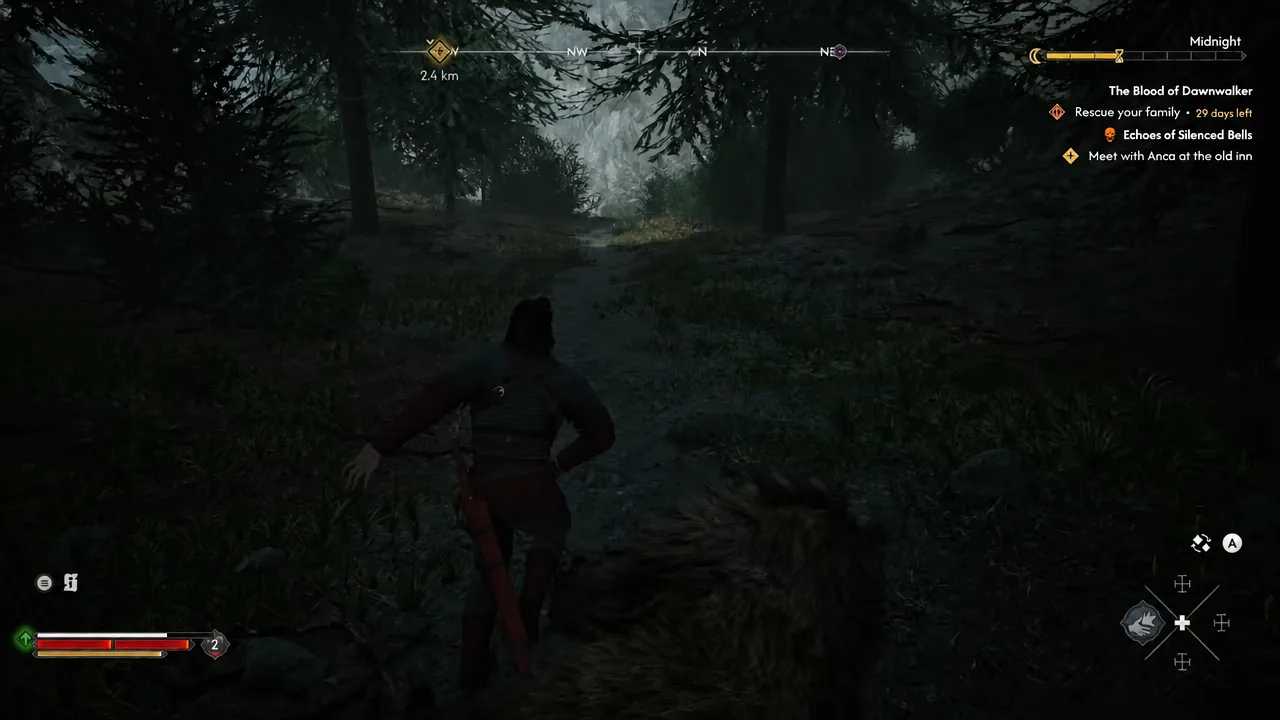
Fast travel to Blackwater Hollow at no time cost. Learn Shapeshift at the shrine — it makes night traversal much faster, and everything in this stretch happens after dark.
Follow the footprints into the cave, where you will find Lazar’s body. Loot the chests as you go for the Frugal Witchcraft Manual, then inspect the wall tapestry and open the sarcophagus to claim the Mireleaf Bracers, a level 7 Master light piece at 41 armour.
Taking the bracers wakes the Forgotten Guardian. Dirty Trick stuns it, and claw attacks finish the job quickly. You will know the fight is resolved when the boss health bar clears and the cave stops locking you in.
Which skills to learn first
Learning skills costs time slots, so this is where new players quietly burn their budget. Progression splits across three strands — Swordmastery, Witchcraft, and Vampirism — and only Swordmastery is usable at every hour of the day. Witchcraft is daytime only and drains Coen’s own health to cast; Vampirism is nighttime only and raises Corruption as you feed.
Prioritise Swordmastery for that reason. Use the Broad Swing Manual to unlock Broad Swing, then pick up Sustained Focus, Vigour, Second Skin I, and Stinging Blade. Survivability first is the safer investment before you know how damage scales.
| Skill strand | When usable | Cost to use |
|---|---|---|
| Swordmastery | Day and night | Stamina only |
| Witchcraft | Daytime only | Depletes your health |
| Vampirism | Nighttime only | Raises Corruption |
Scout from high ground to reveal map markers for free
Climbing costs nothing and pays out map locations, which is the best free value in the opening hour. Use Shadow Step and wall climbing to reach the top of the church tower and scout the surrounding area, then repeat the process at the Briar Sloughs Watchtower after clearing the guards there.
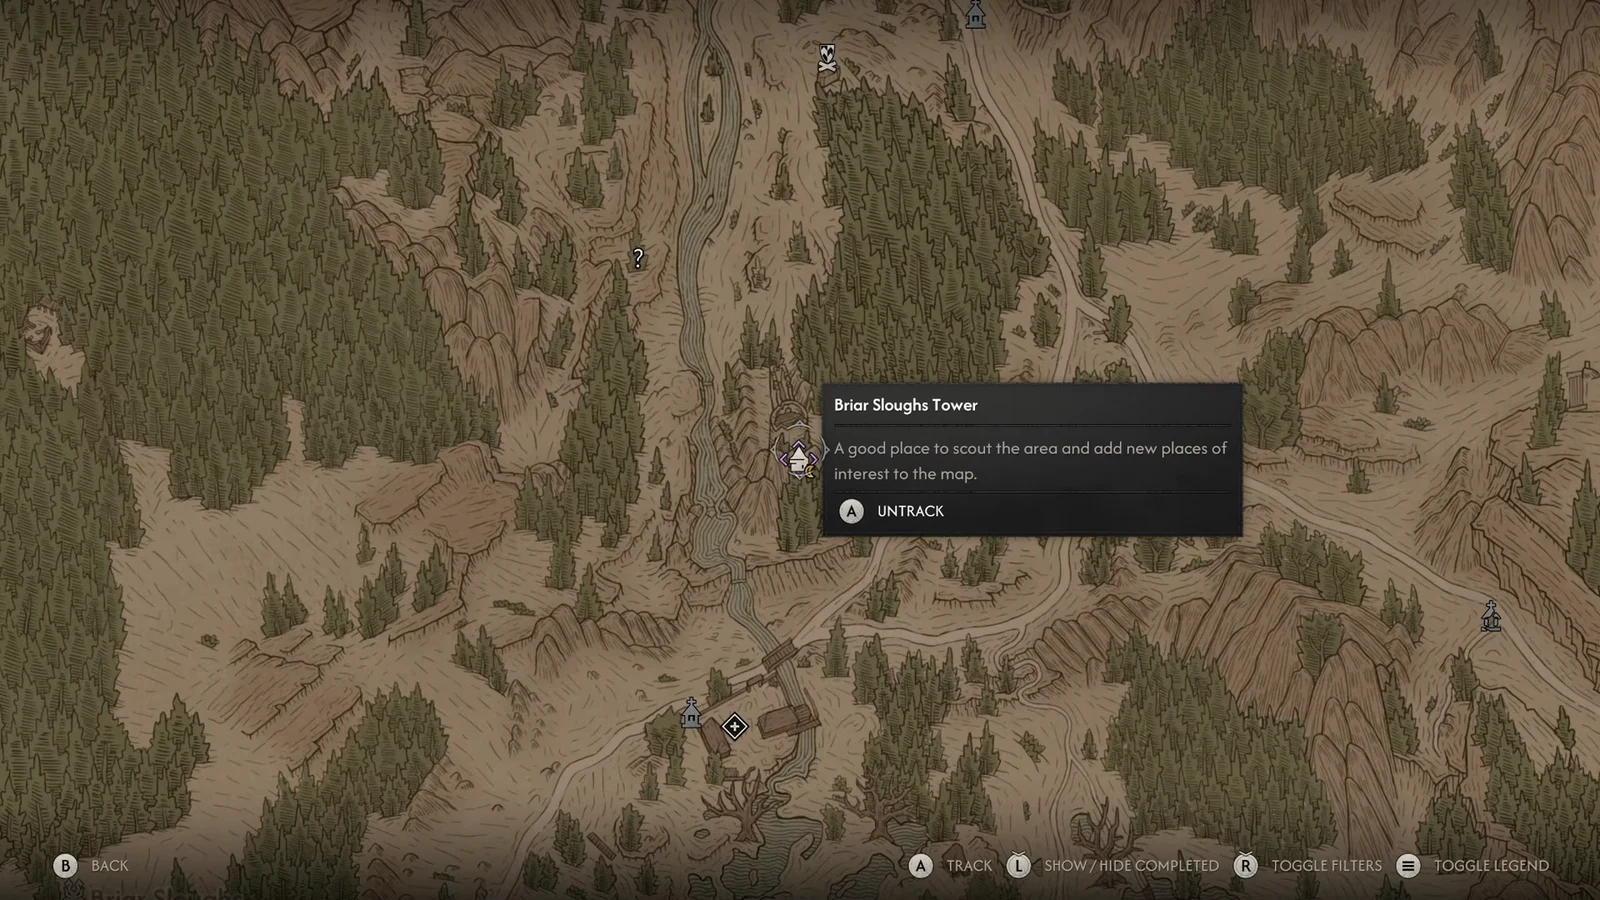
Stop at Anca’s Hut on the way to gather materials and craft Minor Mending Ointments. Since blood vials do nothing in daylight, a stack of ointments is what keeps you alive once the sun comes up.
Kill Murohn to flip the world to daytime
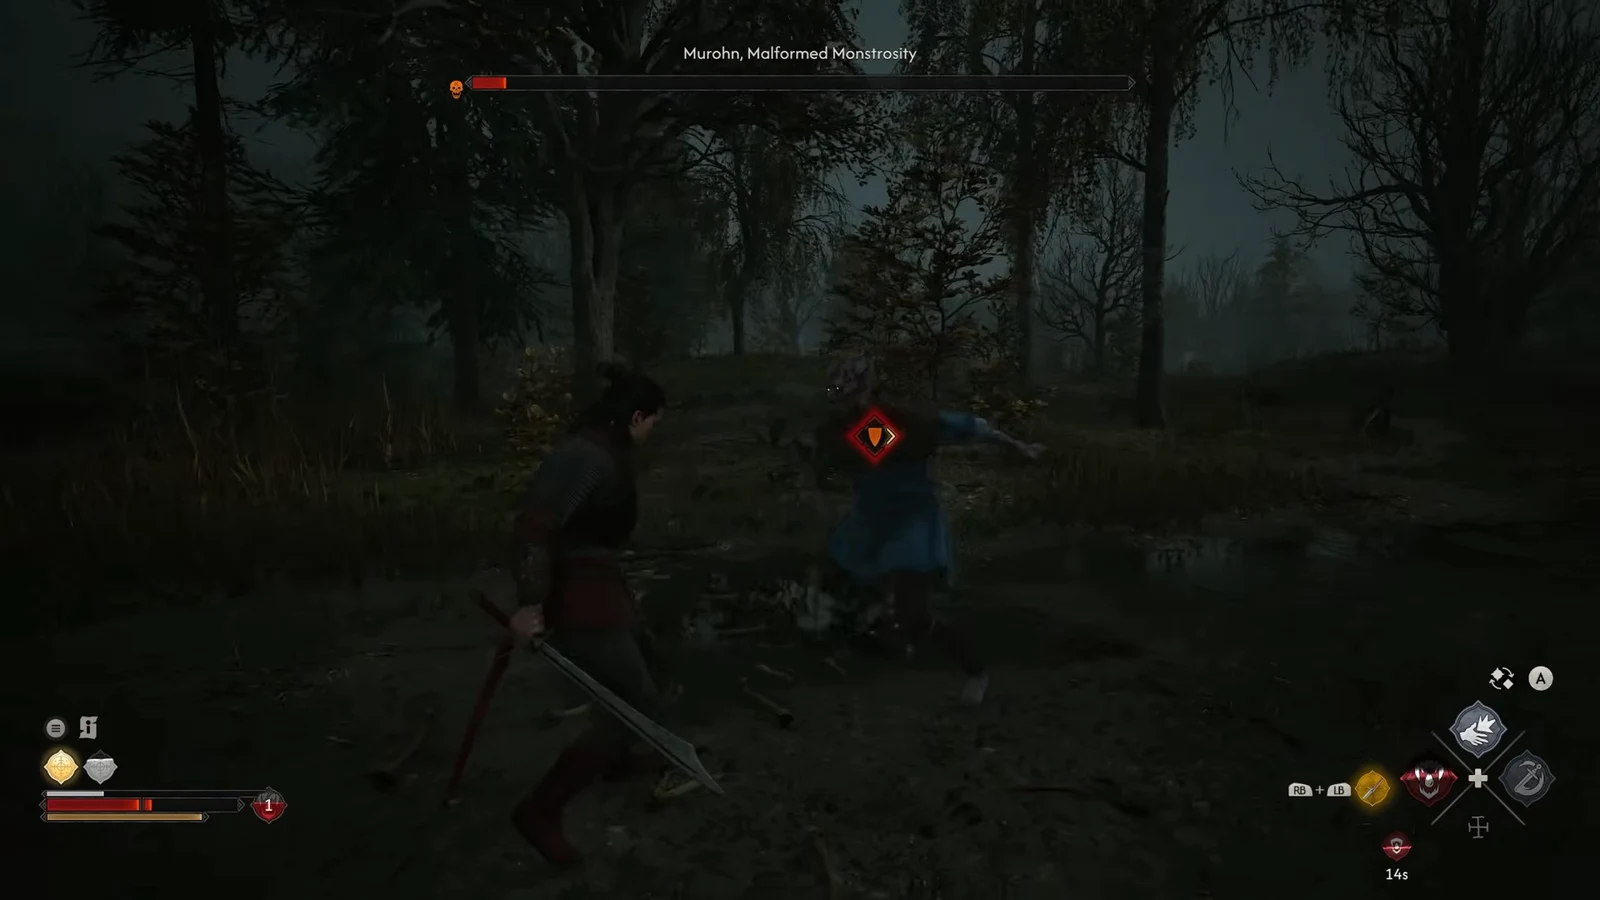
Murohn, Malformed Monstrosity, waits at Murohn’s Lair. Defeating the boss transitions the world into daytime, which is exactly what you want once the night objectives are cleared — vendors and armorers are the next stop, and Witchcraft only functions after sunrise.
Day route: upgrade at Vera, then buy armor at Moragic Crossroads
When you reach a chest that charges a time slot to open, quicksave first. Open it, look at the loot, and reload if it is not worth the slot. The time slot is returned along with the save.
Where to get Durandal, the legendary longsword
Durandal sits underneath the bridge at Coward’s Path. Clear the wolves in the area, then defeat Echo to reach the loot. The sword is a level 11 legendary longsword at 234 DPS with a 143–205 damage range, which is roughly double the Polished Long Cleaver you dug up earlier.
The fight is the gate here, not a puzzle. If Echo is outpacing you, come back after the armor purchases at Moragic Crossroads rather than trying to muscle through in starting gear.
Common first-hour mistakes
- Treating it as a completionist run. You physically cannot finish every quest in one playthrough, and chasing checklists costs slots you need for power.
- Ignoring the time cost prompt. The game states the cost before you commit — read it every time.
- Assuming a quest is available whenever you want. Some opportunities are tied to day or night, and some close as days pass.
- Mashing attack. Directional combat punishes it, and omniblocking eats stamina that directional blocking does not.
- Trying to block unblockable attacks. Those require a manual dodge no matter which combat mode you selected.
- Overcommitting a build early. Skill costs and respec rules are worth confirming before you sink slots into a specialisation.
One more thing worth knowing before you settle in: raising Infamy causes Brencis’s court to issue Edicts, permanent penalties like military checkpoints and higher prices that cannot be removed. There are nine of them, and gaining Infamy is also how you anger Brencis’s officers enough to unlock their boss quests. Nothing in the first hour forces that decision, but it is the trade you will start making once Durandal is on your back and the map is open in front of you.