Gaming How-To

How to Get Durandal Early in The Blood of Dawnwalker (The Cursed Chasm)

The legendary longsword sits at the bottom of a chasm near Coward's Path, and you can steal it without fighting.

The legendary longsword sits at the bottom of a chasm near Coward’s Path, and you can steal it without fighting.

Durandal is a Level 15 legendary longsword that you can pick up long before the game expects you to have it. It sits in a wrecked cart at the floor of a chasm east of Coward’s Path, guarded by a short side quest called “The Cursed Chasm.” The catch is the price of admission: starting the quest burns two of your day segments, and time is the one resource Vale Sangora never gives back.

Quick answer: Investigate the broken yellow cart east of Coward’s Path to start “The Cursed Chasm,” follow the right-hand path down to the chasm floor, and loot Durandal from the wreckage at the bottom — you need character Level 12 to equip it.


Durandal stats and equip requirement

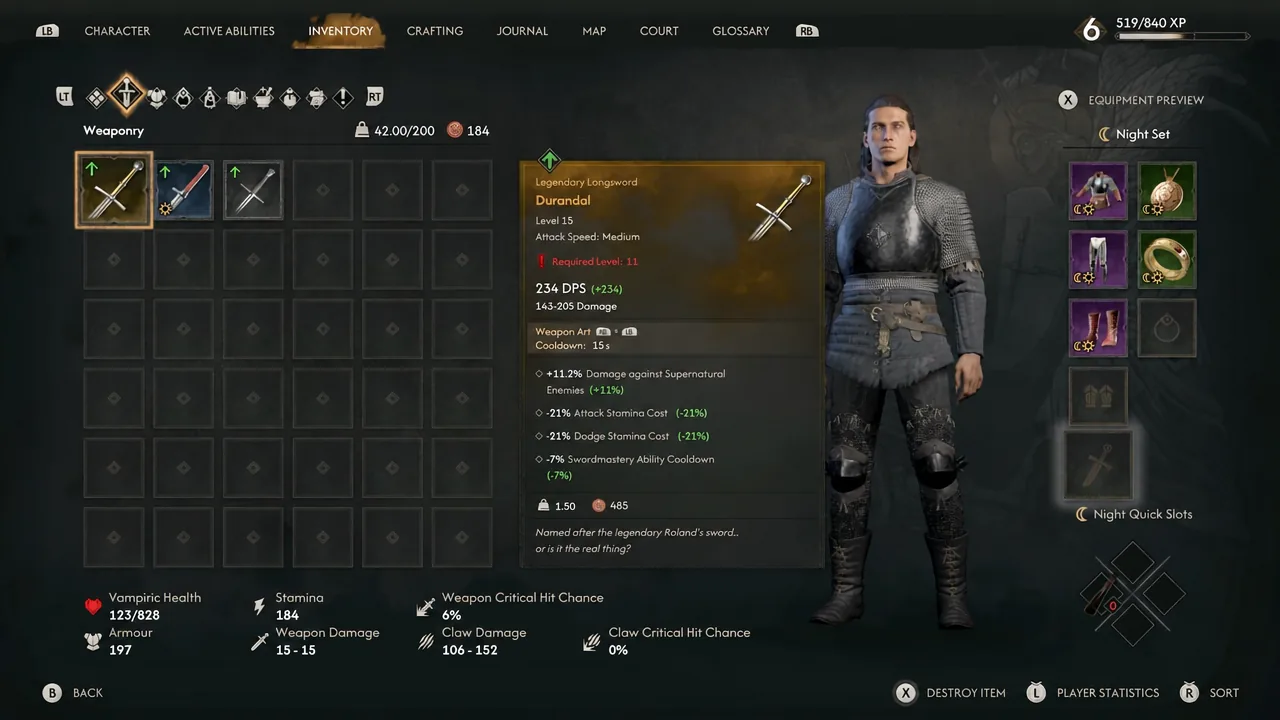
Durandal is a longsword, so it slots into the daytime Swordmastery side of Coen’s kit rather than his vampire claws. The bonus damage against supernatural enemies is the standout line, and the stamina reductions make it forgiving to swing and dodge with while you are still under-leveled.

PropertyValue
TypeLegendary Longsword
Item level15
Required Level12
DPS234
Damage range143–205
Weapon ArtL2, 15s cooldown
Damage vs. Supernatural+11.1%
Attack stamina cost−11%
Dodge stamina cost−21%
Swordmastery ability cooldown−7%
Weight / Value1.50 / 465

Note: you can loot the sword well before Level 12, it just sits in your inventory greyed out until you catch up. Since leveling itself consumes time in this game, grabbing it early and equipping it a few hours later is normal.


Where to start The Cursed Chasm (Coward’s Path)
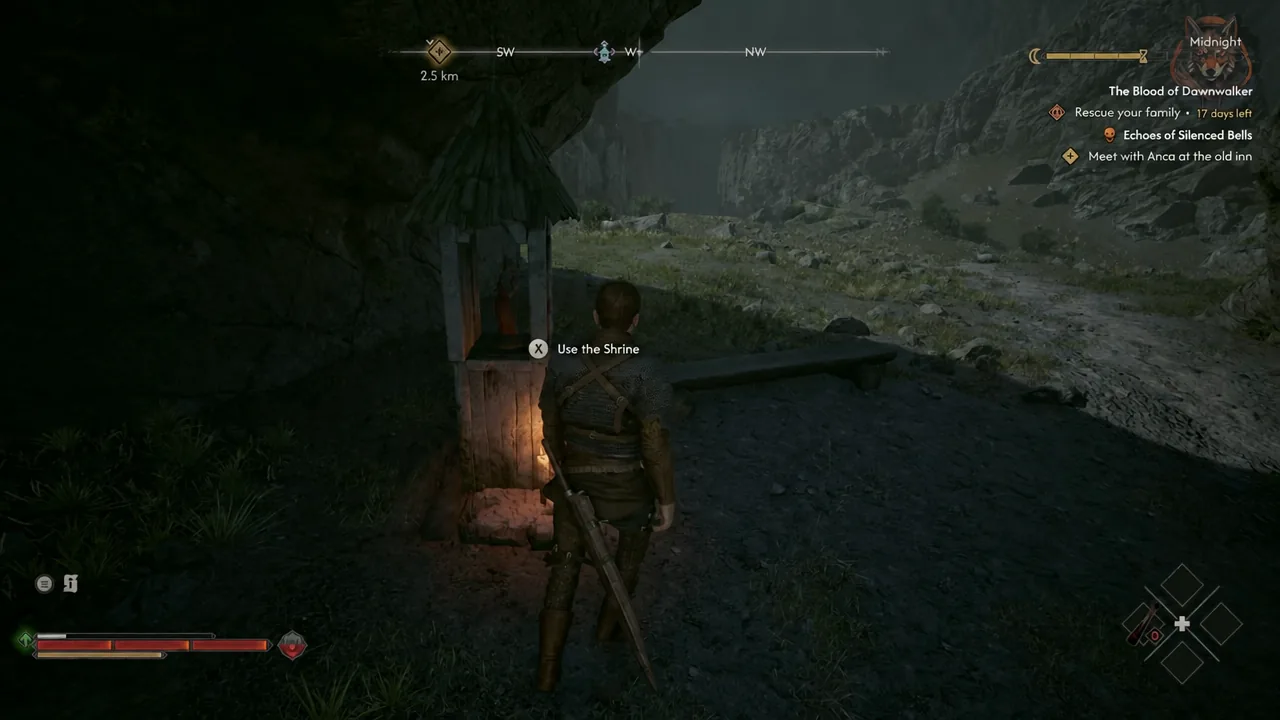
Open the map and travel to Coward’s Path, in the stretch of country between Mert’s Mill, Sloughside Mill and Briar Slough. Shrines double as fast travel points, so unlock the nearest one first and use it as your jumping-off spot.
The Use the Shrine button prompt appears as Coen walks up to a roadside shrine
The “Use the Shrine” prompt at a wayside shrine, which doubles as your fast travel point near Coward’s Path. Image: Rebel Wolves
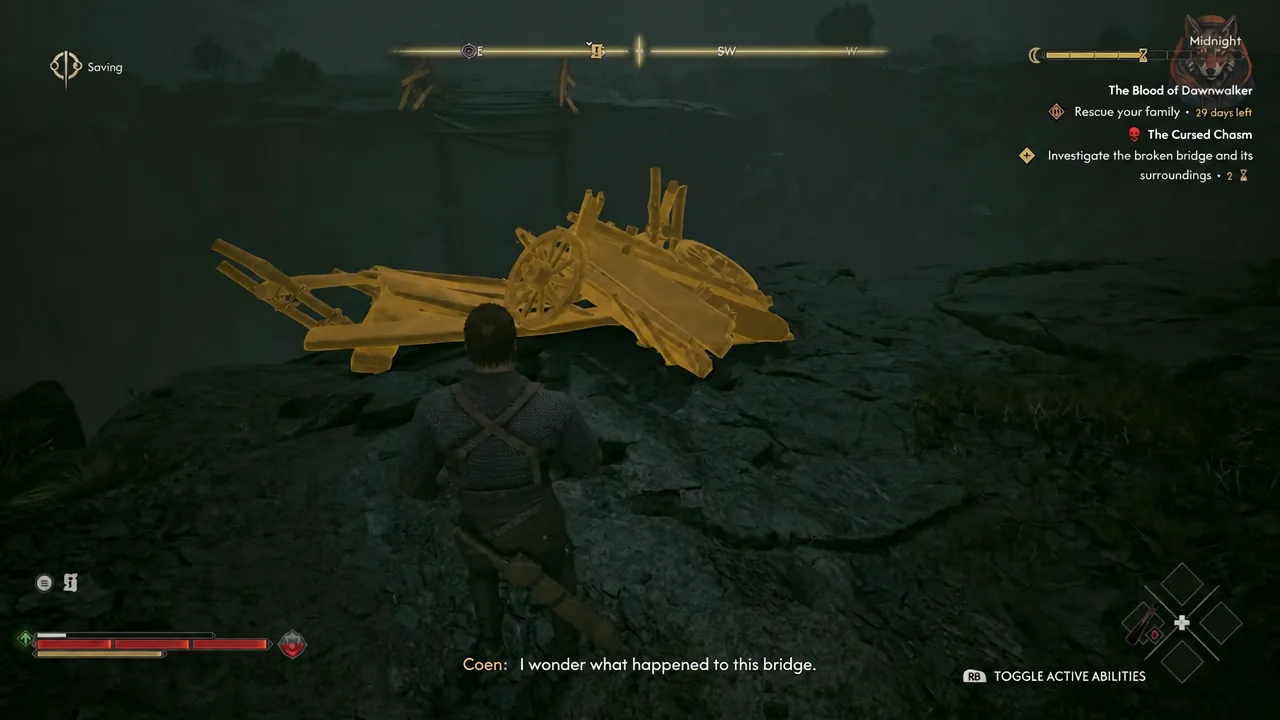
Head east along the rocky trail until you reach a broken yellow cart tipped over near the cliff edge. It is not marked on the map beforehand, so follow the path rather than the compass.
Interact with the cart to search it. This pulls up a quest item called Special Orders, hands you the document known as Dimitar’s Orders, and starts “The Cursed Chasm.” The quest confirmation is your signal that the two day segments have been committed.
Reading Dimitar's Orders after searching the overturned cart to begin The Cursed Chasm
Searching the broken cart hands over Dimitar’s Orders and starts The Cursed Chasm. Image: Rebel Wolves

The letter is worth reading, because it tells you exactly what is waiting below. Count Dimitar, chamberlain to Knyaz Skender, ordered a convoy of chests moved out of Vale Sangora and handed to Catalin Dragomir — with special instructions to protect one item above all others.

Special care is to be taken in regard to Durandal, His Majesty Knyaz Skender’s most treasured sword.


Descending to the chasm floor
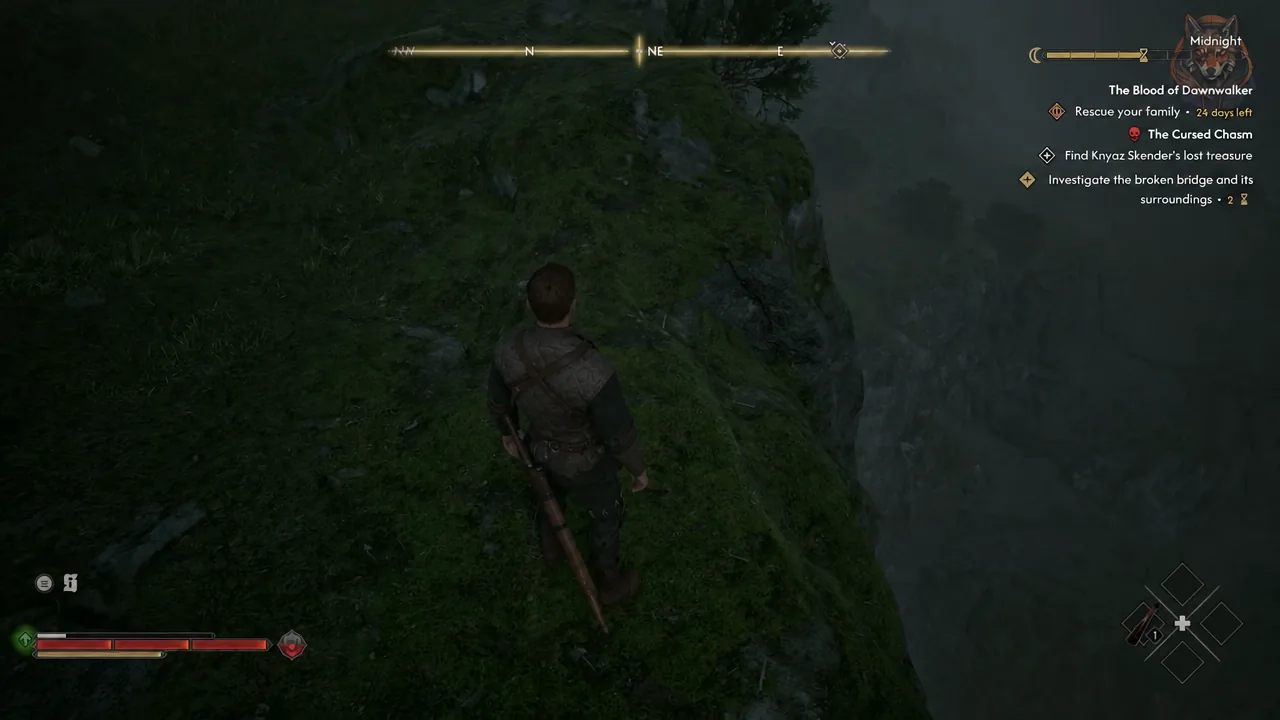
With the quest active, the tracker asks you to investigate the broken bridge and its surroundings. Walk to the cliff edge past the cart and look down — the wreckage of the convoy is scattered on the floor far below.
Quest tracker showing Investigate the broken bridge and its surroundings at the chasm edge
The objective updates to investigate the broken bridge once you reach the cliff edge above the chasm. Image: Rebel Wolves
Take the path branching to the right and follow the narrow ledges down. It switches back along the rock face several times, and the route is walkable the whole way — you do not need any traversal ability to get to the bottom.
At the base, look for the crashed cart pushed up against the cave wall at the back of the chasm. That container holds Durandal, alongside the Recipe for Minor Balm of Fortitude and a pair of Squire’s Padded Trousers.

Method 1: Fight the Echo bosses

The straightforward route is to clear the chasm floor. A wolf attacks first and goes down quickly, then two spectral bosses named Echo spawn in. They are the real fight, and at an early level they hit hard enough to end a run in a couple of exchanges.
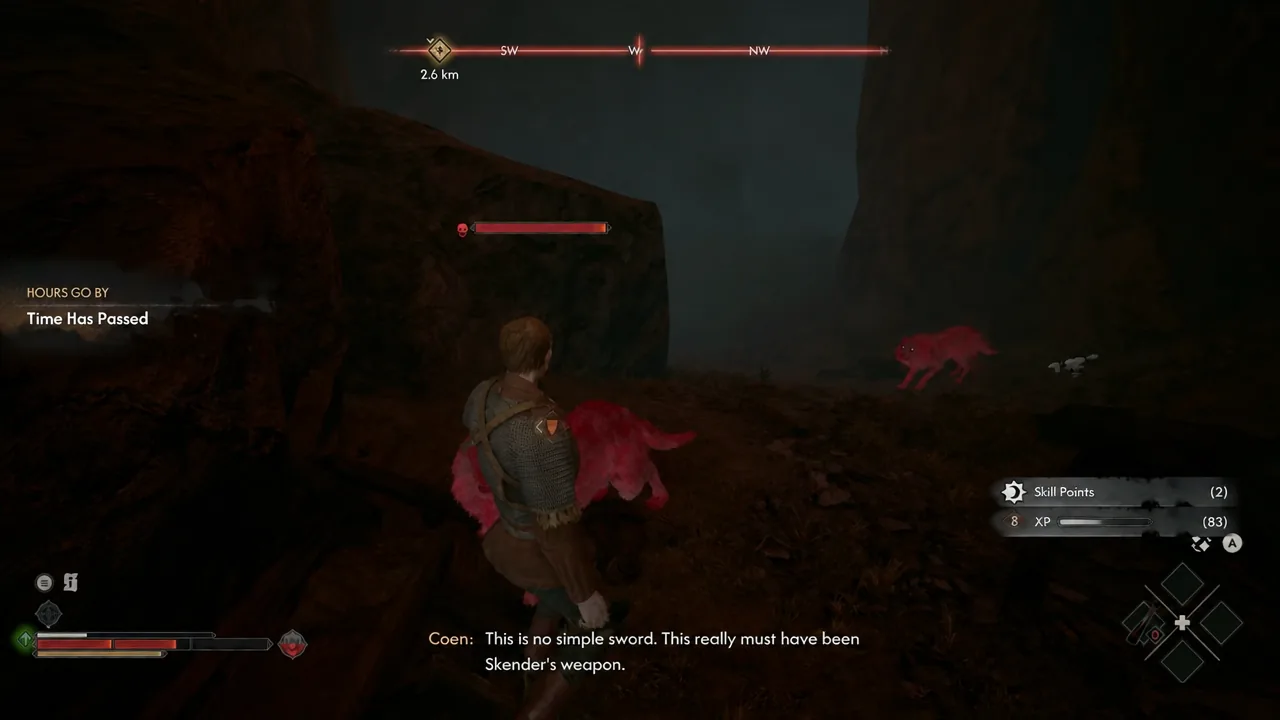
Kill the wolf before the Echoes appear, so you are not juggling three enemies at once in a confined space.
Fight the two Echoes with your back to open ground and keep them both in front of you. Block or parry rather than trading swings, and dodge anything unblockable, since your healing options during the day come entirely from consumables.
Coen trading blows with red spectral Echo enemies on the chasm floor
The two spectral Echo bosses that spawn on the chasm floor once the wolf is dealt with. Image: Rebel Wolves
Once both Echoes are down, loot the wreckage. Durandal drops straight into your inventory along with the rest of the container’s contents, and completing the quest pays out 7 XP and a skill point.

Method 2: Steal Durandal at night without fighting

If you are badly under-leveled, skip the fight entirely. At night Coen’s vampire traversal makes the chasm walls climbable, which turns the whole encounter into a smash-and-grab. The Echoes still spawn, you simply never stop to trade blows with them.
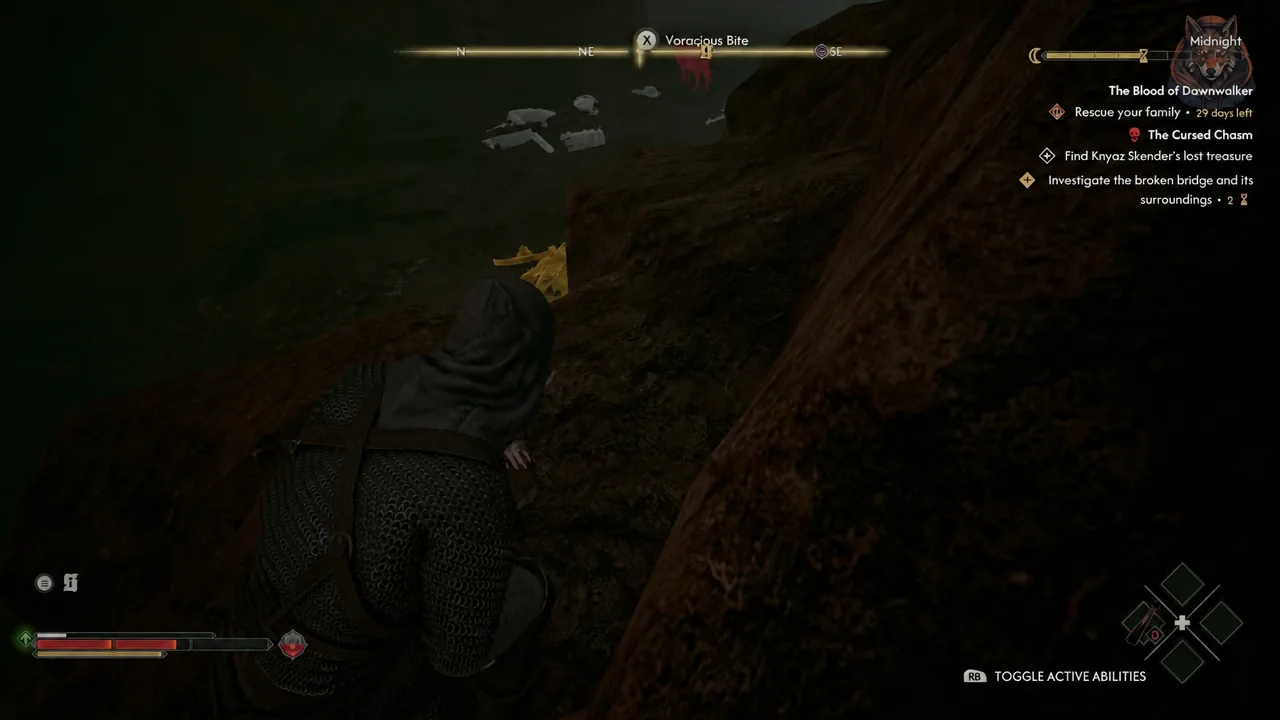
Arrive at the chasm at night in vampire form and crouch as you descend, staying quiet on the way down to the wreckage.
Voracious Bite prompt on screen while Coen crouches on the rocky slope at night
Sneaking down the rocky slope in vampire form, with the Voracious Bite prompt on screen. Image: Rebel Wolves
Open the wrecked cart and take Durandal immediately. Do not stop to sort through the rest of the loot — the moment you interact, the bosses activate.
Run past the spawning Echoes toward the back of the cave. Putting distance between you and them breaks the encounter instead of committing you to it.
Use the vampire wall-climb and dash to scale the cliffside and get out of the chasm. Once you are over the lip, combat drops and the quest can be wrapped up without a single hit landed.

How to confirm you got Durandal

Check the weapons tab in your inventory. Durandal shows up with a legendary rarity tag, the Level 15 marker, and the flavour line “Named after the legendary Roland’s sword, or is it the real thing?” If the name is greyed out with a red required level, you have the sword and just need to hit Level 12.

Two things commonly go wrong. Looting the surrounding debris instead of the wrecked cart at the back of the chasm leaves you with the trousers and the balm recipe but no sword, so verify the sword specifically before you leave. And on the stealth route, lingering near the wreckage after opening it locks you into the fight — the escape only works if you move the instant the Echoes appear.

Two day segments is not nothing in a 30-day clock, but a 234 DPS longsword with a supernatural damage bonus and a fifth off your dodge cost is a serious upgrade to carry through the early hours in Vale Sangora — especially if you plan to spend a lot of daylight swinging a sword rather than waiting for nightfall.