Blasphemy is one of the earliest side quests in The Blood of Dawnwalker, and it is also one of the first where a villager’s life hangs on how you handle it. Gremla was weaving a banner for Brencis, someone tore it off her loom, and the vrakhir expects it hanging in the church for the Mass that evening. Fail to sort it out before then and Gremla pays for it.
Quick answer: The thief is Premysl. Skip the interrogation chain, walk to his house in the northeast of the search area, tell him you know he stole the banner, then either convince him to return it or report him to Gremla — as long as Gremla learns who took it, she survives the Mass.
Blasphemy quest requirements and time cost
The quest starts at Gremla’s house in Laslea Glen, southwest of the Laslea Center Shrine. She is standing outside her shed crying, surrounded by a small crowd of villagers. Talk to her, agree to help, and ask if you can look around to open up the investigation.
Two things gate the quest. You need to have finished All Good Things first, and the whole thing has to wrap up before Sacred Covenant — the Mass — or it locks into a failure state. Confronting Premysl burns one time segment, and you still need to walk back to Gremla afterwards, so start with at least two time segments left in the day. Doing this as your last errand before nightfall is the single most common way people lose Gremla.
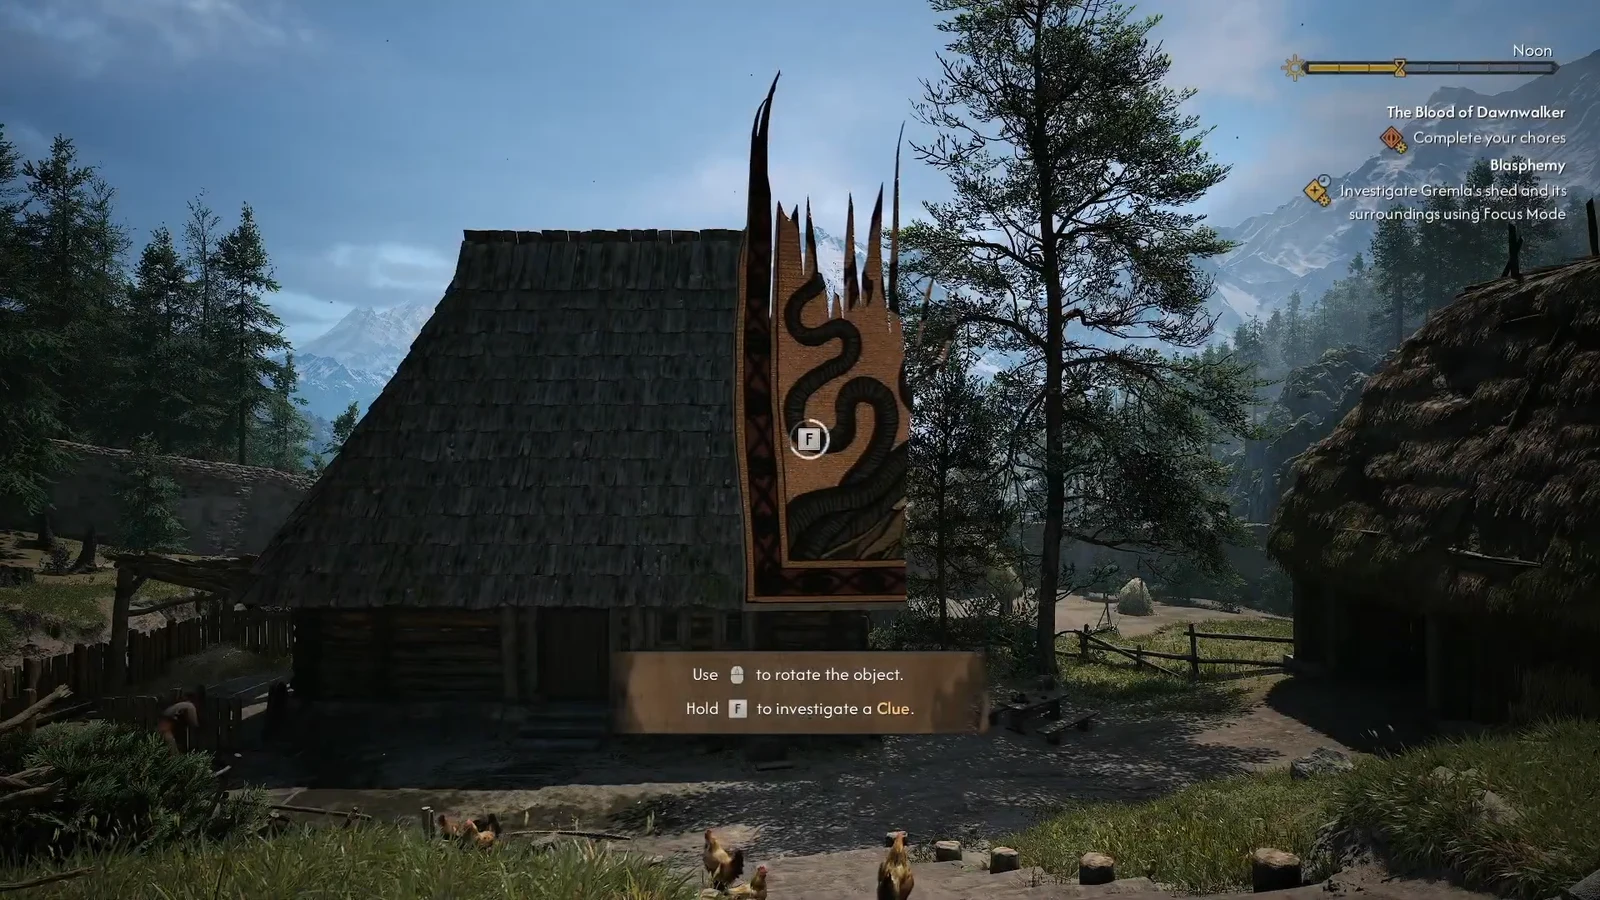
Investigate Gremla’s shed with Focus Mode
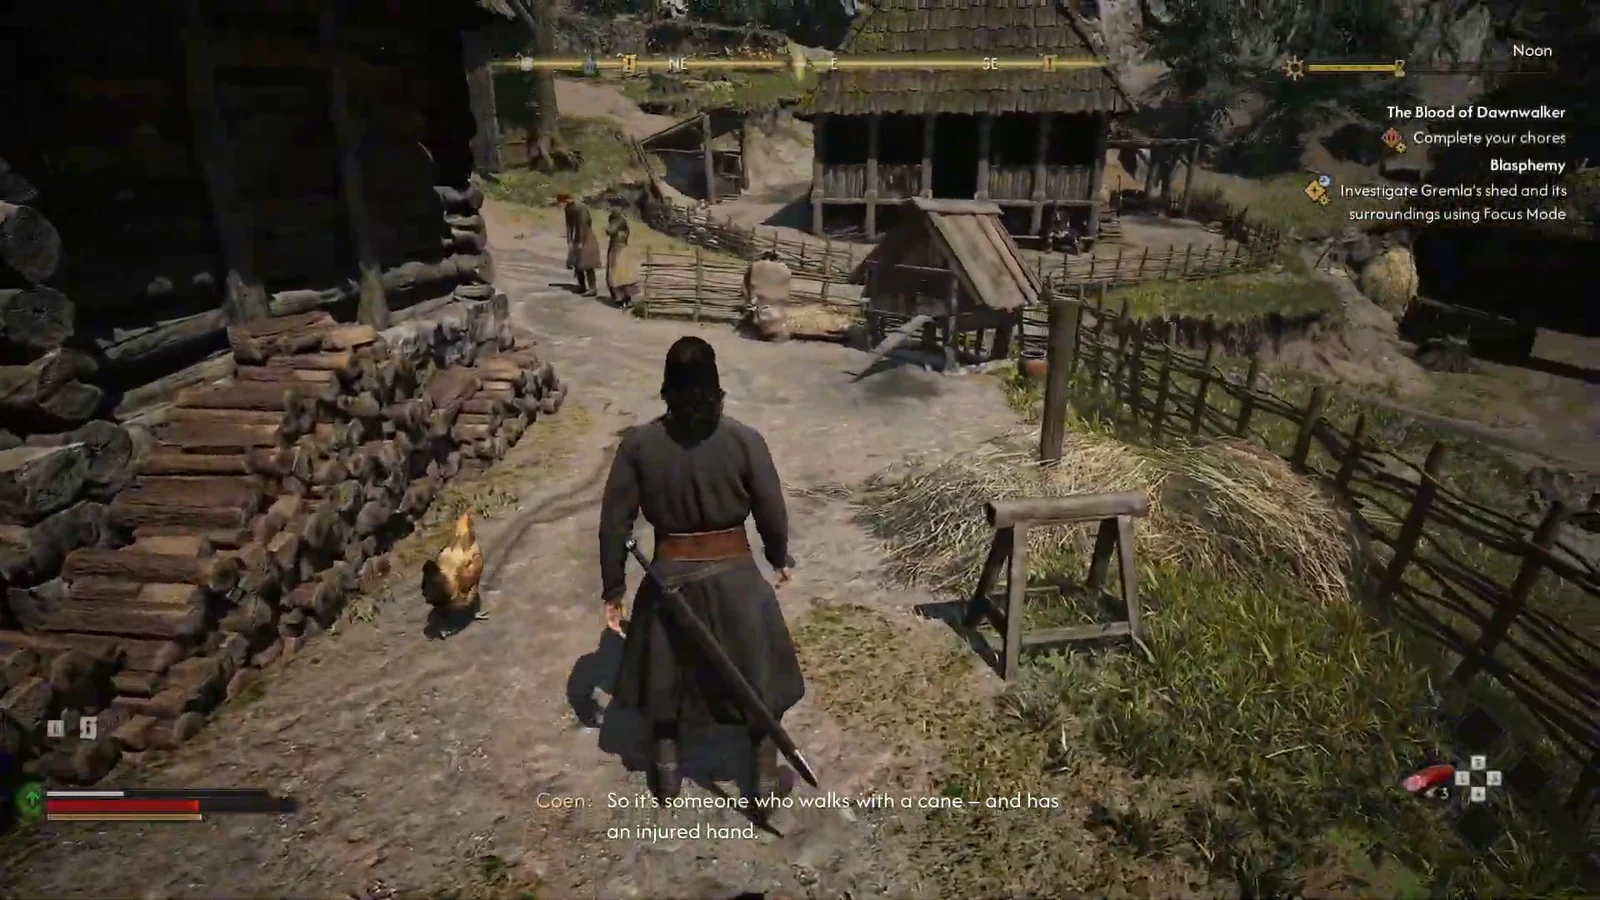
Focus Mode is bound to right click on PC. Everything you need sits in a short line running from inside the shed to the fence on the south side, and there is nothing else hidden nearby, so do not waste segments sweeping the rest of the village.
Coen closes the deduction himself once you back out: you are hunting a villager who walks with a cane and has recently cut a hand, most likely on the broken loom peg.
Where to find Premysl, the banner thief
Three villagers in Laslea walk with canes, and the objective marker only tells you to search for them. Premysl is the culprit. His house sits at the far northeastern corner of the search area, east of Coen’s own house, and he is usually sitting on a bench outside it. You can go straight there the moment the search objective appears — none of the intermediate conversations are required.
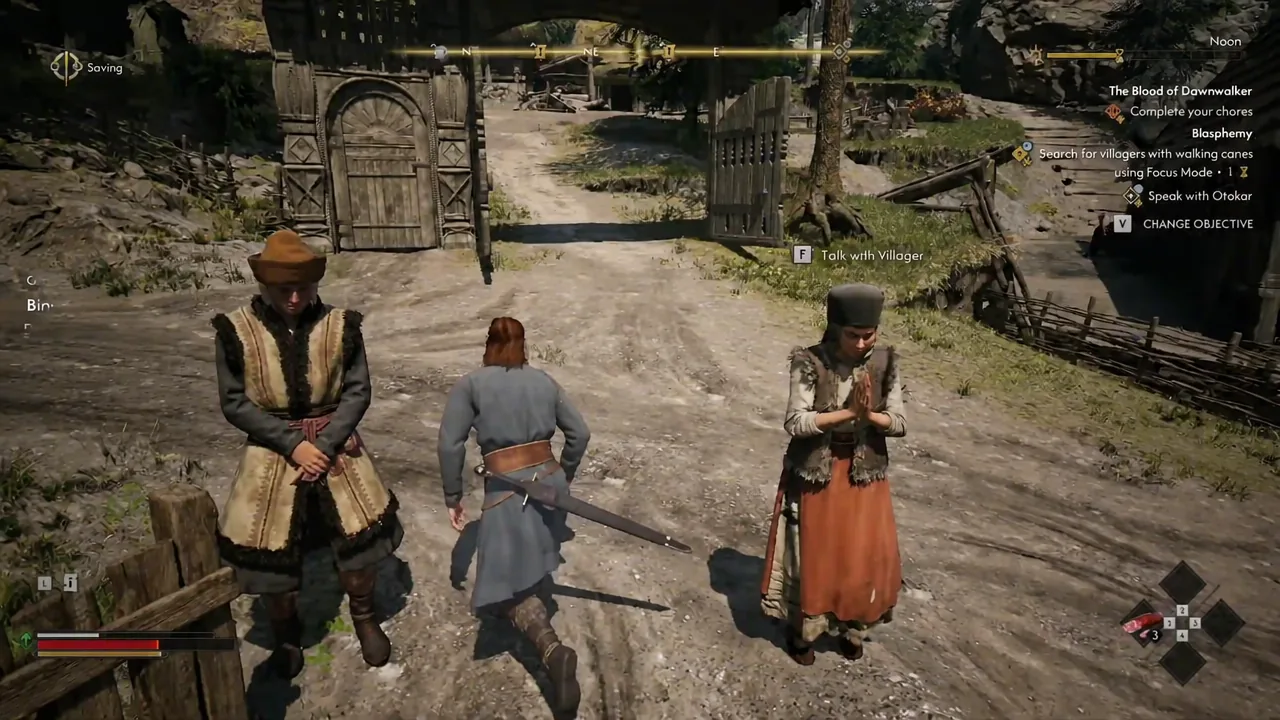
If you would rather play it out, the intended trail runs through three optional conversations. Hold Focus Mode near Gremla’s shed and Alois lights up gold among the onlookers. Ask to see his hands and he points you at Otokar, who is planing a beam by his house with a bandaged hand — he insists he hurt it two days before the theft, and grumbles about Dana being nosy. Dana is on a bench by her fence with her walking stick beside her, and she is the one who mentions Premysl ranting about the vrakhiri desecrating the church.
Note: the optional chain does not change the reward. It is flavour, and each stop costs you walking time.
Confronting Premysl and the dialogue choices
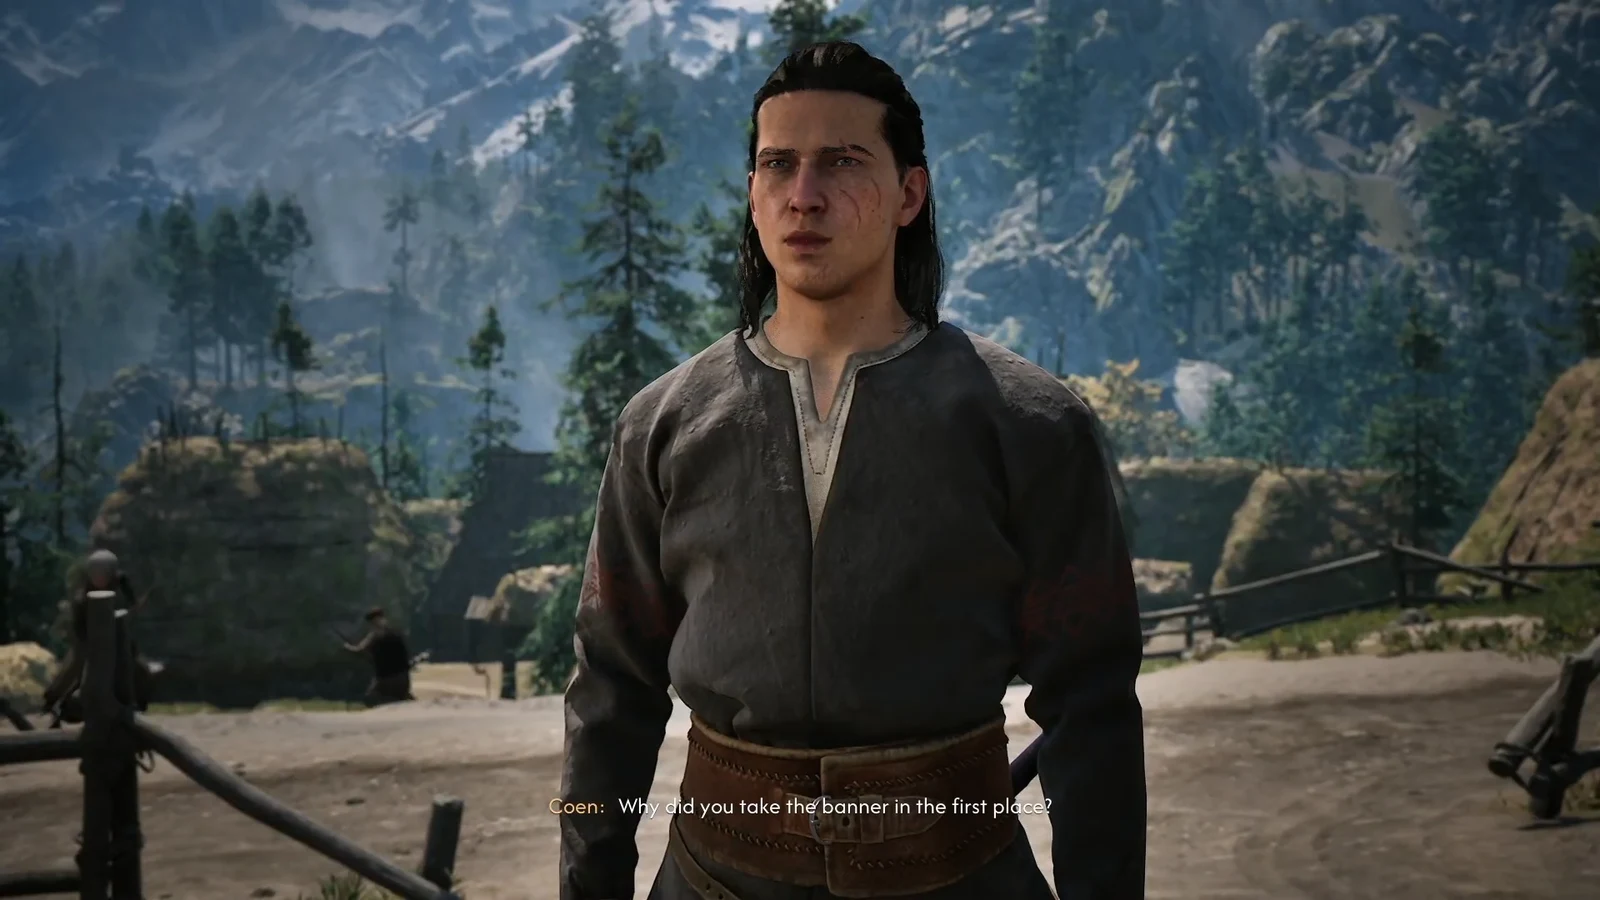
The line that matters is “I know you stole the banner, Premysl.” That is what triggers his confession and what spends the time segment, so everything before it is free. He admits it, opens a crate to show you the banner, and argues that hanging the thing in a church is an abomination — the scene woven into it is meant to stand in for the holy cross.
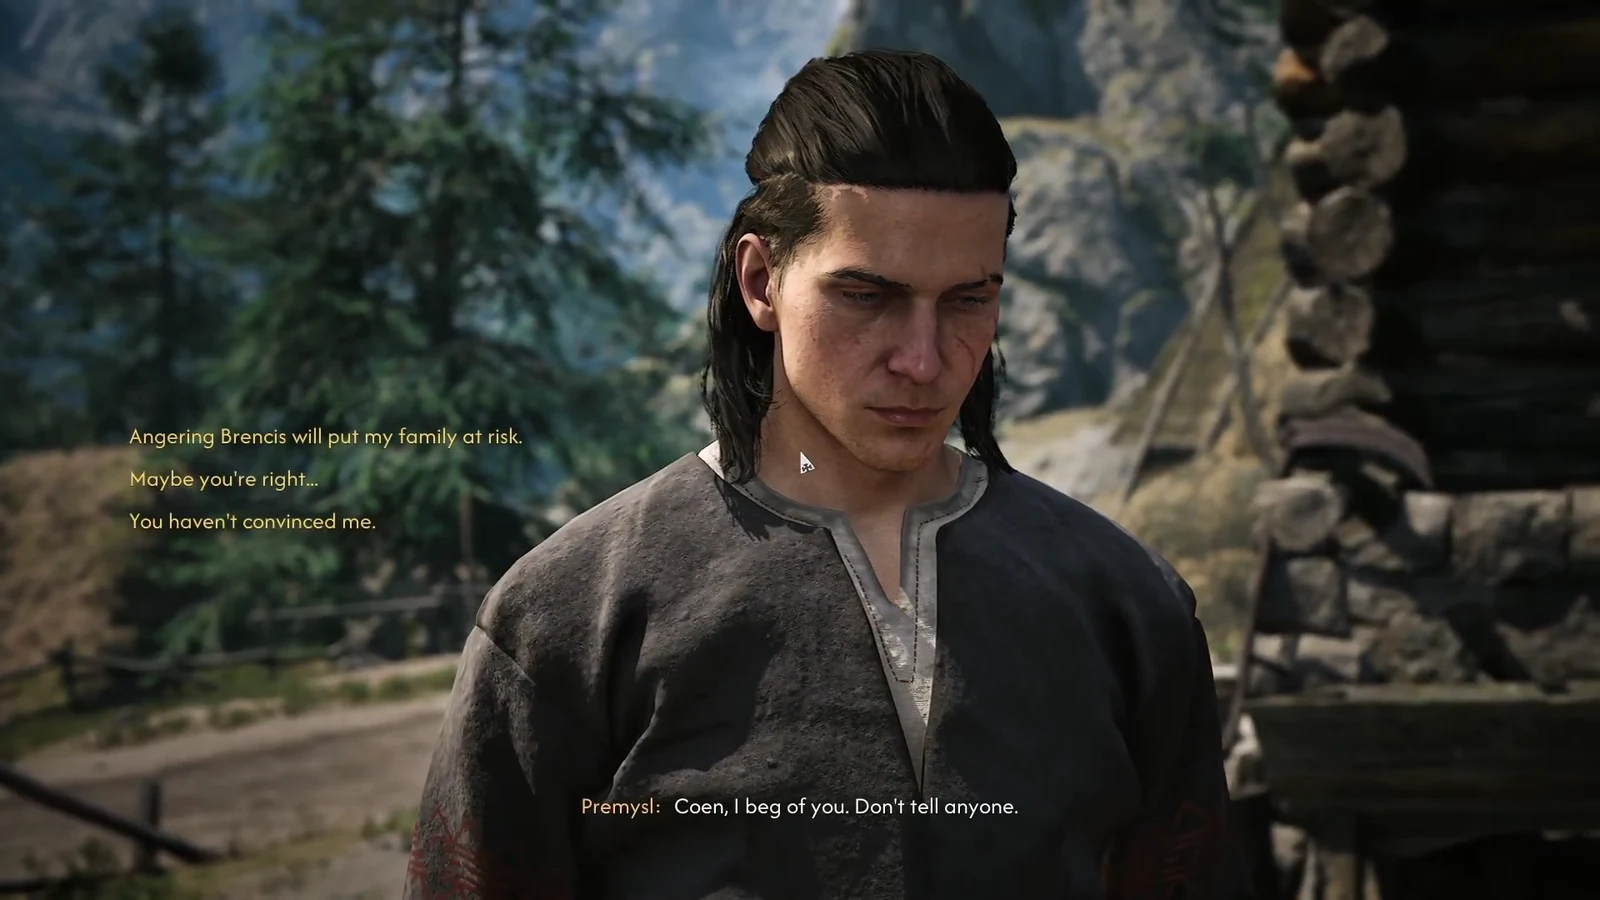
He is not hard to talk down. Pressing him with “Angering Brencis will put my family at risk,” then “This is just an empty gesture. Return the banner,” gets him to hand it over. The one option that flips the outcome is “Maybe you’re right…” — say that and he keeps the banner, but gives you the Daylight Amulet for your trouble.
Blasphemy rewards by choice
| Choice | Reward |
|---|---|
| Convince Premysl to return the banner | 250 XP |
| “You haven’t convinced me.” | 250 XP |
| “Maybe you’re right…” | 500 XP, Daylight Amulet |
| Report to Gremla (“Premysl has it.”) or convince him to return it | 325 XP, 25 Denarius |
| Keep his secret (“No. I’m sorry.”) | 75 XP |
The best-paying route is to tell Premysl “Maybe you’re right…” for the amulet and the larger XP payout, then walk back and tell Gremla that Premysl has the banner anyway. That stacks the 500 XP and the Daylight Amulet with the 325 XP and 25 Denarius. The amulet itself is not worth agonising over — comparable amulets turn up regularly from looting and combat later on.
How to make sure Gremla survives the Mass
The rule underneath all of this is simple. Gremla needs to end the day either holding the banner or knowing exactly who has it. Convincing Premysl to hand it back is enough on its own, even if you never make it back to her house. If you left him with it, you have to return and name him.
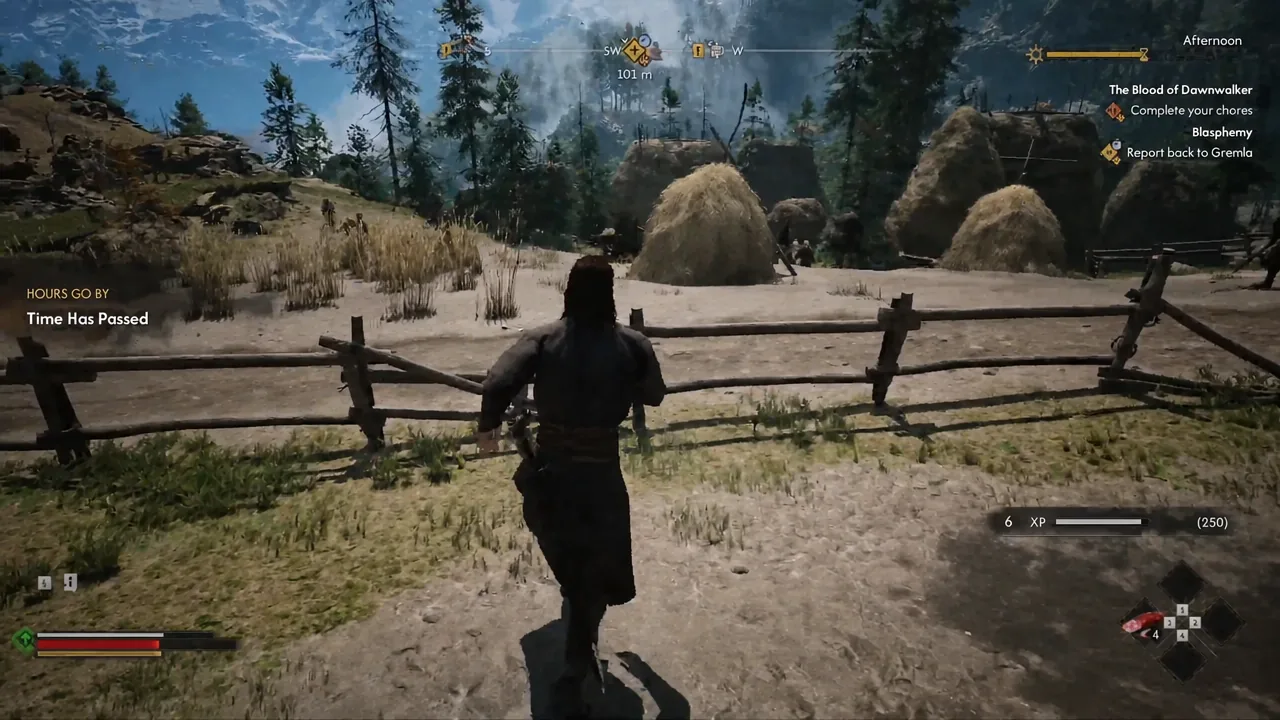
You will know it worked when Gremla thanks Coen, confirms the banner is back, and says she has decided not to turn Premysl in. The quest closes out there with the payout, and Coen typically hits Level 4 off the back of it. Come evening, the banner is hanging in the church and the congregation reacts badly to what is on it — grim, but Gremla is alive.
There are only two ways this goes wrong. Agreeing with Premysl and then telling Gremla “No. I’m sorry.” leaves nobody able to produce the banner, and running out of time segments before you can report back has the same effect. In either case the tapestry never reaches the church, and Gremla is the one strung up in its place during the Mass.
Gremla does not carry forward much past the prologue, so neither ending reshapes the rest of the game. But the quest is a clean early demonstration of how time segments and dialogue choices interact in Vale Sangora, and it costs almost nothing to do properly — one segment, one conversation, one walk back across the village.