

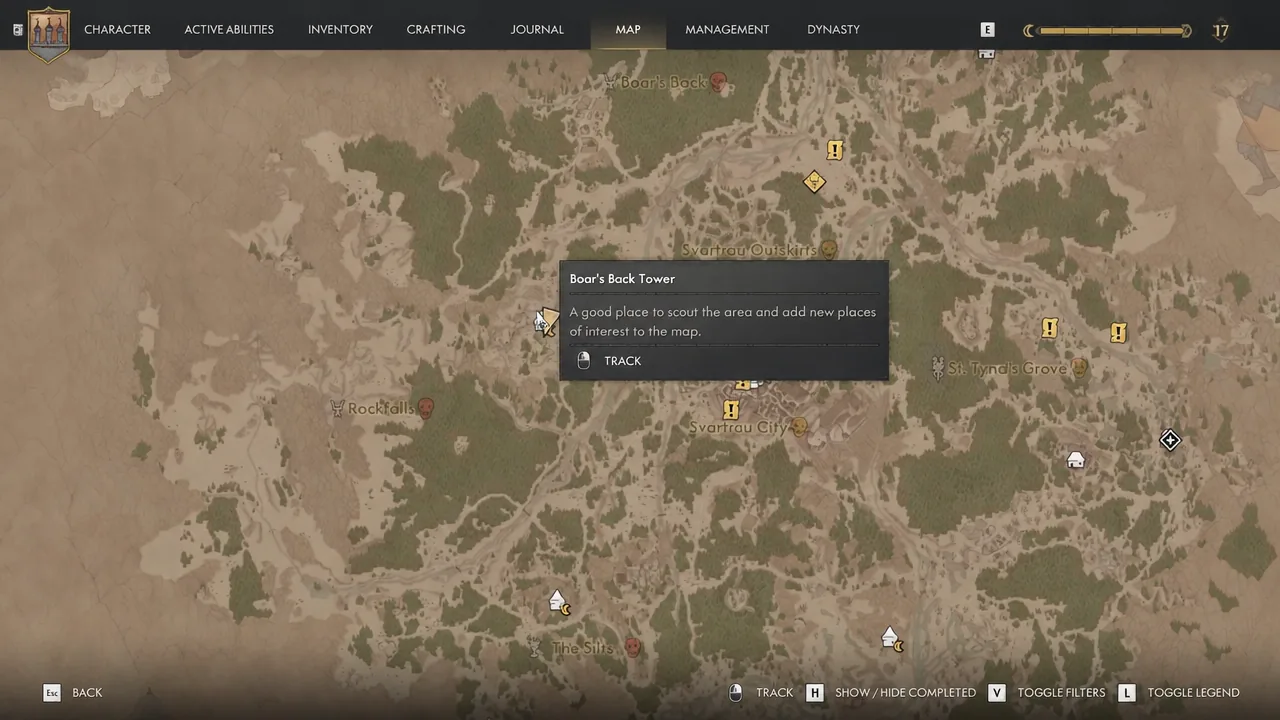
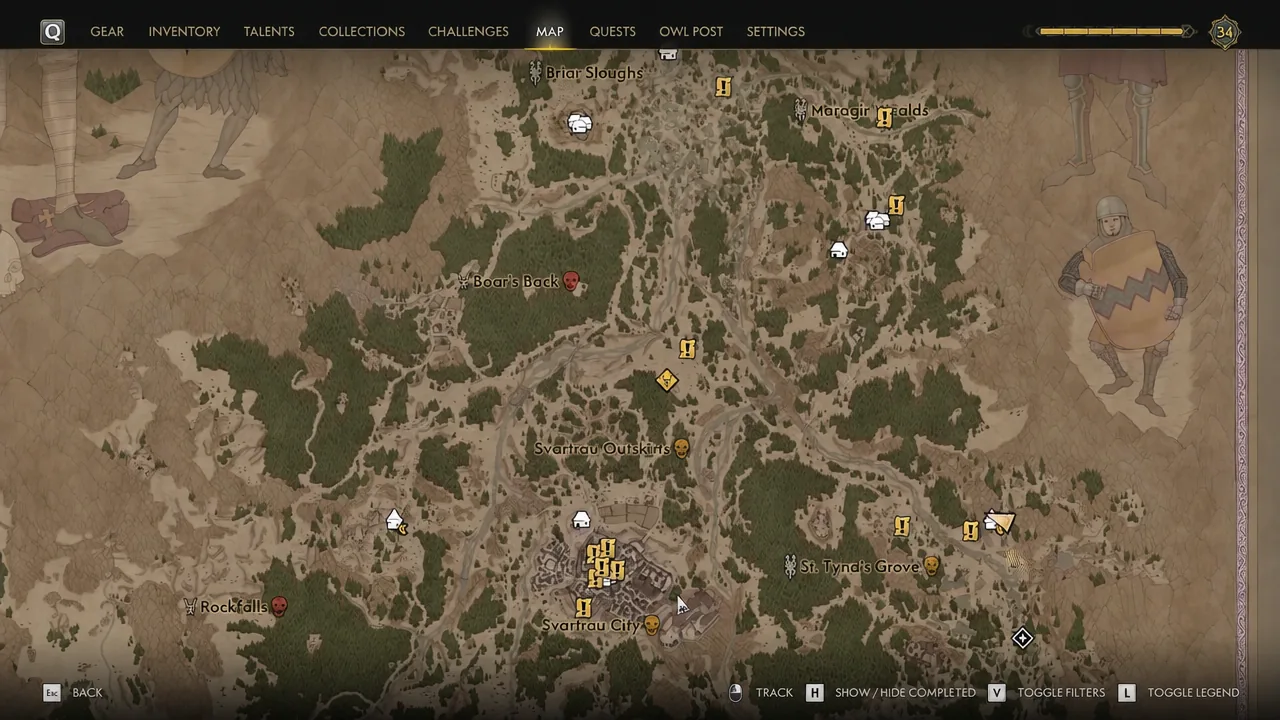
Scouting towers are the fastest way to fill in the map in The Blood of Dawnwalker. There are 11 of them spread across Vale Sangora, and each one you climb and survey stamps a batch of question mark icons onto the world map, pointing you toward shrines, camps, ancient circles, and other points of interest you would otherwise have to stumble into.
Quick answer: Climb all 11 towers at night as Coen’s vampire form, using Shadowstep (hold R2/RT) and Planeshift to reach the top, then press the survey prompt on every highlighted spot in the distance. Doing this at all 11 towers unlocks the Bird’s-Eye View trophy and achievement.
Requirements before you start climbing towers
Towers open up once the prologue is behind you and you can freely roam. Three conditions matter more than anything else.
- It has to be night. The wall-running and teleport traversal only exists in Coen’s vampiric form, so a daytime attempt simply leaves you standing at the base.
- You need Shadowstep and Planeshift. Shadowstep (hold R2/RT) blinks you between ledges, scaffolding boards, and rooftops. Planeshift lets you walk up outer walls when there is nothing to grab.
- Shapeshift saves real time. It is the quickest way to cover the distance between towers, which matters because they are scattered across the whole valley.
Note: climbing and scouting towers does not push the in-game clock forward. Because time pressure is baked into the story, this is one of the few open-world activities you can do freely, and it is worth clearing early. A determined run can tag all 11 in a single night.
All 11 tower locations in Vale Sangora
Towers are marked on the map with a white tower icon once you are close enough. Eight sit out in the countryside, and three are packed into Svartrau City.
| Tower | Where to find it | Chest |
|---|---|---|
| Church Tower | The church in your home village, the same one used for the Blood Mass in the prologue | Skill manual |
| Briar Sloughs Tower | South of Laslea Glen, near the river and across from a Sacred Stone | Skill manual |
| Maragir Wealds Tower | Easternmost edge of the Maragir Wealds; a Vidmo specter waits inside | Skill manual |
| Boar’s Back Tower | West of Svartrau City, in the area called Shrike’s Crag | Skill manual plus the Duelist’s Pendant (epic amulet) |
| Neustadt Tower | Southwestern Svartrau City, up the battlements | None |
| Market Tower | North-central Svartrau City, in the Altenmarkt district | None |
| Cathedral Tower | The cathedral dominating Svartrau City’s centre | None |
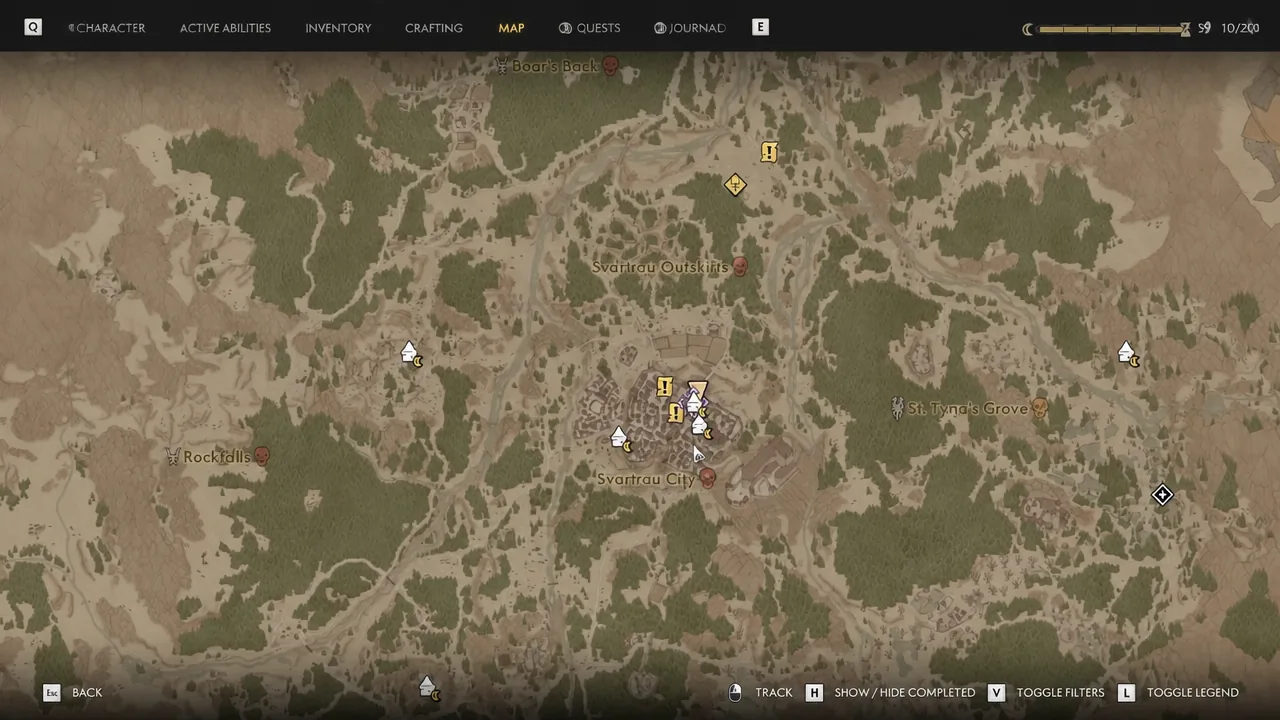
| St. Tyna’s Grove Tower | Between one of Ambrus’ outposts and an Ancient Circle | Skill manual |
| Tantari Tower | Northwest of Tantari Woods | Skill manual |
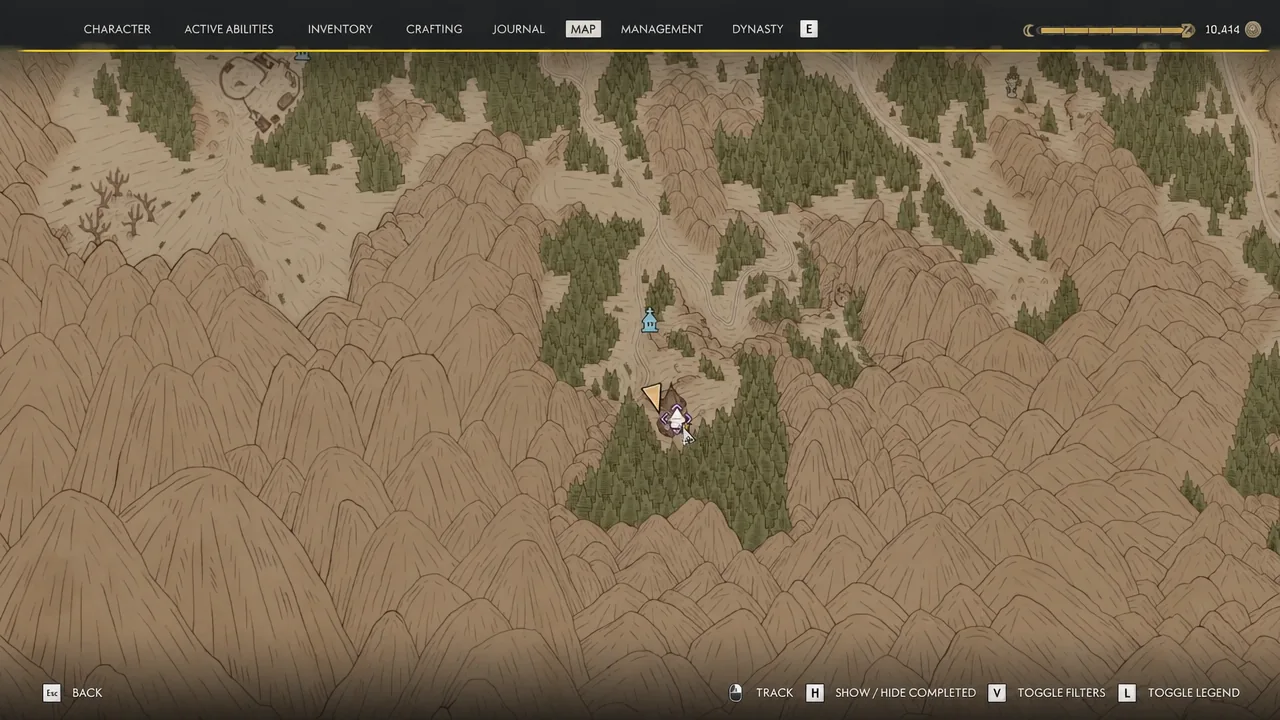
| Rockfalls Tower | South of the abandoned village of Oghasti, west of the Lunar Manor | Skill manual |
| Silts Tower | The Silts; a ritual is underway when you arrive | Skill manual on a balcony below the roof |
Chest contents are not identical in every playthrough, so pop every container you pass on the way up rather than relying on a single manual name. Loot beyond the manuals runs from crafting ingredients like Aconite, Tansy, Perilla, and Chanterelle to gear such as the Bloodsucker’s Amulet, Ring of Fortitude, Beastmaster’s Ring, and Human Slayer’s Pendant.
Tower climbs that need a specific approach
Most towers are a straightforward chain of Shadowstep hops. A handful are not, and knowing the trick beforehand saves a lot of falling.
Church Tower and Briar Sloughs Tower (your first two)
The village church is the natural starting point, since you already know the building from the prologue. Scale the stone exterior and survey the valley below. Scouting the first tower is also what puts the A Pilgrimage for Power quest on your plate.
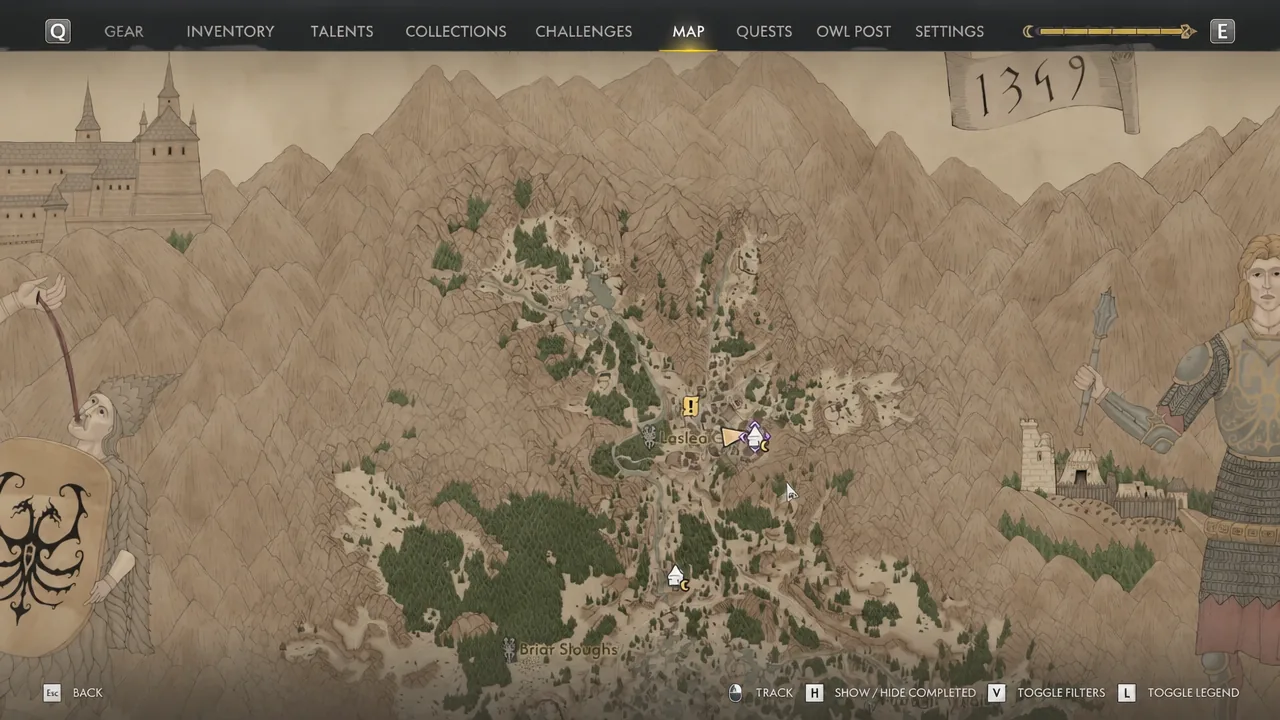
Briar Sloughs is a ruined stone tower to the south, sitting by the river in swampy forest. Grab the chest before you scout, because the survey prompt sits right at the peak and it is easy to warp away and forget.
The three Svartrau City towers
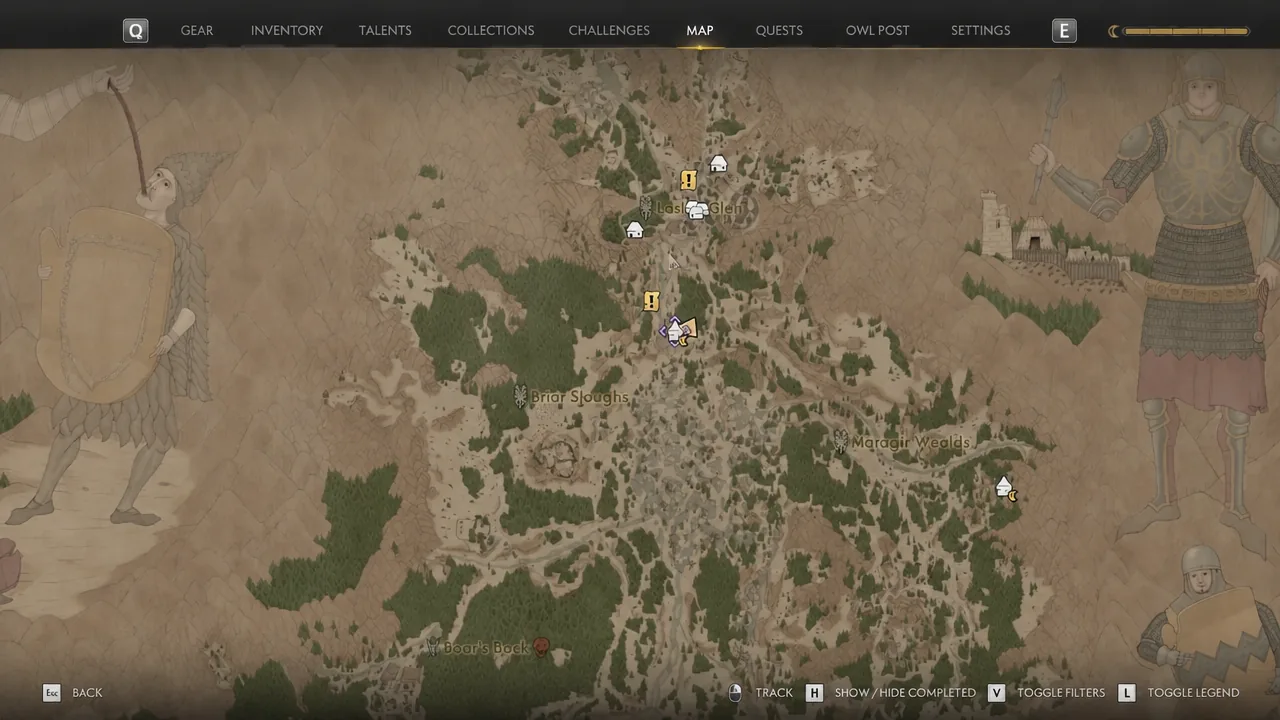
None of the city towers hold a chest, but they reveal the densest cluster of icons in the game. At Neustadt, go up the battlements in the southwest and Shadowstep onto the rooftop quickly, before the guards flag you for trespassing. The Market Tower is a rooftop run through the north-central Altenmarkt district. The Cathedral is the tallest of the three: climb the scaffolding, work up to the roof, then take the prompt that carries you to the cross at the very top.
St. Tyna’s Grove, Rockfalls, and Maragir Wealds
Undead patrol the ground around St. Tyna’s Grove. You can skip the fight entirely by climbing the rock formations nearby and Shadowstepping across onto the tower’s scaffolding.
Rockfalls punishes the obvious approach. You will run out of stamina trying to Planeshift up the outer wall, so head inside instead and Shadowstep from one wooden board to the next until you reach the top. Maragir Wealds has a Vidmo specter waiting in the interior, so clear it before you start hopping ledges.
Tantari and Silts
Tantari mixes both movement skills. Shadowstep onto the wooden boards first, then Planeshift along the walls for the final stretch. The Silts Tower is the odd one out: a ritual is in progress, and interrupting it triggers an encounter you may not want at low level. If you only care about the loot, hug the outer walls and ledges up to the roof, then drop down to the balcony where the chest sits.
Tower manuals and the perks they unlock
A manual does nothing sitting in your bag. Open the inventory screen and read it, and the matching perk becomes available in the Witchcraft skill tree.
| Manual | Perk unlocked |
|---|---|
| Aether Flow Manual | Aether Flow |
| Medicus I Manual | Medicus I |
| Medicus II Manual | Medicus II |
| Potent Blood Manual | Potent Blood |
| Lasting Malediction Manual | Lasting Malediction |
Other manuals turn up in tower chests too, including Amalgam, Blasphemous Echo, Forbidden Sigils, and Unnatural Resilience. Read each one as you collect it so you are not sitting on unspent progression.
How to confirm a tower actually counted
Reaching the peak is only half the job. A “Scout the area” prompt appears at the top, and you need to press the button on each highlighted spot in the distance. Every spot you survey drops another cluster of question mark icons onto the world map, and that map change is your confirmation. Once the eleventh tower is surveyed, Bird’s-Eye View pops.
If a tower is not registering, it is almost always one of these:
- You are trying it during the day, so Shadowstep and Planeshift are unavailable.
- You climbed to the top but left without pressing the survey prompt on every distant point.
- You ran out of stamina mid-Planeshift on an outer wall, which is the standard failure at Rockfalls. Go inside and Shadowstep up instead.
Clearing all 11 early changes how the rest of the valley plays. Instead of hunting blindly for shrines, bandit camps, monster lairs, and Sacred Stones, you get a map already populated with targets, plus a handful of Witchcraft perks you would otherwise be missing for hours.





