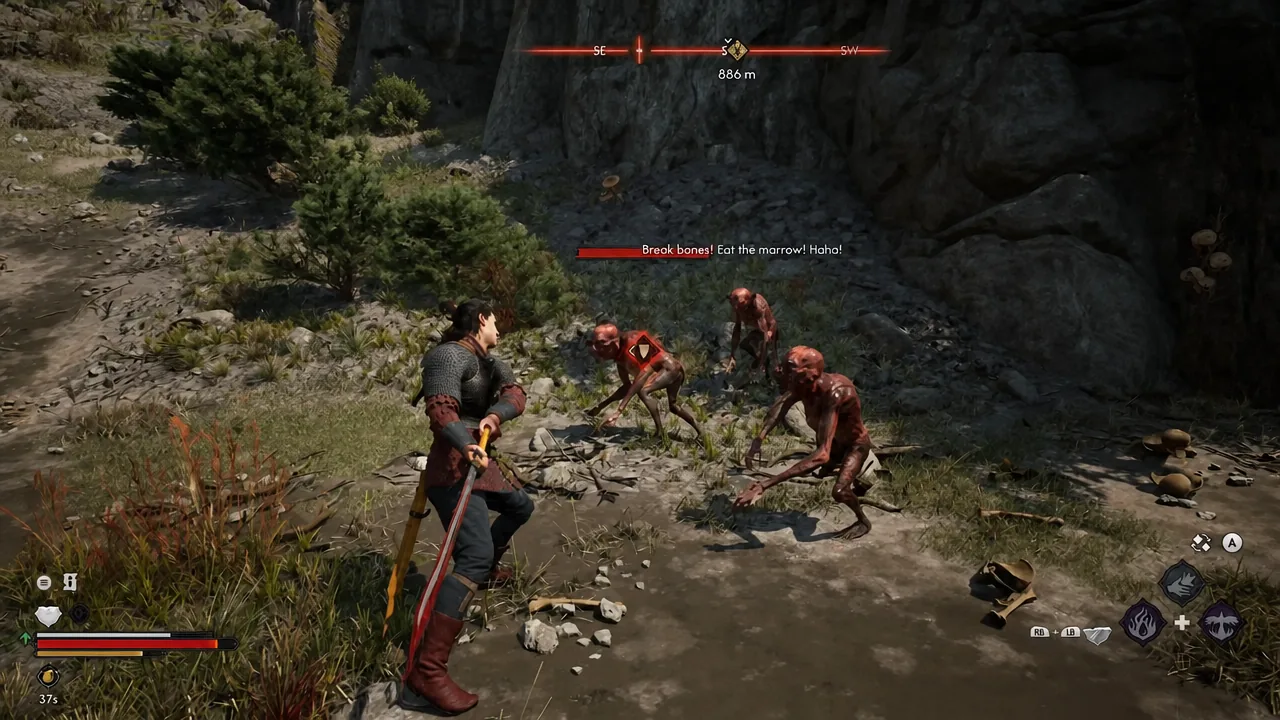
The Blood of Dawnwalker is not a game you can bulldoze. Coen has 30 days and 30 nights to pull his family out of Brencis’s hands, and almost every meaningful action you take spends part of that budget. The systems that punish new players hardest are the quiet ones — a chest that eats a time slot the moment you touch the loot, a passive skill that does nothing because you never slotted it, a final boss fight that ends your save file’s open world without warning.
Quick answer: Do not walk into Brencis’s castle until you have finished everything else you care about. Beating him rolls the epilogue immediately and permanently locks you out of the open world. Letting the 30 days expire instead fails the family rescue but leaves the map open for side content.
The point of no return: what ending the story actually costs
There are two ways your 30-day clock resolves, and they are not equivalent. Defeat Brencis while days remain and the game cuts straight to the epilogue. No victory lap, no cleaning up leftover quests, no returning to Vale Sangora. Every unfinished questline stays unfinished on that save.
Let the clock run out without rescuing your family and the outcome is softer than it sounds. There is no game over screen. The rescue objective fails and Coen’s ending changes, but you keep free rein of the map and can finish side content at your own pace.
The game does flag the edge before you fall off it. When you approach the castle you get a prompt reading “BE WARNED! You’re nearing the point of no return in your story.” Treat that as your last chance to back out, not as flavor text.
How time is spent, and where beginners leak it
Time only moves when you push it. Wandering, eavesdropping, climbing to a vantage point, and travelling the valley are all free. Story actions, activities, and learning new abilities are what burn slots, and the daylight period is divided into eight parts. The game tells you the cost of an action before you commit to it, so the number is never a surprise unless you skip past it.
Two habits save more time than anything else. First, time-restricted chests do not charge you until you actually take an item out. You can open one, read the contents, and walk away for free — only the loot triggers the cost. Second, quicksave before you start a quest you are unsure about. Testing an outcome and reloading costs you nothing, while committing blind can cost several slots.
The biggest single leak is low-value Court and Infamy busywork. Those activities cost three time slots each, which is a serious chunk of a day for a small reward. Spend slots on things that make Coen stronger or open new paths, not on clearing a checklist. You cannot finish everything in one run, and trying to is the fastest way to arrive at the castle underpowered.
Infamy and the Court: a deliberate cost, not an accident
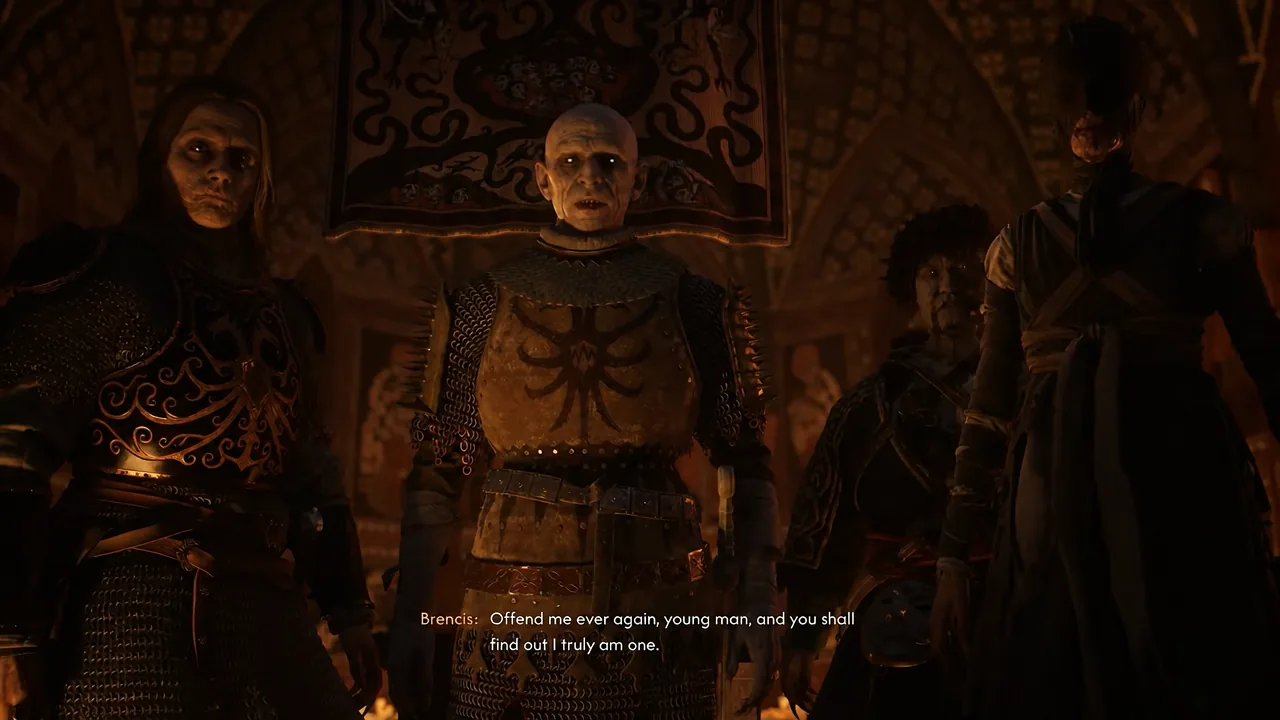
Brencis rules through three officers — Ambrus, Xanthe, and Bakir — and each one holds a specific fiefdom on the map. Running activities inside a region raises that officer’s anger level and pushes your Infamy up alongside it. That is the intended route to unlocking their boss quests, so you cannot avoid Infamy entirely.
What you can control is where the heat lands. Higher Infamy tiers make the court issue Edicts that apply regional penalties, including security checkpoints, inflated merchant prices, and hunters who come looking for you. These stick around, so scattering minor Infamy across every fiefdom leaves you with penalties everywhere and no boss unlocked anywhere. Pick a target, push that officer’s anger deliberately, and keep the rest of the valley quiet.
Settings to change before your first real fight
A few options are buried in the menus and are worth setting before combat gets serious. None of them are locked in — you can change difficulty and combat values at any point.
| Setting | What turning it on does |
|---|---|
| Auto-Block | Blocks attacks coming from the wrong direction, draining stamina instead of health |
| Use Consumables from Inventory in Combat | Lets you drink potions straight from the inventory screen, no quick-slot needed |
| Camera Distance (Exploration) / (Combat) | Two separate sliders, so you can pull the camera back for fights without changing traversal |
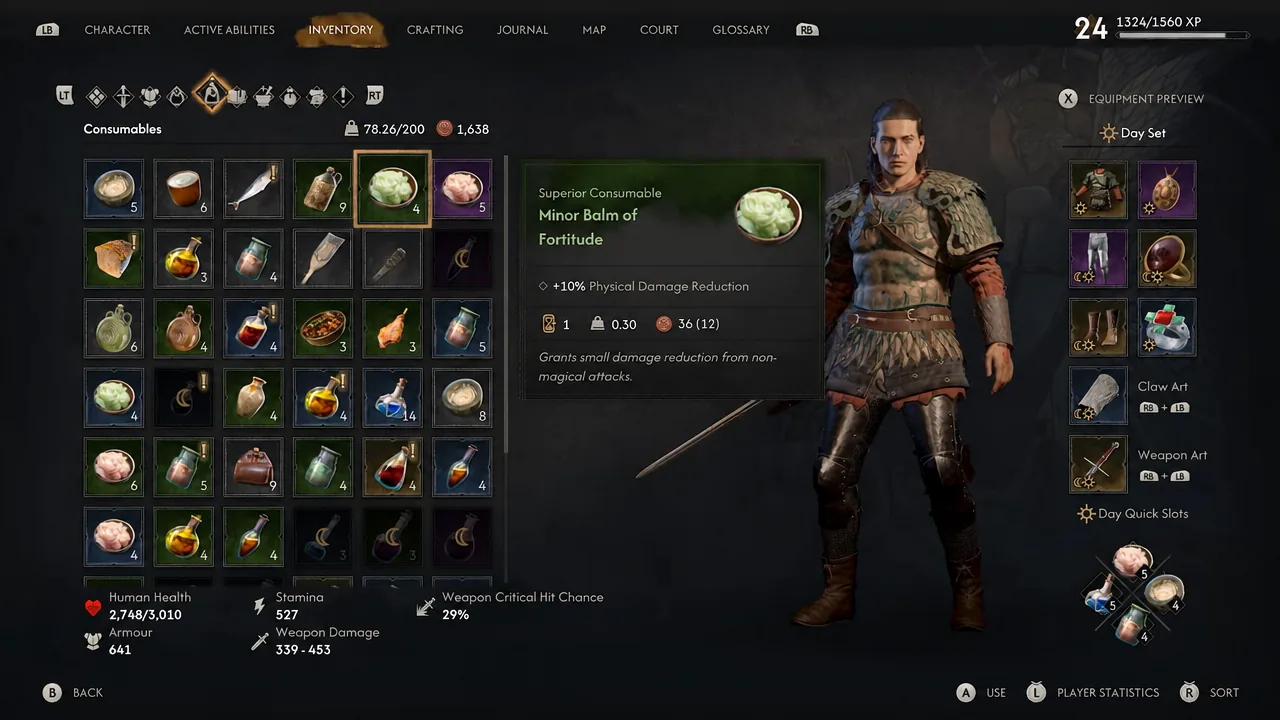
The consumables option matters more than it looks. Casting hexes in human form costs Coen his own health, and vampiric life-steal is locked until nightfall, so daytime healing runs entirely on items you carry. Being able to reach into the full inventory mid-fight means you are never stuck because you forgot to slot the right salve.
You can also switch off the intro cinematic so relaunching the game drops you in faster.
Directional combat: stop fighting the lock-on
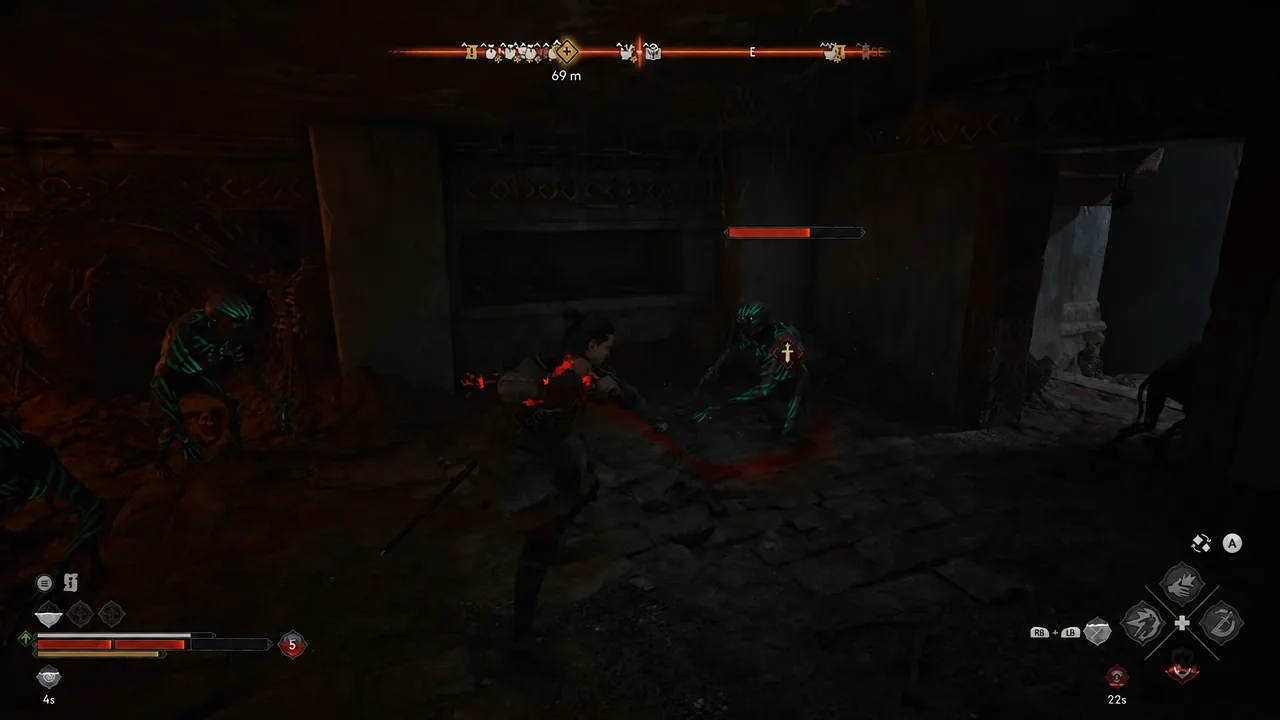
Combat is a directional duel. You aim swings and blocks, and enemies hold guard in specific directions, so the answer is reading where they are open rather than mashing. Attacks aimed from above or below are consistently the most effective, because most guards are set up to handle horizontal pressure.
The hard lock-on is erratic and will fight your camera in group encounters. Soft lock-on gives you far smoother control. And keep at least one active ability charged at all times, because active abilities always interrupt enemy attacks — including the red, unblockable ones you would otherwise have to dodge manually.
Skill points, slotting, and the perks you can miss entirely
Progression splits across three trees — Swordmastery, Witchcraft, and Vampirism — and learning abilities costs both skill points and time. Swordmastery is the safest early investment, because its passives and actives apply in human form during the day and vampire form at night. Witchcraft and Vampirism are each locked to half the cycle.
Here is the trap that catches almost everyone: some passive abilities do nothing until you manually place them in your active abilities bar. Buying the node is not enough. If a passive you unlocked seems to have no effect, open the ability bar and check whether it is actually slotted.
There are also hidden perks that never appear in the trees. “Font of Life,” which grants passive health regeneration in human form, comes from a specific choice at the end of a major companion questline — Anca’s and Lacra’s storylines both gate rewards like this behind their final decisions. Rush those endings and you can lose the perk without ever knowing it existed.
Gear upgrades, level scaling, and the Silver Trader
Gear in Vale Sangora is tied tightly to your level, and misreading that costs you coins. Blacksmiths like Vera raise an item’s primary stats when you upgrade it, but secondary stats only jump meaningfully at breakpoints every ten levels — at level 10, level 20, and so on. Pouring resources into a piece just below a breakpoint is wasted effort.
| What you do | What happens to your gear |
|---|---|
| Upgrade at a blacksmith | Primary stats increase |
| Hit level 10, 20, and so on | Secondary stats receive a significant boost at the breakpoint |
| Level up generally | Blacksmith and vendor stock scales and refreshes |
| Loot a piece of gear | It scales to your level at the moment you pick it up, and stays there |
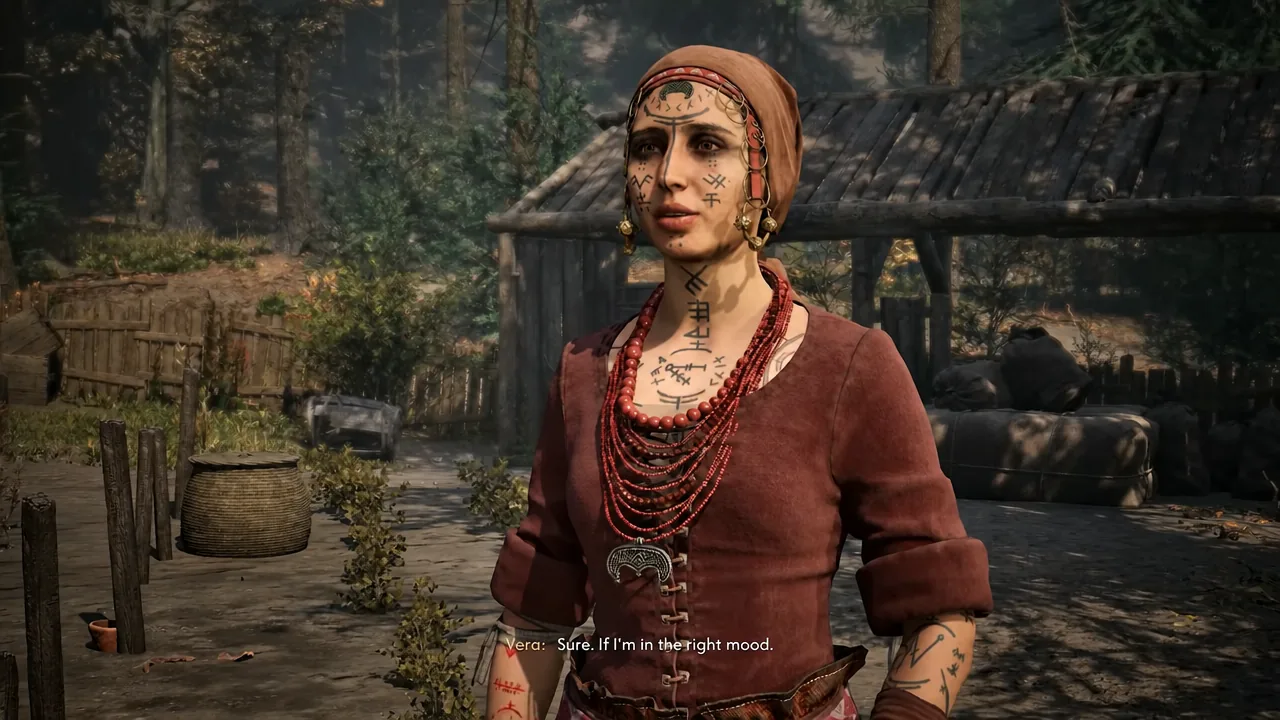
Because looted gear locks to your level when found, there is no reward for hoarding a chest you have already opened. Take what you need when you need it, and check vendors again after each level — their inventories restock with higher-tier stock as you climb.
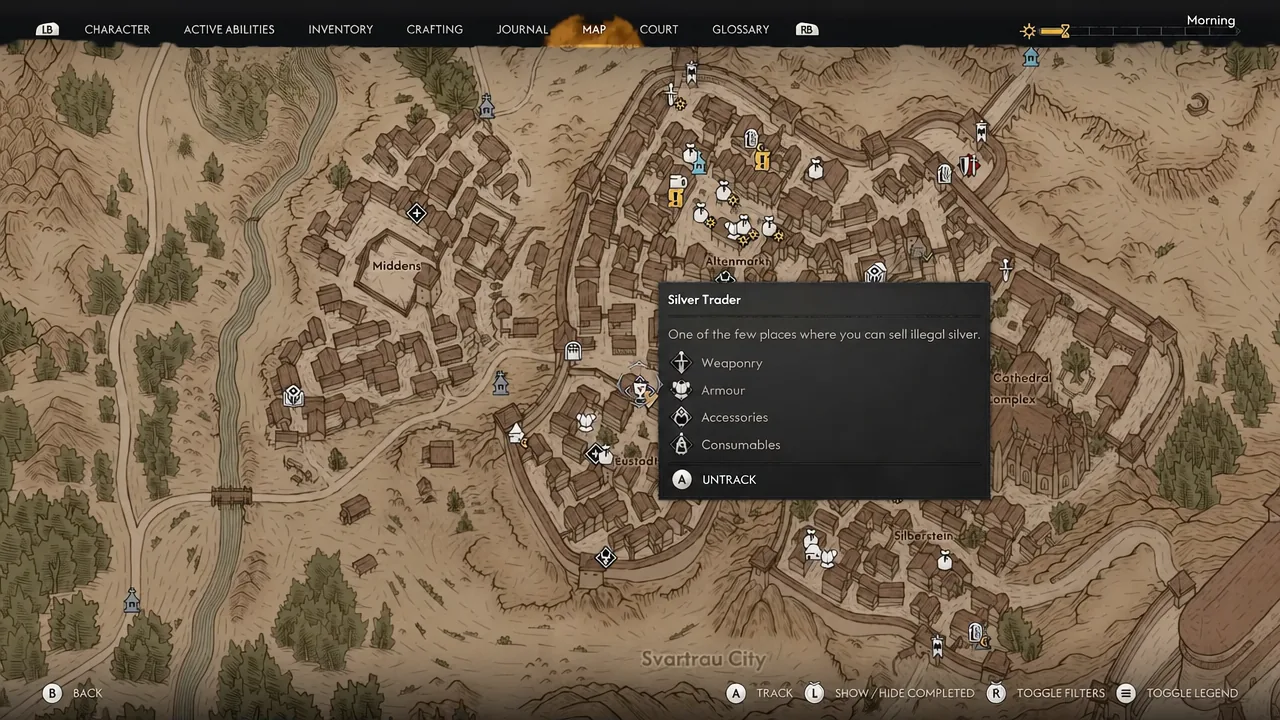
Silver items you pick up are not vendor trash. The Silver Trader in Svartrau is the vendor who converts them into coins, and the same stall carries high-tier legendary rings and weapons. If you have been selling silver to whichever merchant was nearest, you have been underselling it.
The through-line for a first run is that Vale Sangora rewards deciding early and following through. Scout freely, because looking costs nothing. Then pick one officer to antagonize, one skill tree to deepen, and one set of questlines to actually finish, and accept that the necklace you never returned is part of your story rather than a failure. The 30 days are a budget, and the only unrecoverable mistake is spending them without knowing what you bought.