The current King in Check stage in Anomaly Arbitration is built around an Elation shield, which is a polite way of saying the game would very much like you to own an Elation team. You do not need one. A Fire hypercarry core led by Himeko • Nova can push straight through the barrier in both boss phases, provided one member of the team can strip it on demand.
Quick answer: Run Himeko • Nova, Robin • Summeretto and Dan Heng • Permansor Terrae, then fill the fourth slot with Cipher or Mortenax Blade and hold that character’s Ultimate for the moment the boss applies its barrier. Break the barrier, then dump Himeko’s damage in the window it opens.
How the Elation shield gates the King in Check boss
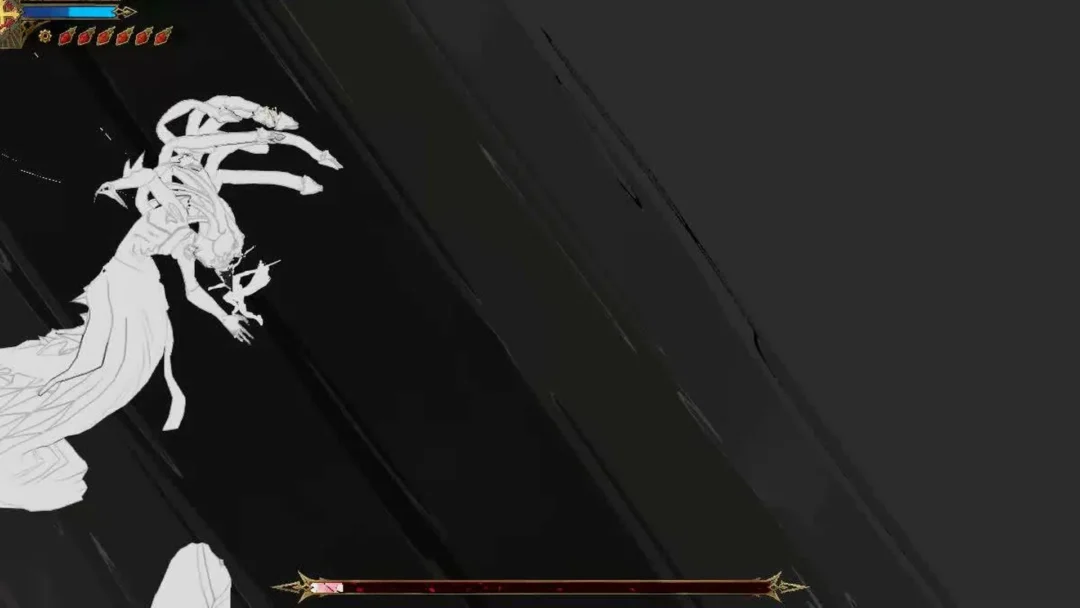
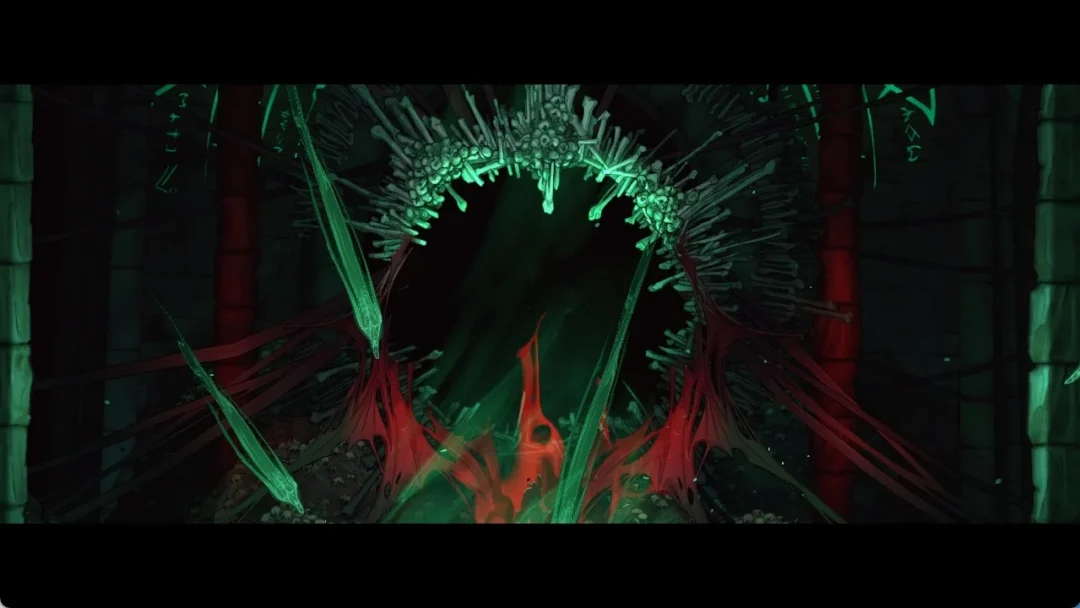
The boss puts up a barrier in each of its two phases. Phase 1 opens with Blood-Brain Barrier. When the fight rolls into Phase II, the boss announces All Are Within Me and applies a fresh barrier on top of it. Until that barrier comes down, your damage against the boss is heavily blunted, which is the entire reason the stage reads as an Elation check.
The workaround is blunt. Instead of playing the intended Elation loop, you bring one unit whose Ultimate cuts through the shield state and treat that Ultimate as a key, not as damage. Cipher’s Ultimate does this cleanly in Phase 1. Mortenax Blade’s A Rain of Blades Seals Fate fills the same slot in a second lineup. Everything else in the team exists to make the post-barrier window as violent as possible.
Note: the barrier is reapplied at the phase transition. If you burn your strip Ultimate on trash or on an already-open boss, you will spend the first turns of Phase II hitting a wall.
The two non-Elation teams that clear the stage
Three slots stay fixed across both clears. Himeko • Nova is the damage, Robin • Summeretto is the buffer, and Dan Heng • Permansor Terrae holds the line. Only the fourth slot changes, and that swap is the whole experiment.
| Slot | Lineup A | Lineup B |
|---|---|---|
| Main DPS | Himeko • Nova | Himeko • Nova |
| Support | Robin • Summeretto | Robin • Summeretto |
| Sustain | Dan Heng • Permansor Terrae | Dan Heng • Permansor Terrae |
| Barrier answer | Cipher | Mortenax Blade |
Both versions finish the fight. Cipher is the more surgical option because her Ultimate is the cleanest answer to the Elation shield. Mortenax Blade trades that precision for a much larger share of the team’s raw output, which matters once the barrier is gone.
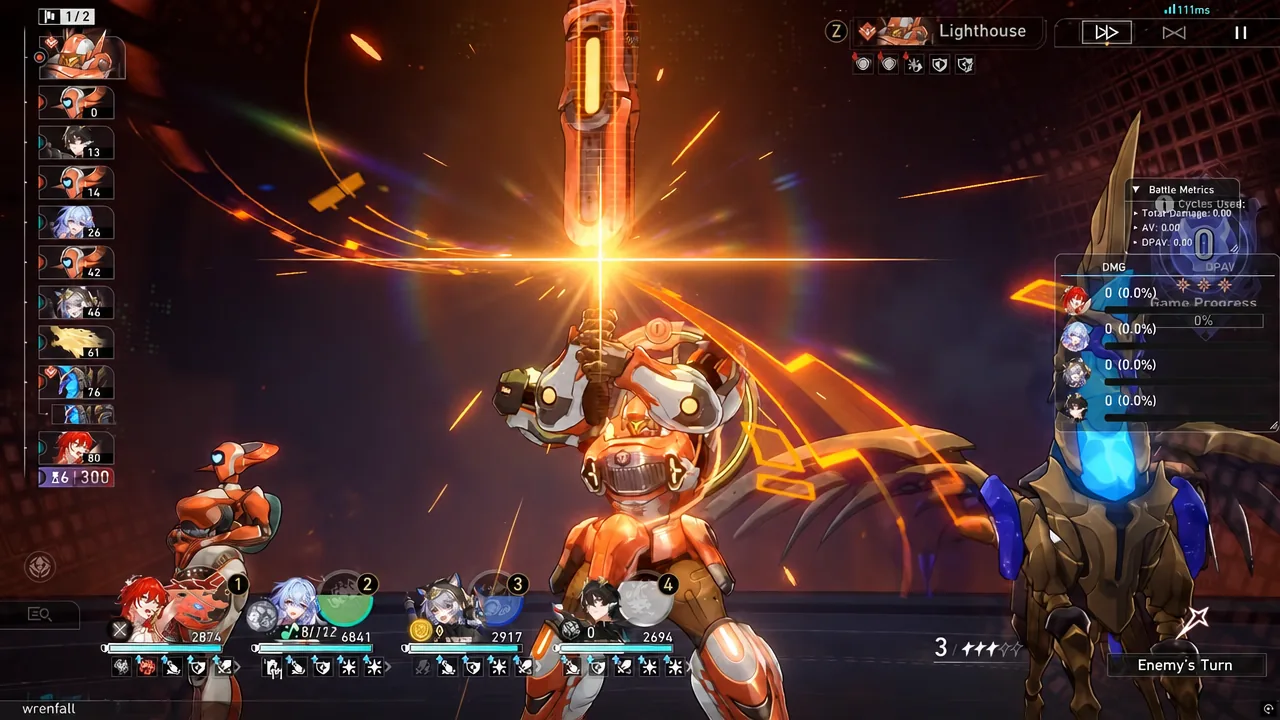
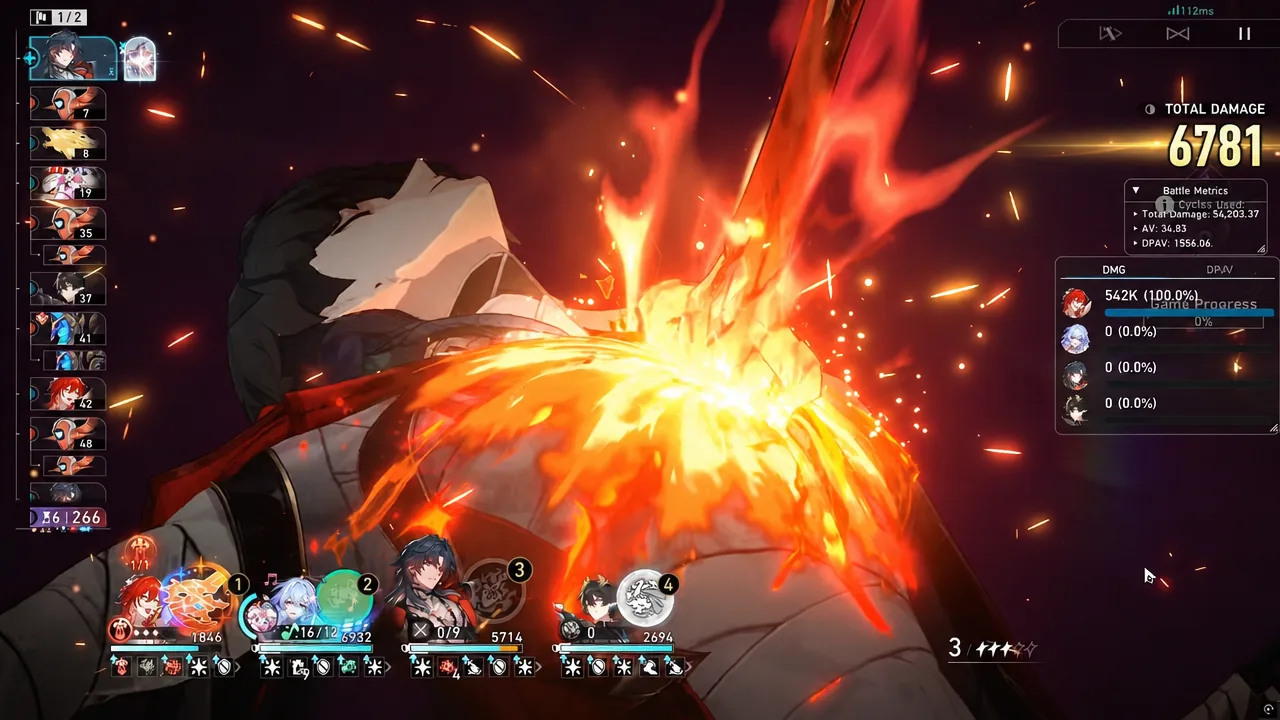
Wave 1: Lighthouse, Moonlit Pegasus and Astropolis Sentinel
Before the boss appears you fight a wave of Lighthouse, Moonlit Pegasus and Astropolis Sentinel. This is a straight AoE check and it should not eat much of your cycle budget.
Boss fight: two barriers, two windows
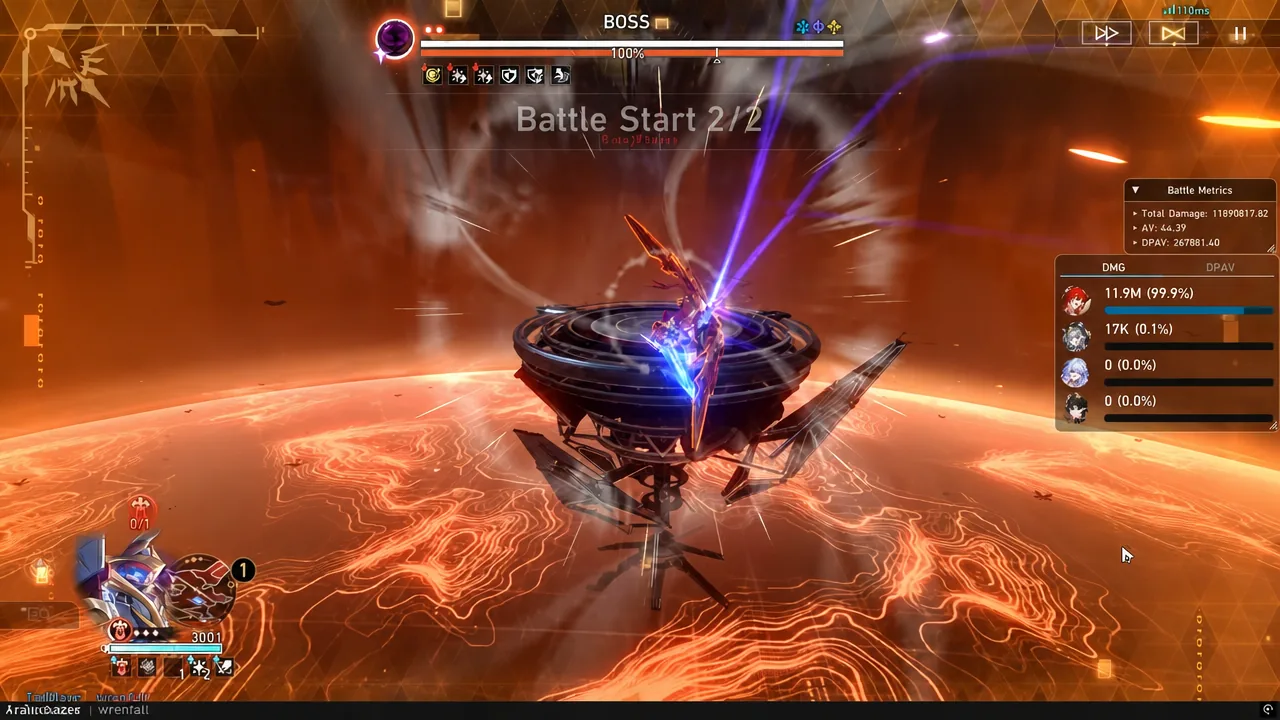
Phase 1: Blood-Brain Barrier
The boss enters with Blood-Brain Barrier already applied. Fire the strip Ultimate as soon as the shield is visible, then follow immediately with Himeko’s damage while Robin’s buff is active. The order matters more than the raw numbers, because a mistimed Himeko Ultimate into an intact barrier is a wasted cycle.
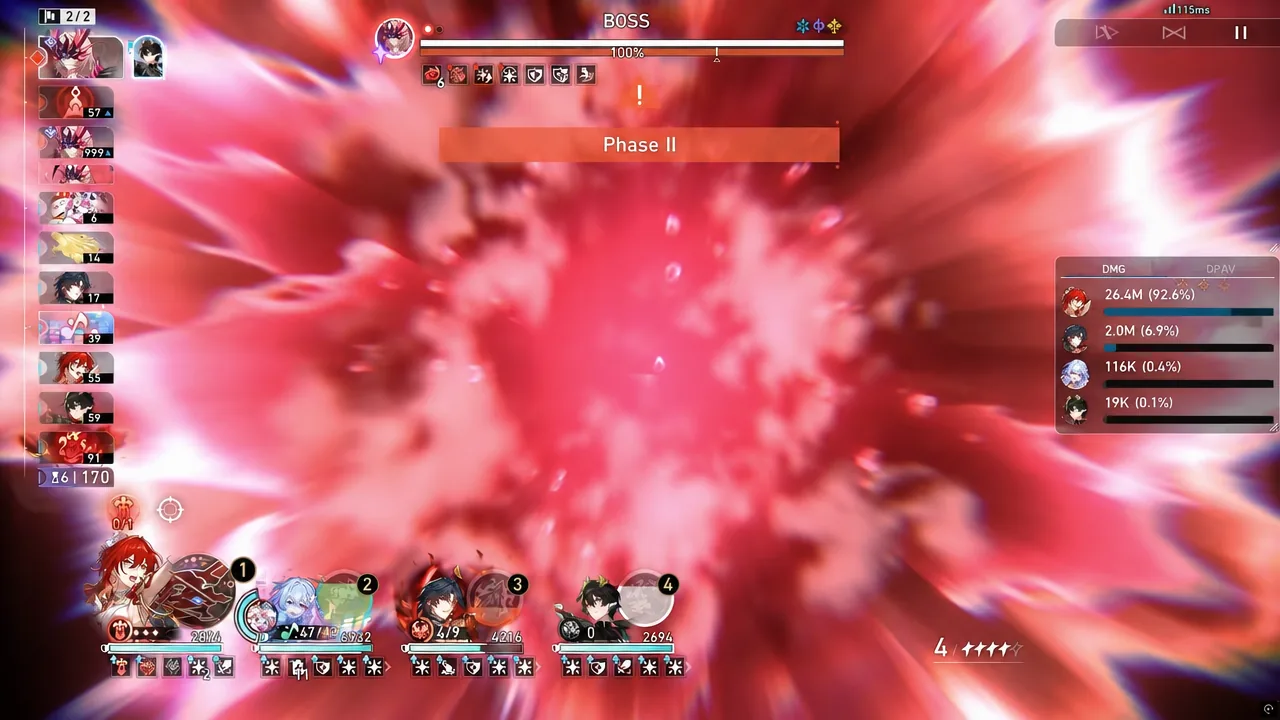
Phase 2: All Are Within Me
The transition banner for Phase II is your cue that the barrier is coming back. Break it the same way you broke the first one, then run the buff-into-burst sequence again. With the shield down, a Fire hypercarry core has more than enough output to close out the health bar.
Builds used in both King in Check clears
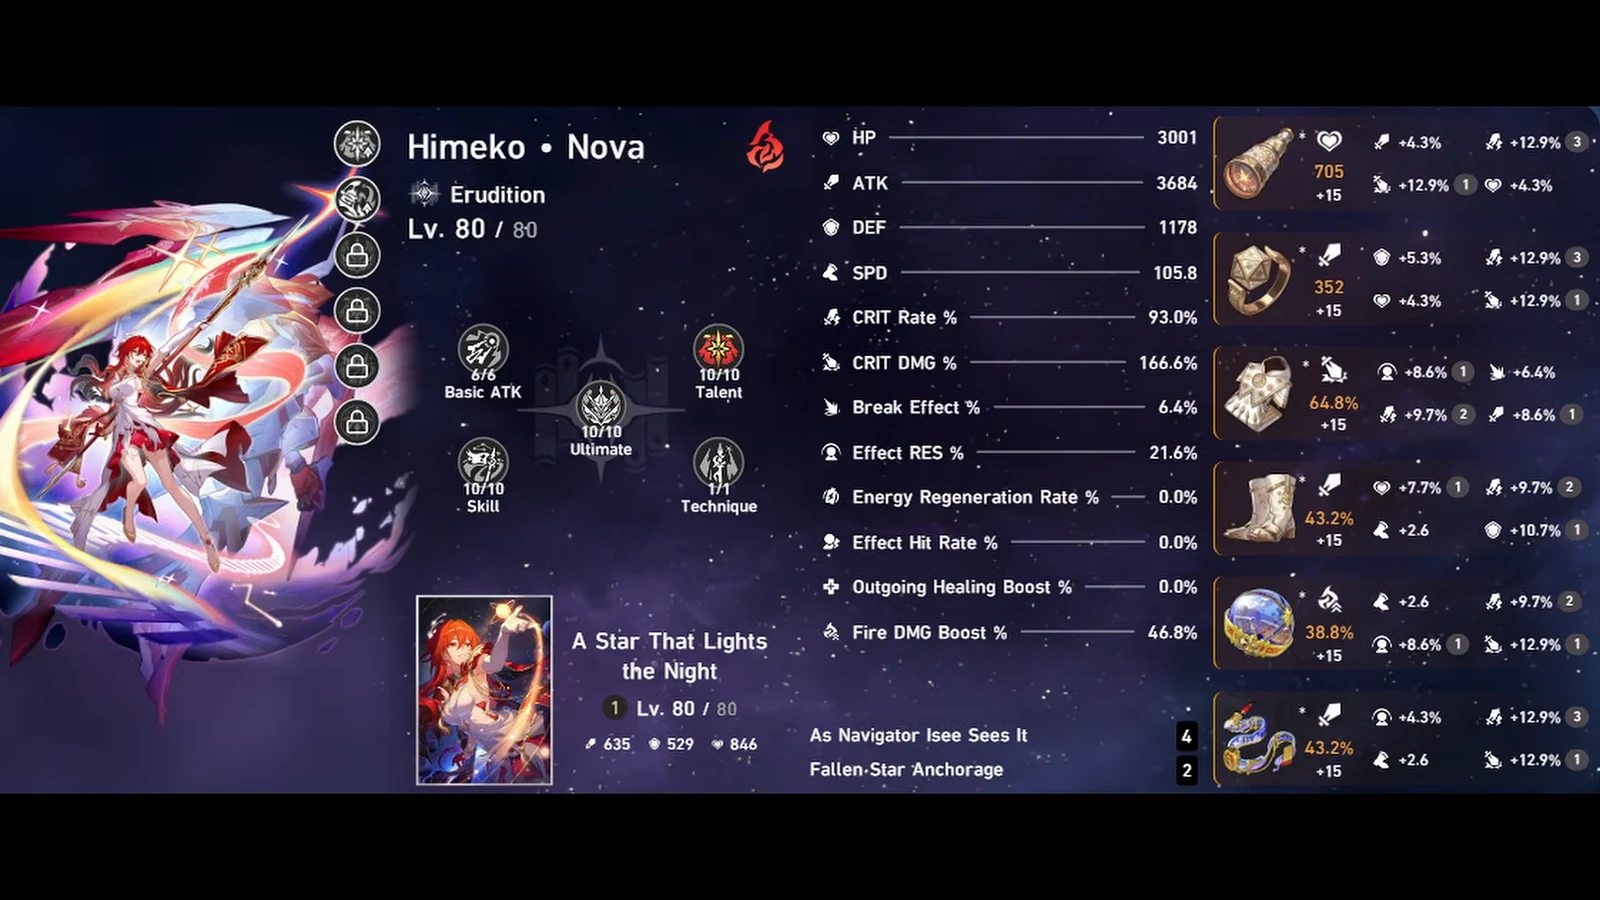
Every character is at Level 80 with a Level 80 Light Cone. Nothing here is exotic, but Himeko’s crit spread is doing a lot of the heavy lifting.
| Character | Path | Light Cone |
|---|---|---|
| Himeko • Nova | Erudition | A Star That Lights the Night |
| Robin • Summeretto | Remembrance | Rise and Sing |
| Mortenax Blade | Nihility | Reforged in Hellfire |
| Dan Heng • Permansor Terrae | Preservation | Though Worlds Apart |
| Cipher | Nihility | Lies Dance on the Breeze |
| Character | ATK | SPD | CRIT Rate / DMG |
|---|---|---|---|
| Himeko • Nova | 3,684 | 105.8 | 93.0% / 166.6% |
| Robin • Summeretto | 1,843 | 175.6 | 50.3% / 101.8% |
| Mortenax Blade | 1,340 | 165.8 | 72.0% / 140.7% |
| Dan Heng • Permansor Terrae | 4,470 | 143.6 | 11.4% / 74.6% |
| Cipher | 2,631 | 200.5 | 47.8% / 121.2% |
Cipher’s 200.5 SPD is not decoration. She needs to act early enough to remove the barrier before Himeko’s turn comes around, and speed is the cheapest way to guarantee that ordering.
Stage rules that shape your cycle count
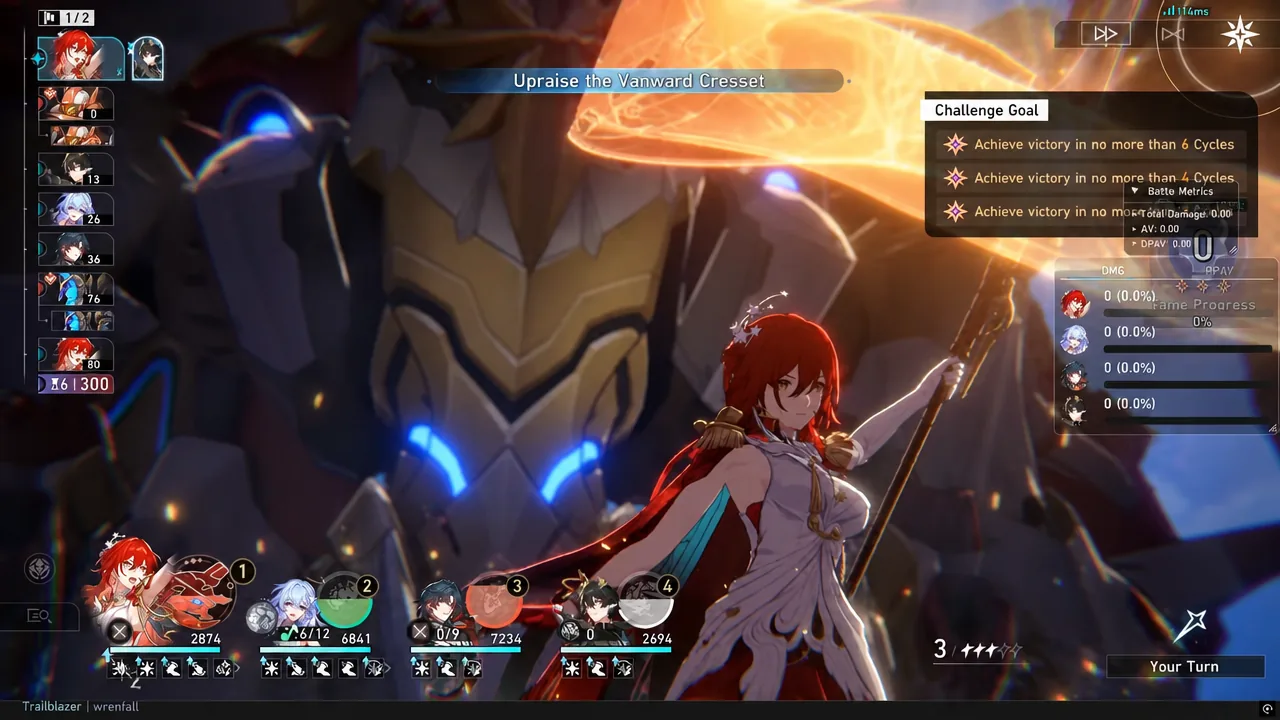
King in Check sits behind the three Knight stages, each of which needs its own team. You cannot reuse characters between Knights, and you cannot reuse their Light Cones or Relics either. Clear all three and the standard King in Check stage unlocks with Level 100 enemies, weakened enemy traits and a six-cycle limit.
| Rule | Effect |
|---|---|
| First cycle length | 300 Action Value, double the normal cycle, and it does not reset between waves |
| Middlegame Mayhem | From the third cycle onward, your team gains 50% final DMG at the start of each cycle, stacking |
| Arbitral Quadrant | You pick one of three buffs before the King stage begins |
| King in Check: Plight | Level 120 enemies, stronger traits, two-cycle limit |
| Star thresholds | Win in 6, 4 or 2 cycles |
Middlegame Mayhem is why a slow, methodical barrier-break run is still viable. If you cannot burst the boss down in two cycles, the stacking damage bonus makes cycles three and beyond dramatically stronger than your opener.
Confirming the clear and claiming rewards
The victory screen reports how many cycles you consumed and how many stars you earned, so you know instantly whether the run counted. Rewards themselves are collected from the Libra’s Gift and Mirror’s Gift menus back in the stage select lobby.
| Milestone | Reward |
|---|---|
| King stage, 1 star | Lone Stardust x100 and Interference Key x1 |
| King stage, 2 and 3 stars | Lone Stardust x100 each |
| Knight stages, 3 / 6 / 9 stars | Lone Stardust x200 and Self-Modeling Resin x1 at each threshold |
| Clearing King in Check: Plight | Counts as full Knight stars and a 0-cycle King clear |
The Interference Key at one star is the only genuinely functional prize, since it lets you lock a substat while crafting relics. Second and third stars are Lone Stardust and avatar frames, which reset at the end of the version. Chasing them is optional.
Why non-Elation runs stall out
Almost every failed attempt with this kind of team comes down to sequencing rather than raw stats.
- Spending Cipher’s or Mortenax Blade’s Ultimate during Wave 1, leaving nothing banked for Blood-Brain Barrier.
- Firing Himeko’s Ultimate into an intact barrier, which converts your biggest turn into a rounding error.
- Reaching the Phase II transition with no energy for a second barrier break.
- Letting Robin’s buff lapse before the burst lands, so the damage window is spent unbuffed.
Get the ordering right and the Elation requirement stops being a requirement. Strip, buff, burst, repeat at the phase change. The stage is designed to reward one specific archetype, but it does not actually forbid the others.