In Honkai: Star Rail, Anomaly Arbitration is a permanent endgame activity, and King in Check is its last stage. The 4.6 cycle, Return to Roots, concludes with Blood of the Fallen God: Yabuli, whose shield bars entry to phase two. Overcoming that barrier shapes the run, making Elation teams the clear leaders this rotation.
Quick answer: Yabuli’s shield shrugs off non-Elation hits and blocks phase two. An Elation follow-up team lands enough attacks each turn to shatter it and win inside the 2-cycle window, earning the final three stars.
Anomaly Arbitration: Return to Roots structure
The mode splits into three outer Knight trials and one central King piece on a chessboard. You build a separate team for each Knight, and clearing all three breaks the King’s guards and weakens the boss before you take a fourth team into King in Check. A full completion is worth 12 stars, three per stage.
Every stage runs two waves ending in a boss, and every stage shares the same four star conditions.
- Achieve victory in no more than 6 Cycles (base clear)
- Achieve victory in no more than 4 Cycles
- Achieve victory in no more than 2 Cycles
- Have no downed characters
Every stage has distinct enemy modifiers and boss vulnerabilities, which calls for three very different team setups.
| Stage | Trait | Boss | Weak to |
|---|---|---|---|
| Knight (I) | Hemovore | Alloy Mechatron: King Pom-Pom | Fire, Lightning, Imaginary |
| Knight (II) | Confinement+, Enrage | Pollux, Netherwing Husk | Wind, Quantum, Imaginary |
| Knight (III) | Lockdown | Harbinger of Death: Swarm Nightmare | Physical, Fire, Wind |
| King in Check | Hemovore, Perforation | Blood of the Fallen God: Yabuli | Ice, Quantum, Imaginary |
The three Knight trials that weaken the King
Knight (I): Hemovore and Alloy Mechatron: King Pom-Pom
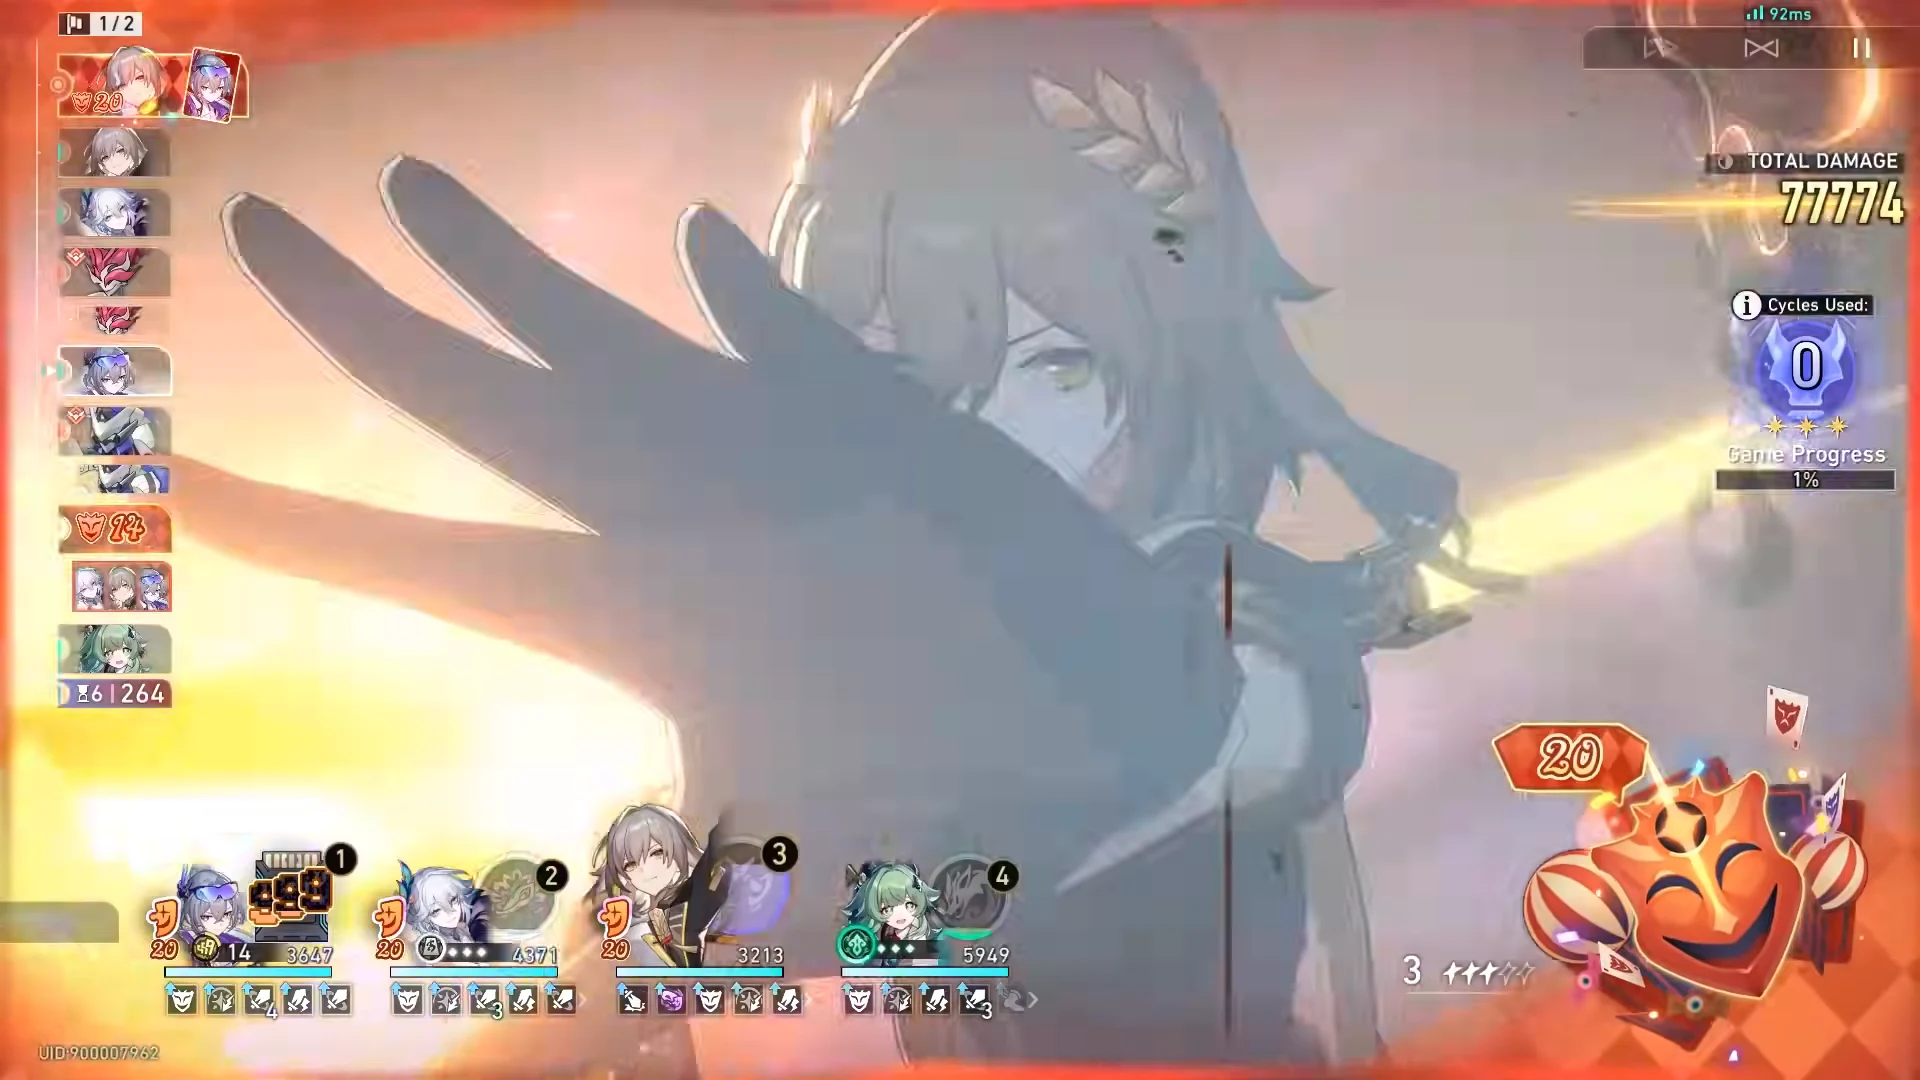
Hemovore drains 500 HP from each ally at the start of their turn, and the effect can be fatal, so sustain matters even in an offensive lineup. A showcase clear brought an Elation squad of Silver Wolf Lv.999, Yao Guang, the Trailblazer, and Huohuo against the Lv. 95 Alloy Mechatron King. Fire or Quantum damage that spreads across targets fits the mechanical wave here.
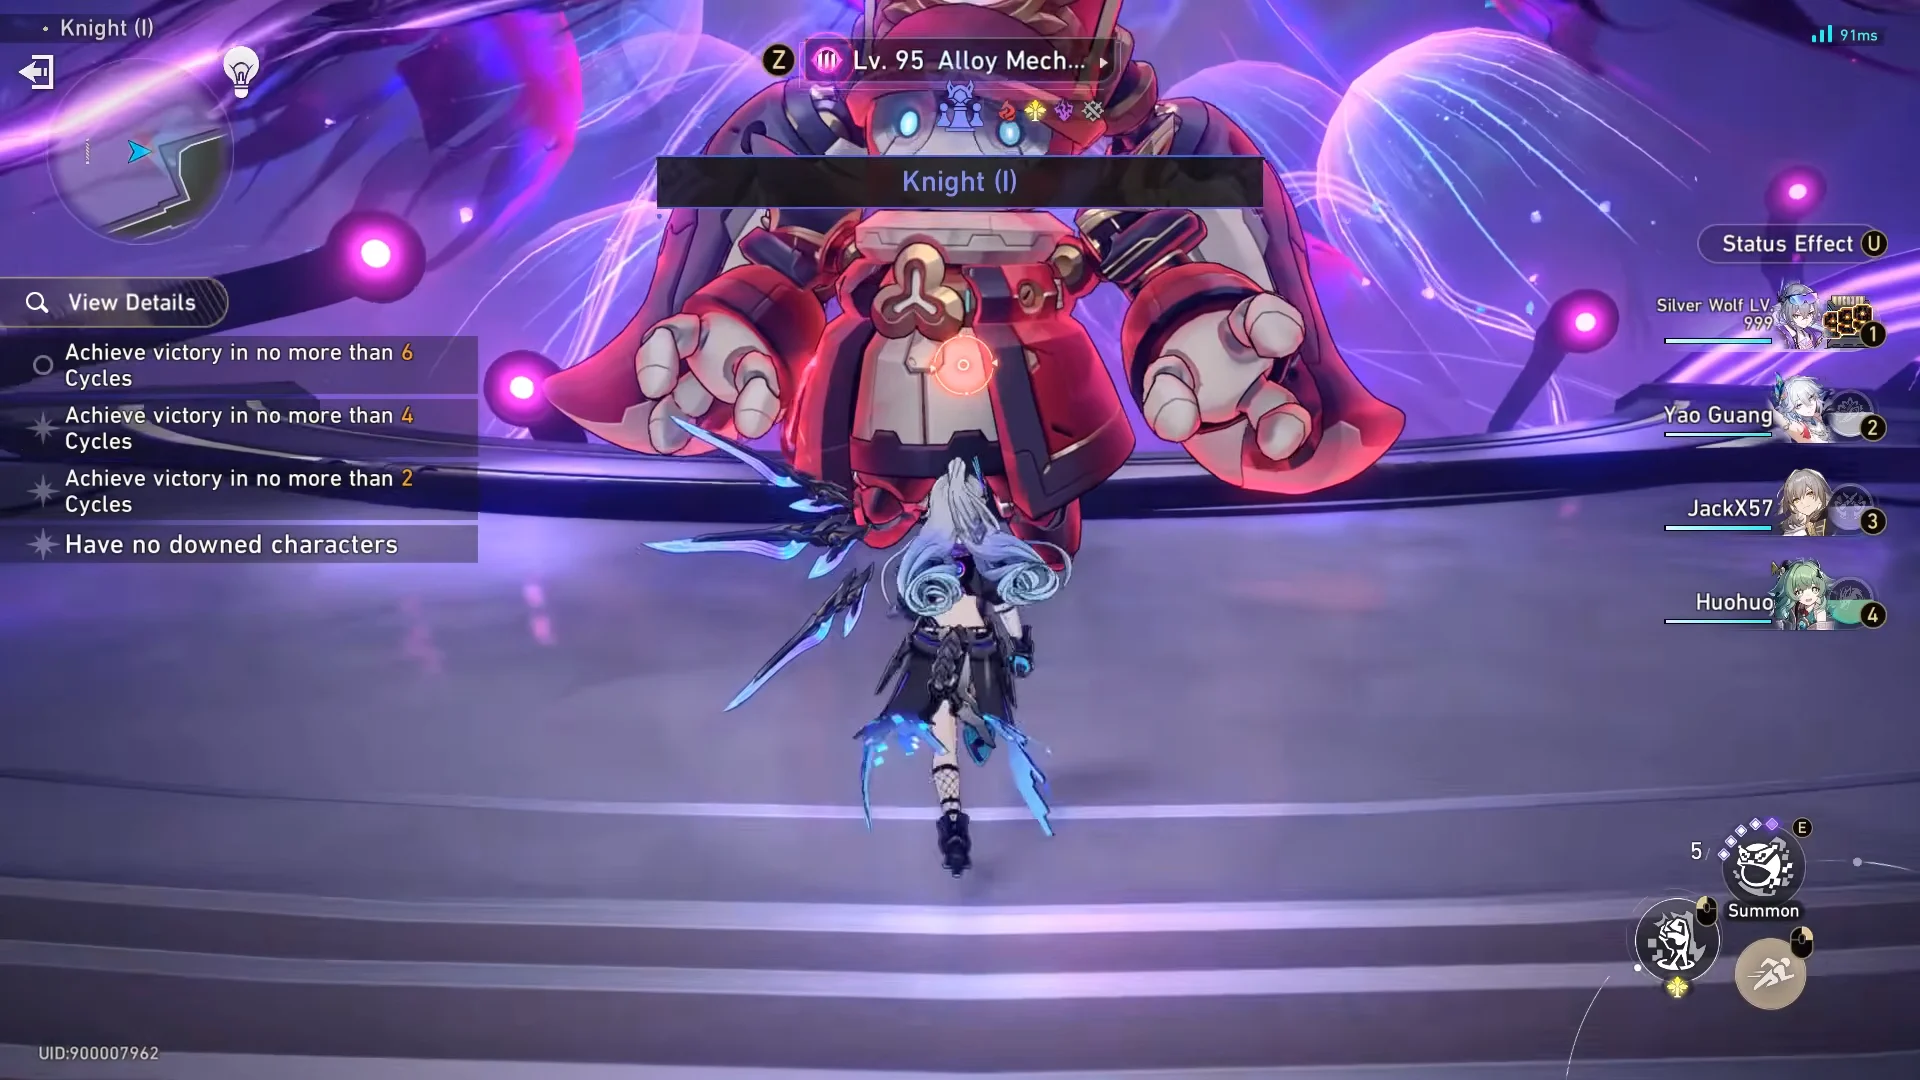
Wave one throws reinforcement automatons at the team, and the Elation core answers with dice and card mechanics that fire Aha Instant procs for stacked follow-up damage.
The second wave is Alloy Mechatron King: Pom-Pom itself. Its two-phase battle gives the team time to build punching stacks before unleashing bursts through Aha triggers.
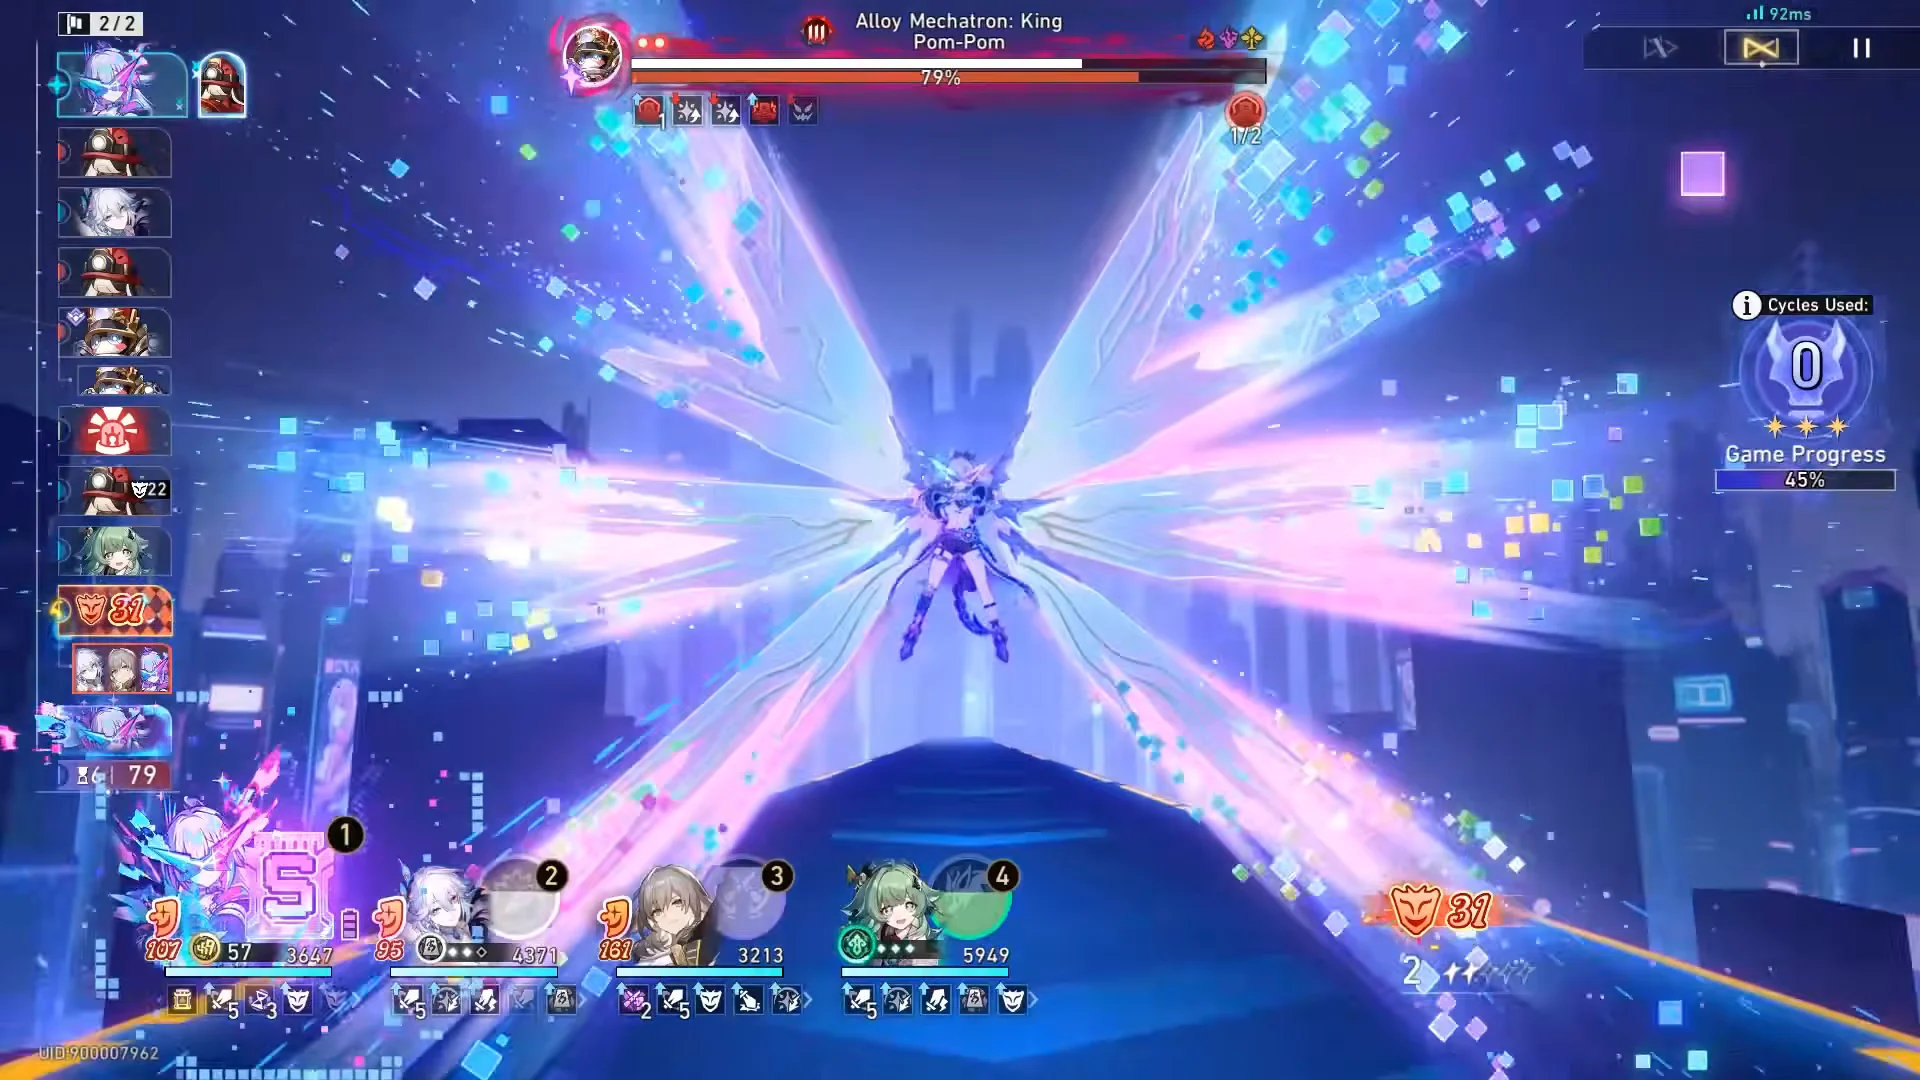
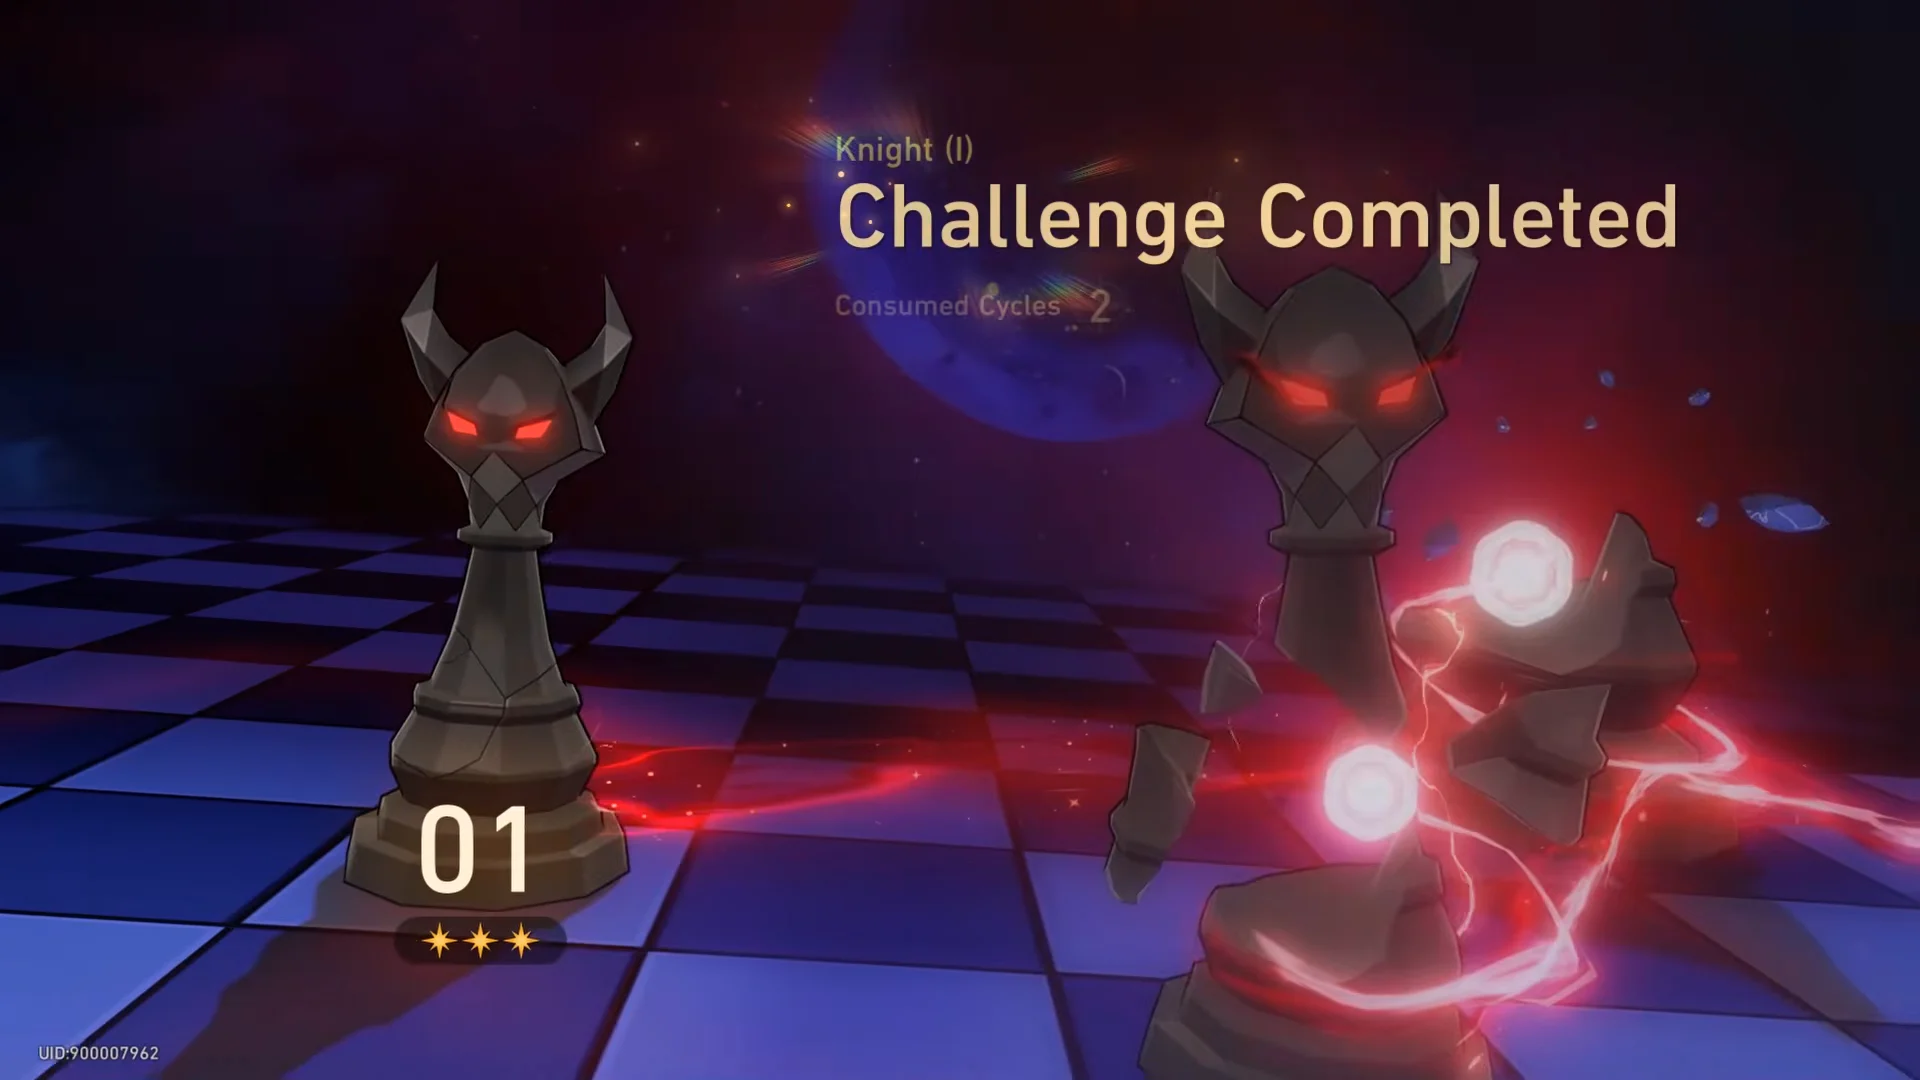
The run finished in two cycles for three stars, hitting the strictest cycle target on the stage.
Knight (II): Confinement+ and Pollux, Netherwing Husk
Knight (II) revolves around Confinement and Enrage, effects tied to Ultimate usage and damage reduction, and enemies also gain Speed after your allies use Ultimates. A Remembrance lineup of Castorice, Cyrene, Evernight, and Hyacine cleared the first wave of Daybreak Squadron mechs with true damage and memospite summons. Imaginary damage is especially effective here.
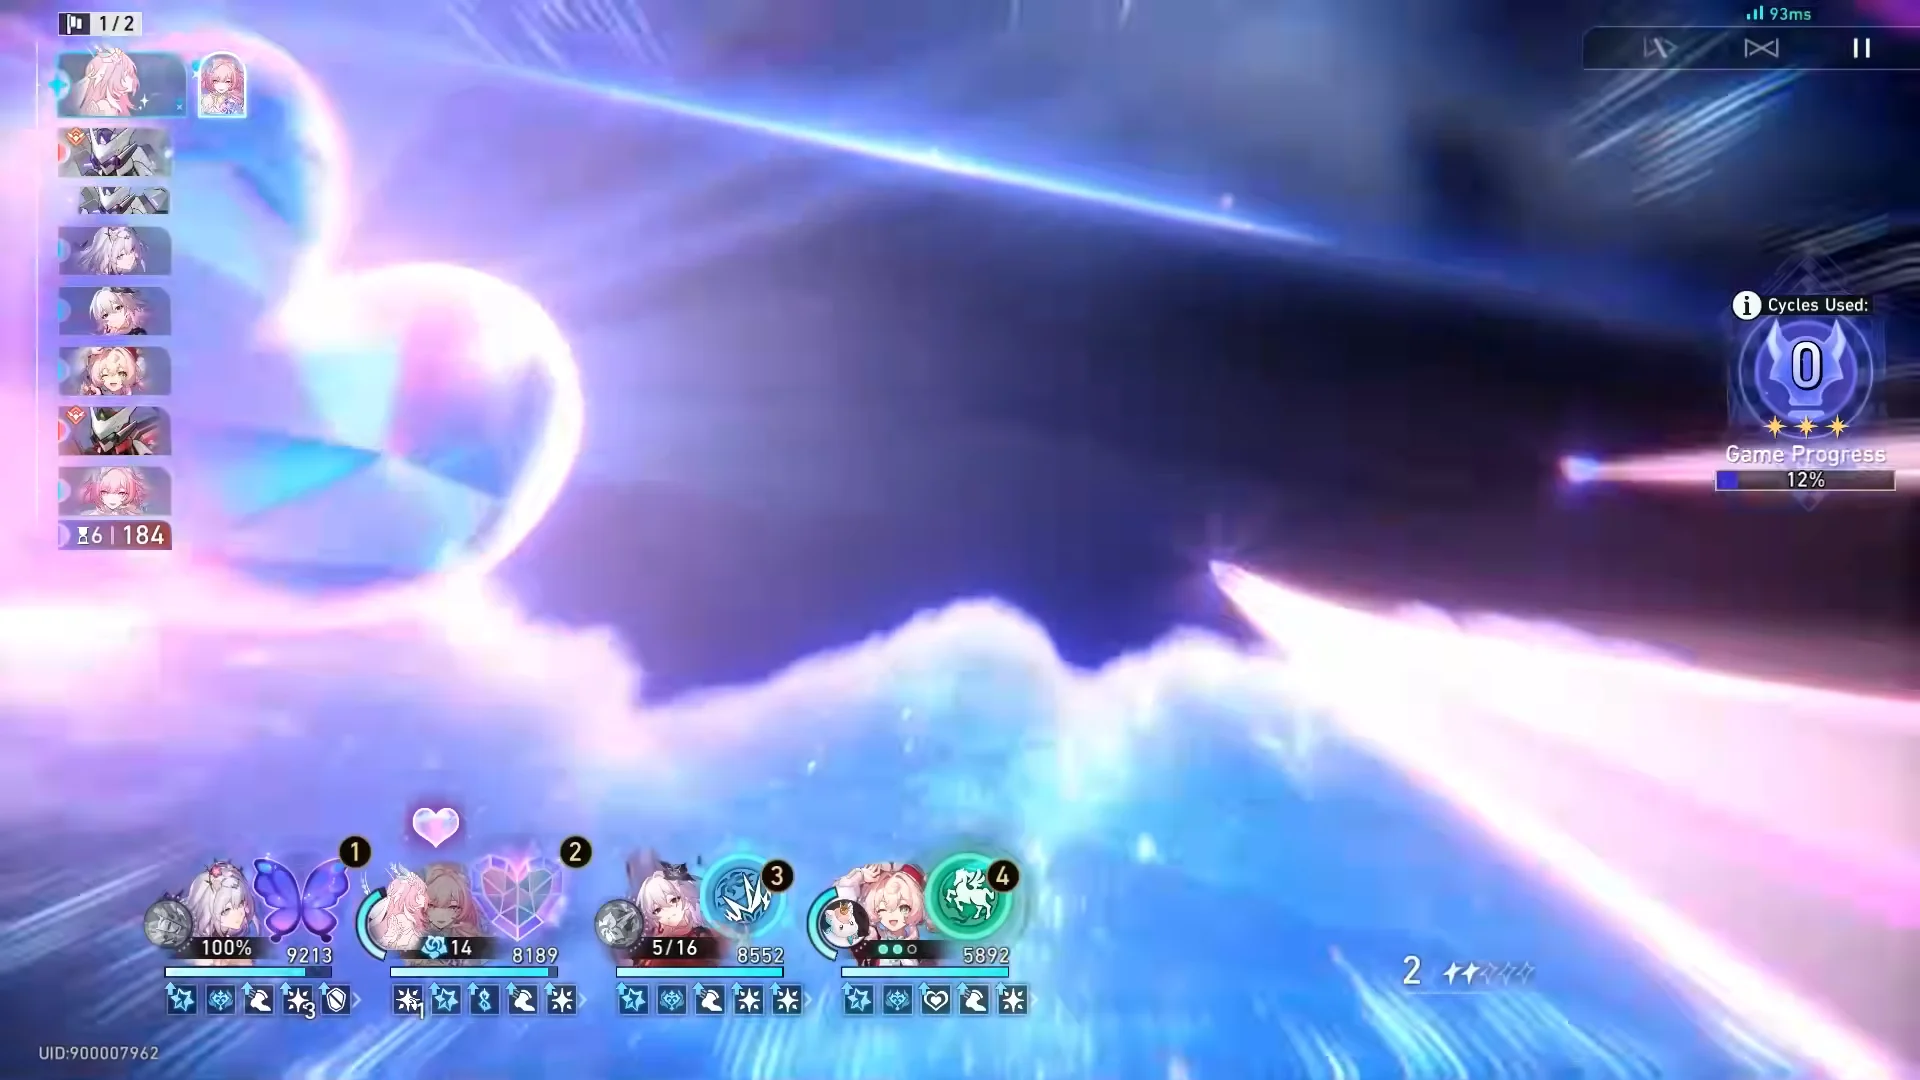
Wave two is Pollux, Netherwing Husk: Ferry of Souls, a multi-phase boss shattered by chaining Remembrance skills across its linked HP bars. Since Pollux is linked to its supporting targets, single-target and bounce attacks tend to perform best.
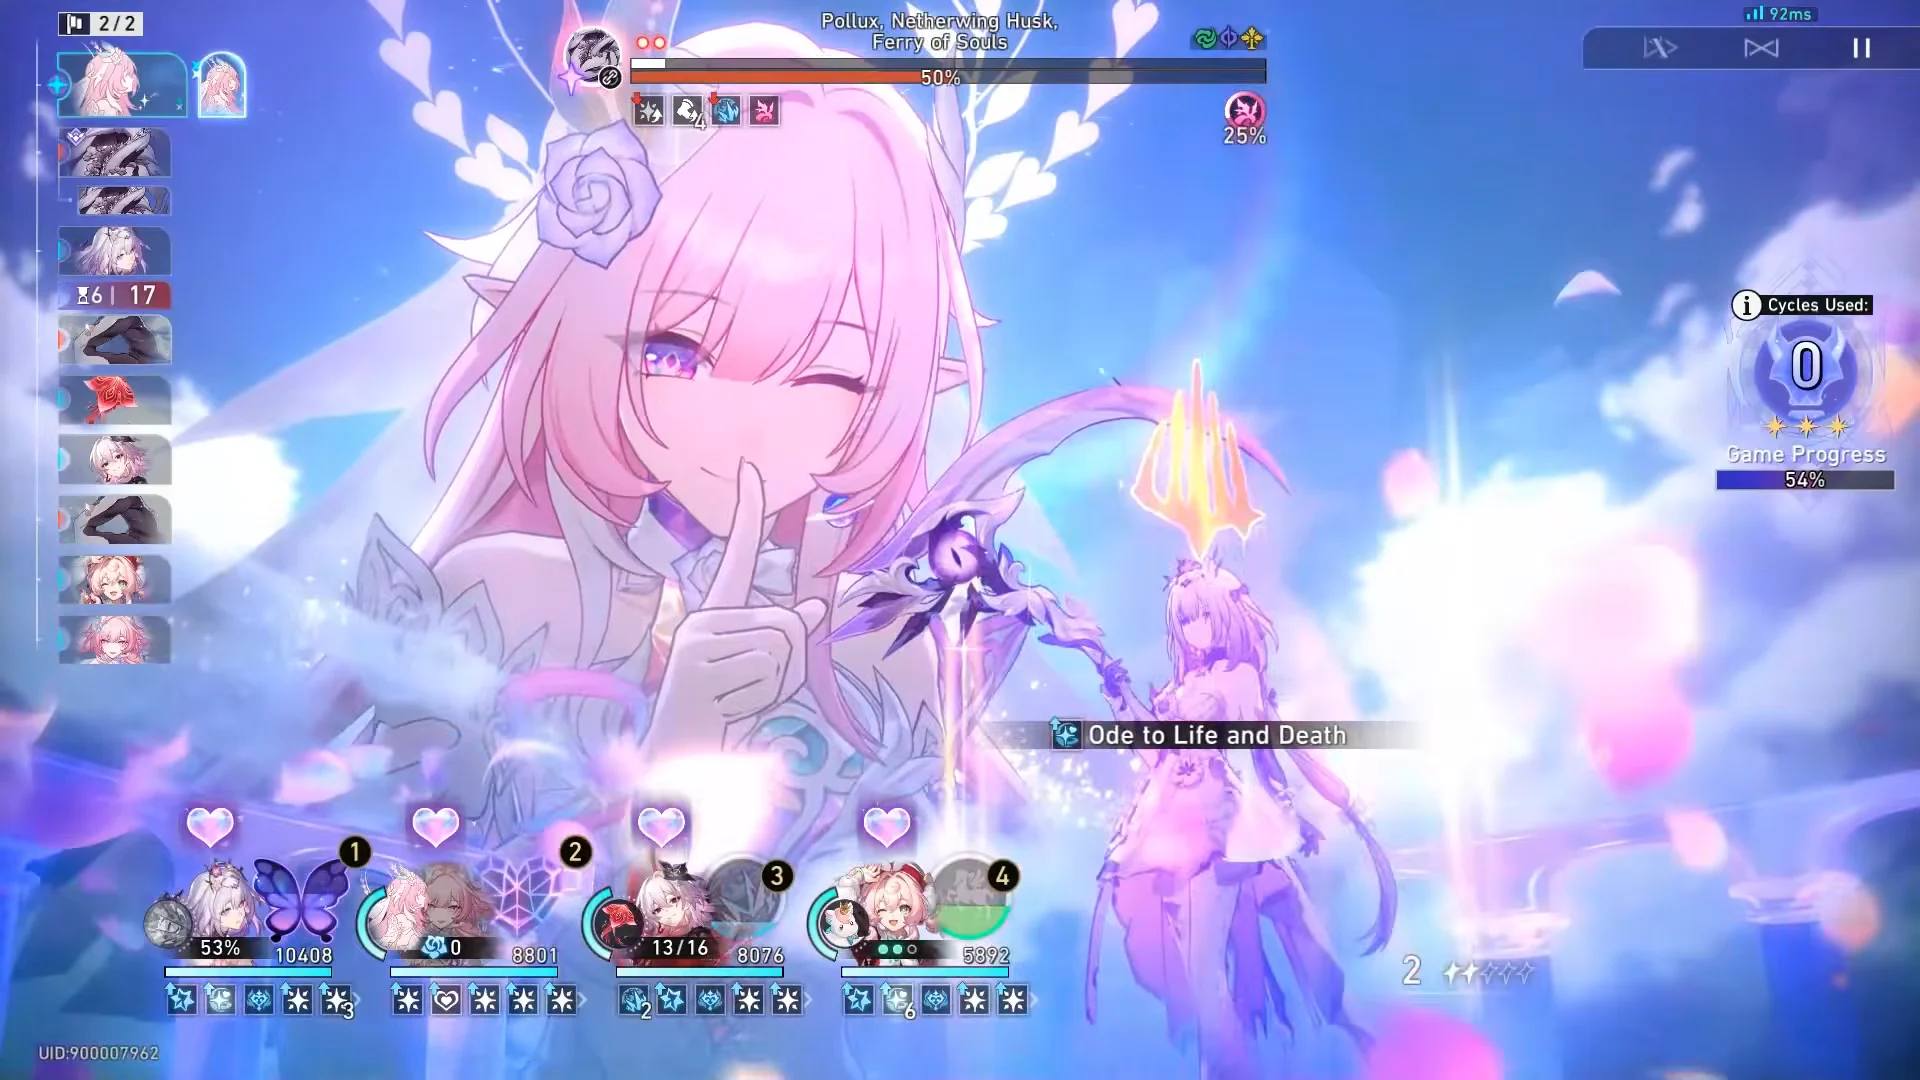
Because enemies speed up after each Ultimate, watch your Ultimate order rather than firing everything at once.
Knight (III): Lockdown and Harbinger of Death: Swarm Nightmare
Lockdown adds a stack every time an ally uses an attack. At six stacks the target enters Imprisonment for one turn and loses a fixed 20% of Energy. A team of Himeko – Nova, Robin – Summeretto, Sunday, and Dan Heng – Permansor Terrae opened against the Lv. 95 Harbinger of Death, with Quantum and Ice units that spread damage recommended for the stage.
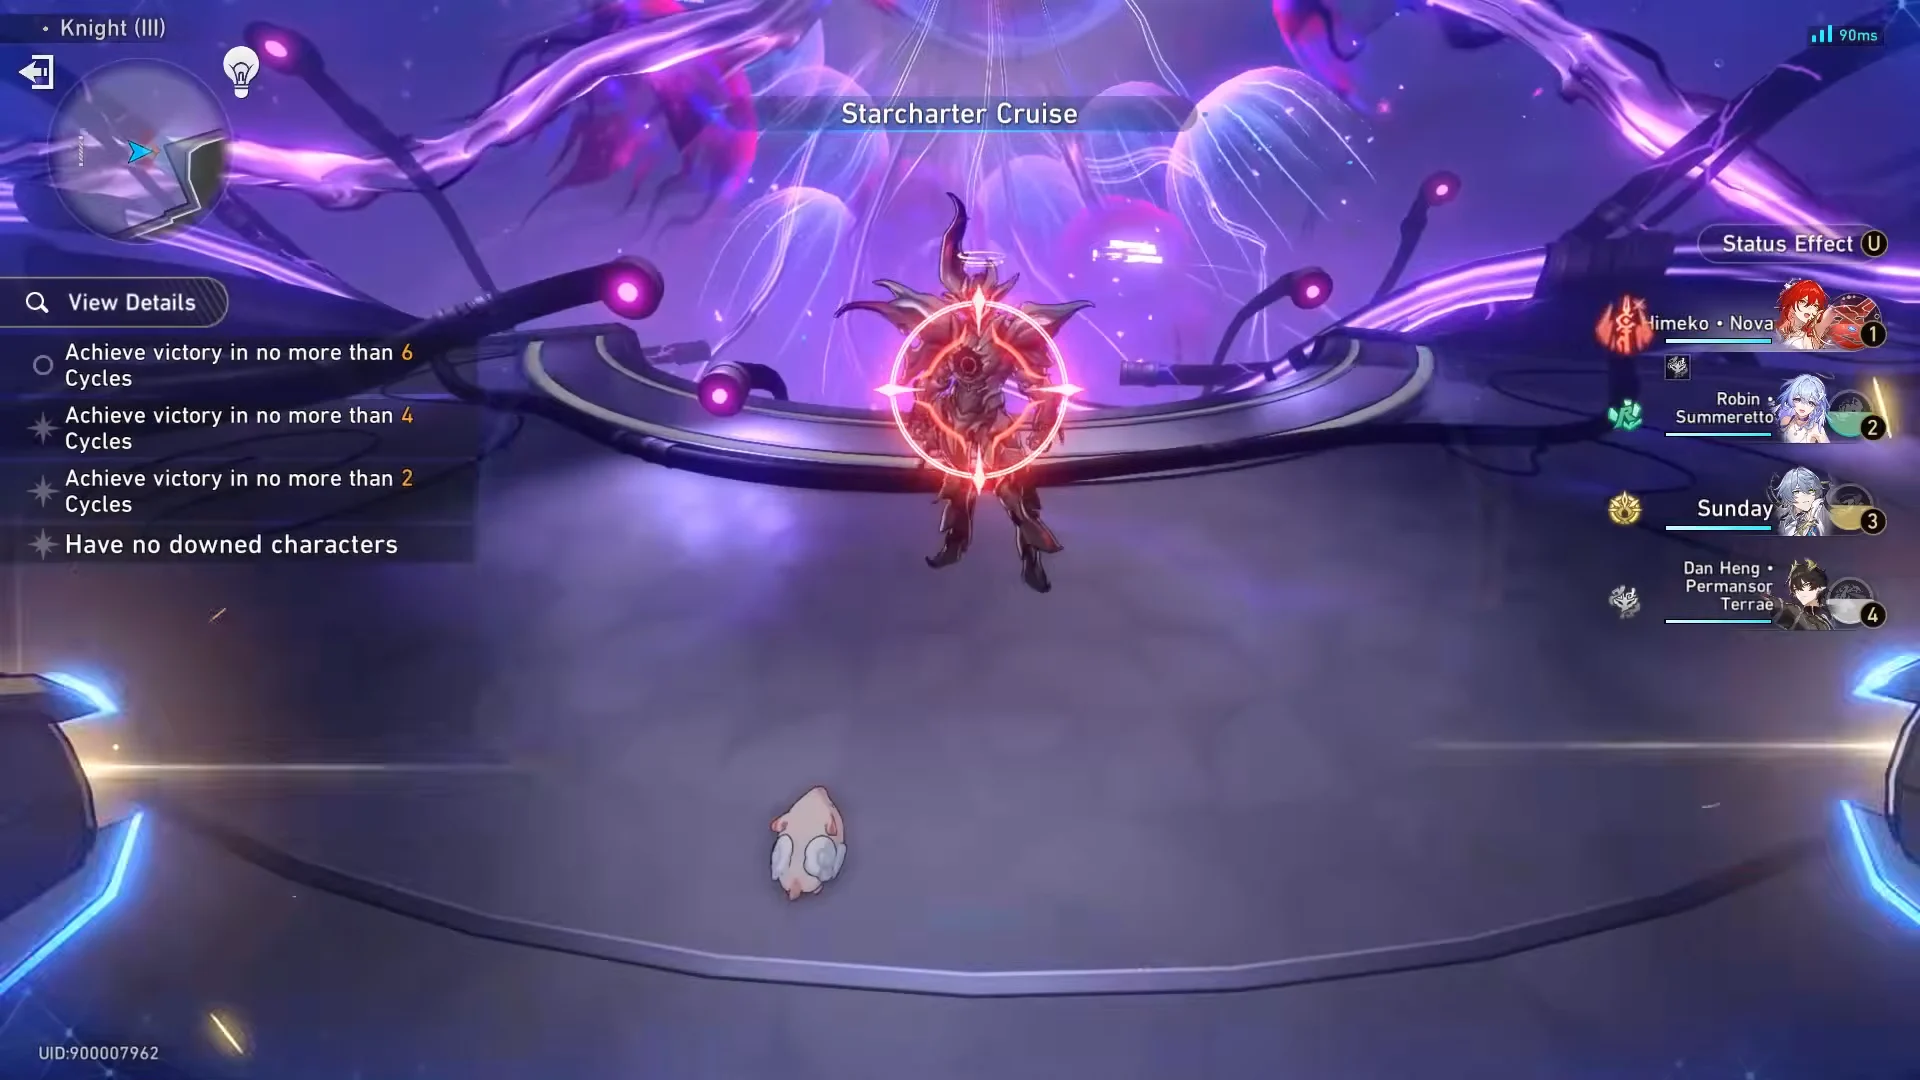
In the first wave, Cyclonic Swarm Mother and its automaton allies face the team, with Sunday, Robin, and Dan Heng providing buffs. Take out the small adds: doing so weakens the boss and prevents its HP recovery.
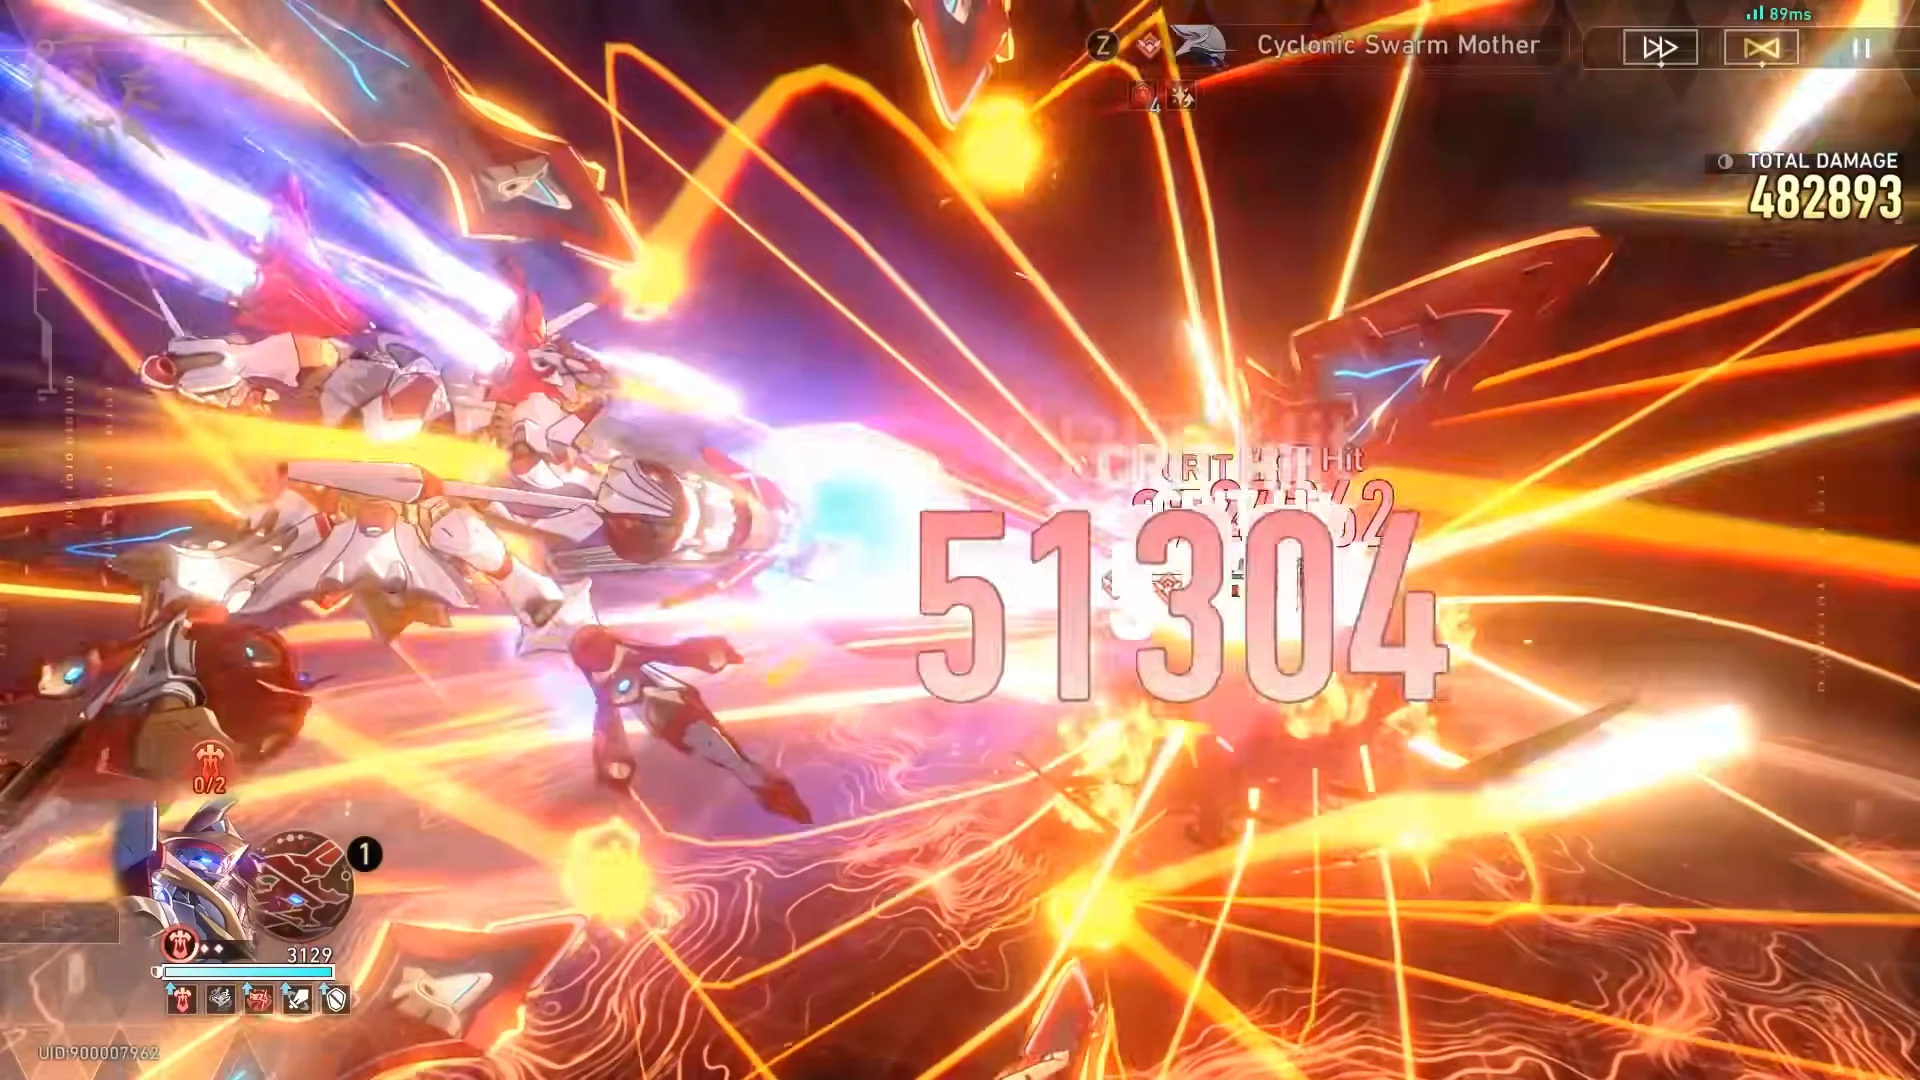
Wave two floods Harbinger of Death: Swarm Nightmare with coordinated multi-target fire damage.
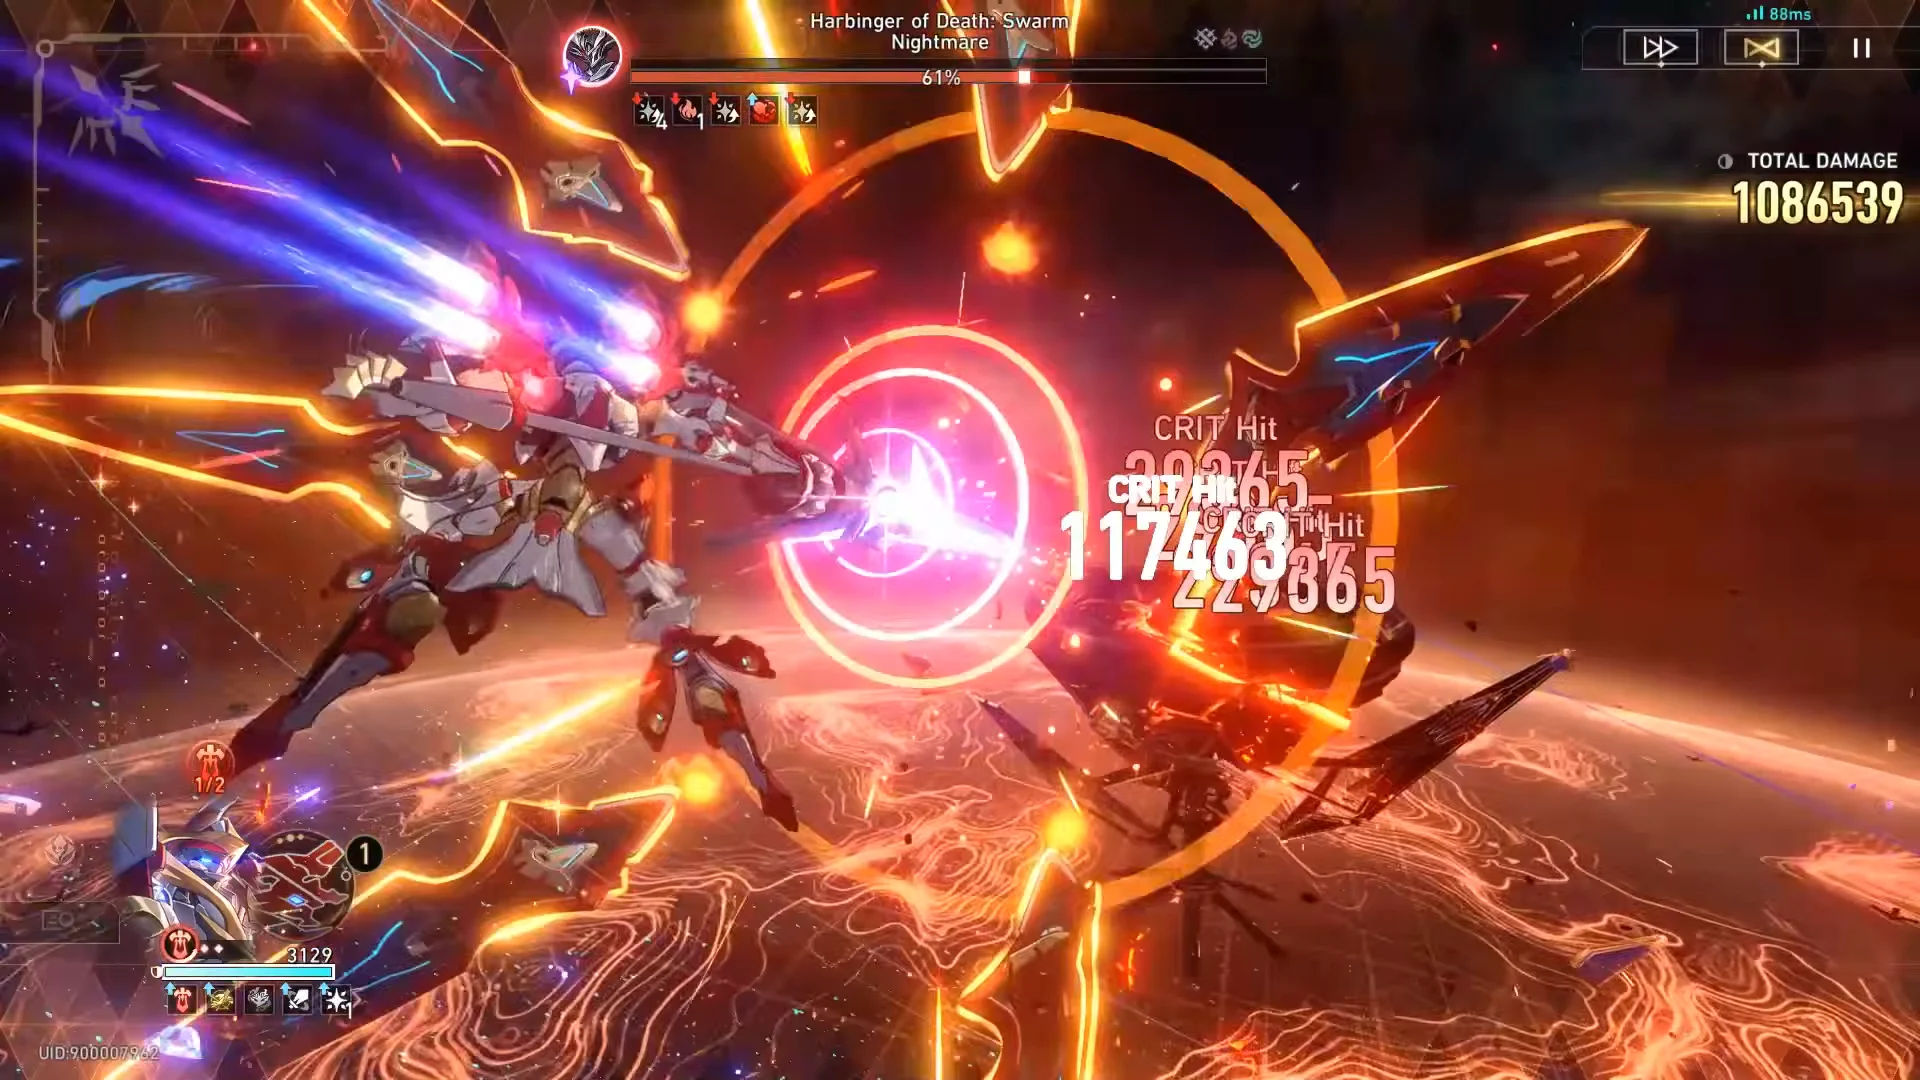
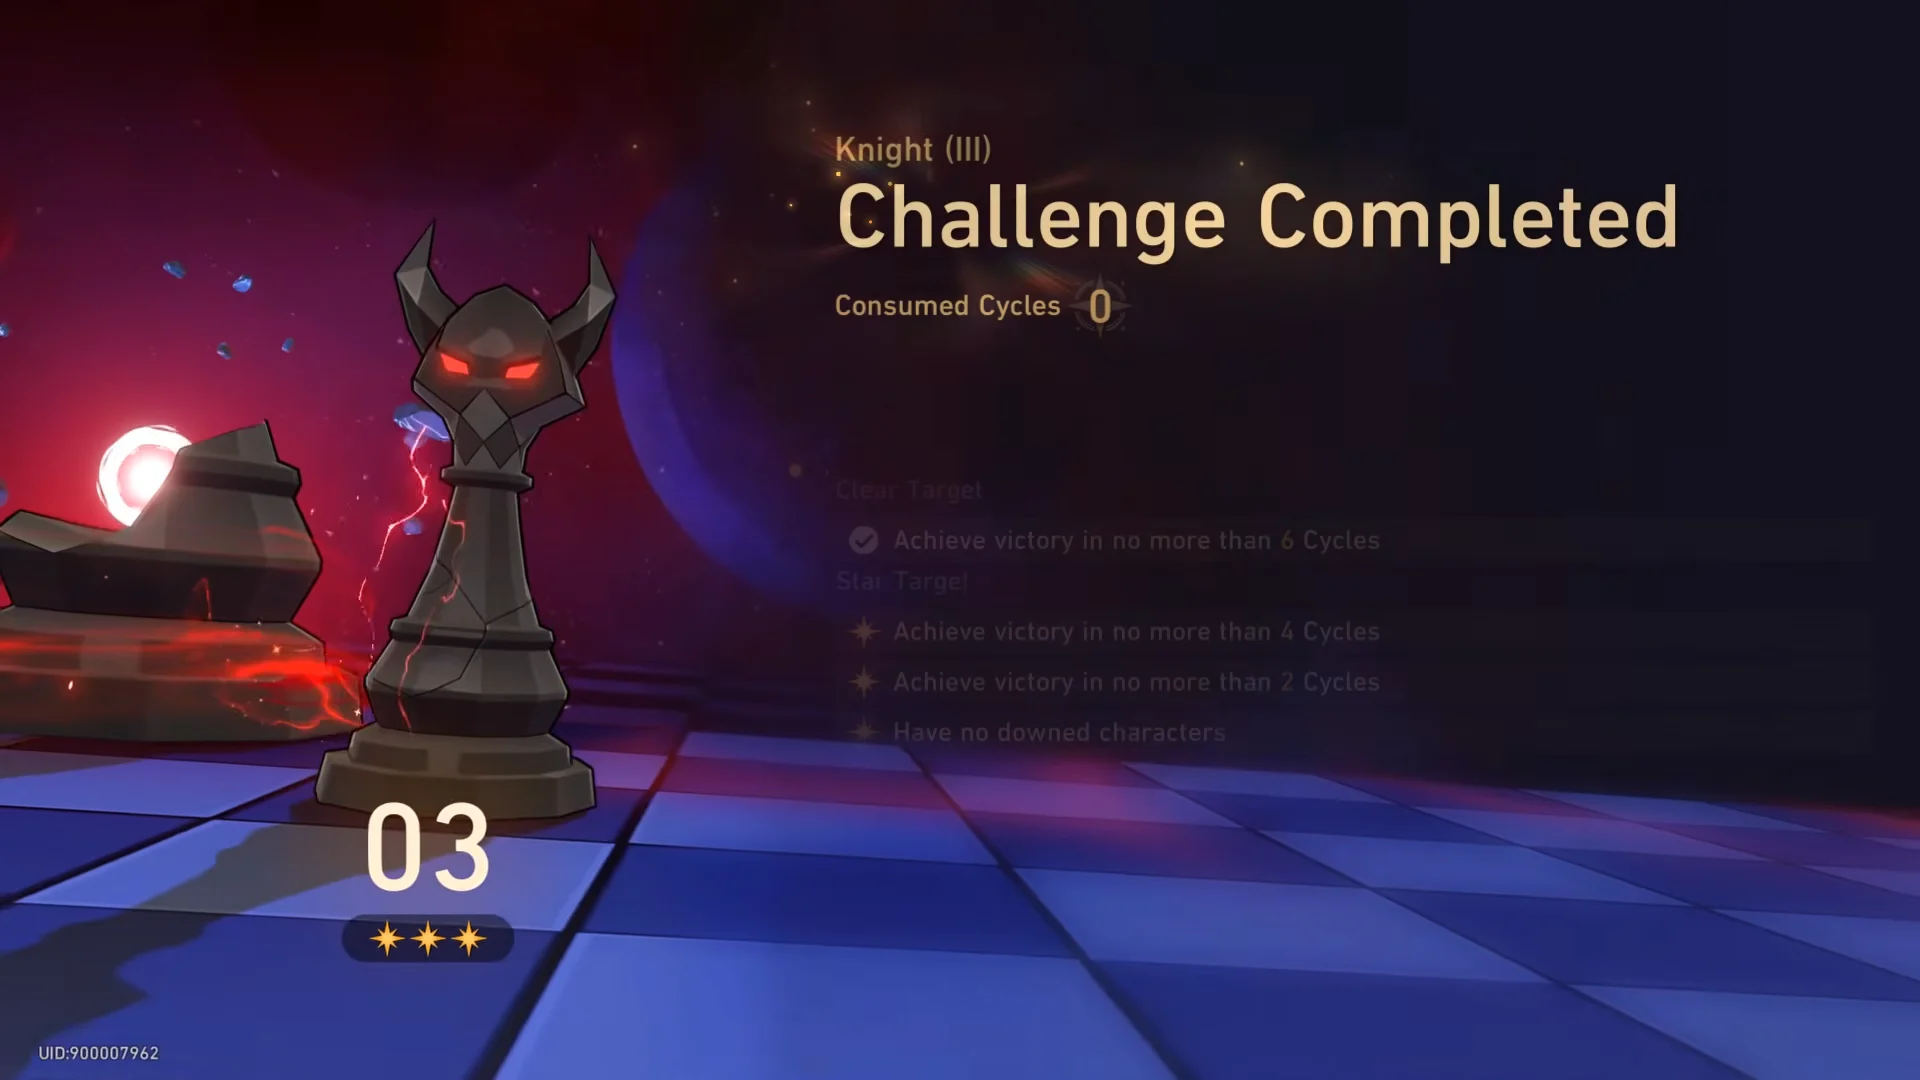
The stage ended in zero cycles for three stars, fully breaking the third Knight and weakening the King on the board.
King in Check: Yabuli’s shield and Perforation
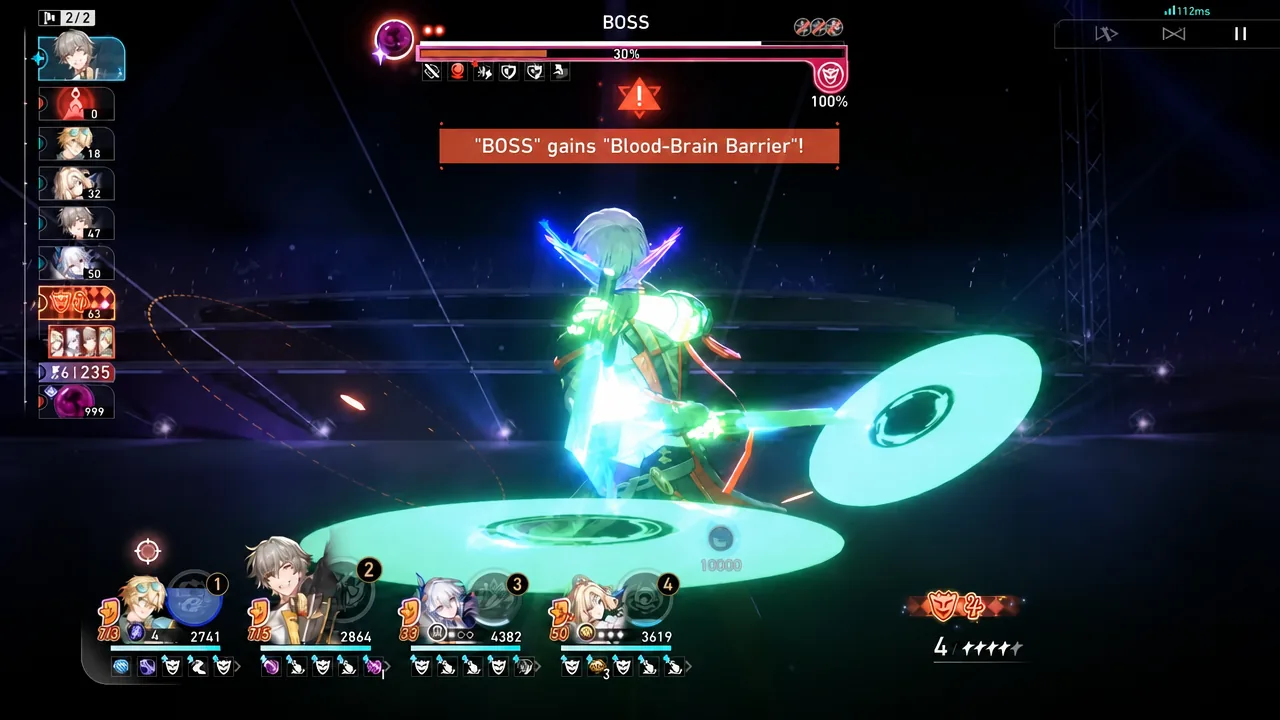
The final fight against the Lv. 100 Blood of the Fallen God: Yabuli carries two traits. Hemovore drains ally HP, and Perforation raises the enemy’s damage by 200% against any ally who is holding a Shield. On top of that, a shield covers the boss and blocks access to its second phase. While the shield holds, attacks deal greatly reduced damage to Yabuli.
Prioritize landing hits often instead of relying on one massive strike. A steady stream chips away at the barrier, while a single huge nuke barely moves it. Once the shield falls, Yabuli enters its last phase and takes full damage, making that your best chance to burst. Without enough attacks, the cycle limit can expire before the fight is over.
Lighthouse-type enemies also appear, draining maximum HP, restoring the boss, and supporting its control mechanics; leaving them on the field can drag out the battle. One option before the fight is the Arbitral Quadrant buff Ecstasy Night, which gives the character in the first position 50% more Elation damage.
Perforation makes shielding allies risky, so time your sustain’s shield application carefully around the boss’s active turns.
Elation teams that break the King in Check shield
You can get past the shield gate consistently with either of two approaches: overwhelm the boss with follow-up attacks, or lower its DEF to make each strike hit harder. Either route leads to the same Battle Over screen.
| Team | Members |
|---|---|
| Elation follow-up core | Aventurine · Waveflair or Silver Wolf Lv.999 (carry), Yao Guang, Pearl, Elation Trailblazer |
| DEF-shred shell | Aventurine · Waveflair, Mortenax Blade, Ashveil, Hyacine |
The follow-up core wins by volume. Every ally attack grants the carry Fervor and Punchlines, so the Elation Skill triggers sooner and ricochets across the boss, while Yao Guang’s follow-up rotations wear the shield down as the phase-two transition approaches. Pearl supplies Elation-based sustain, which is what lets you field an all-Elation team without dropping a dedicated healer. The sheer number of hits is what brings the barrier down.
The DEF-shred shell relies less on follow-up volume. Ashveil’s teamwide DEF Shred raises the damage dealt to the shield and to Yabuli behind it, Mortenax Blade adds a second heavy damage source, and Hyacine keeps the team alive through phase-two pressure. It trades hit count for heavier individual strikes and DEF reduction to reach the same gate.
Aventurine · Waveflair anchors both comps, so his stats come first. A key Trace turns speed above 160 into Elation damage, which makes 160 SPD the breakpoint to hit before stacking CRIT for the follow-ups.
| Stat | Value |
|---|---|
| HP | 2,913 |
| ATK | 1,927 |
| DEF | 1,503 |
| SPD | 180 |
| CRIT Rate | 90.3% |
| CRIT DMG | 182.6% |
| Light Cone | Summer Rides the Surf |
Summer Rides the Surf is his signature Light Cone, providing CRIT Rate along with Speed and Elation damage bonuses when the Elation Skill activates; it therefore ranks first on both sheets. If a King in Check attempt gets stuck, the shield is usually to blame: the team may be making too few attacks per turn or applying too little DEF reduction, rather than dealing insufficient raw damage.
E0S0 Pearl and the powercreep question
The headline detail from the full 12-star clear is Pearl’s investment level. She anchors the King in Check team at E0S0, meaning zero Eidolons and the free four-star event Light Cone Elation Brimming With Brilliance at Superimposition 5. Her role is sustain and Elation support, not raw damage, and she performs it without any pulled duplicates or a signature cone.
Her build leaned on a 4-piece Dreamlit Actor set with a 2-piece Sprightly Vonwacq ornament, reaching 166 SPD, 2,918 DEF, and 124.4% Energy Regeneration Rate. Paired with Silver Wolf Lv.999, Yao Guang, and the Trailblazer, that setup cleared Yabuli in two cycles for the final three stars.
That is the case people point to when they ask whether the rotation eased up. The King in Check boss carries a lower HP pool than some earlier versions of the encounter, and Mega Pom-Pom in Knight (I) also drops its old damage-reduction effect, making both fights more forgiving once their mechanics are understood. An Elation support running no Eidolons and a free Light Cone still holding up a full clear suggests the barrier to 12 stars sits more on team composition and mechanics than on deep vertical investment.
Rewards, medal, and reset
A completion screen for each stage lists the cycles used and stars earned. King in Check concludes with a Battle Over screen displaying your star rating. Clear the entire board to receive the Anomaly Arbitration medal; earning all 12 stars grants the complete reward set.
- Lone Stardust currency (600, 300, 200, and 100 tiers)
- Self-Modeling Resin x2
- Interference Key x1
- A time-limited event avatar frame, available until November 11, 2026
Anomaly Arbitration is a permanent mode. Its rotation resets on 2026/09/30 at 10:00 server time, with a new rotation every six weeks; resets always fall on a Wednesday after a version update. When a phase changes, progress is erased and the enemy roster is replaced, so teams that cleared Return to Roots will need to be rebuilt for the next group of Knights and a new King.