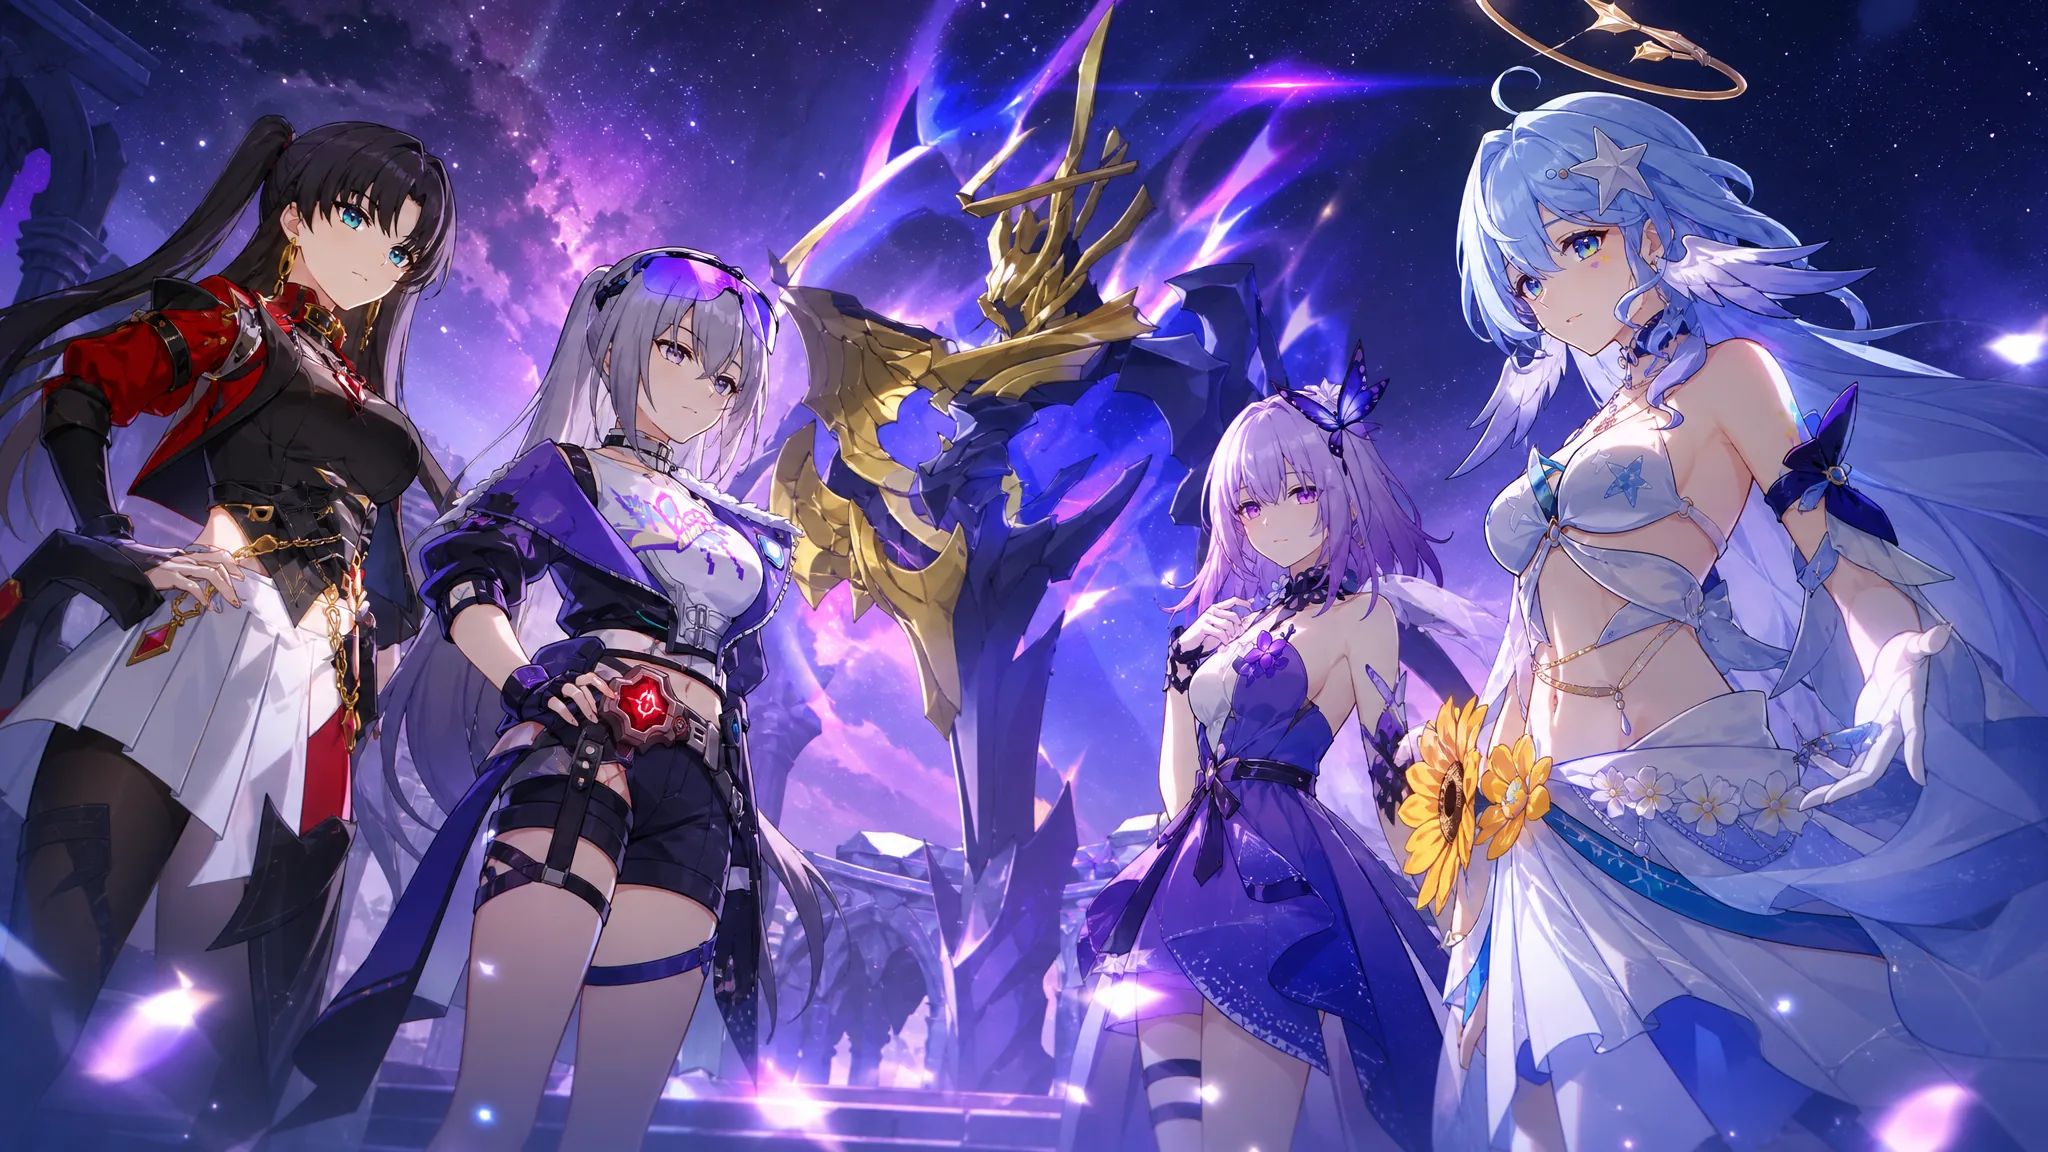
Anomaly Arbitration’s 4.5 phase, “Return of the Legion,” runs from August 26, 2026 through an expected end date of September 30, 2026. It keeps the same shape as before, with three separate Knight trial stages that each lock out your characters from the others, followed by the King in Check final fight. Clearing the three Knights lowers the investment needed for King in Check, so treat them as the setup for the boss.
Quick answer: Bring Fire/Quantum to Knight 1, Imaginary to Knight 2, and Ice/Quantum to Knight 3. For King in Check, use an Ice/Lightning/Quantum team and equip the King buff that matches your DPS. Clear all three Knights first to reduce King in Check difficulty from around E6 down to E0-E2 territory.
How the mode is structured and when it resets
Anomaly Arbitration is a permanent endgame mode. To open it, you need full-star records in Memory of Chaos Stage 12, Pure Fiction Stage 4, and Apocalyptic Shadow at Difficulty 4. These can be done across different versions, so you don’t need to finish them in one patch.
A new phase drops every six weeks and lasts the same length. Resets land on a Wednesday after a version update maintenance. The current phase reset at 2026/08/26, 10:00 server time.
You form three teams for the three Knight stages, and characters cannot be reused between them. Once all three are cleared, you pick freely for the final stage. King in Check hits much harder than the Knights, so save your strongest units for it. There is also a harder King in Check: Plight variant with tougher versions of the same stage effects.
Knight 1: Fire and Quantum against layered damage reduction
Knight 1 recommends Fire and Quantum characters. Two stage effects shape the fight. Unwavering means enemy Toughness cannot be reduced and Break DMG taken is cut by 50%, so a pure Break plan is weak here. Scales gives enemies 20 stacks that each reduce their damage taken by 2%. They lose one stack per hit, and the stacks reset during boss phase transitions.
Because Scales rewards frequent hits, teams that attack many times peel stacks off fast and ramp their own damage. The stack reset on phase change means you start the boss half fresh, so plan your biggest burst for after the transition.
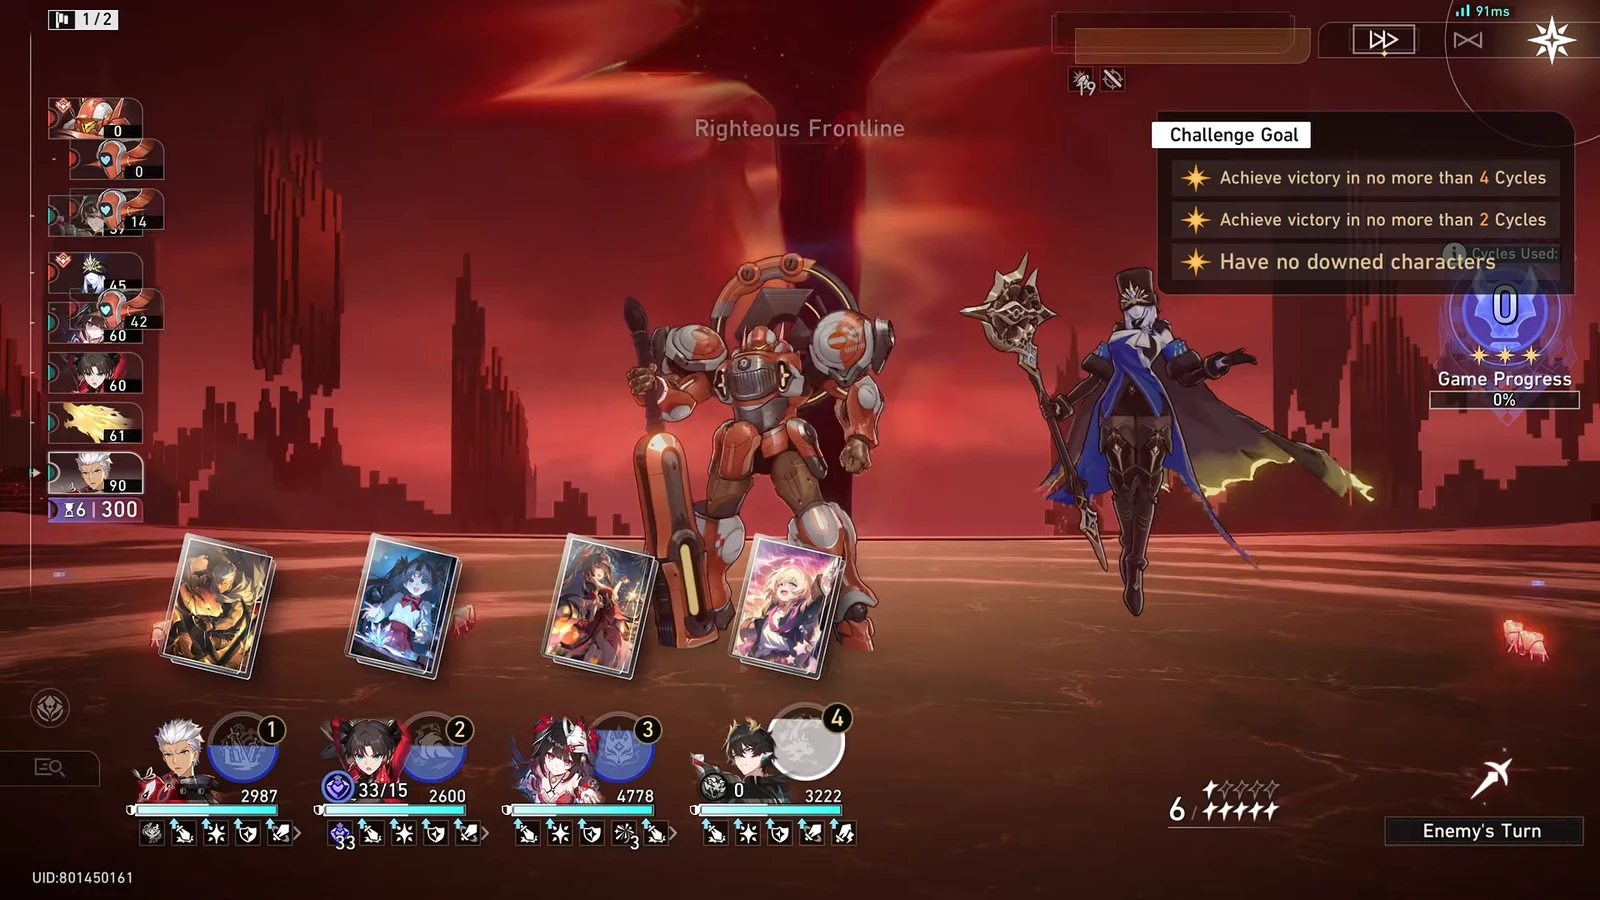
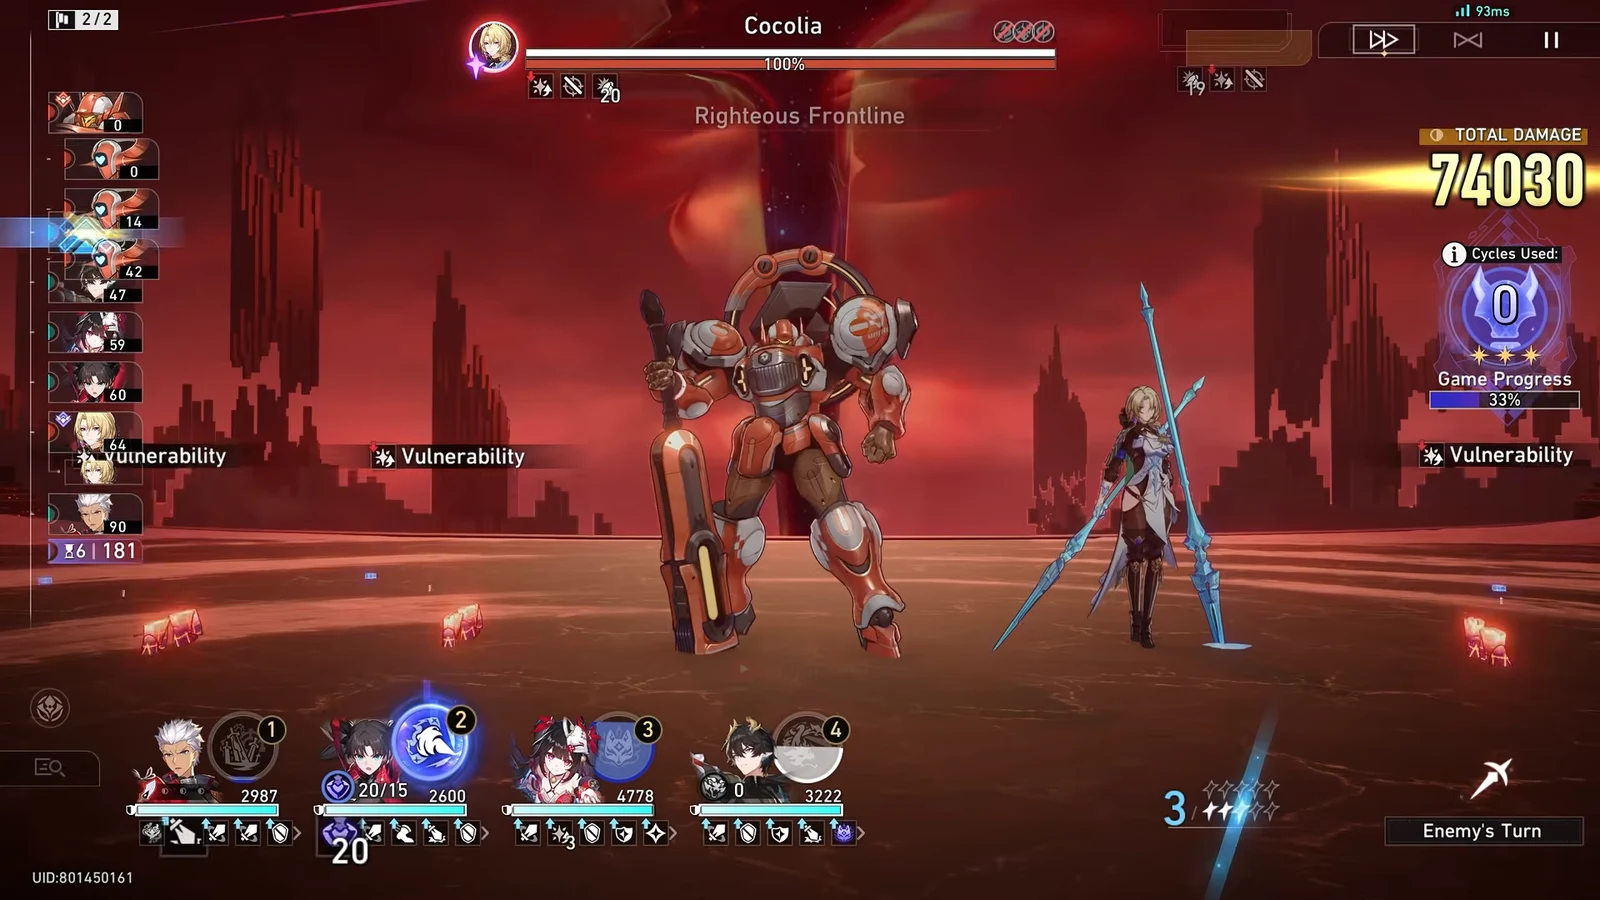
The wave 2 boss is Cocolia at Lv. 95. Chaining ultimates and skill attacks after the phase transition lets a well-built team close the fight in a single cycle.
| Team | Members |
|---|---|
| Break DPS | Mortenax Blade, Ashveil, Tribbie, Hyacine |
| Himeko • Nova DPS | Himeko • Nova, Sparkle, Tribbie, Dan Heng • Permansor Terrae |
| Archer DPS | Archer, Rin Tohsaka, Sparkle, Dan Heng • Permansor Terrae |
| Acheron DPS | Acheron, Mortenax Blade, Welt, Hyacine |
Knight 2: Imaginary damage and the crit falloff problem
Knight 2 recommends Imaginary characters. The stage effect is Flow Break. Each time allies attack an enemy target, its DMG taken drops by 2% and CRIT DMG taken drops by 4%, stacking up to 10 times. That effect drops by 5 stacks when the enemy receives a Follow-Up ATK or when Aha Instant ends.
The practical result is that pure crit teams feel strong at the opening and then slow down as the enemy soaks up stacks. Damage over time and Break profiles don’t care about the crit reduction, which is why they stay smooth here. If you want to run crit, pick your single heaviest hitter and front-load the damage before the stacks pile up.
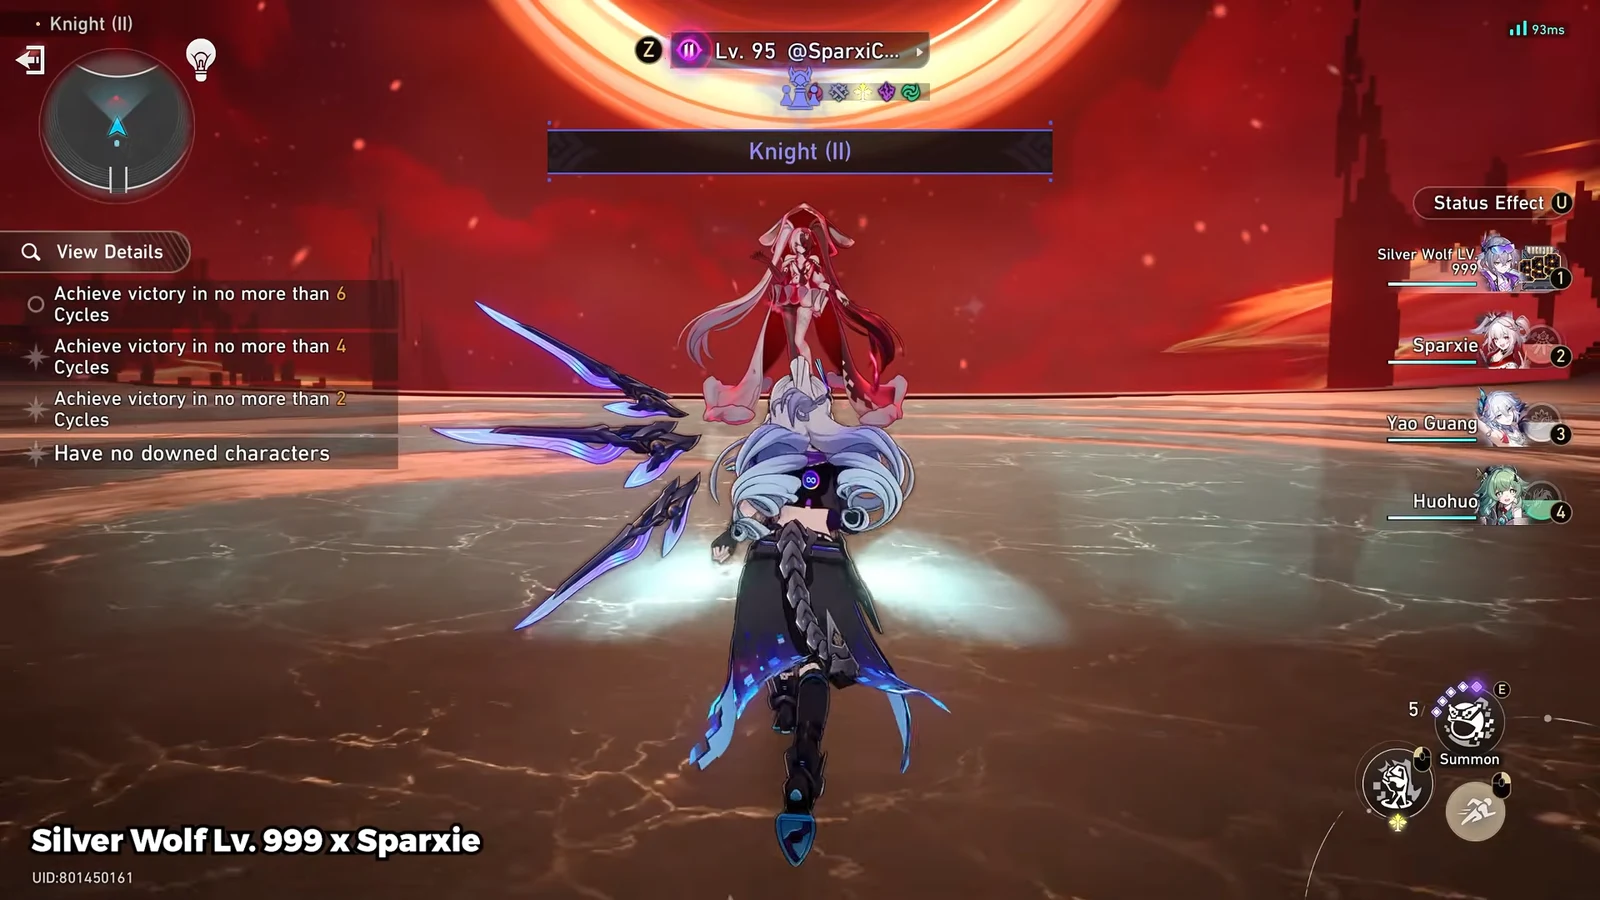
The wave 2 boss is Sparxie at Lv. 95. A Silver Wolf and Sparxie Follow-Up core, paired with Yao Guang and Huohuo, can chain ultimates hard enough to close this in zero cycles.
| Team | Members |
|---|---|
| Silver Wolf DPS | Silver Wolf LV.999, Sparxie, Yao Guang, Huohuo |
| Evanescia DPS | Evanescia, Yao Guang, Elation Trailblazer, Huohuo |
| Phainon DPS | Phainon, Cerydra, Cyrene, Dan Heng • Permansor Terrae |
| Firefly DPS | Firefly, Fugue, The Dahlia, Lingsha |
Knight 3: Ice and Quantum with a shared damage reduction
Knight 3 recommends Ice and Quantum characters. The stage effect is Joint Forces. Enemy targets take 60% less damage, but that reduction shrinks by 20% for each ally on the field beyond four. Teams that field memosprites or extra summoned allies whittle the reduction down, which is why Remembrance cores do well here.
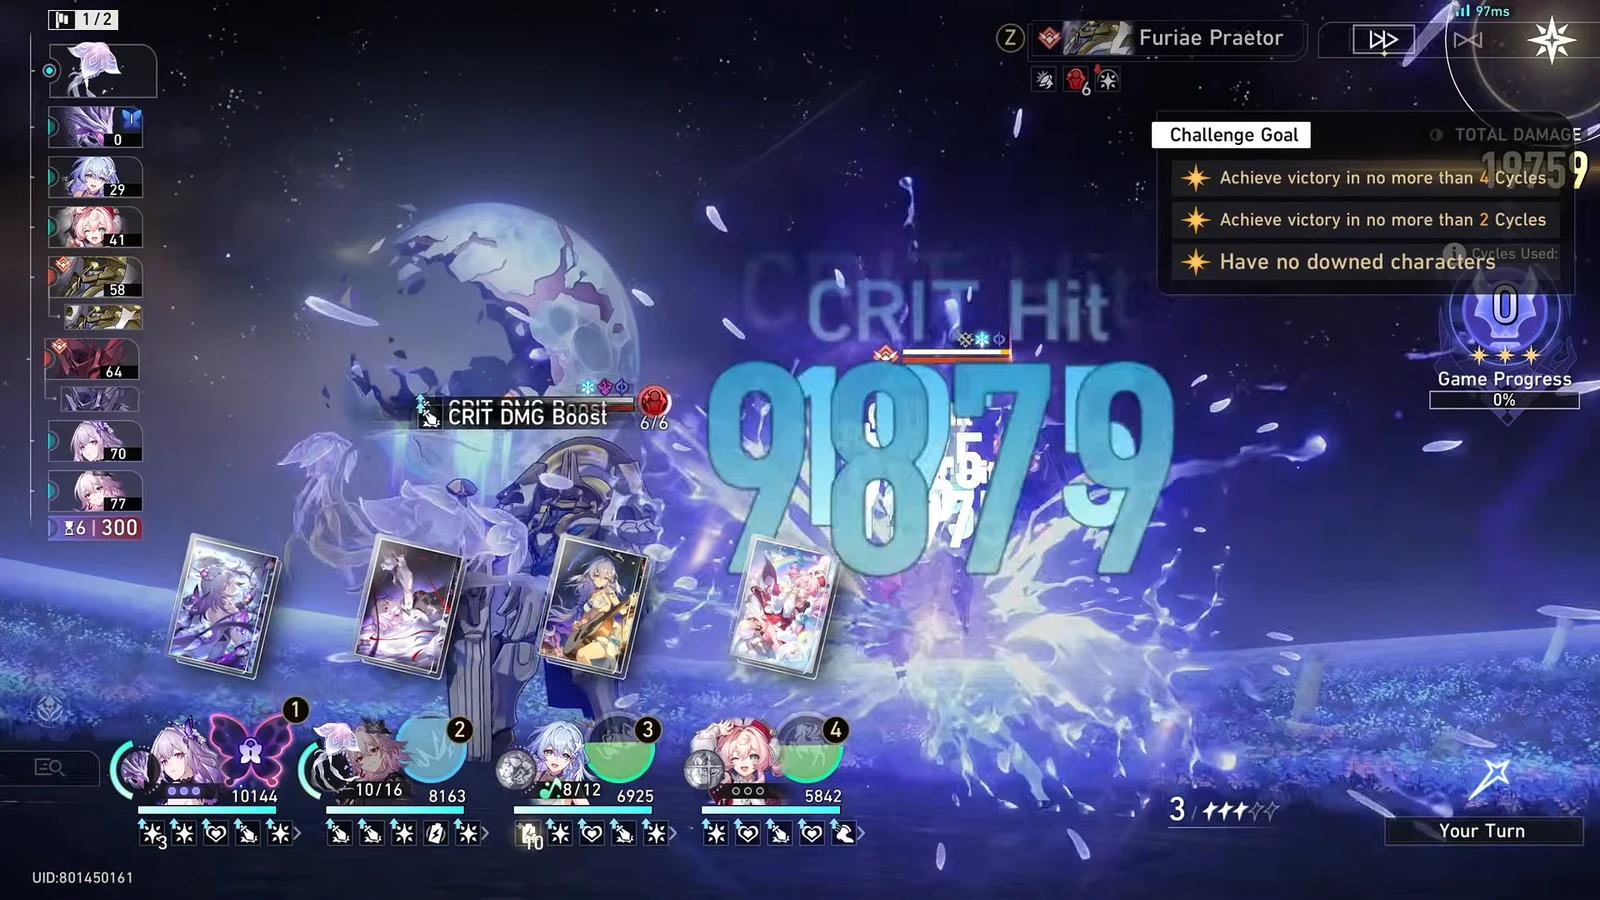
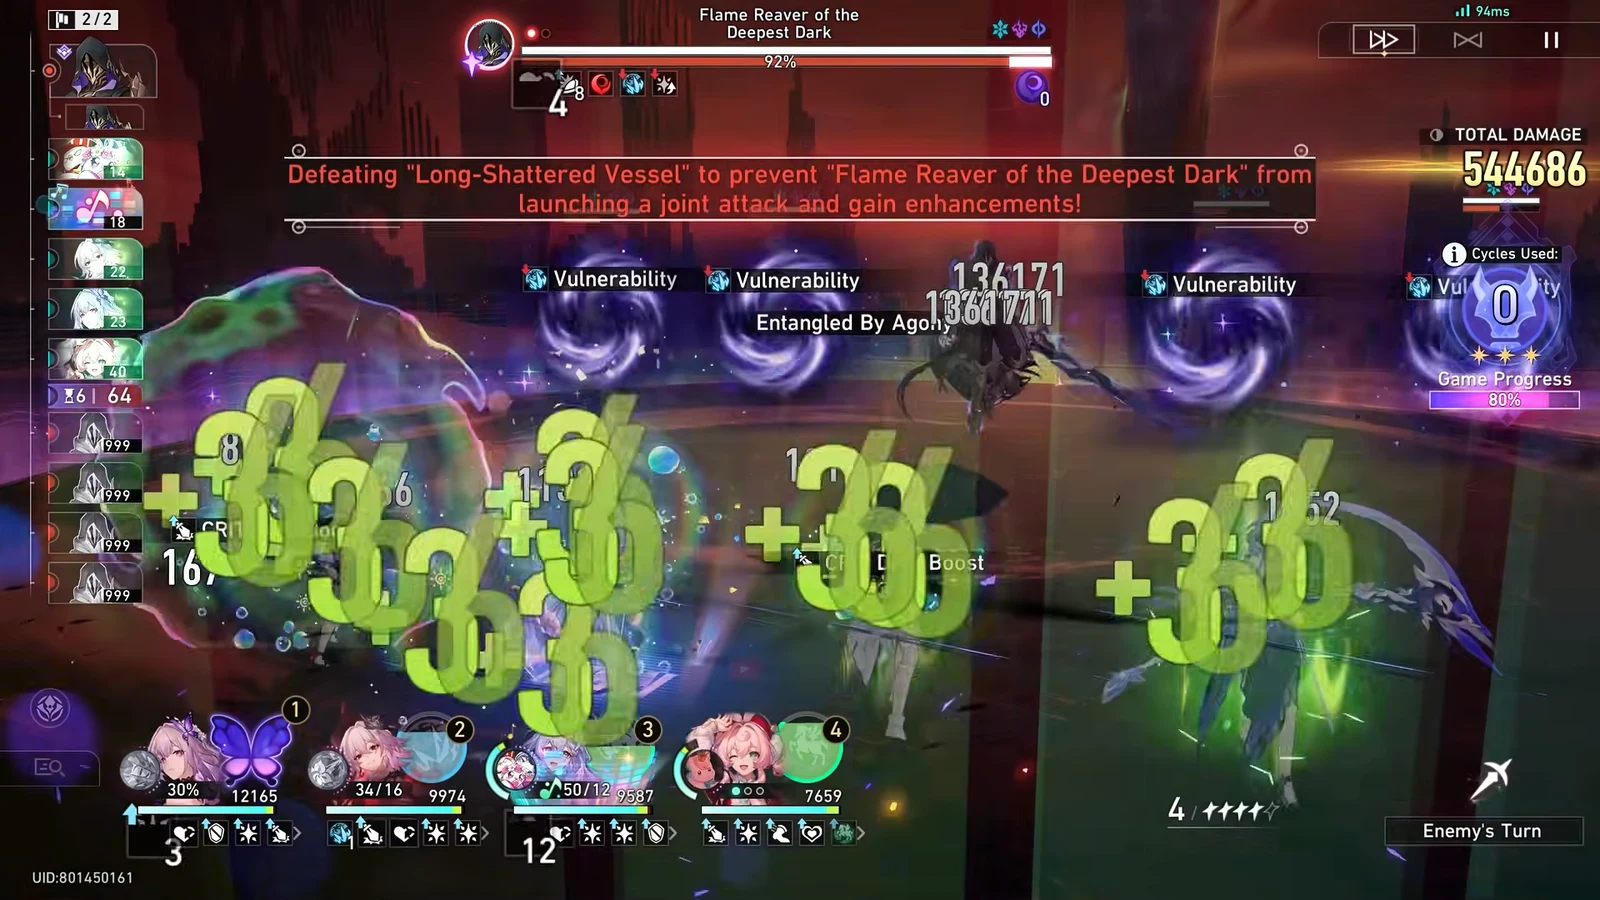
The wave 2 boss is Flame Reaver at Lv. 95. A Remembrance team built around Robin • Summeretto, Castorice, Evernight, and Hyacine leans on freeze and delay control to hold the boss in place. Watch for the phase 2 warning to defeat the boss before it can land a joint attack.
| Team | Members |
|---|---|
| Castorice DPS | Castorice, Evernight, Cyrene, Hyacine |
| Evernight DPS | Evernight, Cyrene, Robin • Summeretto, Hyacine |
| Aglaea DPS | Aglaea, Cyrene, Robin • Summeretto, Hyacine |
| The Herta DPS | The Herta, Anaxa, Robin • Summeretto, Hyacine |
King in Check: final stage effects and King buffs
King in Check recommends Ice, Lightning, and Quantum. Two stage effects apply. Hemovore drains 500 HP from each ally at the start of their turn, and it can kill, so a strong healer matters. Scales returns here as well, with 20 starting stacks that each cut enemy damage taken by 2%, dropping one stack per hit and resetting on phase transitions.
Before the fight you pick one King buff. Match it to your DPS archetype rather than grabbing it by name.
| King buff | Effect |
|---|---|
| Marvelous Laughter | Increases all allies’ Elation by 40% and adds 20% All-Type RES PEN to Elation DMG. Doubled when using an Elation Skill. |
| Finale’s Kiss | Regenerates 25% Energy for all allies once per battle at the start of any ally’s turn, and increases Skill and Ultimate DMG by 40%. |
| Memoria Swarm | With 1/2/3/4 ally memosprites on the field, all allies deal 20%/25%/30%/50% more damage. |
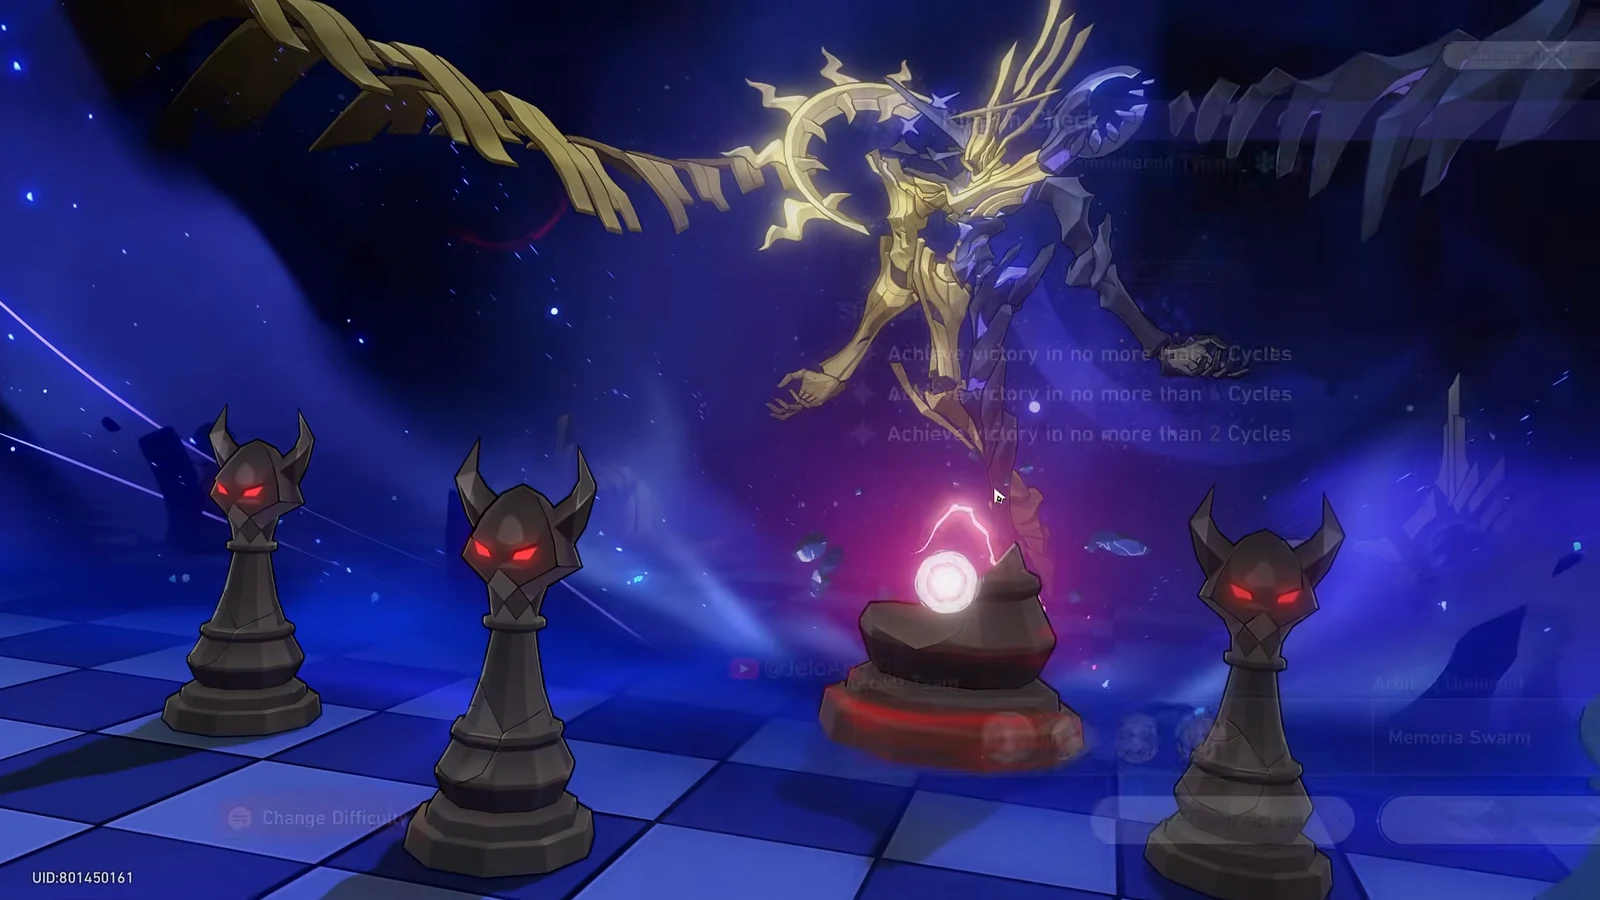
The final boss is Anti-Creator at Lv. 100. A Remembrance team of Robin • Summeretto, Cyrene, Evernight, and Hyacine, running Memoria Swarm, can freeze the boss and finish in zero cycles. Memosprite-heavy teams naturally hit the higher Memoria Swarm tiers, so the 30-50% bracket is realistic with a full setup.
| Team (buff) | Members |
|---|---|
| Castorice (Memoria Swarm) | Castorice, Evernight, Cyrene, Hyacine |
| Mortenax Blade (Finale’s Kiss) | Mortenax Blade, Ashveil, Tribbie, Hyacine |
| Himeko • Nova (Finale’s Kiss) | Himeko • Nova, Sparkle, Tribbie, Dan Heng • Permansor Terrae |
| Silver Wolf (Marvelous Laughter) | Silver Wolf LV.999, Sparxie, Yao Guang, Huohuo |
King in Check: Plight, the harder variant
Plight uses the same recommended types (Ice, Lightning, Quantum) and the same three King buffs, but the stage effects are stronger. Hemovore+ drains 1000 HP per ally turn instead of 500, and Scales+ raises each stack’s damage reduction from 2% to 3%. That doubles the healing pressure and asks for more raw damage to burn through the extra mitigation, so bring a sustain unit that can keep up with 1000 HP hits and a DPS core that hits often to strip Scales+ stacks quickly.
Rewards and how to confirm a clear
The main reward you want is the Interference Key, which lets you lock one substat when crafting relics. You earn it by clearing King in Check with at least 1 star. Higher star counts on the King stage only grant Lone Stardust and cosmetic profile items, so 2 and 3 stars are optional.
The Knight stages hand out Self-Modeling Resin at 3, 6, and 9 total stars, with Lone Stardust alongside. If you need Self-Modeling Resin, pushing higher Knight star counts is the way to get it.
| Objective | Reward |
|---|---|
| King in Check, 1 Star | Lone Stardust x100, Interference Key x1 |
| King in Check, 2 Star | Lone Stardust x100 |
| King in Check, 3 Star | Lone Stardust x100 |
| Knight stages, 3 total stars | Lone Stardust x100, Self-Modeling Resin x1 |
| Knight stages, 6 total stars | Lone Stardust x100, Self-Modeling Resin x1 |
| Knight stages, 9 total stars | Lone Stardust x100, Self-Modeling Resin x1 |
Each Knight stage shares the same star objectives: win within a cycle cap, win within a tighter cycle cap, and finish with no downed characters. The victory screen lists which objectives you met and how many cycles you used, so you can confirm a clear immediately after the fight ends and retry for the tighter targets if needed.
One practical note carried over from the current rotation: don’t rely on auto-battle for the early Knight fights, since the AI tends to attack the wrong targets and waste your turns. Clear the three Knights first, pick the King buff that fits your main DPS, and King in Check drops to a level most rosters with a few vertical investments can handle.