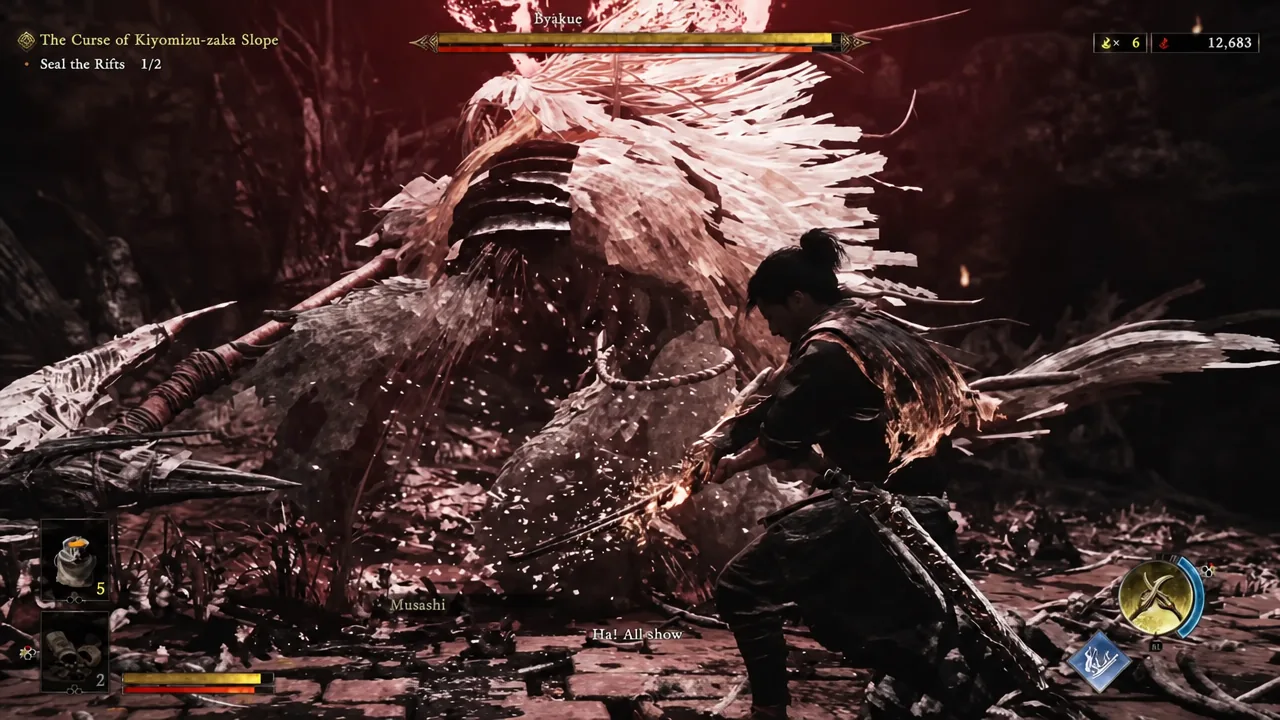
Byakue – Hundred Defilements is a hulking white Genma wrapped in cursed talismans, swinging an oversized axe with enough reach to cover most of the arena. It shows up as the secret Special Challenge boss in the Onimusha: Way of the Sword demo, and it returns in the full game as a recurring encounter you will run into more than once. The fight is slow, heavy, and surprisingly readable once you stop treating it like a damage race.
Quick answer: Deflect every axe swing to drain Byakue’s stamina, dodge its body attacks (sprint charge and Hop & Bash) instead of blocking them, and answer the Leaping Axe Strike with an Issen. Once the stamina bar empties, land a Break Issen and repeat.
Where Byakue appears and how to unlock the demo Special Challenge
In the demo, Byakue is not part of the normal route. It only appears through the Special Challenge event, which is locked behind an Issen requirement. You need to land 10 successful Issen counters during the demo, tracked by a counter in the bottom-left corner of the screen, and then finish the demo. The Special Challenge then becomes selectable from the main menu. The demo is available on the game’s official Steam listing and the other supported storefronts.
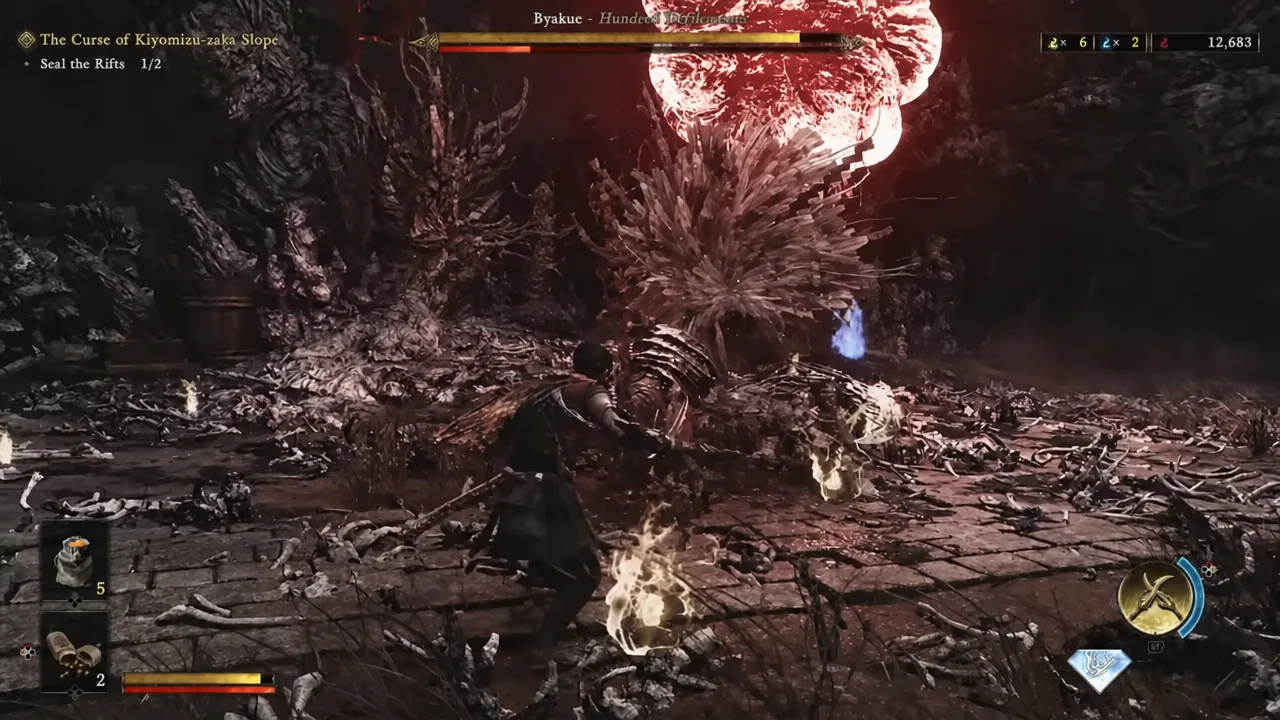
In the full game, Byakue is one of the first bosses you meet and it reappears later in a tougher enhanced version. It also turns up in open-world content such as “The Curse of Kiyomizu-zaka Slope,” where you fight it while working through the Seal the Rifts objective, occasionally with regular Genma joining in. The health bar in that encounter sits just over 15,000, so expect a longer fight than the demo version.
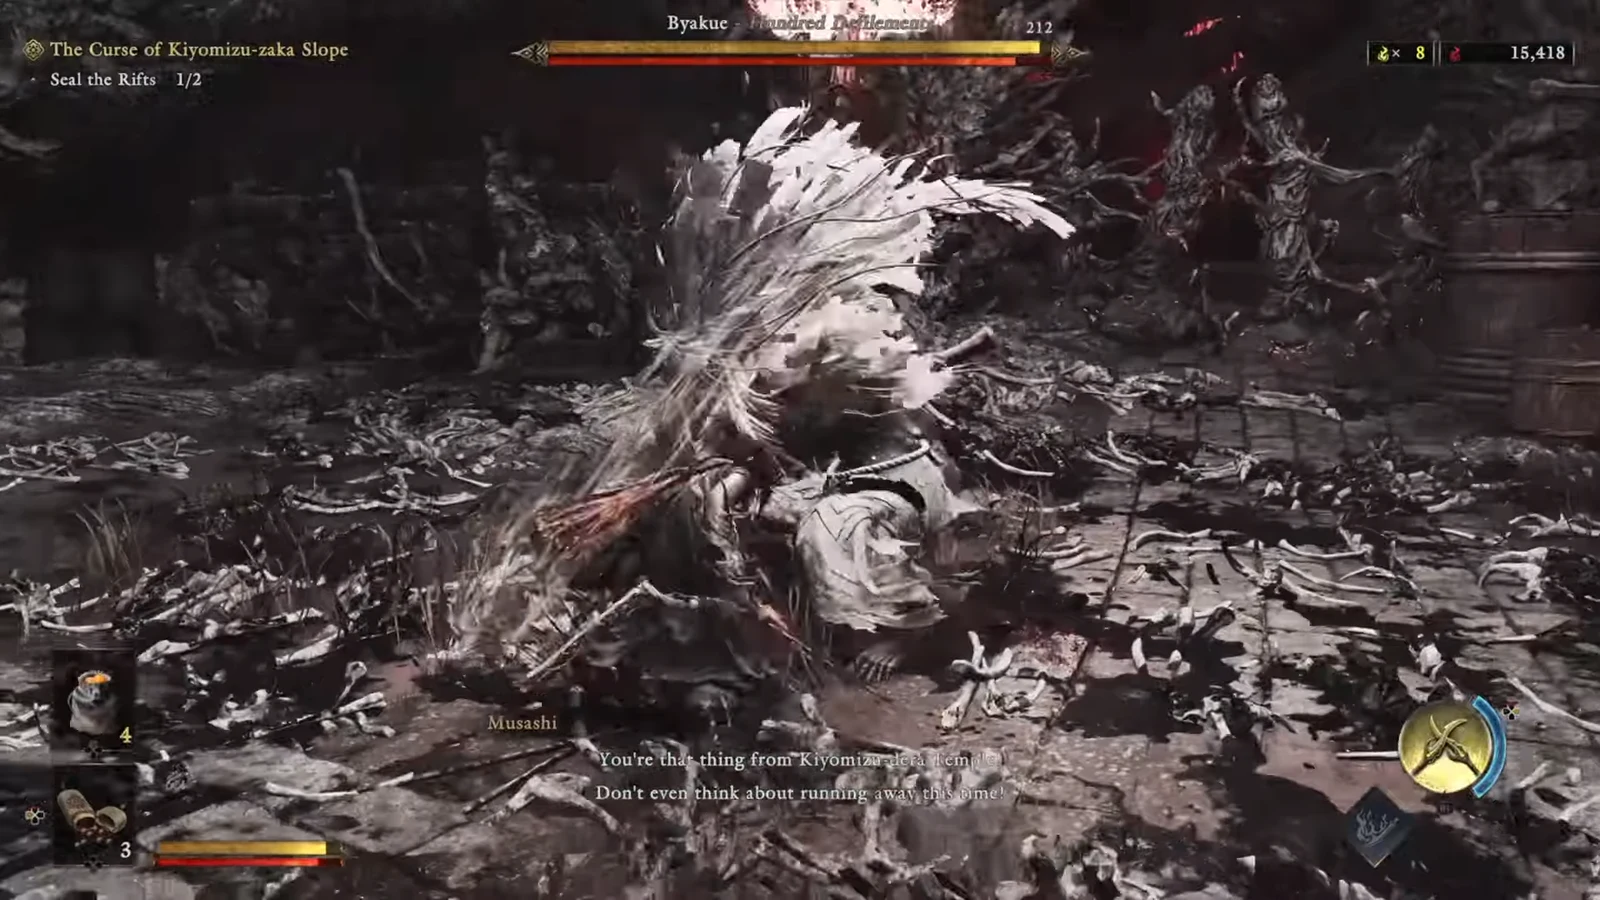
Note: the demo’s Special Challenge version of Byakue gives no drops. You are fighting it purely to practice the deflect and Issen loop before launch.
The rule that makes Byakue easy: deflect the axe, dodge the body
Almost everything Byakue does falls into one of two buckets. If the axe is moving, hold guard and deflect to eat the hit safely and chip away at its stamina. If Byakue is throwing its body at you, either a running charge or a shoulder bash, deflecting drains almost no stamina and gains you nothing, so evade instead and build your Reflex Gauge.
Regular parries are worth mixing in too. Several of Byakue’s attacks have unique parry animations that leave it open for noticeably longer than a plain deflect, which gives you room to land a two-handed punish instead of a single poke. Parries also feed the Blazing Gauge, which increases your damage and improves your odds of blue souls appearing for Oni Armament use.
Nearly every attack in the moveset can be answered with an Issen once you know the timing. The two exceptions are the shoulder charge and the sprinting charge, which have to be dodged.
Byakue attack patterns and the correct response
| Attack | What to do |
|---|---|
| Charge (sprint at you) | Dodge, do not deflect. Immediately back off, because it almost always follows with a swing. |
| Hop & Bash (shoulder) | Dodge for a Reflex Combo counter. Deflecting drains no stamina. |
| Leaping Axe Strike | Your best Issen window. Clear flip animation, predictable landing. Strike just before the axe hits. |
| Overhead Strike | Deflect. The weapon spin before the swing is your cue. |
| Triple Axe Combo | Deflect all three. The first swing is the tight one, the follow-ups telegraph clearly. |
| Spinning Sweep | Deflect or dodge after the 360-degree spin. |
| Upswing Charge | Dodge the approach, then deflect the upward swing. |
| Hair Grab (blue attack) | Walk out of range, or press the counter button just before the glowing hair reaches you. |
| 5-Hit Wild Swing | Deflect the whole string or create distance. Do not try to trade through it. |
The charge deserves special attention because it is the single most common way players lose health here. Byakue rarely stops after connecting, so even a clean deflect can be punished by the follow-up swing. Create distance right after the charge resolves, then re-engage on your terms.
Blazing state: Crimson Smash and Crimson Pour
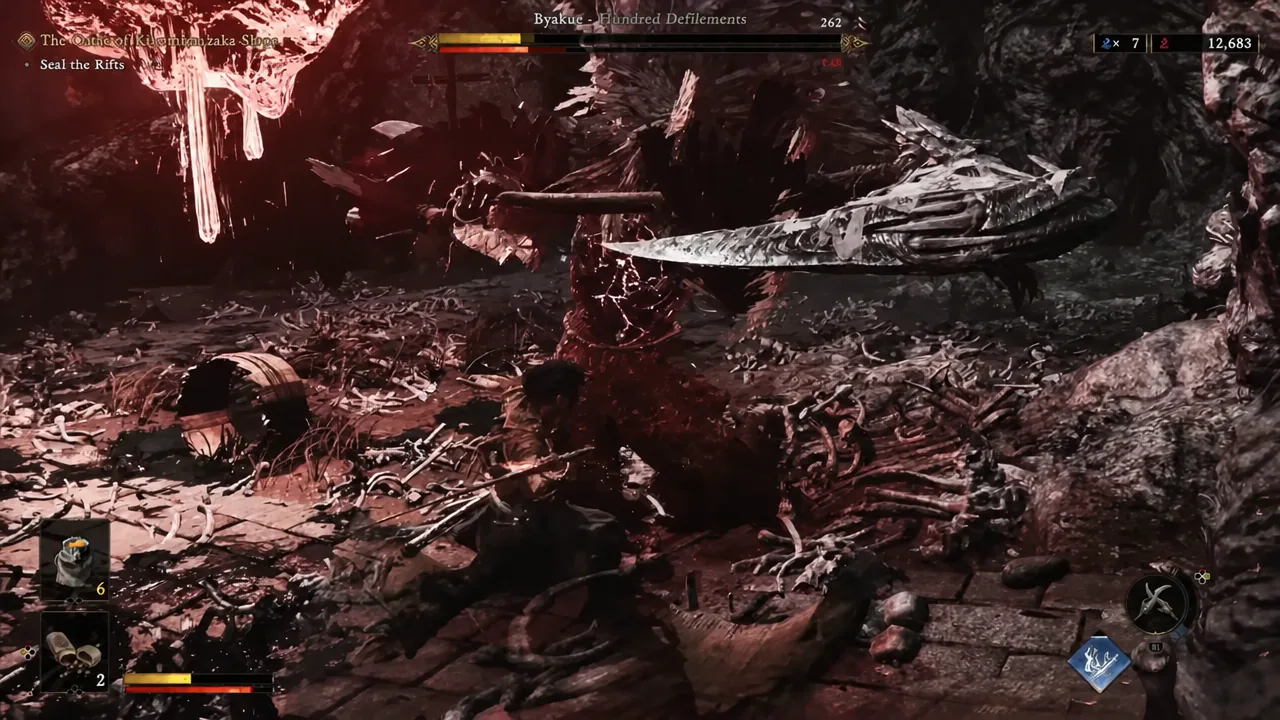
Once Byakue turns red and enters its enhanced state, the axe gets wreathed in Malice and two new attacks enter the rotation. Everything else in the moveset stays the same, so your deflect habits still work.
Crimson Smash is the ground plunge that erupts around the impact point. Jump just before the axe lands to clear the shockwave rather than trying to guard through it.
Crimson Pour is the twirling animation that spills damaging Malice pools across the floor. Byakue is wide open while it casts, so this is free damage. Stay off the pools afterward, since standing in them drains health while you fight.
Tip: bosses in this game escalate dynamically. Taking heavy damage early pushes Byakue into its enhanced state sooner than it otherwise would, so playing cleanly in the opening minute genuinely shortens the fight.
Using the Two Celestials and Oni Bow against Byakue
The Two Celestials is more than a burst option. Its activation animation carries invincibility frames, so you can use it to extend a combo through an incoming swing or to escape a string you misread. It only works if you have absorbed enough blue souls to keep the armament charged, so pull souls in aggressively with the Oni Gauntlet between exchanges.
The Oni Bow has unlimited arrows and a specific job here. Byakue recovers stamina whenever you back off to heal or reset spacing, and poking it with arrows slows that recovery down. If you are running a deflect-into-Break-Issen plan, that chip damage is what keeps the stamina bar from resetting between windows.
Fighting Byakue in the open world with other Genma present
Byakue does not always fight alone outside of the arena encounters. When it spawns alongside regular Genma, the smaller enemies are the actual threat, because they interrupt your deflect timing at exactly the wrong moment. Clear them first, then commit to Byakue with the full moveset. Its attacks are slow enough that a clean one-on-one is far more manageable than juggling threats.
How to tell the strategy is working
The clearest signal is the stamina bar. If your deflects are landing on frame, that bar drops visibly after each axe combo, and when it empties Byakue is left open for a Break Issen, which takes a large chunk of health in one hit. If the bar barely moves, you are probably deflecting its charges and shoulder bashes, which is the most common reason the fight stalls out.
After the final blow, Musashi executes the boss and the Victory banner appears while souls are absorbed. In the demo’s Special Challenge, that is the end of it, with no loot to collect afterward.
Byakue is deliberately built as an early lesson in the game’s defensive systems, and that is worth leaning into. If you can hold a deflect chain through the Triple Axe Combo and convert one Leaping Axe Strike into an Issen, the same reflexes carry directly into the harder fights waiting further in.