

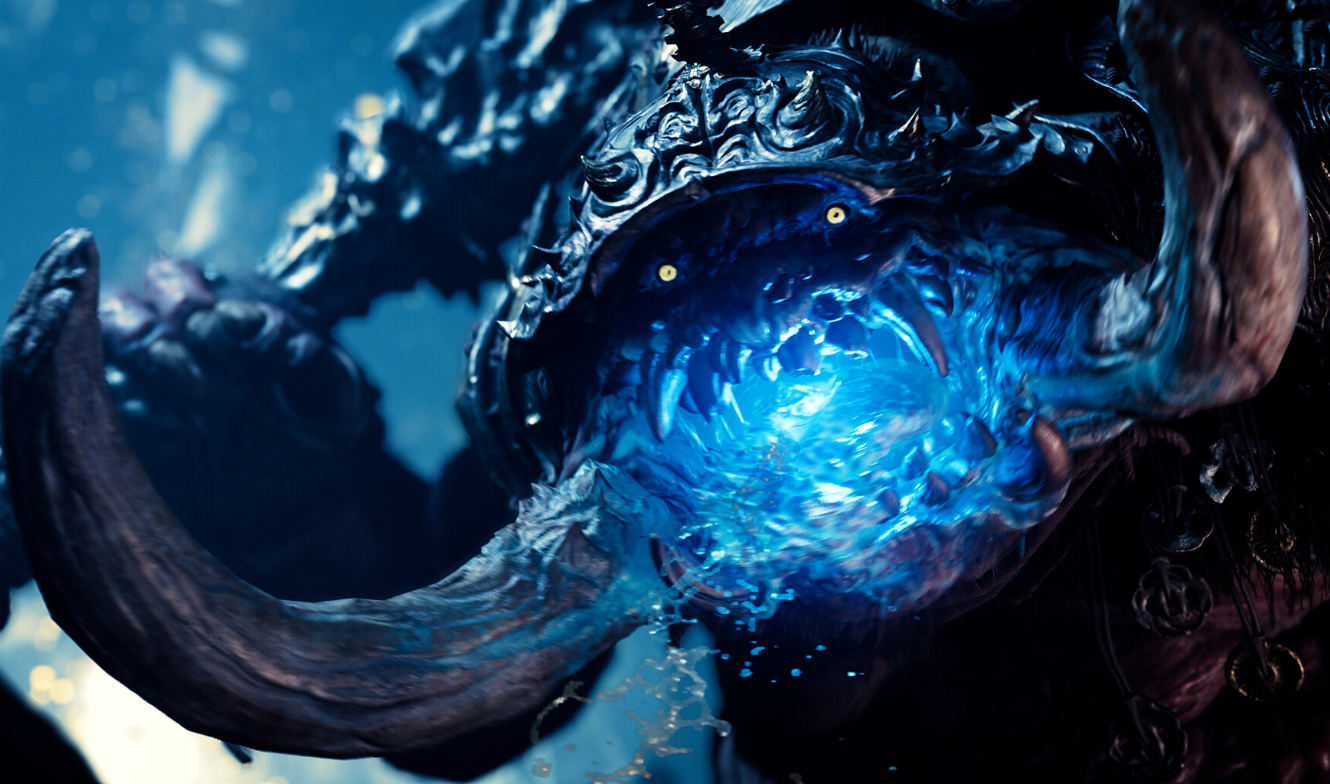
Carnage is the highest difficulty in Onimusha: Way of the Sword, and it does not open up until you finish the game once and start New Game+. It punishes greed. Many bosses can kill you in one or two hits, and every one of them can slip into an enhanced state early if you take too much damage too soon. Clearing all 18 main bosses here is what earns the True Onimusha trophy, while beating every boss on every difficulty in the Boss Rematch menu unlocks Glutton for Punishment.
Quick answer: Win by deflecting or landing Issen counters to drain a boss’s stamina bar, then siphon purple souls to build your Oni Power and Oni Awakening gauges. Transform into an Oni, chain Issen strikes while transformed, and hold the R1 finisher until the gauge is almost empty. Repeat that loop on every fight.
How you actually damage bosses on Carnage
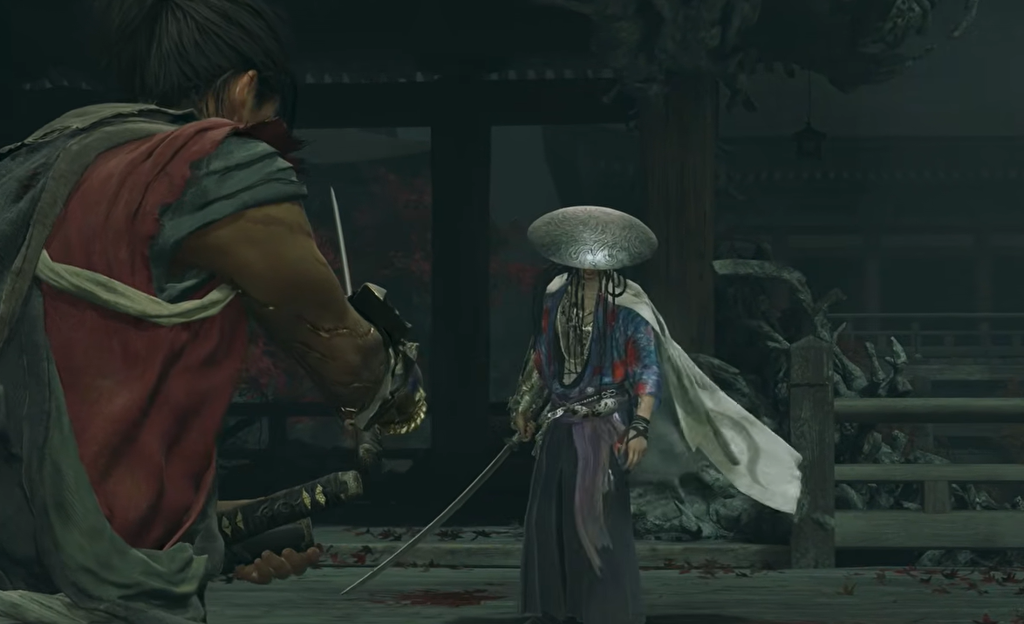
Your regular attacks barely scratch a boss’s health bar. Real damage comes from breaking their stamina and then using the openings that follow. You have two ways to do that. Deflect their attacks to whittle down stamina and set up a riposte, or go straight for Issen counters, which have a razor-thin timing window but pay out far more. Almost every attack in the game can be answered with Issen. The exceptions are a small number of moves that can only be dodged, plus any white-glowing attack, which must be deflected or parried.
Once a stamina bar is empty, you choose which souls to take. Red soul sparkles let you deal direct damage to the boss. Purple ones release yellow souls for health, blue souls for Oni Power, and purple souls for Oni Awakening. Going for purple is usually the safer, faster route to a transformation, and taking red-soul damage exposes you.
Weave normal parries in whenever you can. Each parry fills the blue Blazing Gauge in the corner of the screen. When Blazing State kicks in you deal more damage and see more blue souls, which fuel Oni Armaments. Armaments in turn spawn purple souls that top off your Oni Awakening gauge. When that gauge maxes out, press L3 and R3 together to become a full Oni, but resist mashing R1 right away. Land Issen strikes first, since they connect much more easily in Oni state, and save R1 for the finishing blow only once the meter is about to run dry.
Many attacks flagged as blue are countered by tapping Circle right before contact rather than deflecting. When a boss raises its guard or shields its face, press Triangle and Circle together to break through.
Charms and consumables to bring
The Carnage loop leans hard on Oni transformations, so build around filling your gauges fast. Set your controller to the Defense fighting style for a more forgiving control scheme, and run these three maxed charms plus the default Hozuki Pouch for most of the run.
| Slot | Charm | Effect |
|---|---|---|
| 1 | Charm of Awakening (max) | Increases Awakening gauge fill rate |
| 2 | Charm of Oni Power (max) | Increases Oni Power gauge fill rate |
| 3 | Fencer’s Strength Charm (max) | Boosts regular attack power |
| 4 | Default Hozuki Pouch (max) | Base healing capacity |
Hold back your consumables during the campaign so you arrive at the final boss stocked. The most valuable ones are Amulets of Introspection, Sun-Dried Hozukis, and Stimulants. For the final fight specifically, also slot in a Heavy Restorative, a Greater Defense Talisman, and a Greater Might Talisman. You can carry two of each item, except Sun-Dried Hozuki, which caps at one.
All 18 bosses: difficulty and key counters
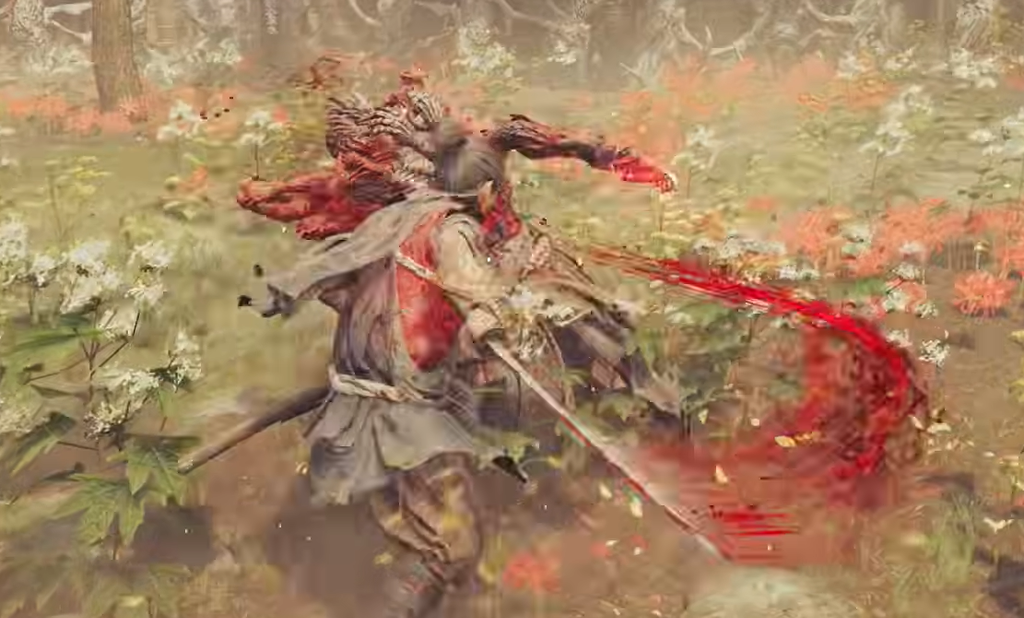
| # | Boss | Rating | Core counter |
|---|---|---|---|
| 1 | Byakue | 2.5/10 | Dodge when he isn’t swinging, deflect when he is; Circle the talisman-hair blue attack |
| 2 | Byakue (Enhanced) | 3/10 | Same fight; below 50% HP, jump the Malice ground slam and avoid Malice pools |
| 3 | Dohatsu-ten | 3.5/10 | Deflect strikes, Triangle+Circle to break defense, deflect white “No escape” attacks |
| 4 | Dohatsu-ten (Enhanced) | 3.5/10 | Same, but enhanced-state moves appear from the start |
| 5 | Nue (Blue) and Nue (Red) | 3/10 | Unlock camera, perfect-dodge, deflect electric orbs, Triangle+Circle vs tail guard |
| 6 | Sasaki Ganryu | 3.5/10 | Deflect telegraphed strikes; Circle the left-hand grab |
| 7 | Sasaki Ganryu (Altered) | 7/10 | Two phases with Gioh; shoot Gioh’s neck, deflect fast thrusts, transform for Issen |
| 8 | Daidara | 3/10 | Deflect slow attacks; grab blue souls before he siphons them |
| 9 | Rasho-gan | 4/10 | Oni Vision, shoot the cord; deflect Malice, bow the large orbs and thrown trees |
| 10 | Greater Nue | 5.5/10 | Deflect white tail swipe; keep moving during lightning; Circle the mouth-worm grab |
| 11 | Benkei | 3/10 | Drain stamina, pick red soul spots to strip armor; deflect polearm strikes |
| 12 | Benkei (Fully Armed) | 5/10 | Dodge the cannon throw and jump its blast; bow the shoulder-cannon charge |
| 13 | Ifuu | 4/10 | Deflect wind slashes; shoot the back balloon in phase two |
| 14 | Burai | 5/10 | Sidestep lightning orbs, hit the exposed eye; back off when he raises his right leg |
| 15 | Ifuu and Burai | 6/10 | Unlock camera, even out their health, parry the “Together!” lunge and cloud storm ram |
| 16 | Shuten Doji | 5.5/10 | Stay aggressive to limit regen; bow the flame breath and the head balloon |
| 17 | Dokyo | 2.5/10 | Chase and close distance; Oni Vision to find the real one; hide behind the uncracked rock |
| 18 | Minamoto no Yoshitsune | 8.5/10 | Three phases; phase three only takes damage in Oni Awakening; ration consumables |
Early Genma: Byakue, Dohatsu-ten and the Nue pair
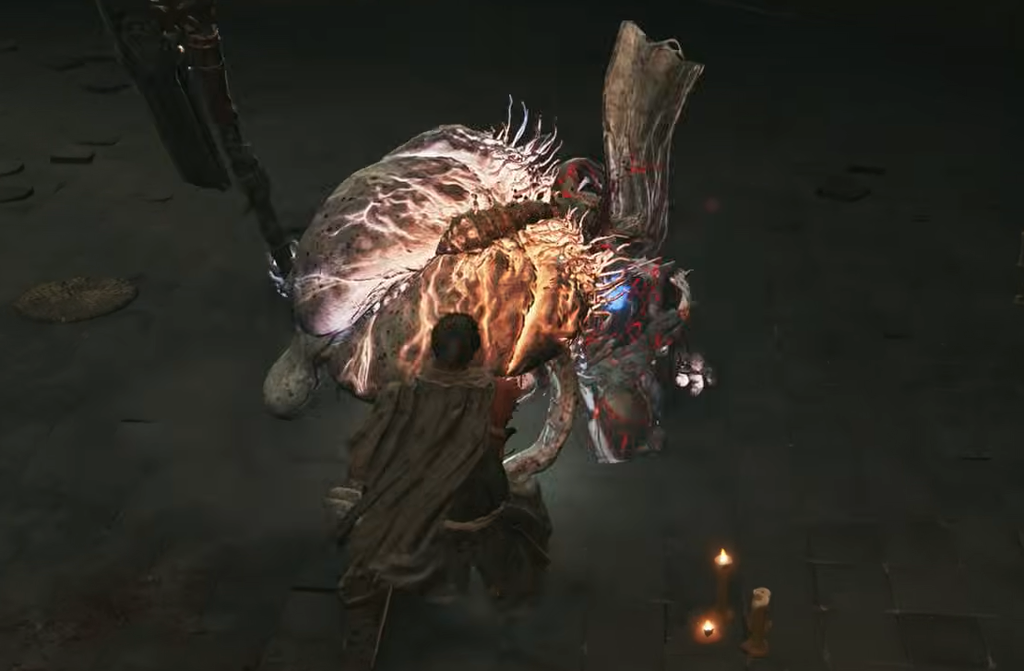
Byakue is a hulking, talisman-covered brute with an oversized axe. The rhythm is simple. Dodge while he is not swinging, deflect while he is, and Issen almost everything except his shoulder charge and his sprint rush. His talisman-hair lash is blue, so press Circle right before the hair lands. In the enhanced version, once his health drops below half he coats the axe in Malice. Jump just before his ground slam connects, and steer clear of the Malice pools he spits out.
Dohatsu-ten swings a huge katana and likes to kick you in the face, which you can perfect-dodge or eat as a small stamina hit with a deflect. When your hits stop landing, press Triangle and Circle to break his defense. He telegraphs white-glowing attacks with the line “No escape,” and hurls returnable sword slashes when you back off, shouting “Shatter,” “Prepare,” or “Perish” first. In his enhanced state he teleports around the arena, and each teleport ends in a deflectable strike. The enhanced fight is the same, except those moves show up early.
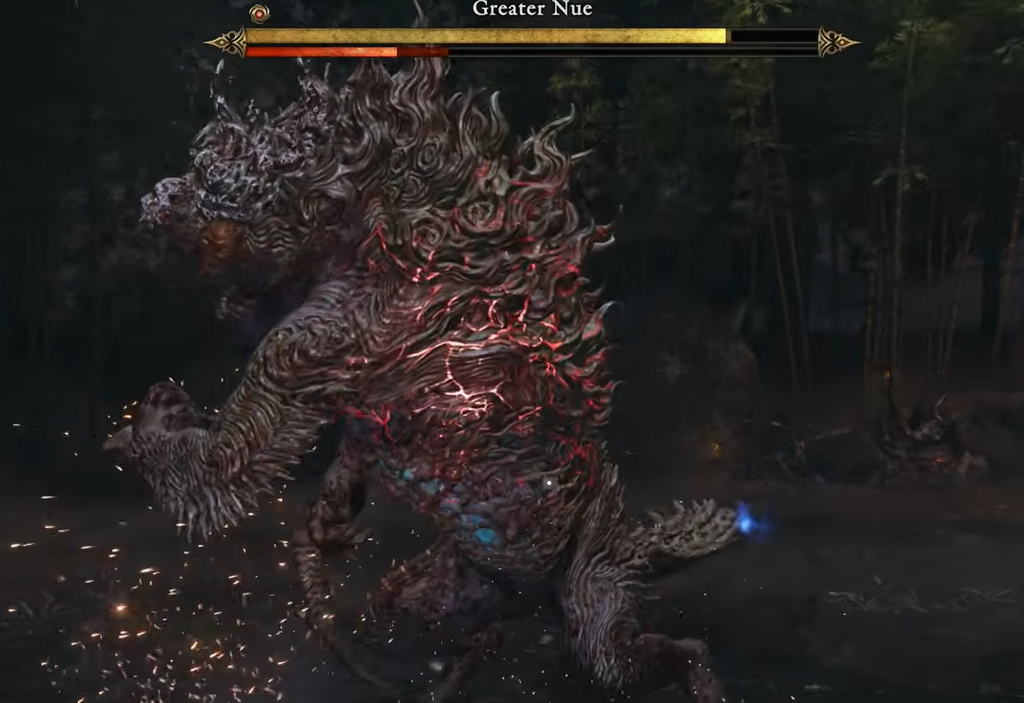
The twin Nue chimeras are a patience test. Leave the camera unlocked so you can read both at once, stay aggressive on the nearer one, and perfect-dodge claw swipes, lunges, and head or tail smashes. When one raises its tail to shield its face, break the guard with Triangle and Circle. Around half health the tail joins in and fires electrified orbs you can deflect straight back. Drop one, then finish the other the same way.
Sasaki Ganryu and his altered form
The first proper story boss, Sasaki Ganryu, weaves around the arena mixing quick piercing strikes with slower delayed sweeps, all clearly telegraphed. Dodge or Issen his aerial stomp, and press Circle just before his left-hand grab connects. Nothing here is unfair.
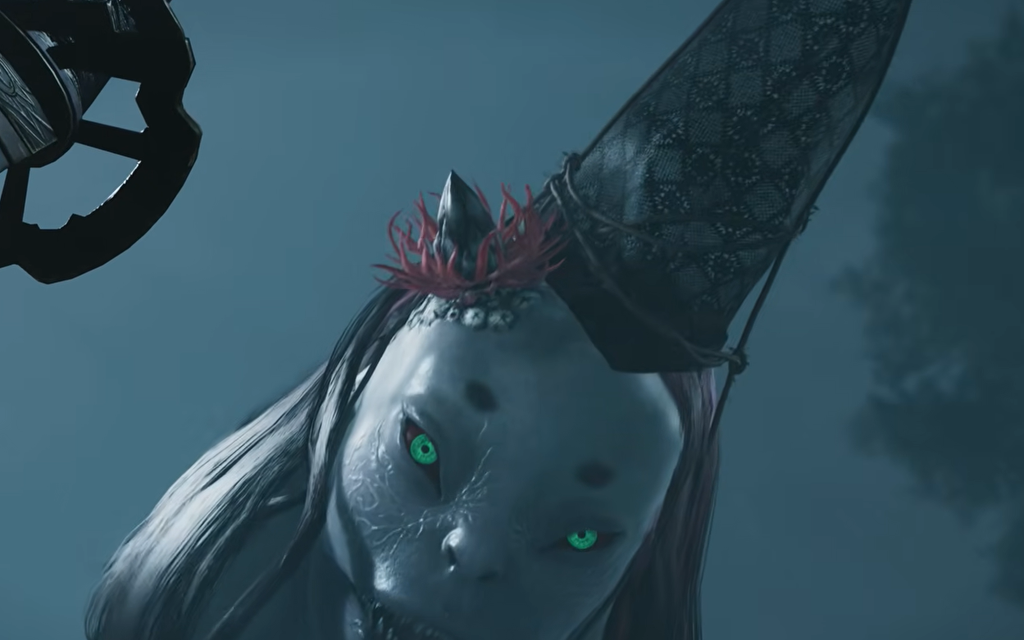
His altered form is the second-hardest fight in the game. It runs across two phases with separate health bars, and he hits hard enough to kill you in two hits if you drop your guard. His katana attacks are the same but much faster, especially the thrust, and he adds a slow aerial slash that is easy to deflect. Whenever you break his stamina, take purple souls to fuel both gauges, then transform and land a few Issen strikes.
His Oni companion Gioh joins with fast katana strikes; watch her tentacles for the tells. She also refills Sasaki’s stamina by draining the red flower plants around the arena, so when she stretches her neck out, draw your Oni bow and shoot her in the neck to interrupt it. In phase two, after he yells “Smash him flat, Gioh!”, her tentacles turn purple and gain a ground slam and a neck lash. A third of the way in she wreaths his katana in Malice, unlocking a lightning-fast white strike that can kill outright. Counter her blue mouth-grab with a well-timed Circle, and deflect or dodge the red sword waves he sends across the ground late in the phase.
Daidara, Rasho-gan and Greater Nue
Daidara is a slow, armored troll with a mace and two phases, but he is one of the easier fights because nearly every swing is heavily telegraphed and easy to deflect. The one thing to police is his habit of siphoning any blue souls left floating in the air. Grab them first, or he powers up and enters his enhanced state early, marked by his glowing red belly. Dodge his phase-one sprint, deflect his phase-two hand-grab with Circle, and avoid the move where he licks the mace before swinging.
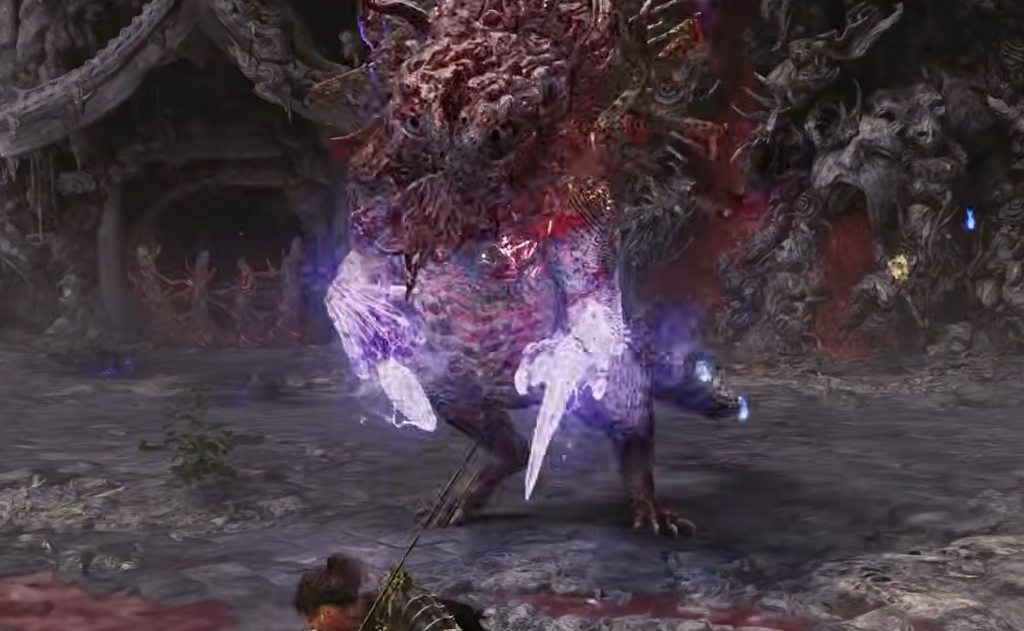
Rasho-gan is a multi-armed monster that throws everything from Malice orbs to whole trees, across two phases. Open by holding L2 and pressing R2 to trigger Oni Vision, which reveals the cord tethering him; shoot it with your bow to weaken him. Keep the distance short so he can’t spam Malice blobs, deflect or at least parry them by holding L1, and shoot down the large bubble-like orbs with your bow. Counter both of his grabs with precise timing. In phase two he enters his enhanced state and hurls trees, which are easy to perfect-dodge.
Greater Nue moves like the smaller chimeras but introduces white-glowing attacks that must be deflected or parried. It almost always opens with a huge tail swipe, and after you deflect it, it follows with deflectable claw strikes every time. Dodge or Issen the shoulder charge, body slam, and sprint. In phase two several moves gain lightning, its enlarged tail swipe leaves lightning orbs to avoid, and near half health it rains bolts you can only sidestep by staying mobile. Counter the mouth-worm grab with Circle, and break its tail guard with Triangle and Circle.
Both Benkei fights and the armor mechanic
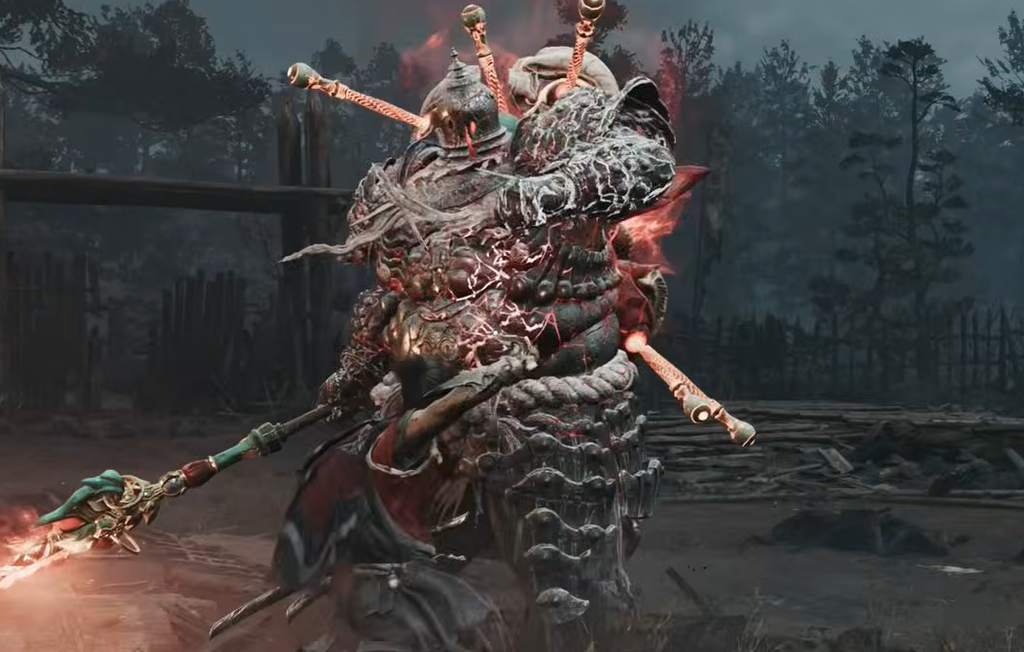
The defining rule of the Benkei fights is that you cannot damage him with regular attacks until you strip his armor. Deplete his stamina by deflecting his polearm strikes, then pick the red soul spots to remove pieces of plating from his legs, shoulders, and arms. Issen can still deal health and stamina damage, so reserve it for his full-body jump slams, which are easier to counter. Both phases follow the same plan. In phase two he sets his back gear alight, adds a lunging polearm attack, and occasionally draws a second polearm for a white-glowing flurry.
The Fully Armed Benkei starts phase one already using his previous phase-two moves, and on Carnage he hits massively hard. Phase two adds real threats. His giant cannon throw can kill outright, so dodge the cannon itself, then time a jump to clear its delayed blast a few seconds later. Deflect his dagger volley back at him, but dodge the spinning axes rather than risk returning them. Counter his blue face grab by tapping Circle while pushing the left stick right at the same instant. When he shoulders his explosive hammer like a cannon and charges it, shoot it with your Oni bow immediately, because a fired shot is an instant kill on Carnage.
Ifuu, Burai and the twin fight
Ifuu wields a double-edged axe and an inflatable bladder on his back that powers his specials, across two phases. Deflect his close-range swings and wind slashes, and dodge his aerial blue grab before it lands. When he plants his weapon and thrusts, parry while holding the left stick in the direction the weapon points. In phase two he sucks you toward him with the back organ, so shoot the balloon that forms on his back with the Oni bow. He uses the same trick to launch skyward; shoot the balloon to drop him for free damage.
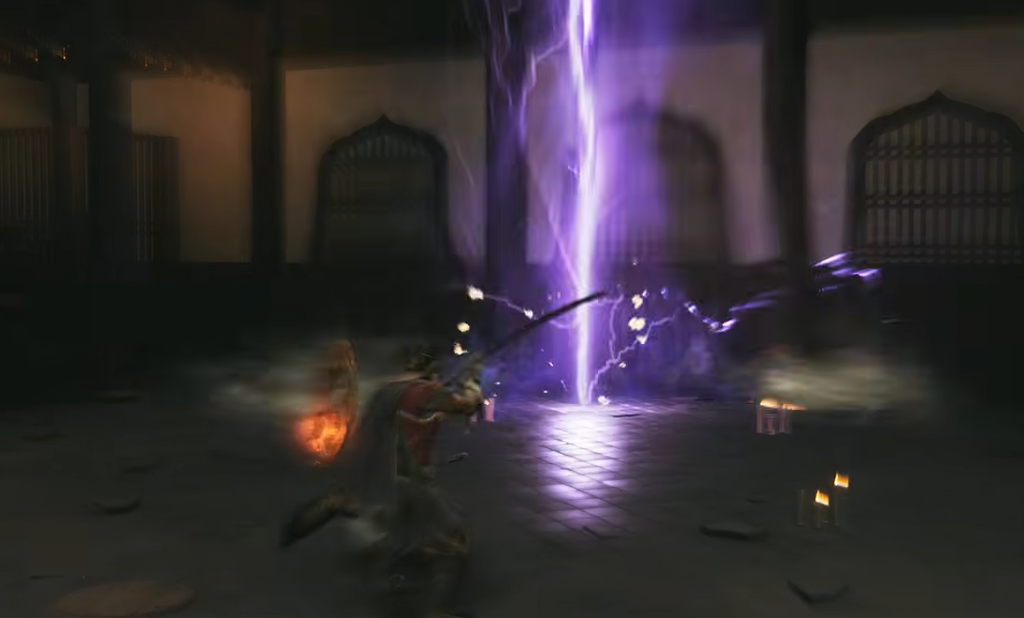
Burai swaps wind for lightning and adds very fast piercing thrusts. Sidestep his ground lightning orbs, close in, and hit his exposed eye to release blue souls. Run to either side to clear the lightning crosses he summons overhead. If you keep hammering him up close, he raises his right leg as a tell for a punishing kick, so back off the moment you see it. His phase-two signature is a disappearing leap followed by a huge bolt and then a ground slam, so learn the timing to dodge clear of the slam.
When the brothers team up, leave the camera unlocked and try to lower both bars at a similar pace, since breaking either one’s stamina while they stand close damages both. Their shared lunge is announced by “Let’s end this!” or “Together!”, which makes it easy to deflect. Focus whichever brother has not yet entered phase two. Their deadliest move arrives once both are in phase two: they rise on a cloud in the center, summon a storm of lightning then wind, and swoop down together in a wide ram that must be parried or deflected precisely or it kills on Carnage.
Shuten Doji and Dokyo
Shuten Doji regenerates health throughout the fight, so constant pressure is the only real answer, and fire-resistance items help against his signature element. His drunken, erratic movement makes his greatsword patterns hard to read. Dodge or Issen his bottle slam, aerial pierce, and kicks. Around half of phase one he drinks flaming liquor and gains fire attacks, so shoot him with the bow the moment he winds up his flame breath. In phase two his severed head fights alongside him. Dodge its spinning charge with Circle, shoot down its explosive balloon, and use the windows where he sips to land quick hits. Once his health nears a third, he regenerates more often, so keep striking.
Dokyo is a chase, not a slugfest. She sprints around the arena flinging spiky balls, projectiles, and electrified barriers, so weave through, close the gap, land a few hits, and repeat as she teleports. When she conjures a golden circle with a balloon, shoot the balloon to knock her down. Stand between two fire turrets to survive her turret line. Use Oni Vision to pick out the real Dokyo, who always glows gold, when she splits into copies. In phase two she fires orbs constantly, returns your deflected spiky ball once before it hurts her, and adds a red mask enemy you must shoot down. Her one-shot move sends her skyward inside a mini planet and shatters every rock but one, so find the uncracked rock and get behind it.
Minamoto no Yoshitsune: the final boss
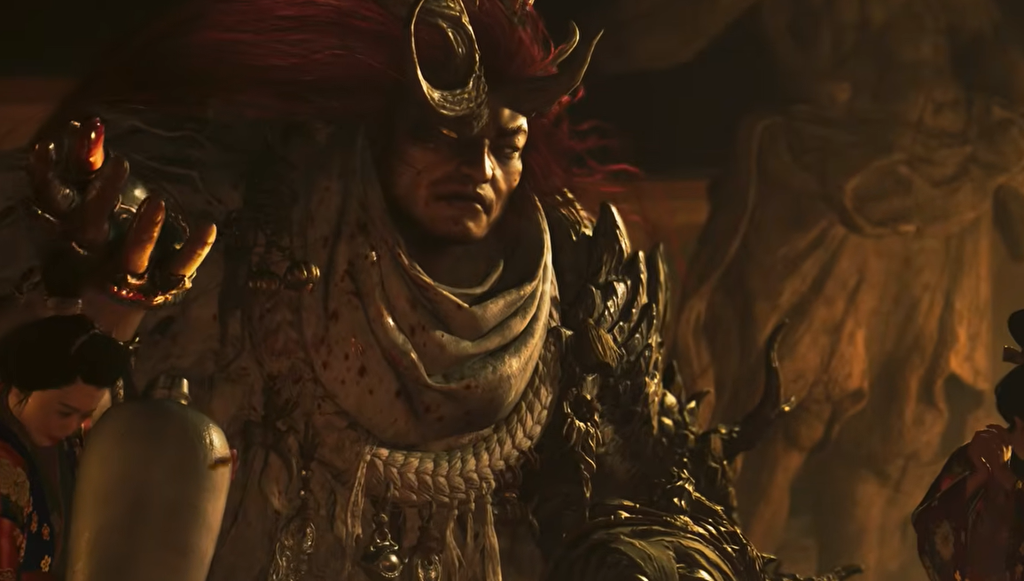
The final boss is the hardest and longest fight in the game, spread over three full phases. Come in with the loadout below and hold your items until the back half of phase two onward, where they matter most.
| Item | What it does |
|---|---|
| Amulet of Introspection | Temporarily widens the Issen and parry timing window |
| Stimulant | Gradually refills the Awakening gauge over time |
| Sun-Dried Hozuki | Instantly restores the Hozuki Pouch to three charges |
| Greater Defense Talisman | Sharply cuts health and stamina damage taken for a short window |
| Greater Might Talisman | Sharply raises health and stamina damage dealt for a short window |
| Heavy Restorative | Fallback healing once Hozuki charges are gone |
Phase one is mostly deflectable one-on-one katana work. His double-leg aerial kick can be safely deflected, but a perfect dodge or Issen knocks him down for free hits. Handle his three-slash white combo by position, dodging from range and deflecting up close. Avoid his delayed hand grab at all costs, or counter it with Circle, because a hit drains your souls and shoves him into an enhanced phase-one state with a Malice-coated katana. When he taps his katana on his shoulder, treat it as your cue to parry the instant dash-thrust that follows.
Phase two always opens with an aerial slam and cracking ground, so sprint away the moment you regain control. He is far more mobile now, so lean on reliable deflects over Issen. His armor means regular attacks won’t dent his stamina; you can break it with Triangle and Circle, but he moves too fast to rely on that, so keep deflecting and dodging. Deflect his aerial arrow volleys and his three rapid white strikes, since even one hit on Carnage is nearly fatal. Take purple souls on every stamina break, use your Oni Armament to farm more, and transform to make Issen easier. When he shouts “Shatter” and tries to tear reality or crack the ground, sidestep or perfect-dodge just before it breaks.
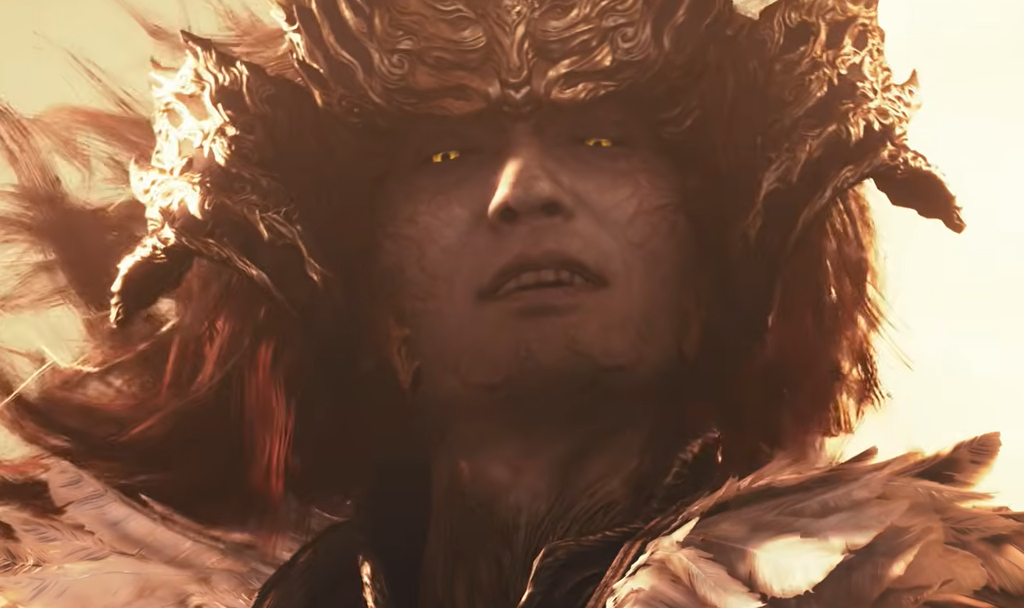
Phase three changes the rules. He takes no damage at all unless you are in Oni Awakening state. Either chain Issen counters to stack blue and purple souls quickly, or parry to fill the Blazing Gauge, then unload in Blazing State to extract the blue souls that fuel Oni Power. His attacks stay close to phase two. Watch for the moment he pulls you in and absorbs every soul in the arena; do the same, grab as much as you can to top your gauges, then dodge or Issen the arena-wide slash that follows, because connecting with it is effectively a loss. Transform the instant your gauge fills, land as many Issen strikes as possible, and save the R1 finisher for the last moment of the gauge, where it lands more hits and deals far more damage. That loop closes out the fight, and if things fall apart, spend all your quick-slot items.





