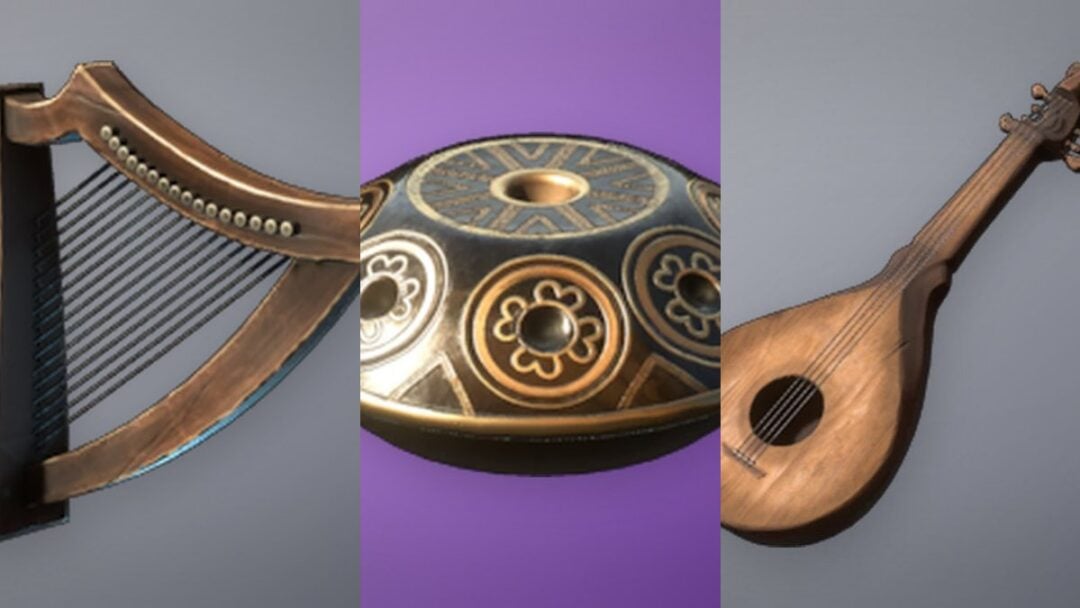
Spell choice decides how fast you clear a dungeon in Dungeon Quest Reborn, and the gap between a good ability and a filler one is enormous once difficulties scale past Insane. Abilities that scale with Spell Power are effectively the mage toolkit, and a handful of them carry entire runs while dozens sit in the “works, but you will replace it” pile. Below is where every spell lands, why the top picks earn their spot, and which dungeons drop them.
Quick answer: Put all stat points into Spell Power, keep one bar on damage and the other on a heal such as Aura of Life or Spirit Link, and swap between them with F on PC when your health drops.
How the ranking was decided
Placement comes down to raw damage per cooldown, area coverage, survivability value, and how well an ability holds up on Nightmare difficulty rather than in a lobby test. Healing and buff spells sit high because they keep runs alive at every level, not just at the cap. Single-target spells with long cooldowns and small hitboxes fall the furthest.
Note: this ranking reflects the game as of September 2026. Spell balance shifts with updates, so re-check your loadout after a patch.
Dungeon Quest Reborn spells tier list
| Tier | Spells |
|---|---|
| S | Enhanced Inner Focus, Life Dash, Life Pulse, Holy Circle, Revitalize, Sacrificial Orbs, Spirit Link, Universal Heal, Unstable Warp, Voidflames |
| A | Agony Orbs, Amethyst Beams, Amethyst Blast, Aquatic Smite, Arc Wave, Arcane Amplifier, Aura of Life, Chain Lightning, Chain Storm, Chromatic Rain, Demonic Curse, Electric Boom, Electric Field, Enchanted Shuriken, Energy Orb, Forgotten Army, Geyser, Hands of Death, Ice Spikes, Ice Totem, Illusion Blast, Infernal Blast, Jade Rain, Jade Roller, Lava Beam Orb, Lava Cage, Lightning Burst, Molten Ball, Mystery Matter, Orb of Destruction, Phantom Flames, Phantom Striker, Redemption, Rejuvenating Spray, Rift Beam, Skull Flames, Soul Drain, Storm Wave, Vortex |
| B | Carrot Barrage, Chain Heal, Demonic Spikes, Earth Clap, Flame Strike, Fungal Poison, Ghostly Rampage, Ice Nova, Icicle Barrage, Lightning Strikes, Overcharge, Poison Cloud, Pulse Waves, Pulsefire, Shock Wave, Smite, Starfall, Void Beam, Void Spheres, Water Orb |
| C | Arcane Spray, Earth Kick, Ghostly Cannon Barrage, Hand Cannon, Ice Needles, Infernal Orbs, Lightning Beam, Piercing Rain, Searing Beam, Spirit Bomb, Thunderous Blast, Tsunami |
| D | Blue Fireball, Fireball, Flame Step |
Why the S tier spells sit at the top
Almost every S tier slot is a heal or a buff, and that is not an accident. Healing scales off Spell Power, so a full-mage build restores enormous chunks of health with one cast. Life Dash and Life Pulse are only Rare, yet they refill health fast enough to keep a solo run going. Holy Circle, Revitalize, Universal Heal and Spirit Link are the Epic upgrades, with Spirit Link healing everyone standing near you and Universal Heal reaching allies anywhere on the map.
Enhanced Inner Focus is the one Legendary buff worth building around. It pushes movement speed and agility damage up by 90 percent, and it drops in Northern Lands. The window is short, so cast it right before you dump your damage rotation rather than on cooldown.
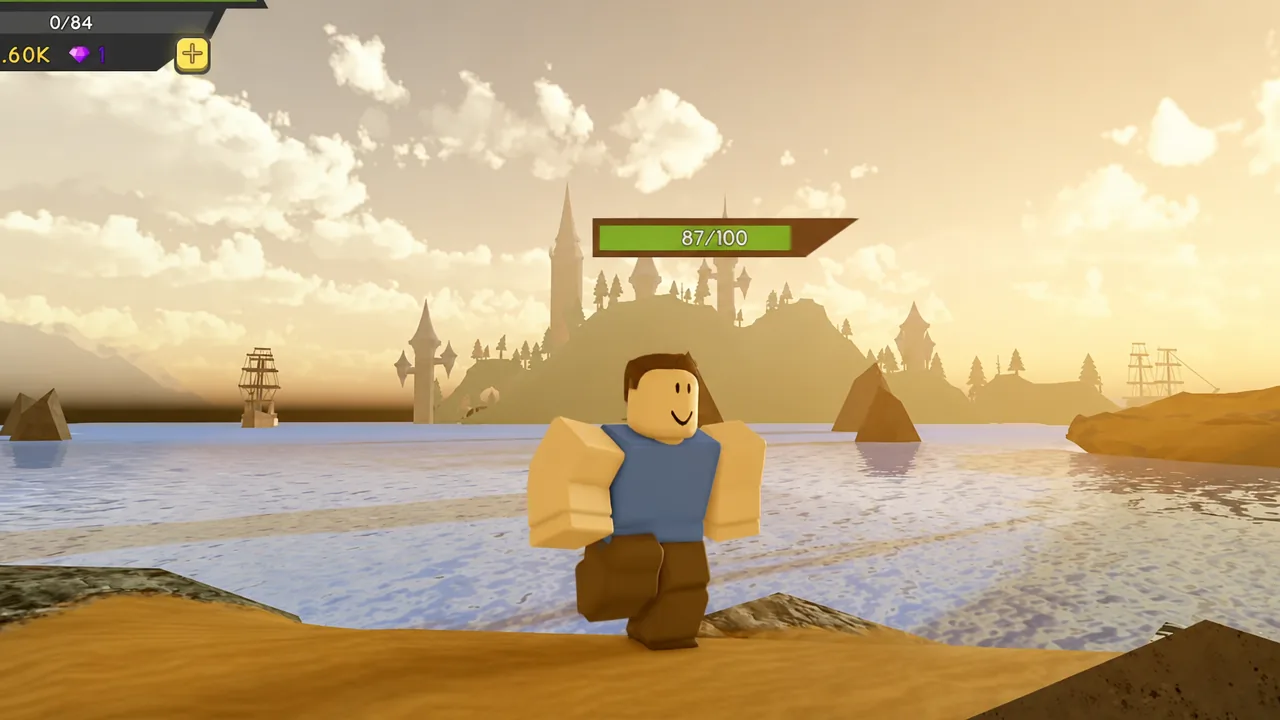
Unstable Warp is the outlier in a group of support abilities. It teleports you, drags nearby enemies toward the center, and can be recast within two seconds, which turns it into repositioning and crowd control in one slot. Sacrificial Orbs and Voidflames round out the tier by pairing damage with a buff instead of asking you to give up a slot for one or the other.
A tier damage spells worth farming
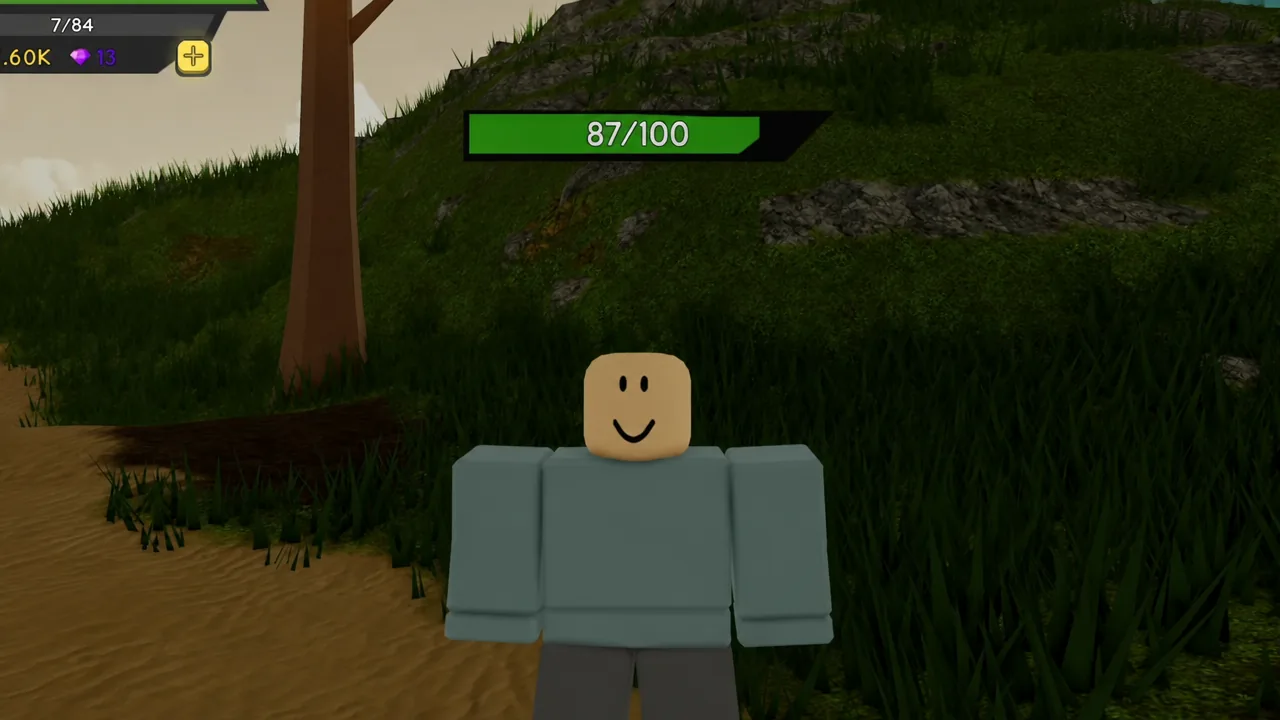
The A tier is mostly Epic damage spells, and the split between them comes down to coverage. Phantom Flames blankets a huge area and remains one of the strongest clear tools in the game once you reach Pirate Island. Chain Storm bounces lightning between nearby enemies for six hits, which makes packed corridors trivial. Chain Lightning does the same job earlier at lower numbers.
Hands of Death is the standout control option. It locks enemies in place and grinds through 40 damage ticks, so it works on both mobs and bosses that stay in range. Enchanted Shuriken hits hard in a narrow line, and Illusion Blast adds a movement speed buff on top of its damage trail, which helps when you need to slip out of a boss hitbox.
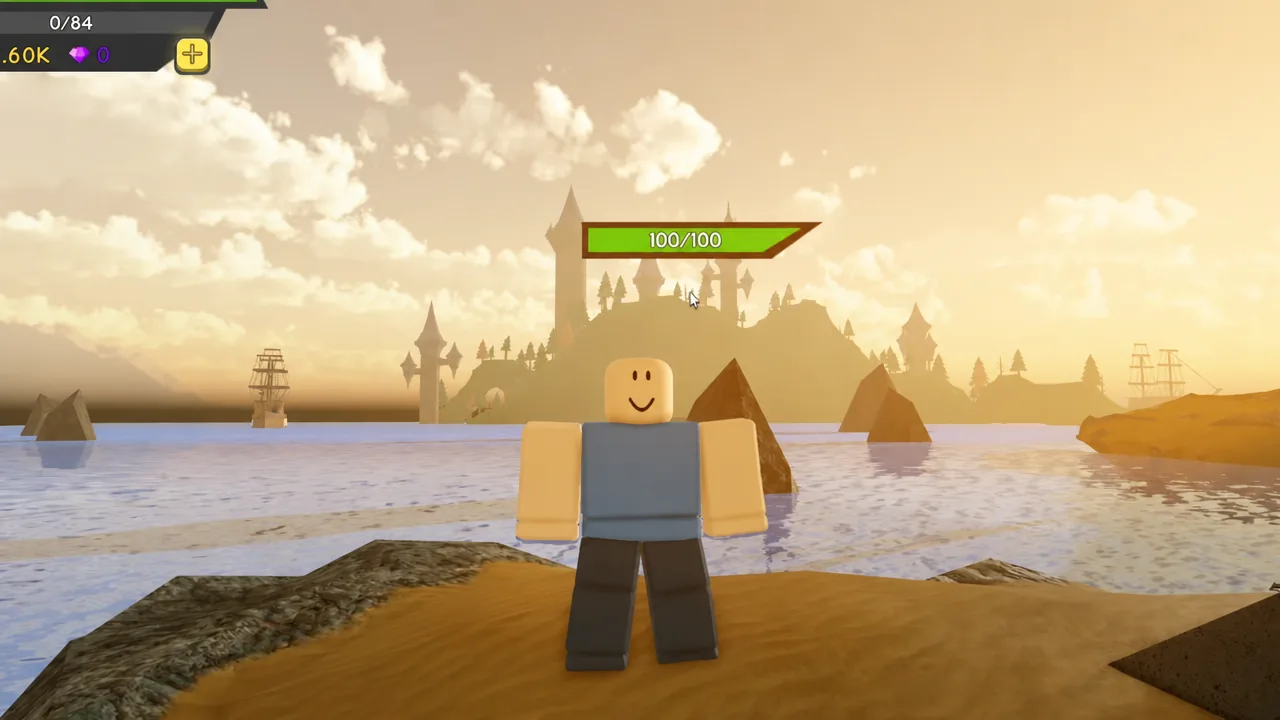
Aura of Life, Redemption and Rejuvenating Spray sit here as the Uncommon healing options. They are weaker than the Epic heals, but they are available far earlier, and Aura of Life in particular keeps a ground-based heal running while you keep attacking.
Level requirements and drop locations for the top spells
| Spell | Level | Dungeon and difficulty |
|---|---|---|
| Poison Cloud | 1+ (usually found near 18) | Desert Temple, Hard / Insane / Nightmare |
| Lightning Strikes | 1+ (usually found near 20) | Desert Temple, Insane |
| Ice Needles | 32 | Desert Temple |
| Fire Bomb | 40 | Winter Outpost, Hard / Insane |
| Aura of Life | 40+ | Winter Outpost |
| Piercing Rain | 54 | Winter Outpost |
| Ghostly Cannon Barrage | 60 | Pirate Island |
| Vortex | 104 | The Canals, Nightmare |
| Pulse Waves | 120 | Steampunk Sewers, Insane |
| Chain Storm | 200 | Yokai Peak, Insane |
| Spirit Link | 200 | Yokai Peak, Insane |
| Hands of Death | 205 | Yokai Peak, Nightmare |
| Void Dragon | 205 | Yokai Peak |
| Unstable Warp | 210 | Abyss Void, Insane / Nightmare |
Enhanced Inner Focus comes out of Northern Lands, and Phantom Flames drops from Pirate Island, generally on Insane or Nightmare. Higher difficulties are where the good rolls live, so farming a dungeon on Hard mostly gets you a spell you will replace.
Early and mid-game picks that still pull weight
Poison Cloud is the spell most players lean on through Desert Temple. It drops a circular zone that ticks damage over time, which is ideal for tight corridors packed with mobs. Lightning Strikes covers the opposite need with a single burst of damage into a small cluster, useful for elites and early bosses.

Ice Needles ranks lower on paper, but its very short cooldown makes it worth slotting in both ability slots for near-constant casting during early levels. Fire Bomb is the one to grab once you hit level 40, since it speeds up leveling considerably through the Winter Outpost stretch. Winter Outpost is also the wall most solo players hit, and running it at the recommended level rarely works out. Pushing several levels past the requirement before attempting it solo is the reliable fix.
Pulse Waves takes over in the middle of progression. It hits six times and gives you a speed boost, so it clears groups while making Steampunk Sewers and The Canals easier to navigate.
Stat setup and loadout rules
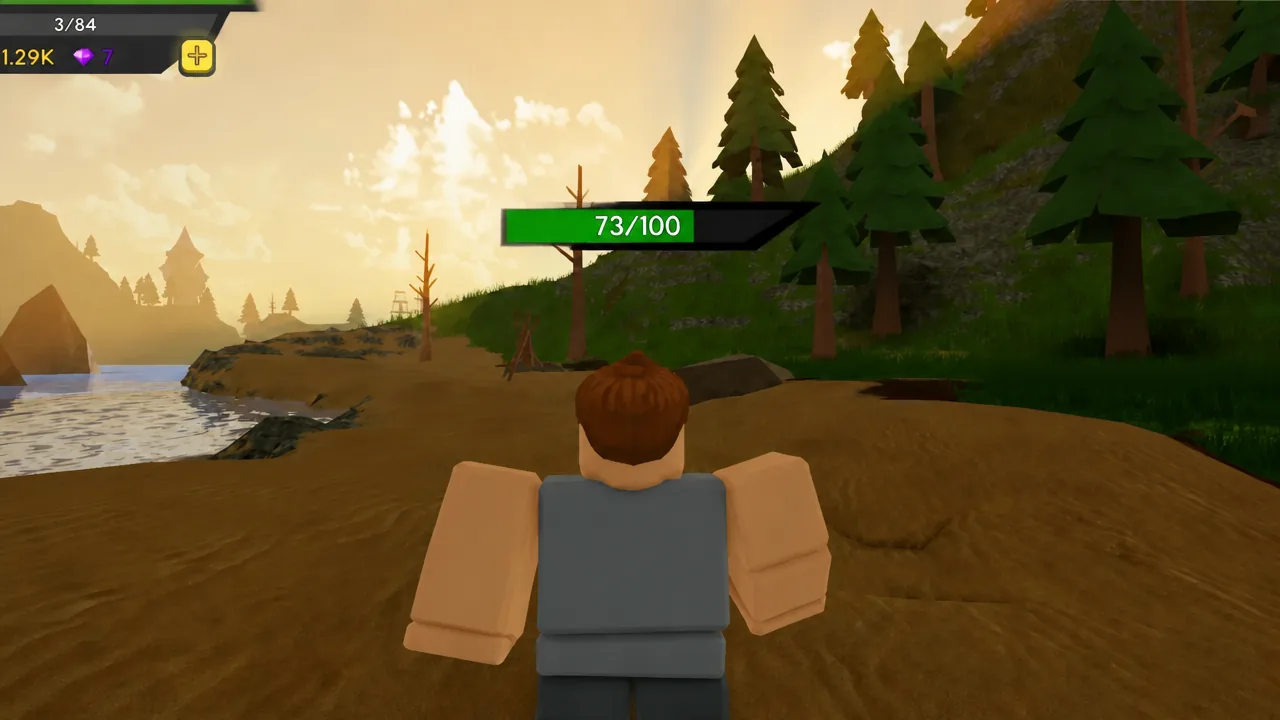
Check the bracketed text in an item description before equipping it. Abilities state whether they scale with Spell Power or Physical Power, and mixing the two wastes stat points. Mage builds should put every point into Spell Power. Stamina is a trap outside coordinated tank groups, because low damage output stalls progression harder than low health does.
The two-bar system is what makes the S tier heals so strong. Keep damage on one bar and healing on the other, then press F on PC or the swap button on mobile to switch. Drop a heal, top yourself off, and swap straight back into damage without leaving the fight. You will know the swap registered because the ability icons on your hotbar change immediately.
Three loadouts cover almost every situation. For solo pushing, run a damage pair such as Ice Needles and Poison Cloud early or Phantom Flames and Ghostly Cannon Barrage later, backed by Aura of Life and Rejuvenating Spray on the second bar. For group Nightmare raids, commit to healing on the first bar and keep Holy Circle with a wide damage spell on the second. If you have dropped a strong physical weapon and switched builds, Battle Shout before Gale Slice is the combo that clears waves.
The pattern across every tier is consistent. Spells that keep you alive or cover a large area beat spells with a single big number, and the difference only grows as dungeons get harder. If you are still working through the mid-game, secure a heal first and treat the damage upgrades as the part you farm at your own pace.