

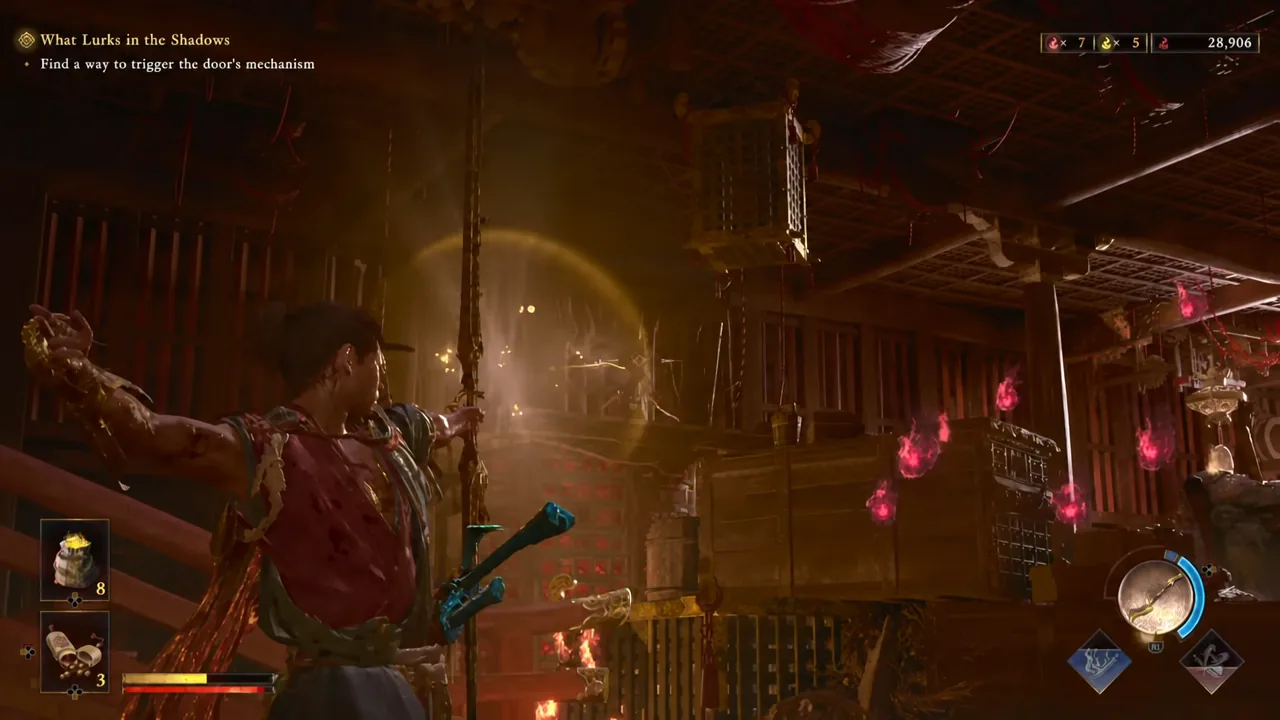
Musashi’s power curve in Onimusha: Way of the Sword runs through three separate upgrade tracks, and each one is fed by a completely different activity. Pouring hours into combat won’t move two of them. If you want maxed gear as early as the game allows, you need to know which activity feeds which track and stop wasting time on the rest.
Quick answer: Open every treasure chest you pass to collect the supplies that upgrade weapons and clothing, and defeat each boss you encounter in the world to raise your Oni Gauntlet. There is no third source for either.
The three gear types and what upgrades each one
Gear splits into weapons, clothing, and gauntlets. Weapons and clothing share the same upgrade economy. The gauntlet does not — it is tied entirely to combat milestones, which means you cannot buy or grind your way to a higher rank.
| Gear type | What raises it |
|---|---|
| Weapons | Upgrade supplies pulled from treasure chests scattered across the world |
| Clothing | The same treasure chest supplies used for weapon upgrades |
| Gauntlets | Defeating the various bosses that appear throughout the world |
Because weapons and clothing draw from the same pool, you will have to make a call early on. Dumping everything into the sword makes fights end faster, while clothing keeps you alive through the longer stretches between checkpoints. Spread evenly and both tracks lag.
Farm upgrade supplies by clearing every chest in Kyoto
Upgrade supplies sit inside treasure chests placed around the explorable stretches of Kyoto, and their placement is not tied to the critical path. That makes optional routes the actual upgrade grind. If you sprint from objective to objective, you will hit mid-game bosses with a stock weapon.
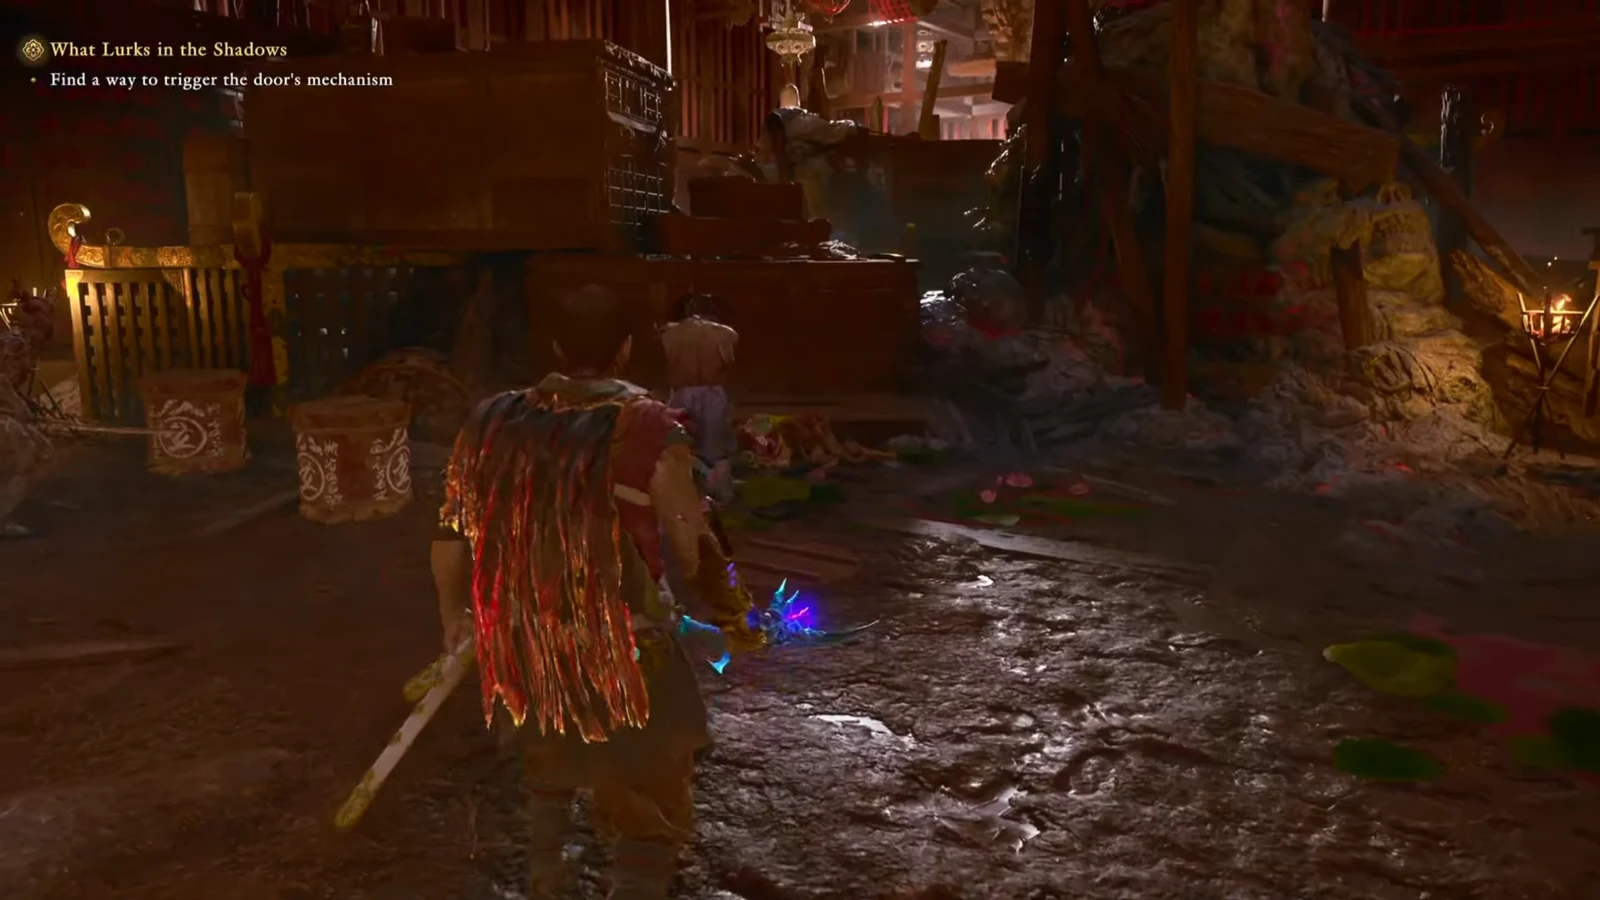
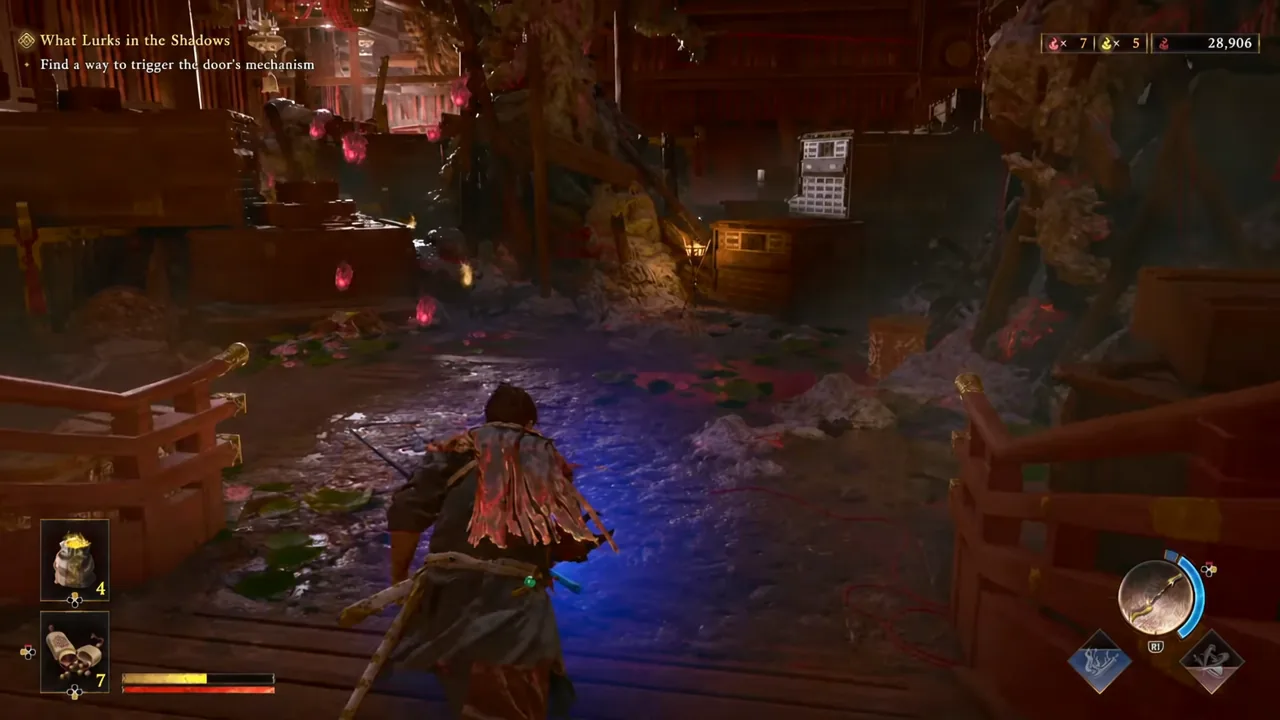
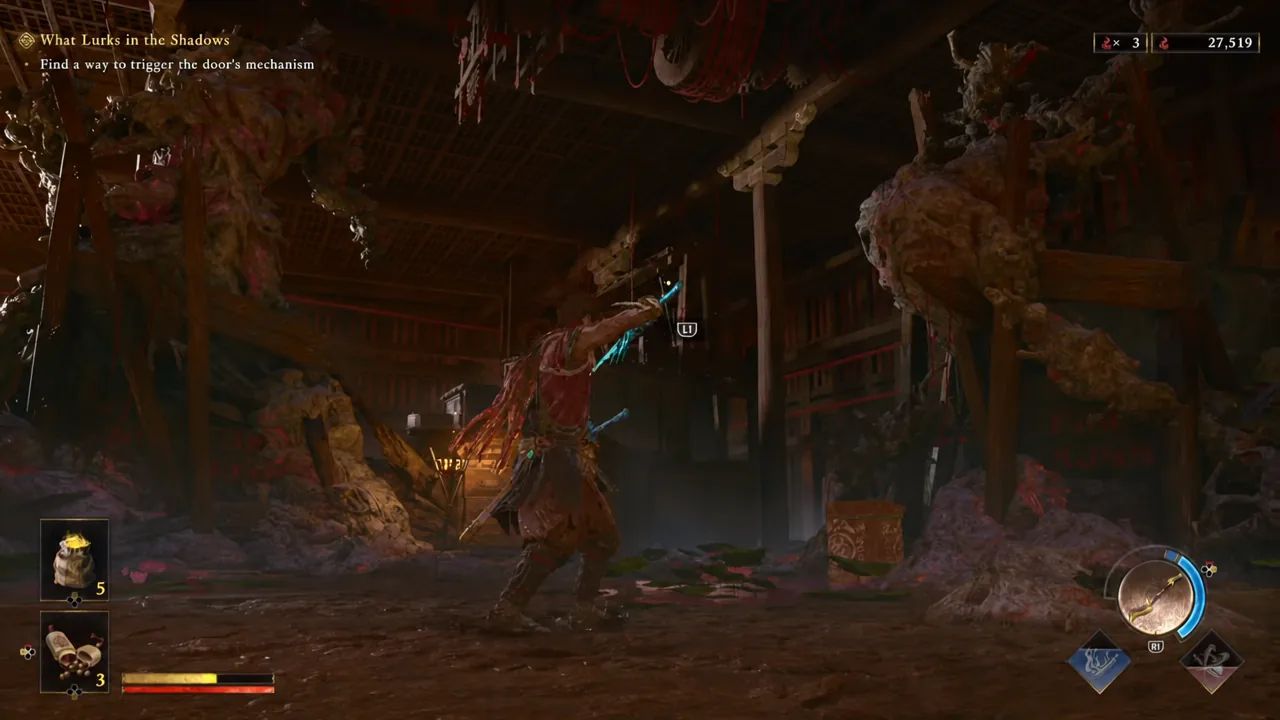
The same bow doubles as a puzzle tool later on. In the stranger corners of the map you can shoot floating boulders down onto Genma passing underneath, which clears a path and a fight at the same time.
Gauntlet upgrades: kill the bosses you find in the world
The Oni Gauntlet does not upgrade from loot. Each rank comes from beating a different boss out in the world, so gauntlet progress is a checklist of encounters rather than a resource you accumulate. Skipping an optional boss means skipping the upgrade attached to it.
Some of those fights hang off the exploration you are already doing. Hitotsume Gawa, for example, turns up as a target you line up with the bow rather than a scripted arena entrance. Others are set pieces with multi-phase rules, like Daidara in the Oni Refuge, which swallows loose souls to power itself up until you hit its swollen belly hard enough to make it spit them back out.
Rasho-gan at the Yasui Konpiragu Shrine is the other early wall. Its body is held together by threads you have to physically cut in the first phase, and the second phase adds an unblockable grab. Deflecting is the safer read there than trying to parry a boss that aggressive.
Note: if a boss is beating you, the Rokudo-chinnoji Temple bell sends Musashi to a separate space where you can drill techniques and rematch bosses you have already killed. It is a practice room for the timing you need, not an extra source of gauntlet ranks.
Red souls fund stats and skills, not gear tiers
It is easy to confuse the two economies. Souls absorbed through the gauntlet are a separate currency from chest supplies, and they do different jobs. Knowing which is which stops you from hoarding the wrong resource.
| Soul | What it does |
|---|---|
| Yellow | Restores Musashi’s health during and after fights |
| Red | Pays for skill tree nodes and baseline stat upgrades |
| Blue | Charges the Oni Power gauge that fires Oni Armament attacks |
Souls only sit on the ground for a short time and certain enemies will steal them, so absorption is its own risk calculation. Hold the absorb trigger the moment an enemy drops, then reset your guard. Getting your stamina broken mid-fight costs you a chunk of the souls you were saving, which is the single fastest way to lose a session’s progress.
If you want the harvest to be worth more, chain parries until the Blaze gauge fills. In Blazing State your hits do more health and stamina damage and enemies drop noticeably more Blue souls. The Celestials armament works in the other direction — every hit forces enemies to cough up Yellow souls, so it doubles as healing when you are trying to clear an area without retreating.
Why your gear stalls out
There are only a few reasons a run ends up under-geared, and all of them are avoidable.
- You are following objective markers and leaving optional routes — and their chests — unopened.
- You walked past a sealed door instead of shooting its mechanism, cutting off everything behind it.
- You skipped an optional boss, which permanently skips the gauntlet upgrade tied to that fight.
- You are spending red souls on skills and expecting weapon tiers to rise. They are separate systems.
- You are losing souls to guard breaks and to enemies that snatch them before you absorb.
One more thing worth watching: villagers under attack out in Kyoto hand out rewards when you save them, and they die permanently when you don’t. Those detours cost a fight each, but a dead NPC is a reward you can never go back for.
The practical loop, then, is simple enough to keep in your head. Clear every branch of an area for chests before advancing, shoot anything that looks like a mechanism, and never leave a boss standing. Do that consistently and all three gear tracks climb together instead of one racing ahead while the other two sit at their starting values.





