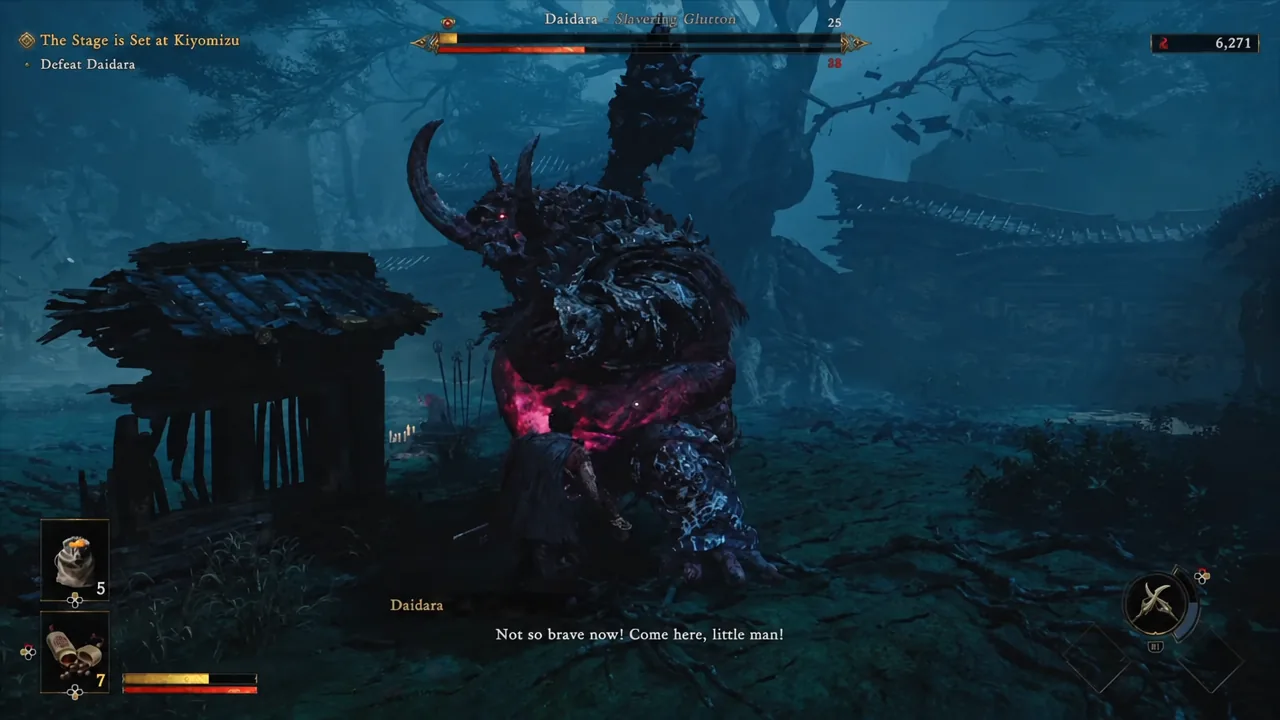
Daidara, the Slavering Glutton, is the boss that closes out the Onimusha: Way of the Sword demo, and he fights nothing like the swordsman you met before him. He is enormous, his club swings are slow but brutal, and he sits on a huge health pool backed by an equally stubborn Stamina Gauge. The twist is that he eats souls off the floor — the same souls Musashi needs — and every one he swallows makes him hit harder.
Quick answer: Vacuum up every soul with the Oni Gauntlet (L2) before Daidara reaches it, parry his three-swing club chain — the final swing especially — to drain his Stamina Gauge to zero, then land Break Issen on his exposed core and repeat.
Where Daidara appears and how the fight is structured
Daidara is the second boss you face, arriving after the duel with Sasaki Ganryu during the mission “The Stage is Set at Kiyomizu.” He drops into a fog-choked courtyard where cloaked Oni are kneeling around candles, announces that the souls are his, and notices the Oni Gauntlet on Musashi’s arm. He was added to the demo in the August 25 update, alongside the surreal Oni Refuge area of floating islands and ruins that appear from nowhere.
The fight runs across two phases with a scripted transition between them. Phase one plays out on the upper temple level; a mid-fight clash sends both of you crashing through the floor into a lower chamber littered with skulls, where Daidara comes back stronger and faster. His health bar in the demo reads 8,438, so expect a long fight if you are trading blows instead of breaking his stamina.
| Action | Input (PlayStation) |
|---|---|
| Dodge | Circle |
| Parry | L1 |
| Deflect | Hold L1, press X |
| Absorb souls (Oni Gauntlet) | L2 |
| Oni Awakening transformation | L3 + R3 |
Soul denial is the core mechanic of the Daidara fight
Combat generates souls, souls sit on the ground, and Daidara will happily eat them. When he does, his belly and mouth start glowing and he shifts into an enhanced state with noticeably higher damage output. A tutorial prompt titled “Strong Enemies Made Even Stronger” appears mid-fight to spell this out, and it is the single rule that decides whether the encounter is manageable or miserable.
Treat loose souls as a timer. Hit two or three times, back off, hold L2 to pull everything in, then re-engage. That short-burst rhythm beats a long combo every time here, because a long animation is exactly the window Daidara uses to reach the floor before you do. Souls also feed your own progression — they pay for equipment upgrades and new abilities alongside treasures you find — so leaving them out is a straight loss even when he does not eat them.
If he does power up, do not panic and do not run. Lock onto the swollen, glowing stomach and commit heavy two-handed attacks or an Oni Armament burst into it. Staggering him there forces the souls back out, and you can immediately reclaim them.
Daidara’s attacks and the correct counter for each
Everything he throws is telegraphed, which is the compensation for how much damage each hit does. Learn these four patterns and the fight becomes a rhythm exercise rather than a health-bar race.
| Attack | How to handle it |
|---|---|
| Club chain (three swings) | Parry all three. Parrying the final swing cleanly staggers him for a long window. Eating the first swing leaves you open to the rest. |
| Four-hit combo (phase two) | Same parry timing, but there is a deliberate pause between the third and fourth strikes. Hold your defense through the gap instead of releasing early. |
| Charge | During the wind-up, position yourself with a wall behind you and dodge as he arrives. He rams the wall and staggers himself. |
| Grab | Perfect Dodge only. If it lands, he drains your souls, cutting HP, the Stamina Bar and the Oni Gauge in one go. |
With a full Oni Gauge, the Oni Armament “The Two Celestials” can cut the momentum of both the grab and the charge outright. Oni Strength, the heavy Oni ability, is the tool for moments when ordinary slashes stop making progress against his guard.
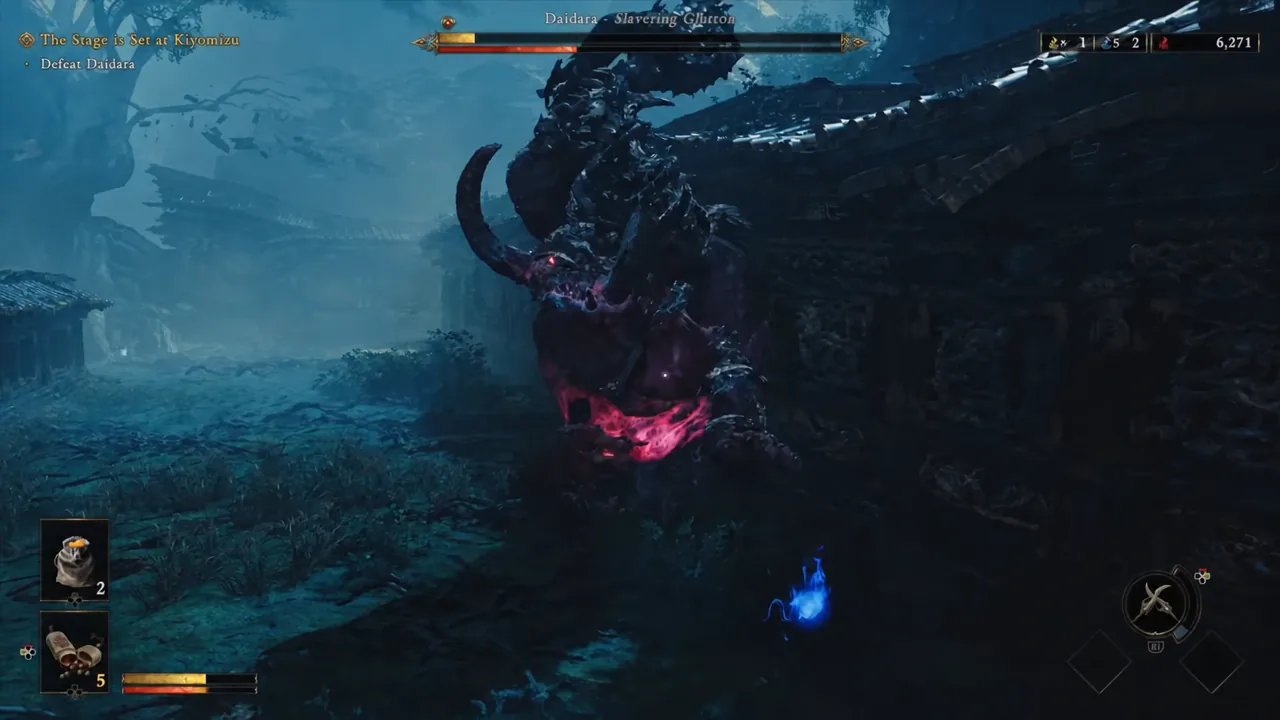
Phase 1: Strip the armor, then bait the club
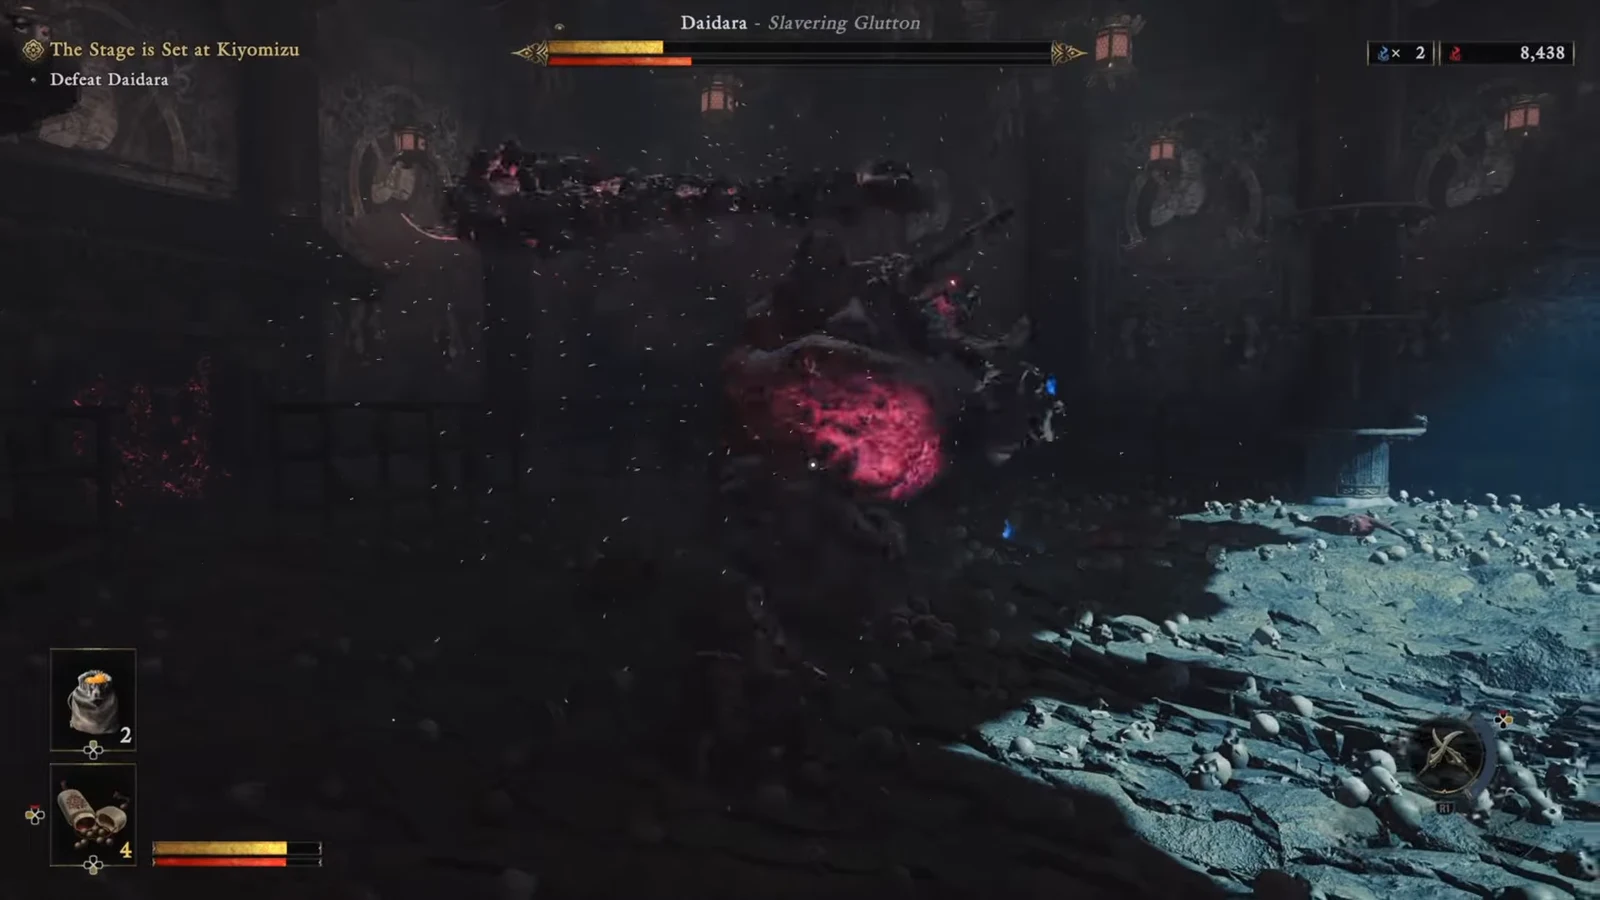
Phase 2: Parry into the stamina break
How to tell it is working, and why runs fall apart
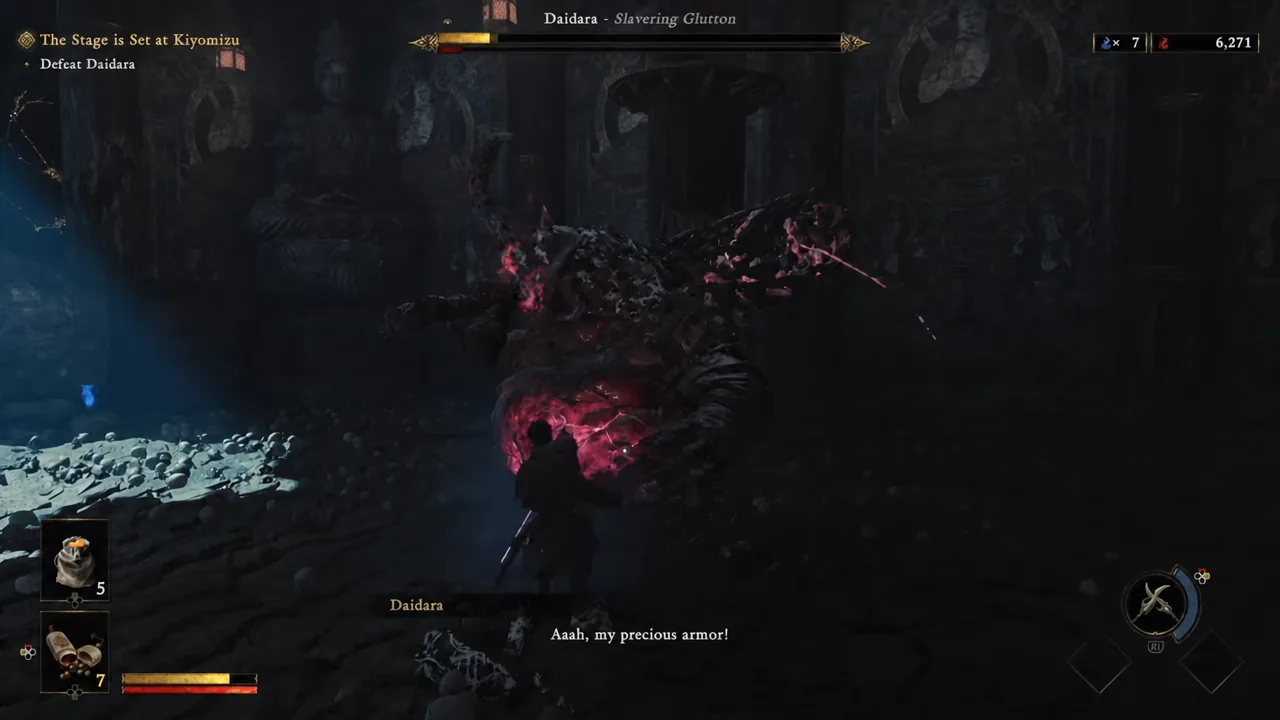
You are on the right track when his health bar drops in visible chunks after a stamina break rather than in slivers during normal trading, and when his belly stays dull instead of glowing. At zero health, Musashi counters a final lunge, leaps, and drives his katana into the core. Daidara complains about never getting to eat a tasty human, the souls rise out of him, and the demo ends on a “Thank you for playing” screen.
When attempts fail, it is almost always one of three things. You got clipped by the first swing of the club chain and ate the remaining hits while recovering. You committed to a long attack string and he cleared the floor of souls while you were locked in the animation. Or the grab connected and stripped your HP, stamina and Oni Gauge at once, leaving you with nothing to spend on a comeback.
Note: taking heavy damage early pushes bosses into their enhanced state sooner than scheduled, so a sloppy opening makes the back half of the fight measurably harder.
Beating Daidara closes out the demo on the PlayStation Store, and none of that progress carries into the full release. What does carry is the save file itself — bringing qualifying demo save data into the full game unlocks the “Kubi Akari” Charm and a stat boost for Musashi. Onimusha: Way of the Sword launches September 4, 2026 on PlayStation 5, Xbox Series X|S, Nintendo Switch 2 and PC, so a clean run through this fight is worth the practice as much as the reward.