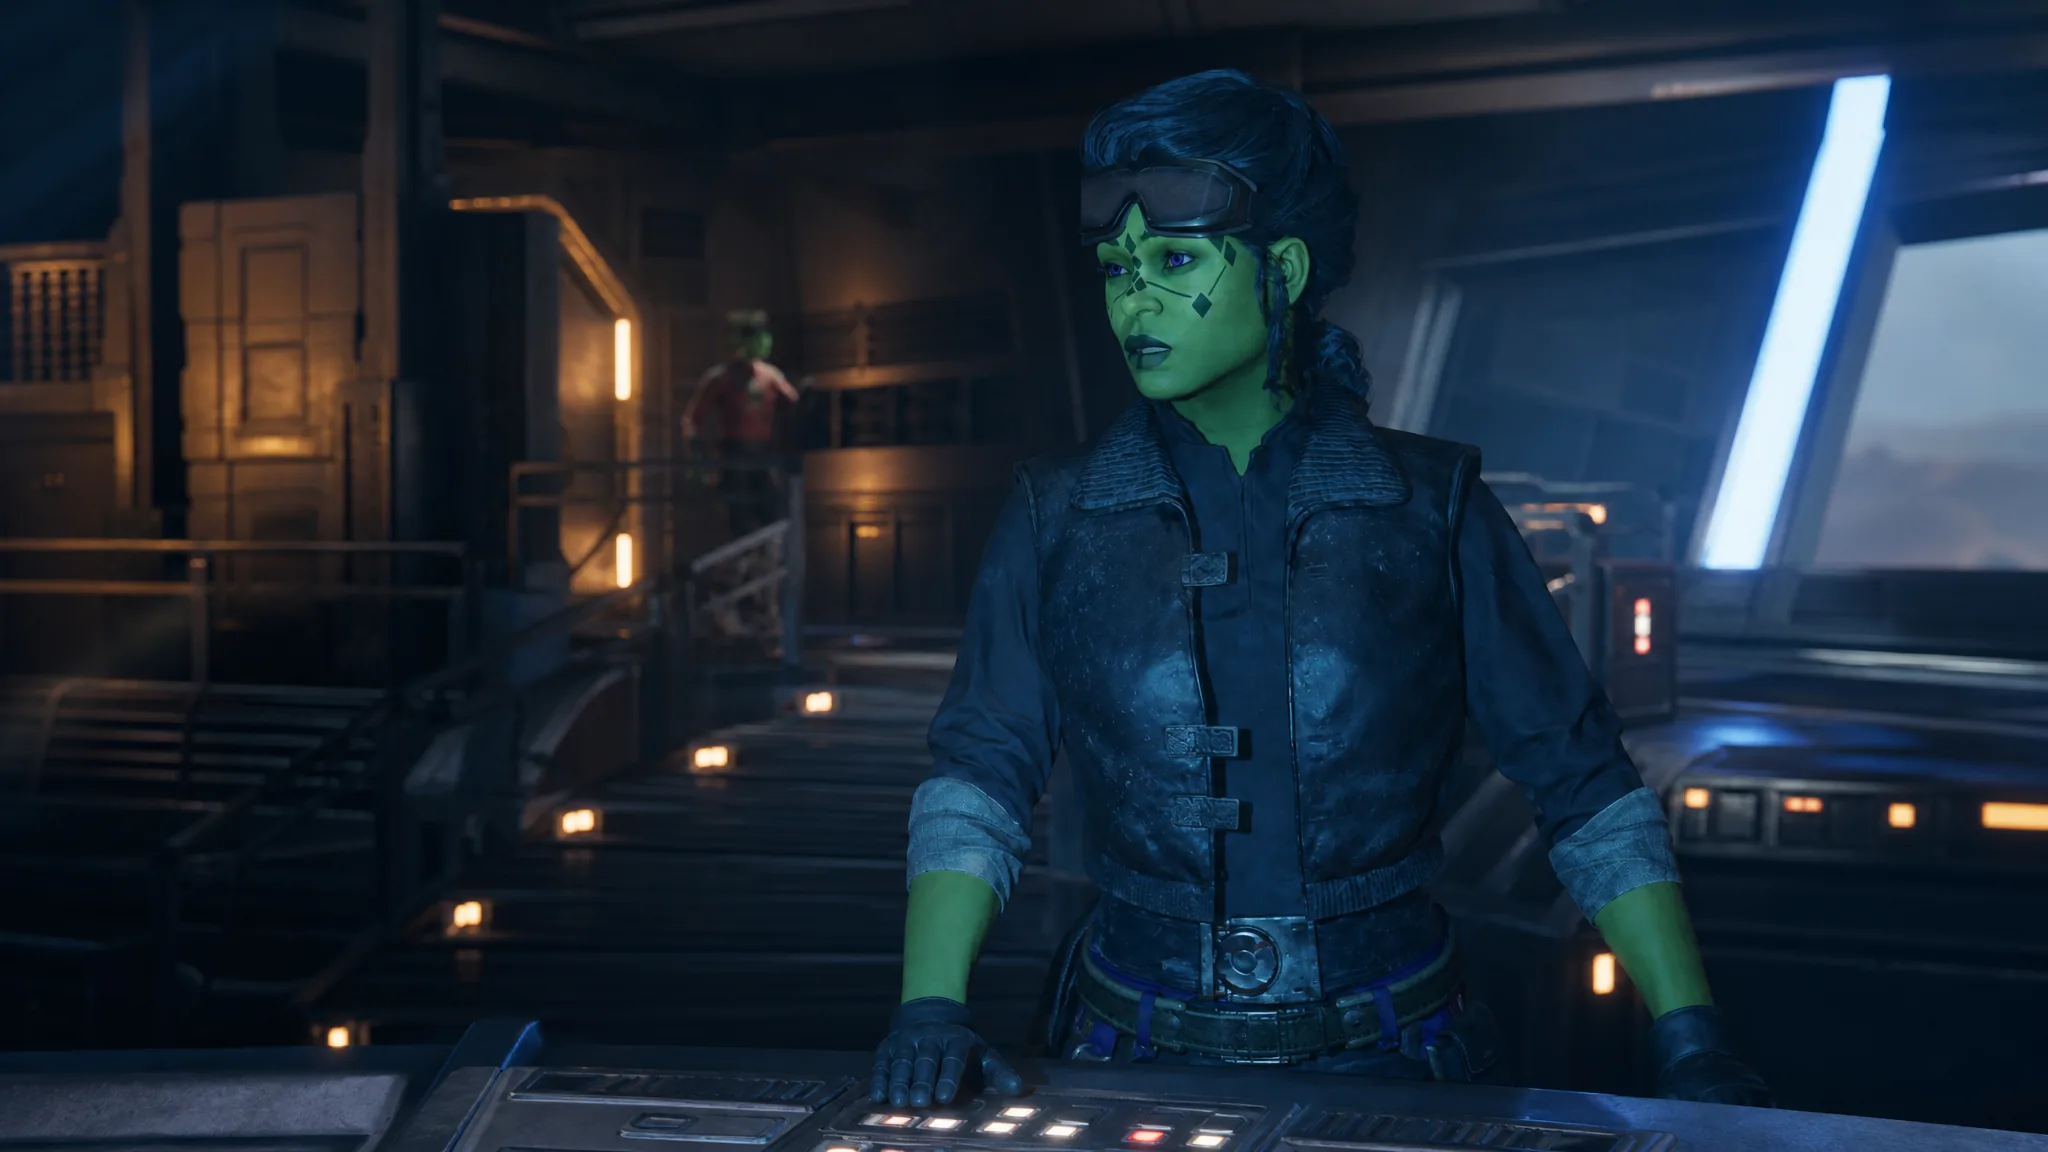
Hawks is the leader of Zero Company and the one operator you can’t leave on the bench. He shows up in every story mission, so the specializations you give him shape almost every fight. Because he has no fixed class, you can respec him freely and eventually run two specializations at once, which lets you tune him around whoever else is in the squad.
Quick answer: Run Gunslinger as Hawks’ primary specialization for consistent ranged damage, then add Medic as the secondary to keep the squad alive, or Scout if you want to flood the team with Advantage. Pair either with a Blaster Rifle.
Fearless Leader shapes every Hawks build
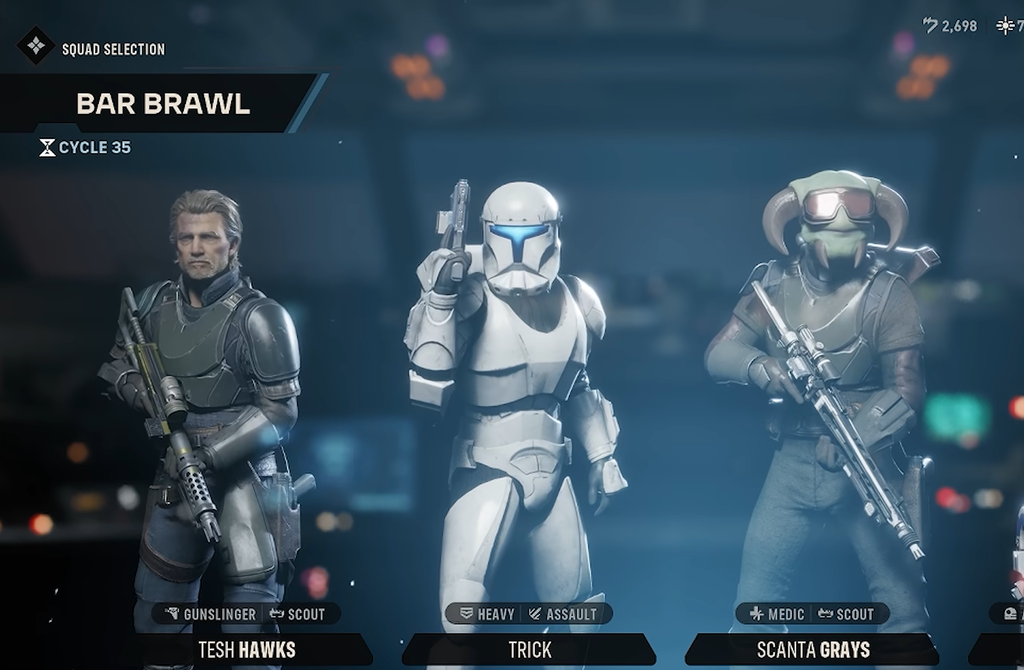
Before picking a class, understand Hawks’ fixed talent. Fearless Leader gives every other operator bonus Assist Damage while Hawks is on the field, and higher tiers add squad-wide Defense. Fully upgraded, it reaches +4 Assist Damage and +3 Defense for the entire team, which is a large stat swing spread across four operators.
The talent persists through any respec, so it works no matter which specialization you choose. Because it rewards assist attacks, any class that feeds the squad’s assist and Advantage economy pulls extra value from Hawks. That is why the strongest picks lean toward flexible damage and support rather than a pure tank.
Best specializations for Hawks by role
| Specialization | Role for Hawks | Best used as |
|---|---|---|
| Gunslinger | Flexible ranged damage across multiple targets | Primary |
| Medic | Healing and stat buffs to keep the squad alive | Secondary |
| Scout | Generates Advantage to fuel squad ultimates | Secondary |
| Scoundrel | Status effects and assist damage | Secondary |
| Sharpshooter | Long-range single-target damage on elites and bosses | Primary or secondary |
Gunslinger: the strongest primary pick
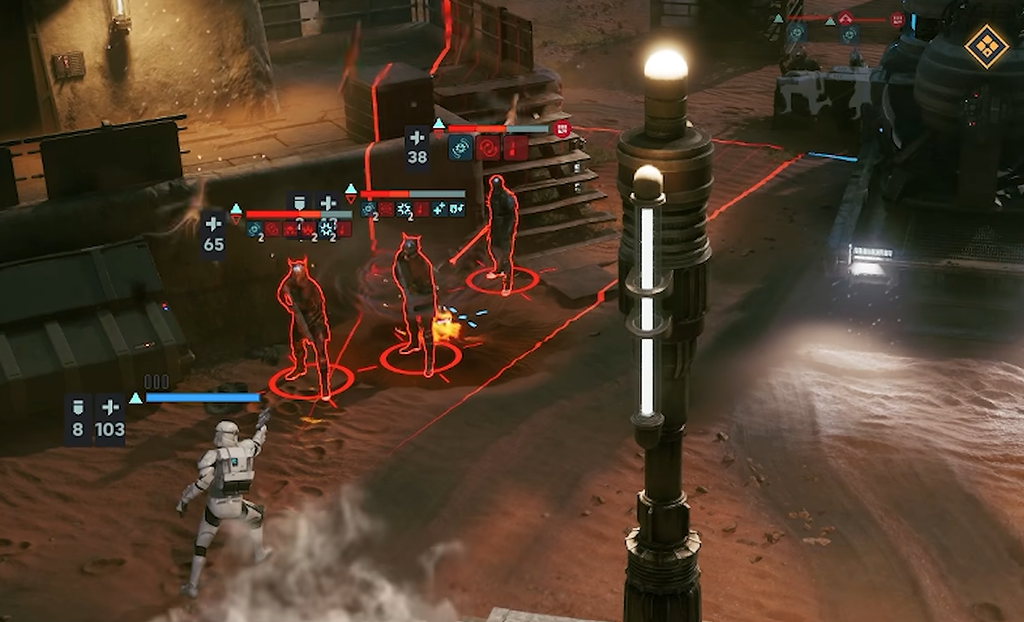
Gunslinger fits Hawks’ Han Solo-style gunfighter identity and rewards spending a full turn on offense. It fires more individual shots than any other standard class, which stacks up quickly with his talent and a fast weapon.
- Open Fire (Ultimate): Fire twice at any combination of enemies, with each rank adding Chance-to-Hit and lowering the Advantage cost. Later ranks let you fire three times.
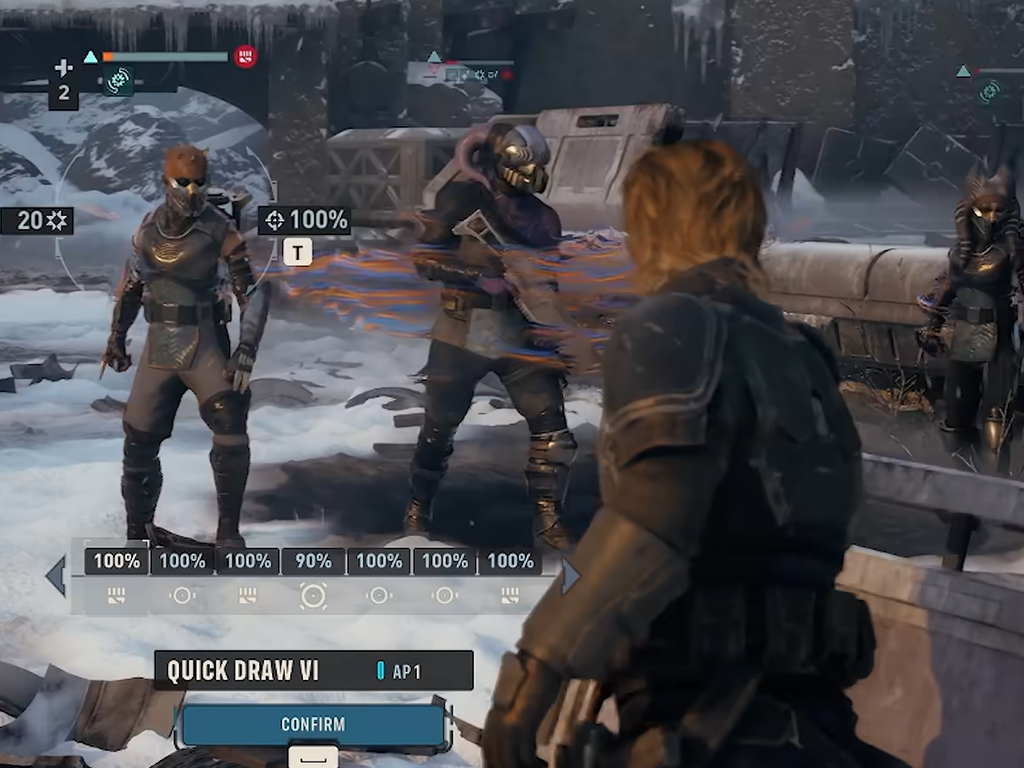
- Quick Draw (Standard): A 1 AP sidearm shot that is separate from your main blaster. Defeating an enemy with it refunds the AP, making it a strong finisher.
- Keen Eye (Passive): Adds Critical Chance to all ranged attacks, which compounds because of how many shots the class fires.
- Onslaught (Passive): Each attack in a turn adds +1 primary blaster damage, so your output ramps the more you shoot.
Open Fire paired with a longarm delivers heavy burst in a single turn, and the permanent crit boost from Keen Eye keeps his damage reliable. It also slots cleanly alongside most secondary classes, so it makes a safe starting choice for a first playthrough.
Best secondary specializations
Medic for squad survival
Medic is the safest support pairing and works in almost every team. First Responder permanently equips a Medpac without taking a utility slot, so Hawks can heal wounds without giving up a gadget. Lifesaving Measures increases the health restored by those Medpacs, and Combat Stim buffs an ally’s Max Health, Melee Damage, and Ranged Damage for two turns.
Because you already move Hawks around the map with Gunslinger, staying near teammates to heal them costs little. Combat Stim also boosts Ranged Damage, which lines up with your blaster-focused damage plan.
Scout for Advantage generation
Scout turns Hawks into an Advantage battery. Combat Recon grants Advantage for each enemy it detects, and Tactical Timing adds more when he defeats a target. That shared resource powers your squad’s ultimates far faster, which matters when operators like Cly or Tel-Rea have strong Advantage-hungry moves.
Scout does little direct damage outside the Ambush ultimate, and balancing Advantage takes practice, so treat it as a mid-game pickup rather than a first-timer’s primary. It also pairs well with Medic if you want to go full support.
Scoundrel for assists and status effects
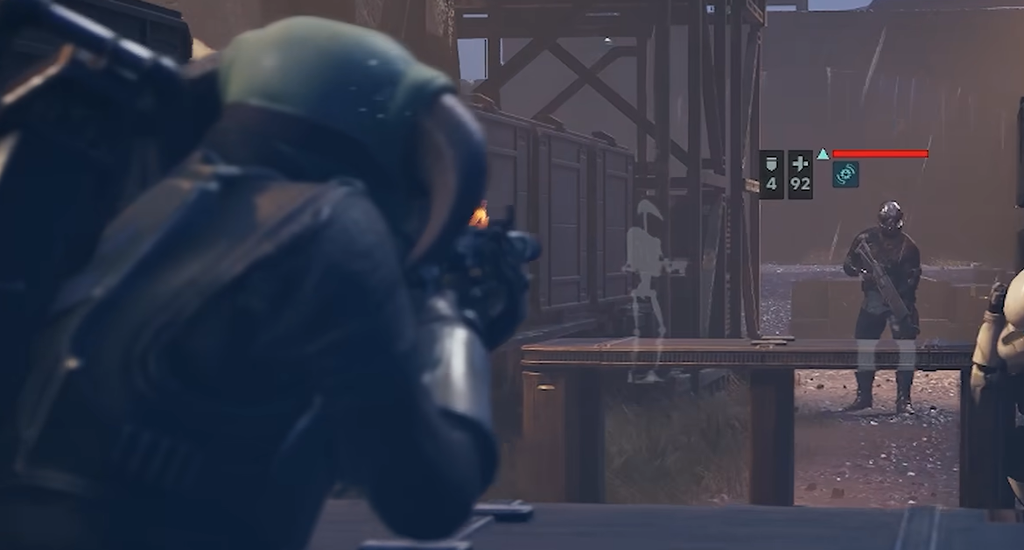
Scoundrel leans directly into Fearless Leader. It focuses on inflicting status effects and performing assist actions, and since assists don’t cost AP, Hawks can add extra damage by joining other operators’ attacks. Identify Weakness makes a target Vulnerable for a guaranteed critical hit, which pairs neatly with Gunslinger’s crit output. Keep it as a secondary rather than a starting class.
Sharpshooter for a damage-first Hawks
If you want Hawks to hunt elites and bosses instead of spreading fire, Sharpshooter is the pick. It revolves around long-range damage, critical chance, and Chance-to-Hit, and it excels at picking off single high-value targets from a distance. Precision Shot always hits its target, and Sharpshooter Training raises the accuracy of all blaster attacks. Hawks can cover this role early, since a dedicated sniper operator only joins later in the campaign.
When you can add a second specialization
Hawks starts with one specialization and unlocks a secondary later in the campaign, around Cycle 18. You can pick almost any other class for that second slot, but you can’t double up on the same one. A secondary specialization’s Focus Tree upgrades cap at Tier 5, so it will always be slightly weaker than the same class run as your primary.
You’ll know the swap took effect when the operator’s ability list shows both classes and you can spend Focus points across both trees. To change or refund a class, use the Change Specialization option on Hawks.
For most players, the reliable setup is Gunslinger plus Medic, which keeps Hawks self-sufficient in both offense and support. Swap in Scout once you understand the Advantage system, or lean into Sharpshooter and Scoundrel if you’d rather build him around raw crit damage. Whatever you choose, Fearless Leader keeps him valuable, so build the rest of him to cover whatever your squad is missing.