Star Wars Zero Company lets you tune how punishing your campaign feels before you deploy a single Operator. There are four base difficulty levels, two extra toggles that change how failure is handled, and a separate set of labels that grade individual missions. Knowing which choices lock in permanently and which you can adjust later matters, because some of them cannot be undone once the campaign begins.
Quick answer: Pick Story, Normal, Hard, or Expert at campaign start. You can change that level later from the menu between missions, but Beskar Mode and Permadeath are set at creation and stay for the whole run. Hard and Expert also disable the Bacta Tank, so injuries take a full Cycle to heal.
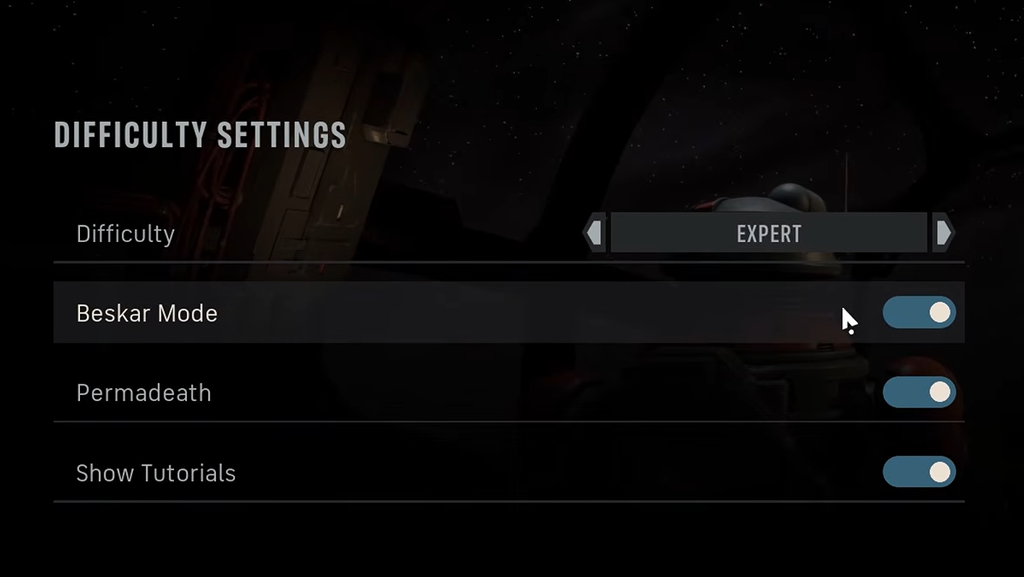
The four campaign difficulty settings
When you start a campaign you choose one of four difficulty levels. Each one adjusts enemy health, enemy damage, enemy accuracy, and the effective range of your own weapons. The higher settings also change how quickly injured Operators recover and how strong your squad bonds are at the start.
| Setting | Best for | Key changes |
|---|---|---|
| Story | Players who mainly want the narrative | Enemies deal much less damage and are far less accurate; your output is buffed |
| Normal | Newcomers to tactical strategy games | Standard accuracy with generous weapon ranges; pressure without frequent losses |
| Hard | Genre veterans, including XCOM players | Tougher, higher-damage enemies; tighter weapon ranges; lower starting bonds; Bacta Tank disabled |
| Expert | Players confident with tactics games | Same changes as Hard but more severe; enemies hit very hard and are very durable |
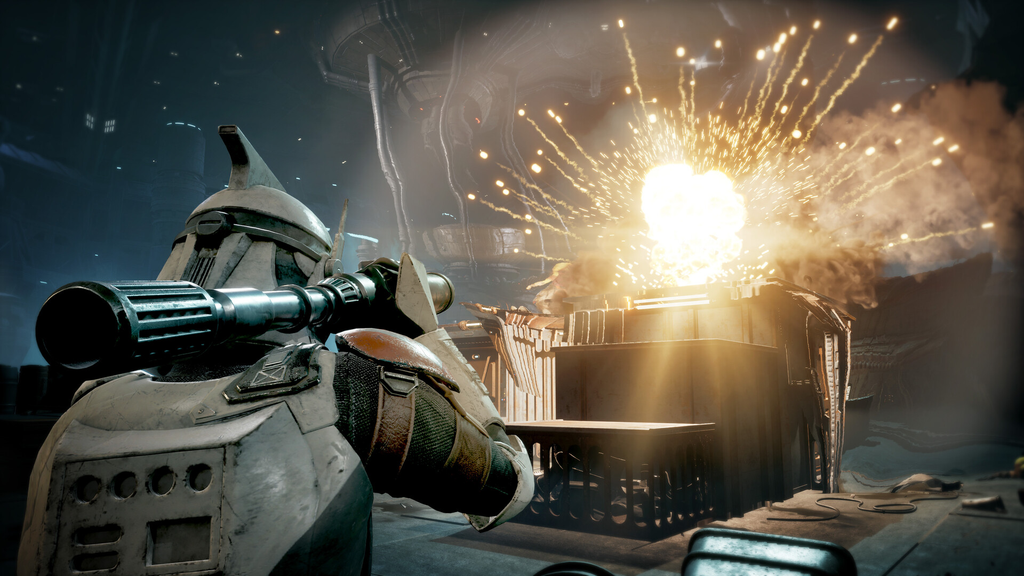
Story removes almost all friction, which makes it the pick only if you want to walk through the campaign without tactical stakes. Normal keeps combat meaningful while staying forgiving, and its generous blaster ranges make some weapon archetypes feel strong. Hard is a common starting point for anyone who already plays turn-based tactics, since positioning mistakes can get an Operator caught in the open and killed. Expert pushes every one of those pressures further, which becomes obvious against Super Battle Droids, Droidekas, and the tougher Coil enemies.
What Hard and Expert take away
The single biggest change on Hard and Expert is that the Bacta Tank is disabled. The Bacta Tank is the Medbay’s instant-recovery option that clears an injury for Credits without spending a Cycle. With it gone, every injured Operator has to heal in a standard bed, which takes one full Cycle each.
That turns each injury into a roster problem. An injured Operator is either benched for a Cycle or deployed while carrying a chance-to-hit penalty, and with a small early roster there is often no third option. Both settings also start your Operators with much lower Bond levels, so shared bonuses, Focus Points, and Cross Training benefits take longer to build. On Expert, the reduced effective range is the rule you feel most from turn to turn, since distant cover is worthless if every shot from it is a poor one.
What you can change later and what is permanent
The difficulty level itself is flexible. A campaign started on Normal can be raised or lowered later from the menu between missions, without restarting, as long as you are outside combat. The toggles set alongside it are not flexible. EA’s official guidance states that the choices made on the Difficulty Settings screen cannot be changed once a campaign begins, so Permadeath and Beskar Mode stay as you set them for the entire run. Changing either one means starting a new campaign.
Beskar Mode: the ironman toggle
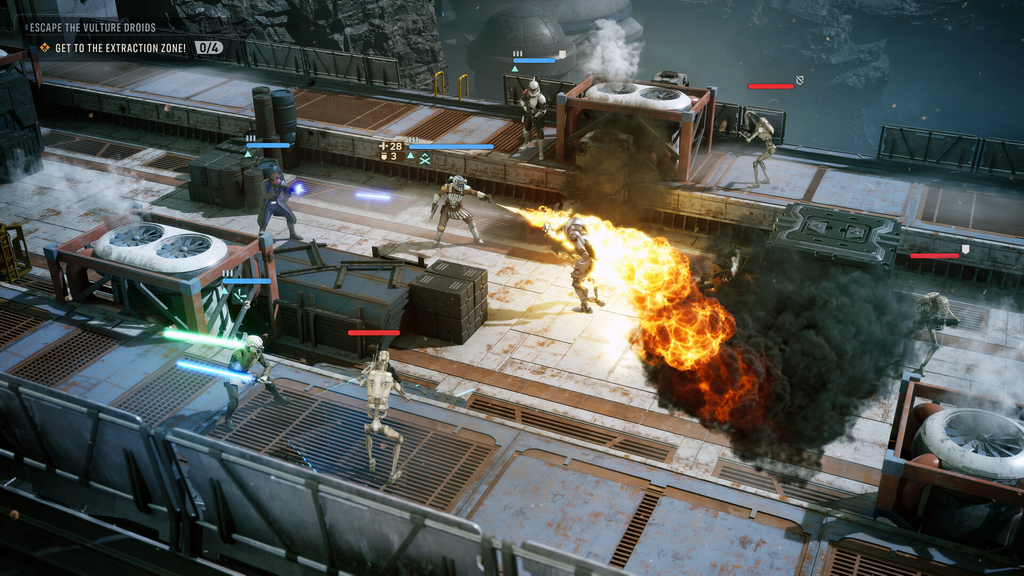
Beskar Mode is the game’s ironman option, and it is not a difficulty above Expert. You choose your combat difficulty first, then decide separately whether to enable it. Beskar commits the run to a single persistent save and removes manual saving entirely, so outcomes cannot be undone by reloading. A lost Operator stays lost, and a failed mission stays failed.
Beskar also carries critical failures that can end the campaign outright. Losing Hawks, losing another crucial squad member such as Trick, or failing a key mission can end the run and force you to start over. Outside Beskar Mode the game keeps two autosaves worth noting: one at the first round of every battle, and one at the start of each Cycle. A disastrous fight can always be restarted from the top, and a mission can be restarted from the game menu with the same Operators, but neither safety net exists once Beskar is on.
The Legend trophy requires Expert and Beskar Mode active together, so completionists will eventually need both.
Permadeath is a separate switch
Permadeath is its own toggle, and it is enabled by default on every difficulty. With it active, Operators can be permanently lost, which can affect parts of the story and raises the stakes of every fight. Losses are still avoidable, since injuries can be treated in a Medbay before they compound. You can disable Permadeath from the main menu on the lower settings if you would rather not risk your squad.
Permadeath and Beskar Mode do different jobs. Permadeath decides whether Operators can die for good. Beskar decides whether you can undo the campaign state that led to that loss. Leaving Permadeath on while keeping Beskar off gives survival real weight without forcing a single-save commitment, which suits most first playthroughs.
Mission difficulty labels are not campaign difficulty
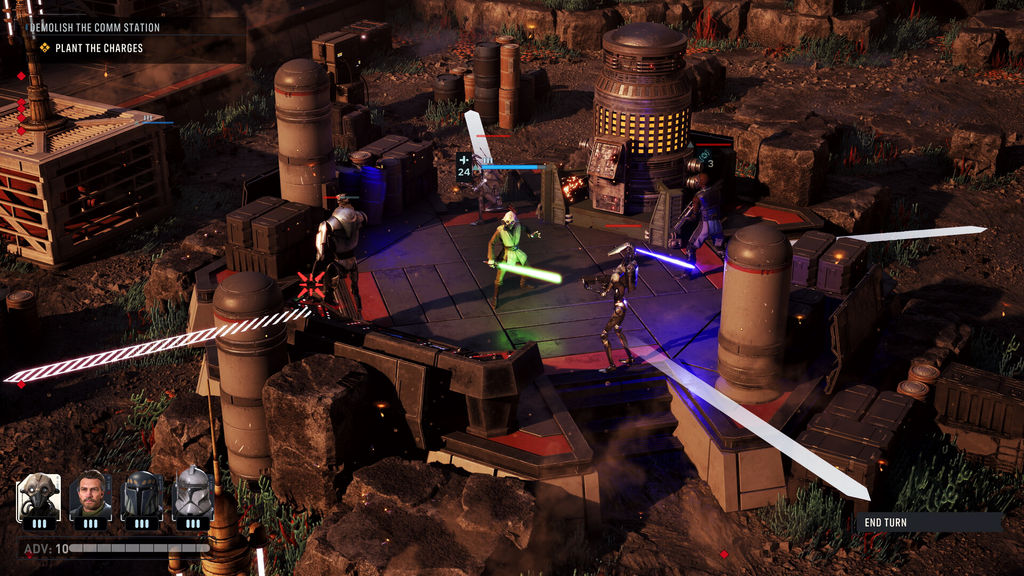
Once a campaign is running, individual Tactical Missions carry their own labels: Cautious, Risky, Dangerous, and later Extreme. These describe the danger of one operation, not the difficulty of your whole campaign. A Hard campaign showing a Dangerous mission has not switched to a fifth setting; the mission is simply warning you about that specific fight.
| Mission label | What to expect |
|---|---|
| Risky | The easiest missions; rarely a serious threat to a competent squad |
| Dangerous | Considered normal and the bulk of your missions; Elite-tier enemies, usually a single encounter |
| Extreme | The toughest; often multiple encounters and a boss, and used for many key story missions |
Extreme missions are unforgiving and demand your strongest Operators and real planning. Because a lot of the main story sits at Extreme, this is not a difficulty you can skip. When weighing a mission, read the label as risk information alongside the reward, the Cycles remaining before it expires, whether the objective is timed, and whether ignoring it lets the enemy grow stronger.
Which setting to choose
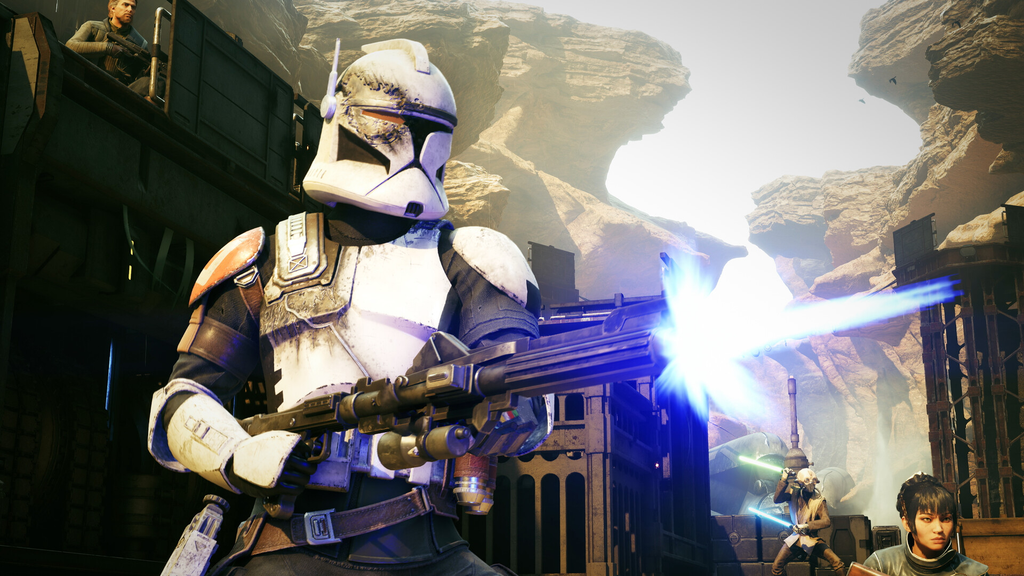
If you are still learning how cover, Advantage, assists, Bonds, and reinforcement waves work, Normal keeps combat meaningful while letting you learn the systems. If you already play tactics games and want mistakes to carry weight, Hard is the strong first-run pick, with Permadeath left on and Beskar Mode off. Players who are notably proficient can start on Expert under the same toggle setup.
Save Expert plus Beskar for a run where you already understand mission pressure, injury recovery, and reinforcements, since the disabled Bacta Tank and lower starting Bonds punish poor long-term planning as hard as poor positioning. You can always raise the challenge on a second playthrough, which is also the cleaner way to take on Beskar Mode once you know the roster.