

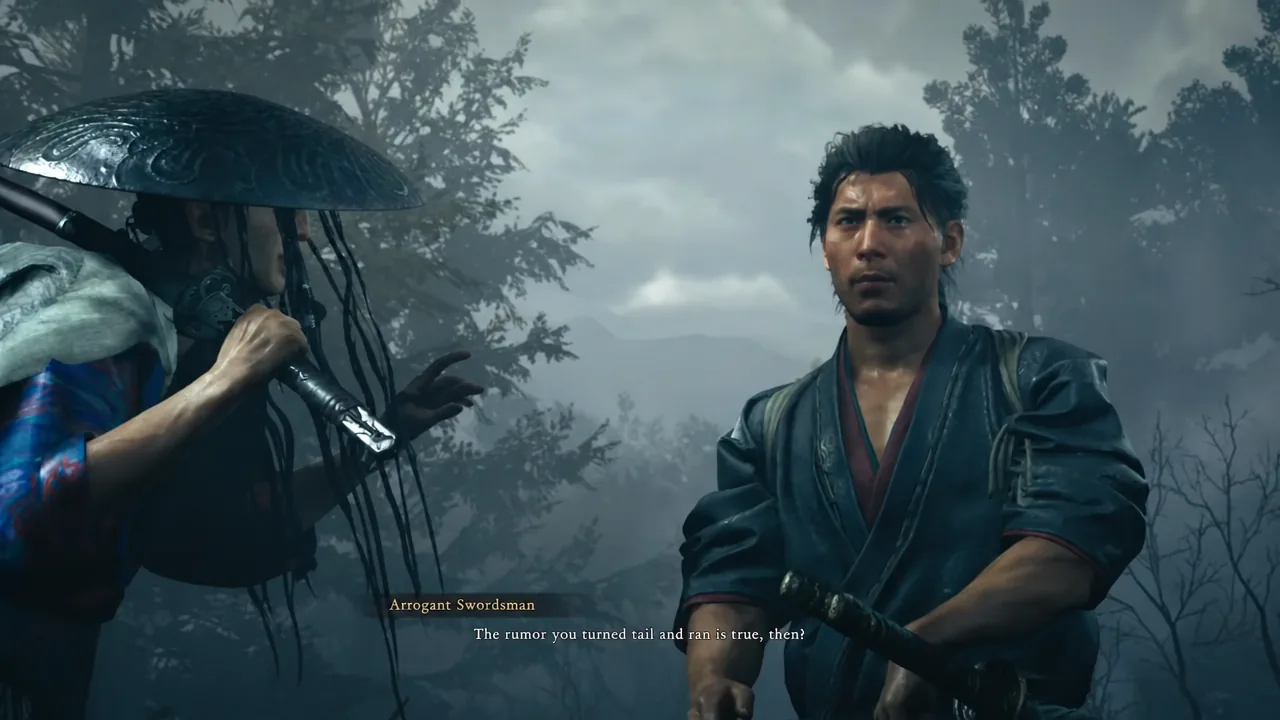
The opening stretch of Onimusha: Way of the Sword moves fast. Miyamoto Musashi loses a duel, loses a fight he never had a chance in, and wakes up with an Oni Gauntlet welded to his arm before the title card even appears. From there the run takes you through your first Rift, a Spirit Mirror, and the Kiyomizu-dera Temple grounds, ending with the giant Genma known as Daidara.
Quick answer: Beat Yoshioka Seijuro with a Break Issen, survive the ambush to receive the Oni Gauntlet, seal the first Rift with Takamura and Okuni, then fast travel to Kiyomizu-dera, use Oni Vision and the Oni Bow to open the path, and finish Daidara by draining his Stamina Gauge and hitting the marked weak points.
Before you start: Difficulty and control layout
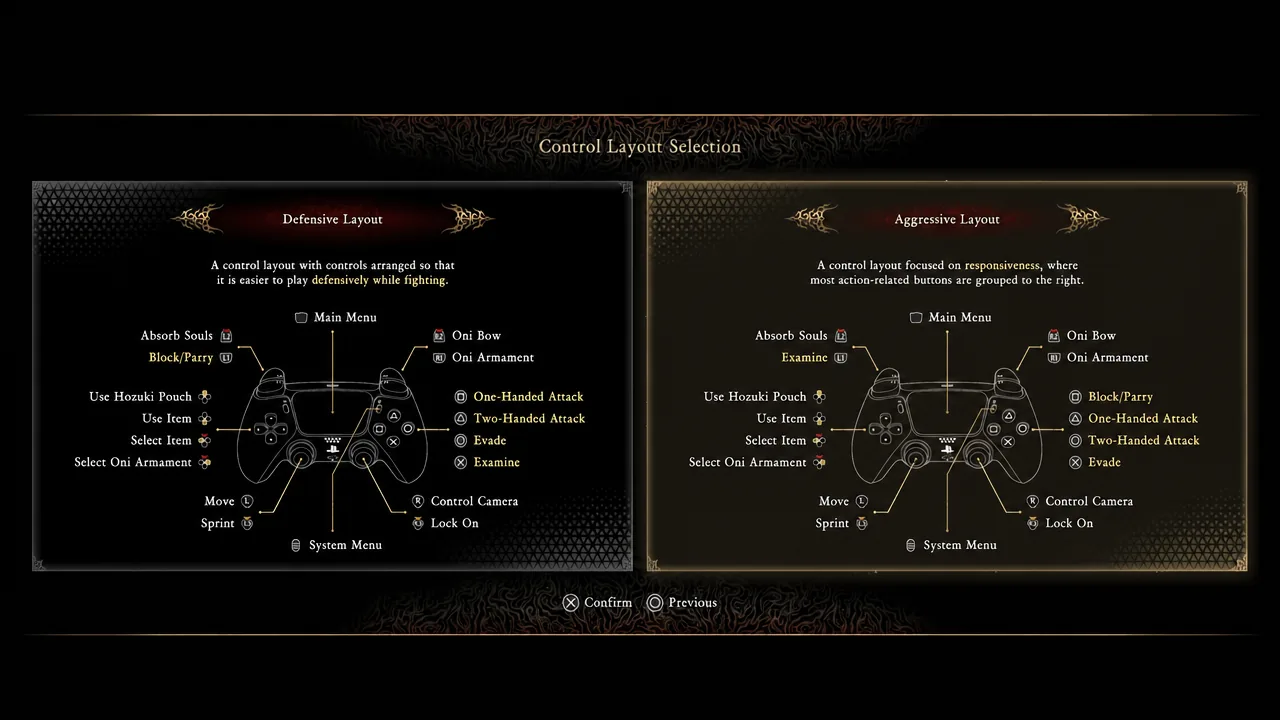
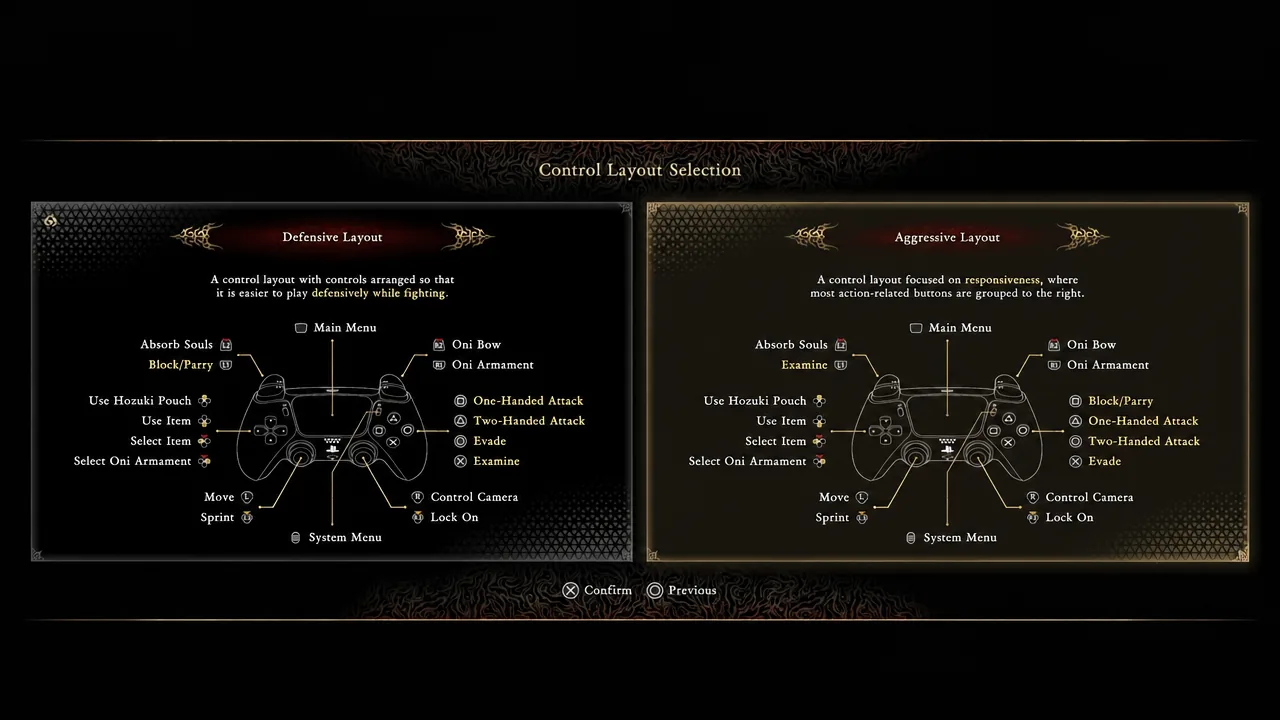
Two choices come up before the prologue, and neither can be skipped past. The difficulty split is Story (Storyline Focus) or Action (Combat Focus). Action is the intended experience and the one the combat tutorials are tuned around, since the game pushes you to stay on the offensive rather than block and wait.
If you are starting from scratch, the free trial is listed under the game’s Editions on the PlayStation Store demo page. Search the full title if it does not surface under the Demos row.
Rendaino prologue: Yoshioka Seijuro and the scripted defeat
The game opens in Rendaino, where a man is clearing bodies out of a river. A hostile villager attacks almost immediately, which is your cue to use the first tutorial prompts covering Lock-On, movement, One-Handed Attacks, and Two-Handed Attacks.
At the ruined temple you meet Yoshioka Seijuro. This is a real duel, but a short one. Keep pressure on with one-handed strings until his Stamina Gauge empties, then trigger the Break Issen finisher when the prompt appears. That single input ends the fight.
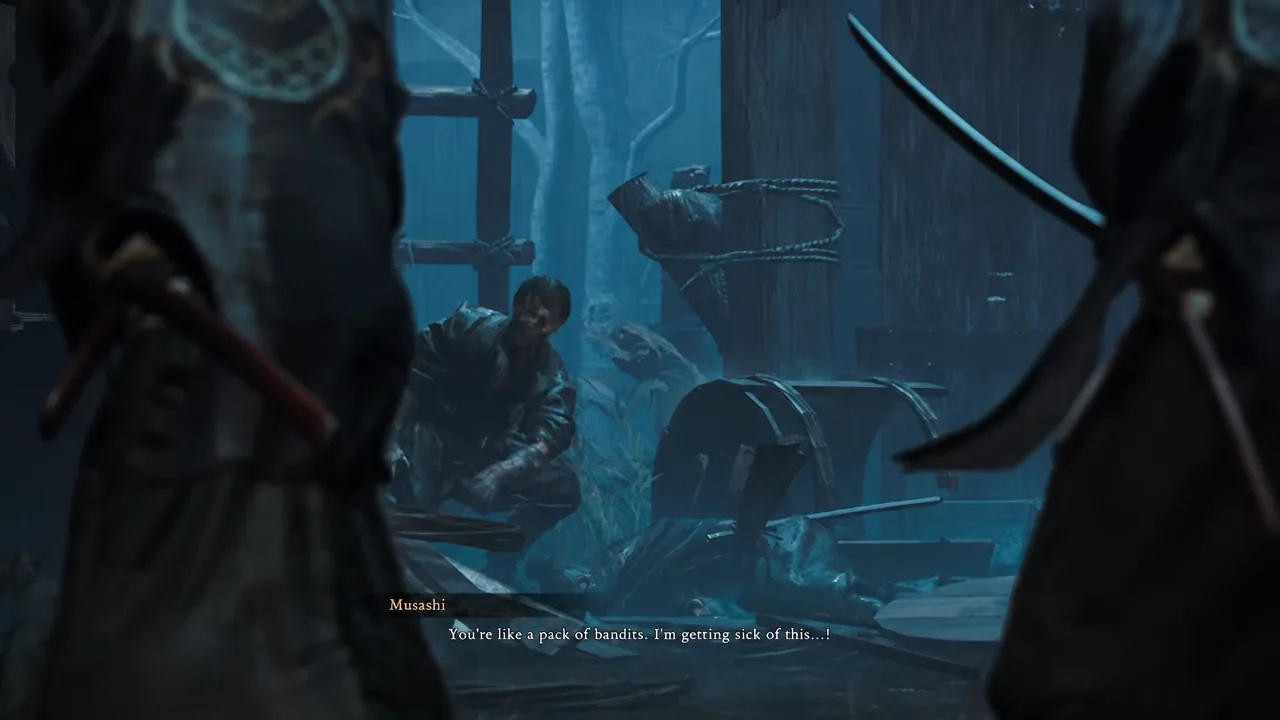
What follows cannot be won. Seijuro’s followers ambush Musashi, stab him, and throw him off a bridge. You then hide, evade the search parties, and fight through a building where the game teaches Parrying, Reflex Dodging, and Grab Reversals. Spearmen corner you on a second bridge and Musashi goes into the river again. Both defeats are scripted, so do not burn healing items trying to survive them.
The Oni Gauntlet, your first souls, and sealing a Rift
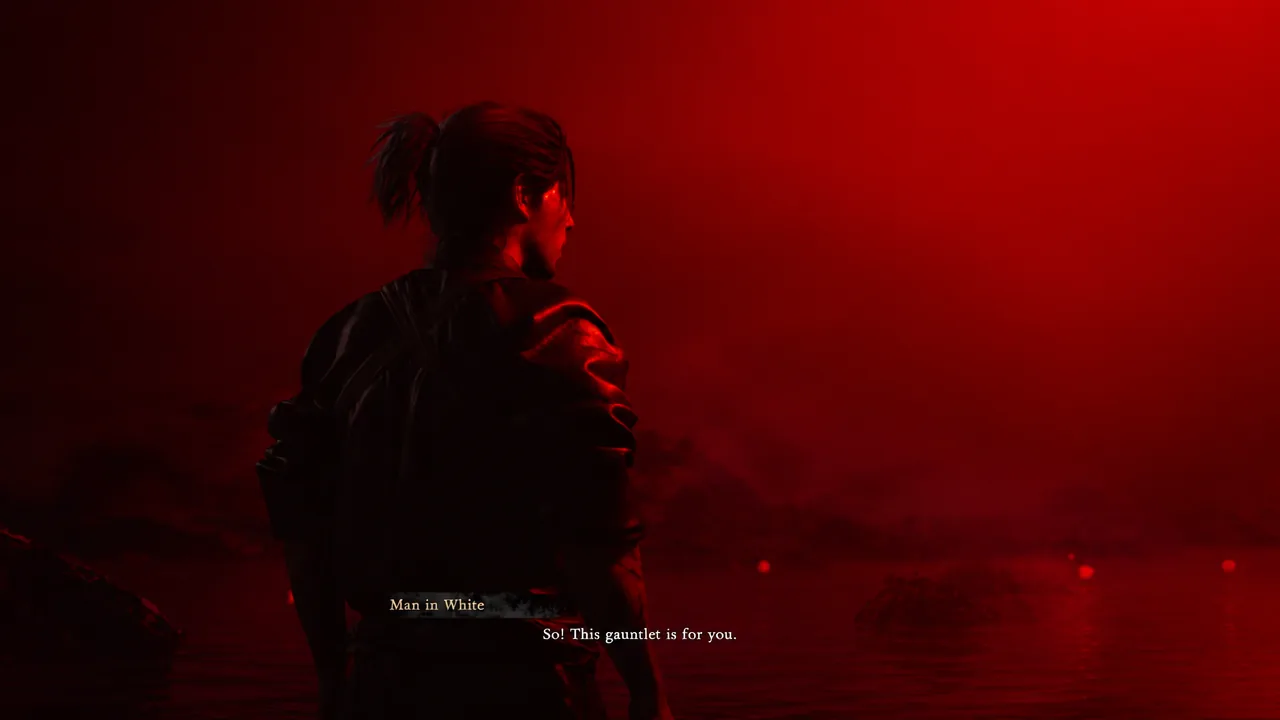
Musashi wakes in a red void where a man in white forces the Oni Gauntlet onto his arm. The title card drops here, and he returns to the real world with the artifact fused to him.
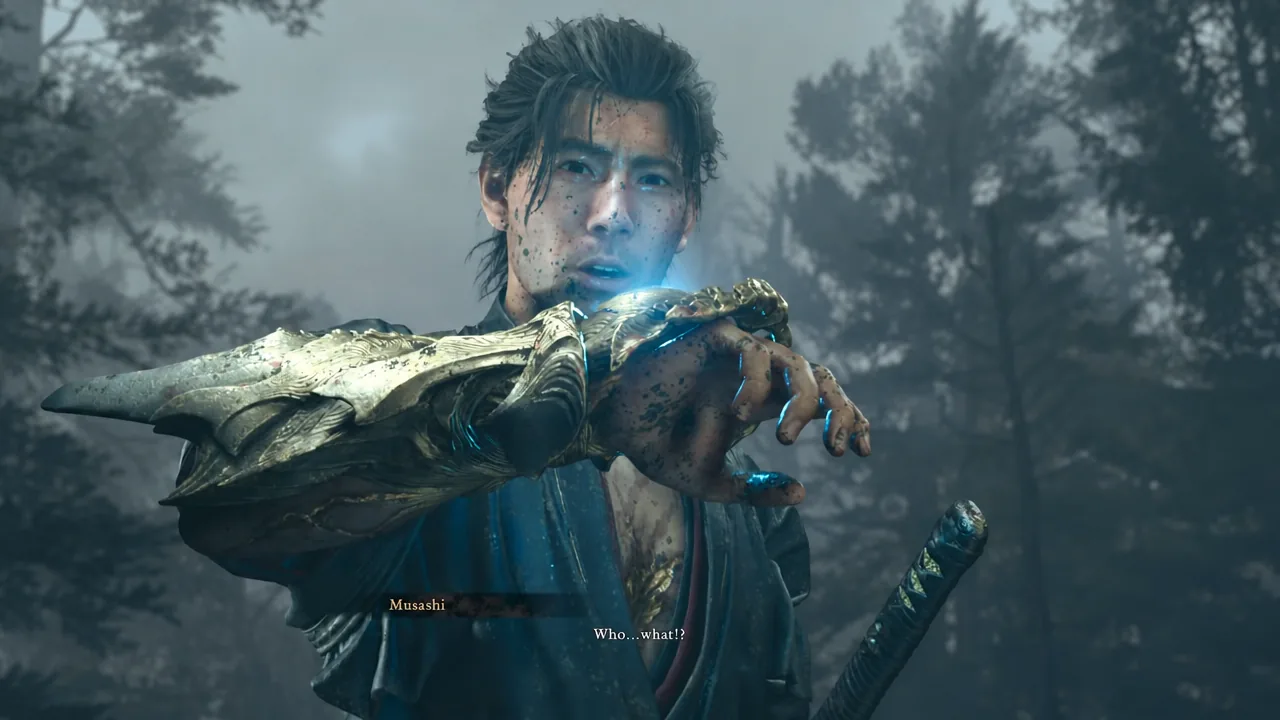
Ono no Takamura and Izumo no Okuni show up next. Takamura is an older Onimusha and handles most of the exposition; Okuni sets you up with supplies. The Genma fight that follows is your soul-absorption tutorial. Kill the Genma, absorb the Yellow Souls they leave behind, then hold the absorb input on the Rift itself to seal it. On PS5 the adaptive trigger stiffens as you pull, and you need to squeeze all the way down for the seal to register.
Souls are the resource system underneath everything, and each colour does one job.
| Soul | What it does |
|---|---|
| Yellow | Restores health during and after fights |
| Blue | Feeds Oni power for gauntlet abilities |
| Red | Used for enhancements and upgrades |
Spirit Mirror: Saving, fast travel, and claiming add-on content
Okuni introduces the Spirit Mirror and hands over the Hozuki Pouch, which holds your healing charges. Hozuki plants found in the world refill it, so pick them up whenever you pass one.
Spirit Mirrors do triple duty. They save progress, open the storehouse, and act as fast travel points. This first one is also where add-on content gets claimed. If you have the pre-order bonuses attached to your account, the Lovable Charm: Lion Dog and the Sword Appearance: Sealed Curse show up here. Charms apply a stat buff; the sword appearance is cosmetic only.
Use the mirror to travel to Kiyomizu-dera Temple when you are done.
Kiyomizu-dera Temple: Oni Vision, red threads, and the Oni Bow
Takamura briefs you at the temple. Malice has flooded the grounds, Genma are loose inside, and your job is to purify the place. The route is not a straight line, and two tools open it up.
Along the way the game introduces Blade Barrages. When your sword clashes with an enemy’s, switching to the other attack type breaks the lock in your favour. Sticking with the same attack just stalls the exchange.
Tip: healing is deliberately slow. Musashi cannot move while drinking and the animation can be interrupted, so create space or stagger the enemy first.
Daidara boss fight: Draining stamina and hitting weak points
Daidara, the Slavering Glutton, is visible from a distance well before you fight him. He is a soul-absorbing boss, which changes how the encounter plays out compared with the humanoid Genma you have been cutting through.
The core loop is the same Break System used everywhere else. He carries a health bar and a Stamina Gauge, and your job is the gauge. Deflects and sustained one-handed pressure drain it fastest; parrying just before a strike lands also takes a large chunk out of it and puts you in Blazing State. When the gauge empties, the fight marks a specific body part. Land the Break Issen on that mark rather than swinging at whatever is closest.
| Action | When to use it |
|---|---|
| Parry | Just before an attack connects; drains stamina heavily |
| Deflect | Against repeated swings to chip the Stamina Gauge |
| Reflex Dodge | Timed evade on unblockable sweeps, then counter |
| Grab Reversal | Timed input when a large Genma grabs you |
| Break Issen | Only once the Stamina Gauge is empty and a weak point is marked |
If you go down, the demo restarts you almost instantly. There is no long load, so retrying the pattern a few times costs very little.
After Daidara: Shizuka Gozen and the next objective
You will know the fight is over when a woman named Shizuka Gozen emerges from the gauntlet. She is the voice that has been talking to you, and returning to Takamura confirms she is an Oni. He then sets the next objective, which is closing more Rifts across the city.
The Kiyomizu-dera stage also holds a second duel against Sasaki Ganryu, a rival swordsman carrying an Oni gauntlet of his own. He fights nothing like Daidara. Stay inside his range and dodge toward him, because backing off feeds his long thrusts. He ends the same way, with a Break Issen on a marked weak point.
What carries over from the demo
Stats, souls, and items do not transfer. The demo save data does. Keeping it on your console unlocks the Charm: Kubi Akari in the full game, which applies a stat boost to Musashi. Charms and sword appearances are managed later through the Equipment screen and the Spirit Mirror menu once those unlock in the full release.
The one thing worth doing before you delete anything is reaching the demo completion screen, since that is the confirmation the run registered. After that, the gauntlet’s abilities open up considerably. Oni Strength shatters guards and blocked paths outright, and Oni Agility lets Musashi run along certain walls to reach areas that are otherwise sealed off.





