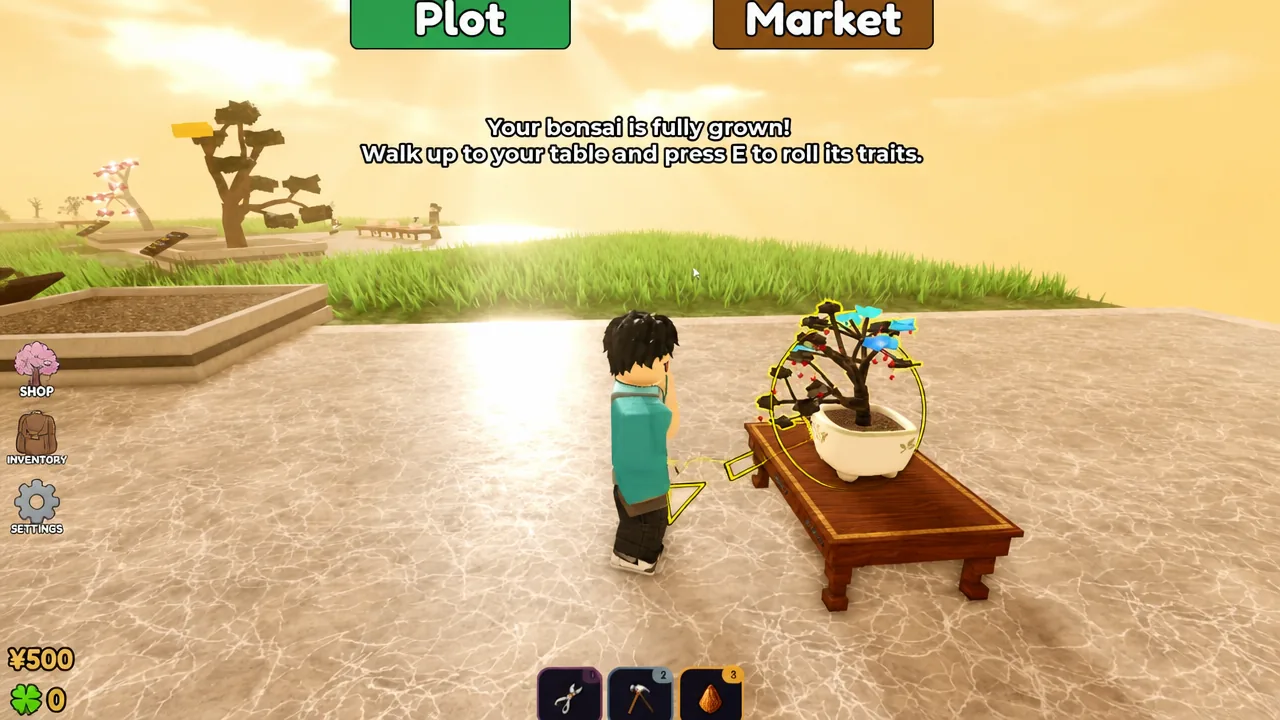
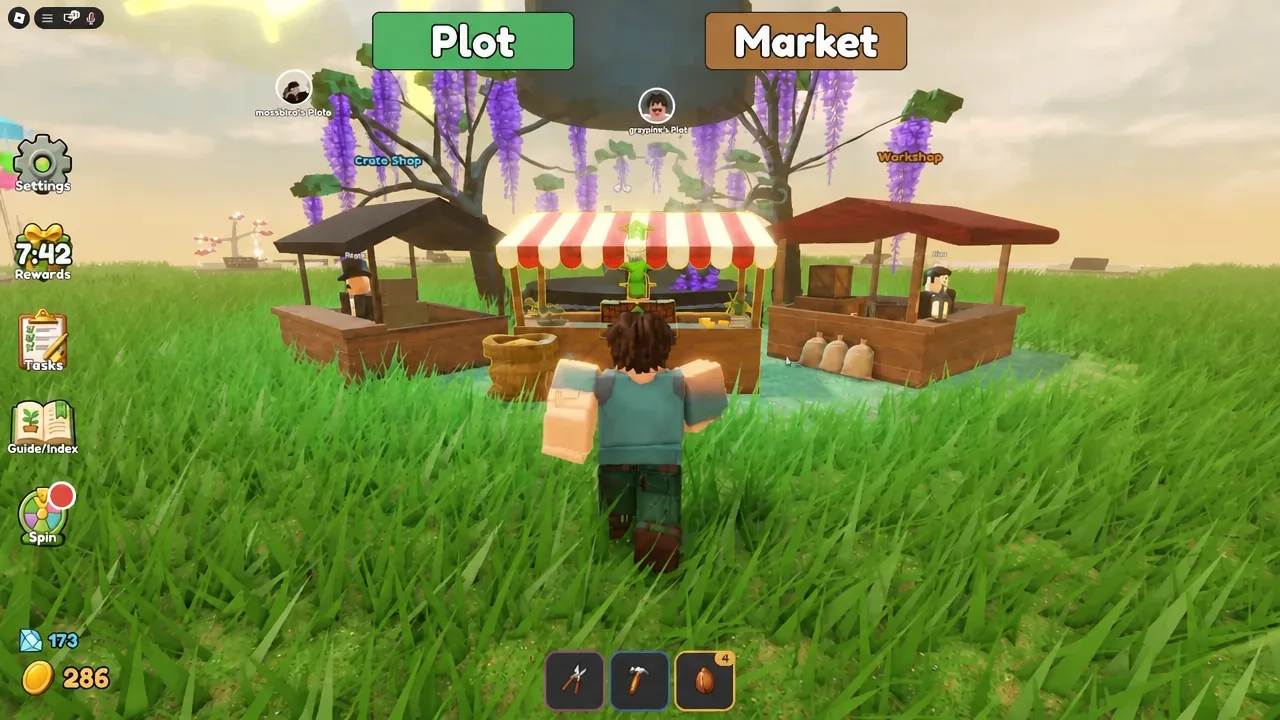
Grow a Bonsai turns a slow hobby into a Roblox loop that takes about five minutes per tree. You buy a seed, drop it into soil, cut branches while it grows, then either sell the finished bonsai or park it on a pedestal to print coins while you go plant the next one. The decisions that matter are small and easy to miss, so here is the whole cycle in order.
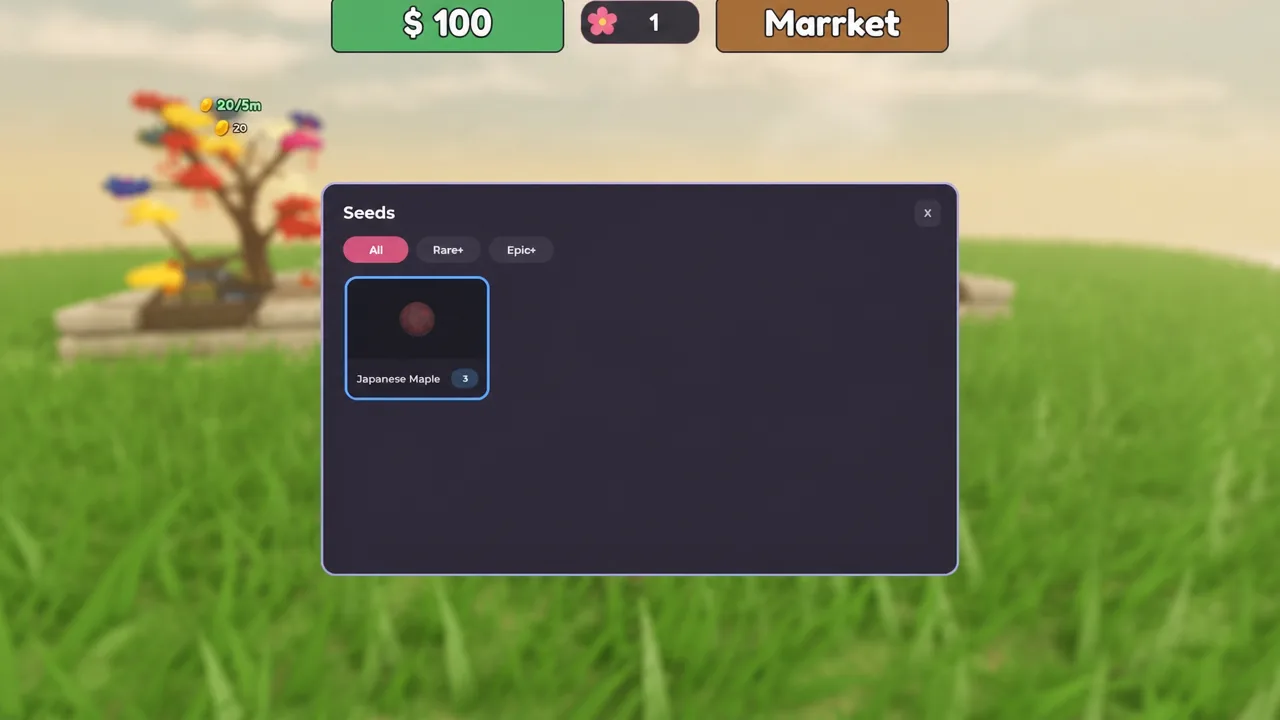
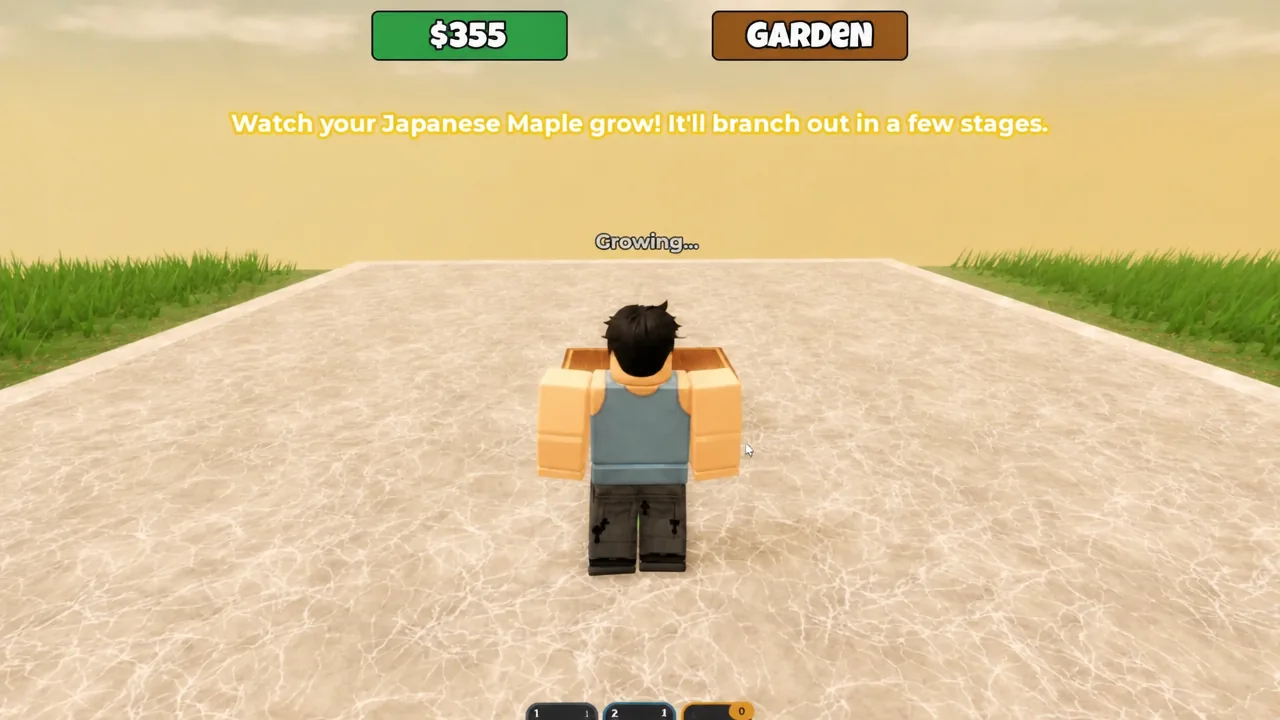
Quick answer: Buy a Japanese Maple seed from Garry’s Seedery for 2,800 coins, plant it in Garden Soil with a River Pebble, click every blue orb that appears and choose Split, then roll traits when it finishes and set it on a pedestal in Prosperity mode for passive coins.
Grow your first bonsai from seed to pedestal
Pruning options: Split, Remove, and Stunt
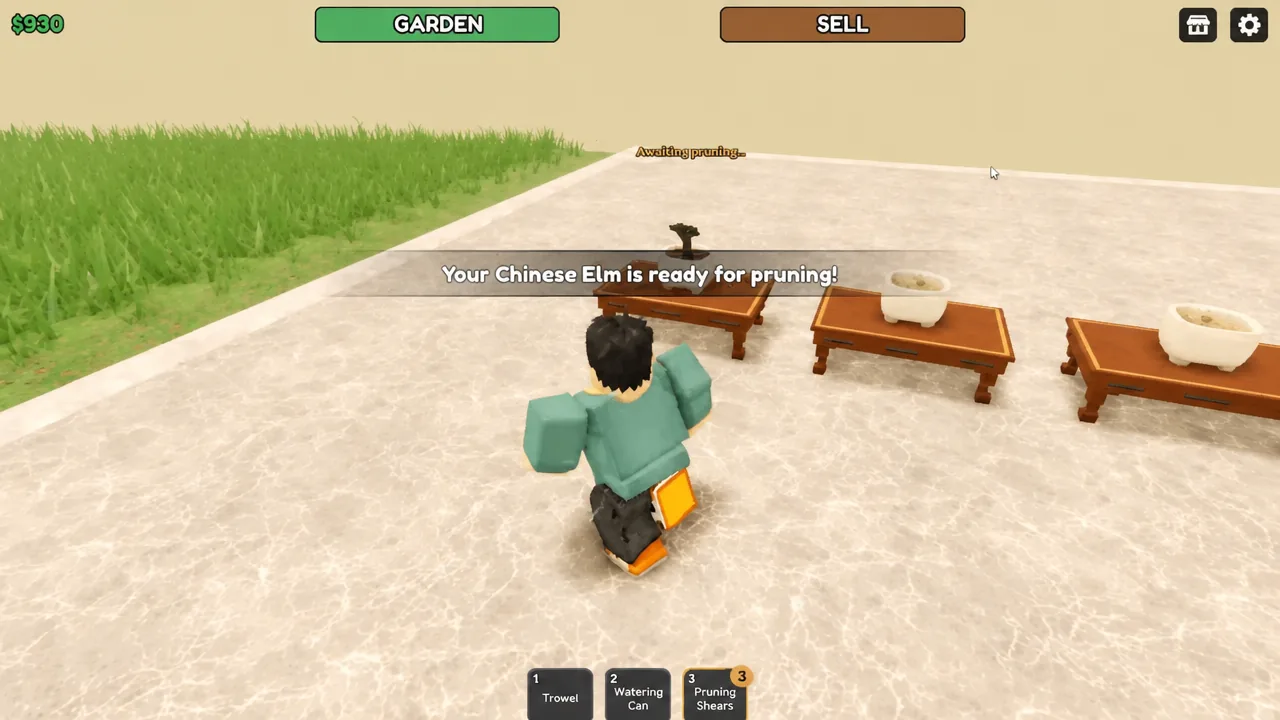
Every blue orb is a branching decision, and the three choices do different things to the final silhouette. Split is the default for a full, show-worthy tree. Remove cuts a branch off entirely. Stunt is free, which makes it the option to reach for when you are conserving resources rather than chasing a perfect shape.
Tip: ignoring the orbs does not stop growth, but you lose that stage’s shaping window. Pruning is the only lever you have over the tree’s form before the trait roll locks it in.
Display for Prosperity or sell for coins
A finished tree is worth more on a pedestal than in a sale window in most cases. Pedestals run in two modes. Prosperity generates coins on a timer, with a starter maple ticking along at 20 per 5 minutes. Fortune instead raises your mutation odds, which matters more once you are trying to hit specific mutations on higher-value species.
Selling is the fallback for trees that rolled badly. A Chinese Elm that came out Medium with Masterwork and Good Luck sold for 206 coins, so early sale prices sit well below what a single seed costs. Treat selling as clearing table space, not as an income strategy.
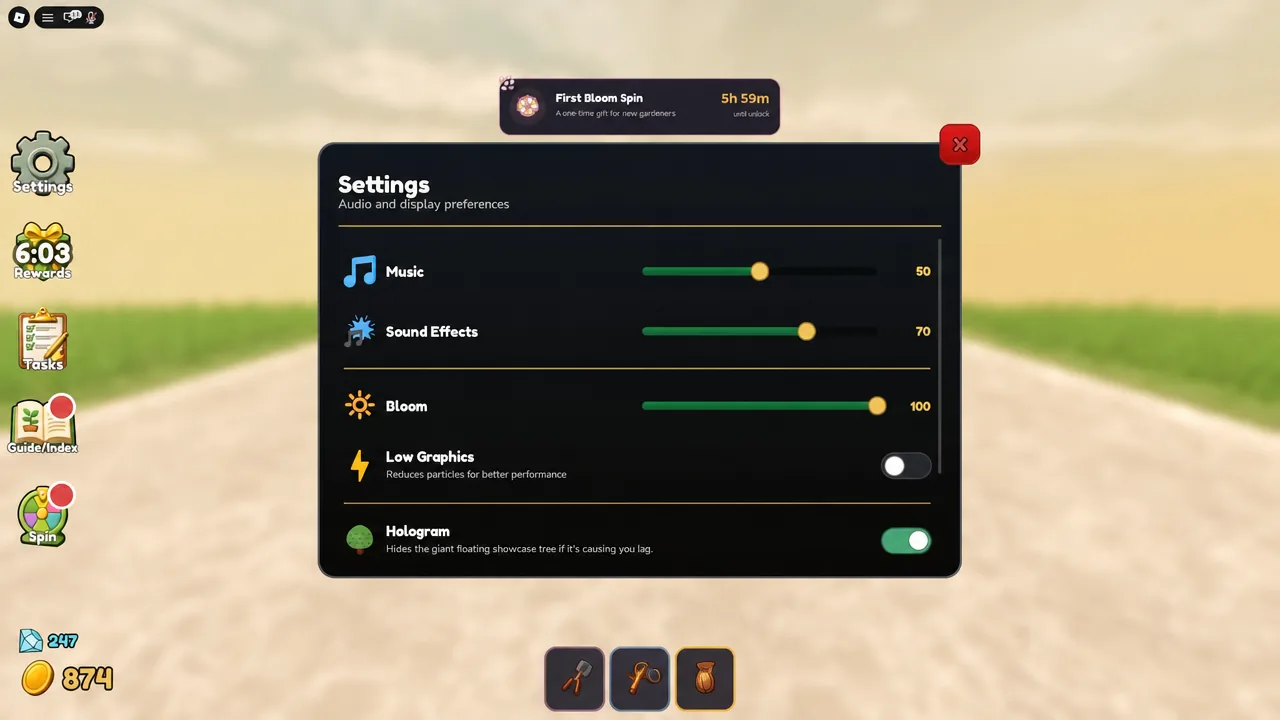
Note: the Settings menu holds Music and Sound Effects sliders plus a Hologram toggle, which is worth checking if the display previews on your plot get in the way.
Grow a Bonsai codes and how to redeem them
Codes are the fastest starting boost in the game, since 5,000 coins covers most of a second seed. They are redeemed inside the Playtime Rewards menu rather than a separate codes button on the main HUD.
| Code | Reward |
|---|---|
| LAUNCH | 5,000 coins and gems |
| ILOVEWISTERIA | 500 gems and 1 Dragon Stone Mix |
| JOINTHEDISCORD | 500 gems |
| 50KVISITS | 250 gems and 1 Dragon Stone Mix |
| 15KVISITS | 1 Dragon Stone Mix |
Two strings that circulate widely do not work. TORIGATE and RDC award both return an “Invalid code” message, so skip them.
Free seeds from the Spin Wheel
The Spin Wheel hands out a free seed every 15 minutes, and it is the main way to get species you have not bought yet. A single spin can land something like a Chinese Elm, which saves you the seed cost entirely.
Because the cooldown is short, set the habit of spinning each time you come back to prune. Free seeds stack up faster than coins do at the start, and they are what let you fill every table you own.
Soil, rocks, and mutations in the Guidebook
Soil and rock choices are not cosmetic. Each pairing changes how fast the tree grows and how likely a mutation is to appear, which is why the same seed can produce very different results across two tables.
The in-game Guidebook is the reference for all of it. It lists mutations, species rarities, and soil and rock combinations, so check it before committing an expensive seed to a random pairing.
| Guidebook section | What it covers |
|---|---|
| Mutations | The full list of mutations a tree can roll |
| Seeds | Species and their rarity tiers |
| Soils and Rocks | Growth speed and mutation chance per combination |
Weather events slow growth and add mutations
Weather is a live modifier on your plot. Winter and fog events both slow growth rates, so a tree planted during one will take noticeably longer to reach its final stage than the same seed planted in clear conditions.
The trade-off is exclusive mutations. A winter event carrying the line “Winter came, and never left” produced an Everwinter Japanese Maple, a variant tied directly to that weather window. If you are chasing a weather mutation, plant into the event and accept the slower timer.
Expand your plot at Alex’s Workshop
Alex’s Workshop sells upgraded tables, pots, and plots. Since every table is one more tree growing in parallel, table count is the real limiter on how much you earn per hour, not the value of any single bonsai.
The efficient rhythm once you are past the tutorial is straightforward. Plant three seeds at once, prune all of them on the same pass, then roll and display the ones that turned out well. Two Japanese Maples ticking away on Prosperity pedestals will keep funding the next batch of seeds while you work on something rarer.