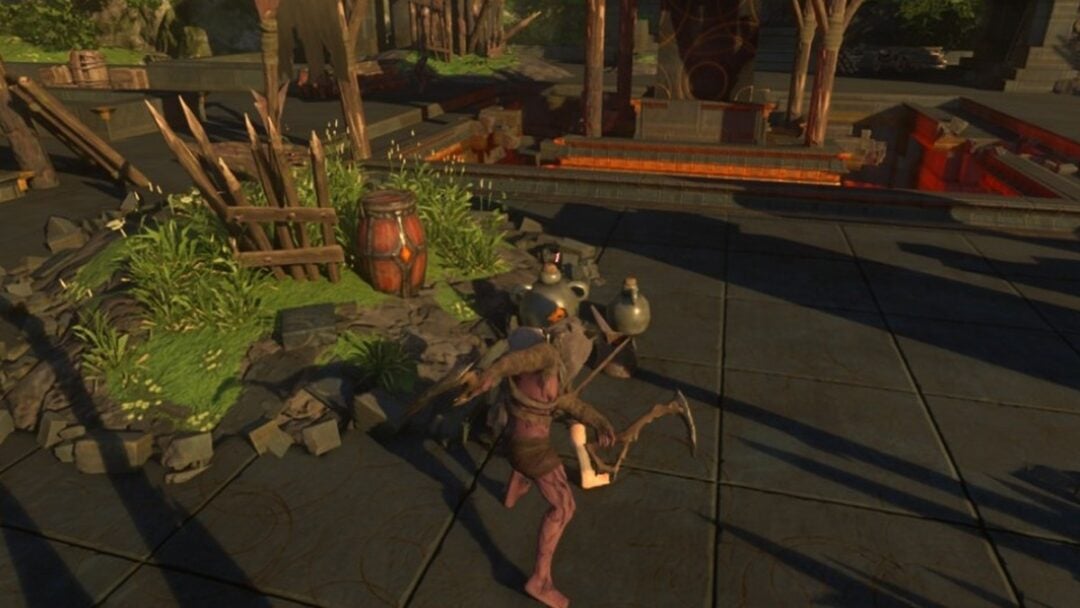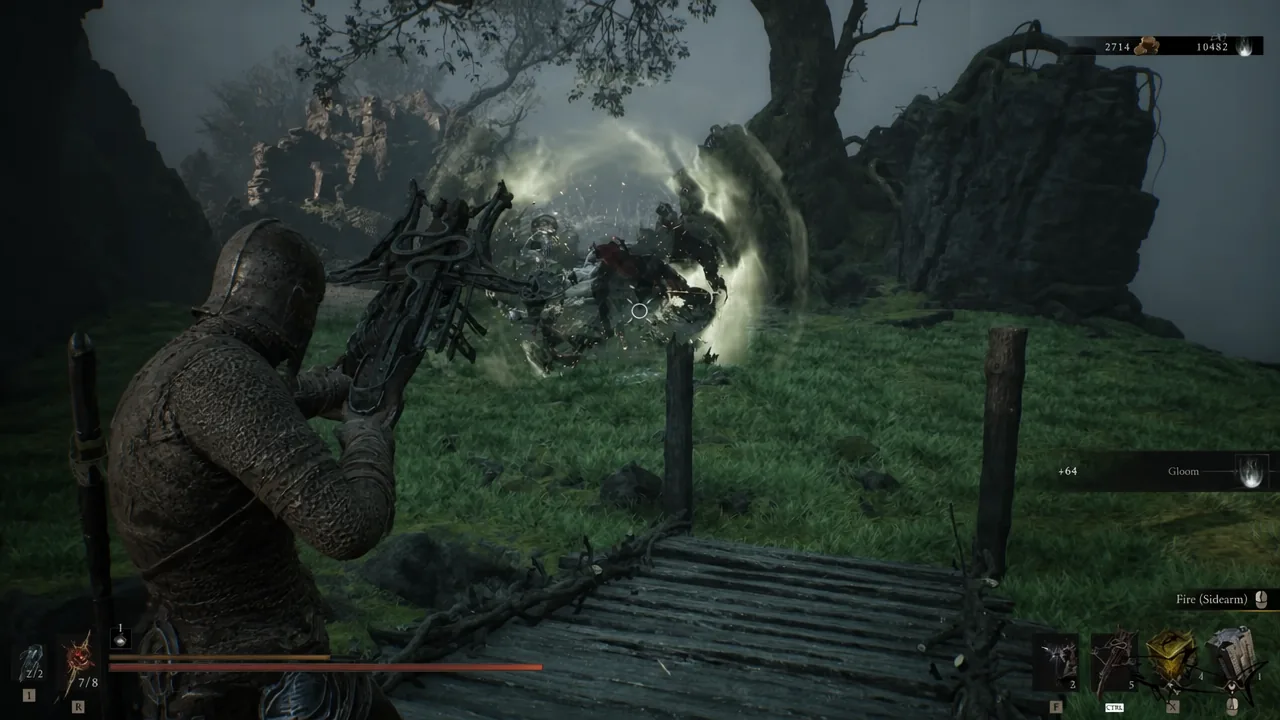
The Pulse Stone turns a Sidearm into a crowd-control tool. Every projectile that lands throws out a shockwave that drags nearby enemies toward the impact point, which bunches up scattered groups before you swing. It sits in a chest in the frozen back half of Winterglass Lake, and you cannot reach it without a key item first.
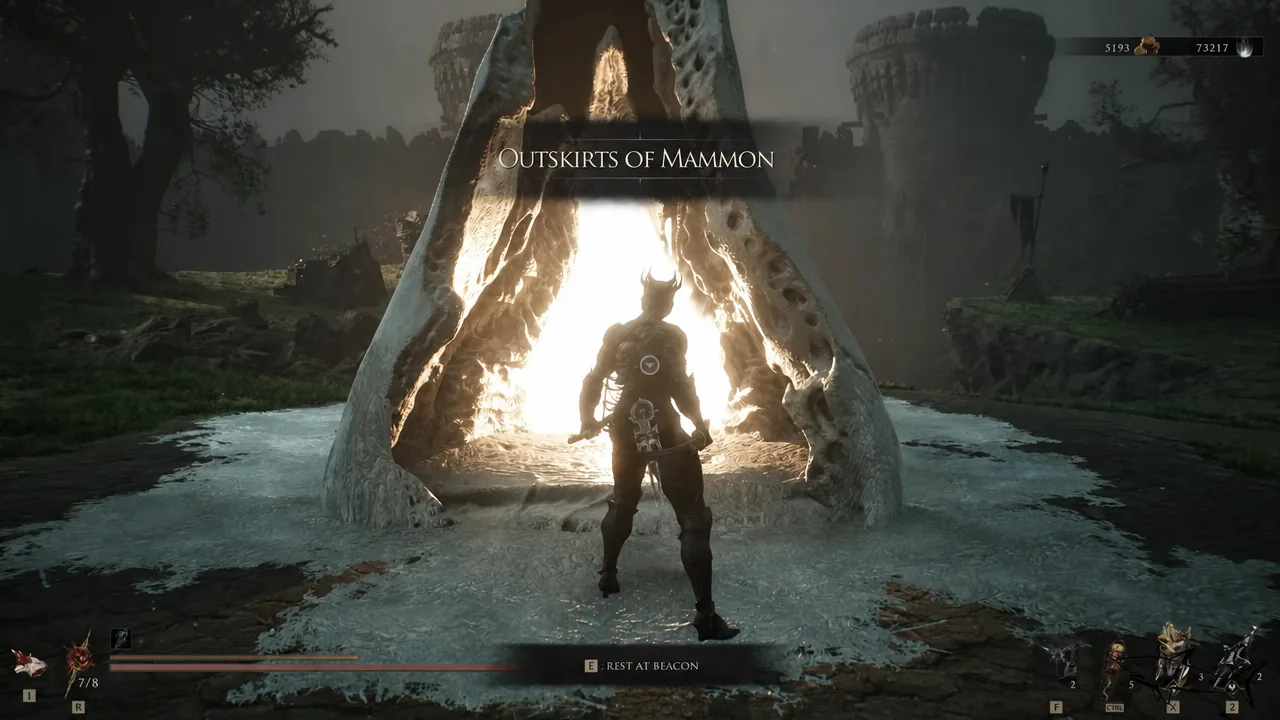
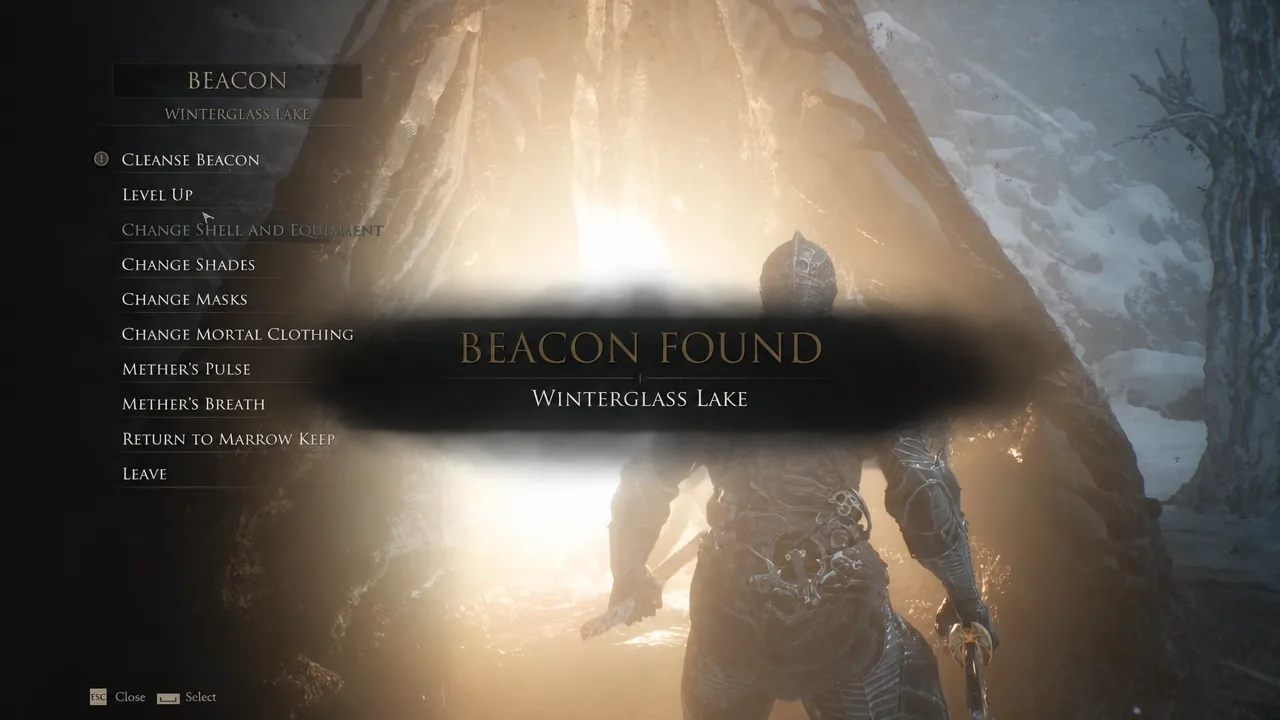
Quick answer: Pick up the Immaculate Crown in Mornefrost Grave, then return to Winterglass Lake, cross the bell-operated bridge, take the right-hand path past the Grisha Hunters, and open the chest at the top of the stairs the giant stone hand was covering.
What the Pulse Stone does and which Sidearms it fits
Pulse Stone is a Combat Tarstone, so it slots into a Sidearm rather than a melee weapon or your Shell. The base effect reads simply: projectiles generate a shockwave on impact that pulls enemies in. Upgrading the stone widens that pull radius rather than adding damage.
| Level | Effect |
|---|---|
| Level 1 | Projectiles generate a shockwave on impact that pulls enemies in |
| Level 2 | Small shockwave on impact |
| Level 3 | Medium shockwave on impact |
| Level 4 | Large shockwave on impact |
It is not a universal accessory. The stone only equips to three Sidearms: the Ballistazooka, the Forgotten Crossbow, and the Salvaged Trebuchaxe. If none of those are in your loadout, the Tarstone menu will refuse the slot.
Requirements before you set out
Two things gate the chest. The first is access to the snowy Conquered Temple region, reached through the Corrupted Gate after you have the Outskirts of Mammon area open. The second is the Immaculate Crown, a key item whose description is blunt about its purpose: it unlocks secrets within the ice. Carrying it causes the giant stone hands that block certain paths in the snow to recede on their own.
You also want a ranged Sidearm equipped for the trip, since the bridge into the far side of Winterglass Lake is opened by shooting bells rather than by pulling a lever.
Route to the Winterglass Lake beacon
Picking up the Immaculate Crown in Mornefrost Grave
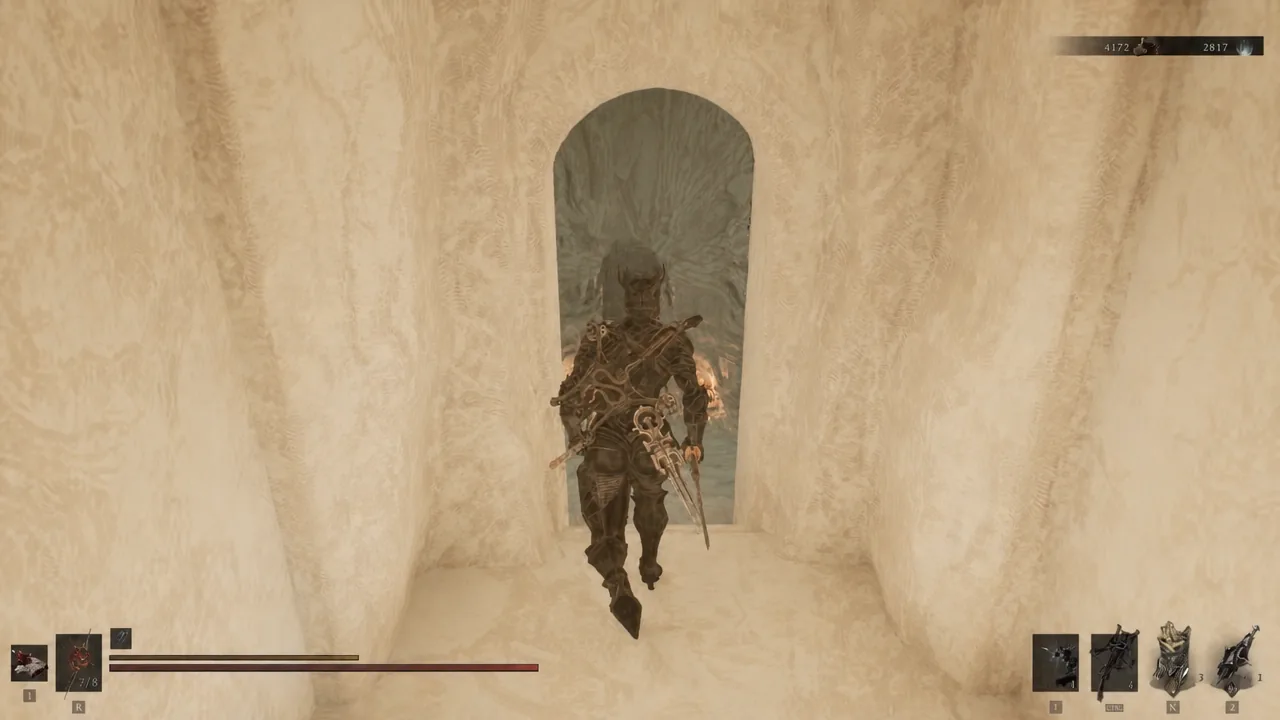
Note: the crown works passively. You do not activate it, and there is no button prompt when a hand withdraws. Simply having it in your inventory is enough.
Lowering the bridge with the two bells
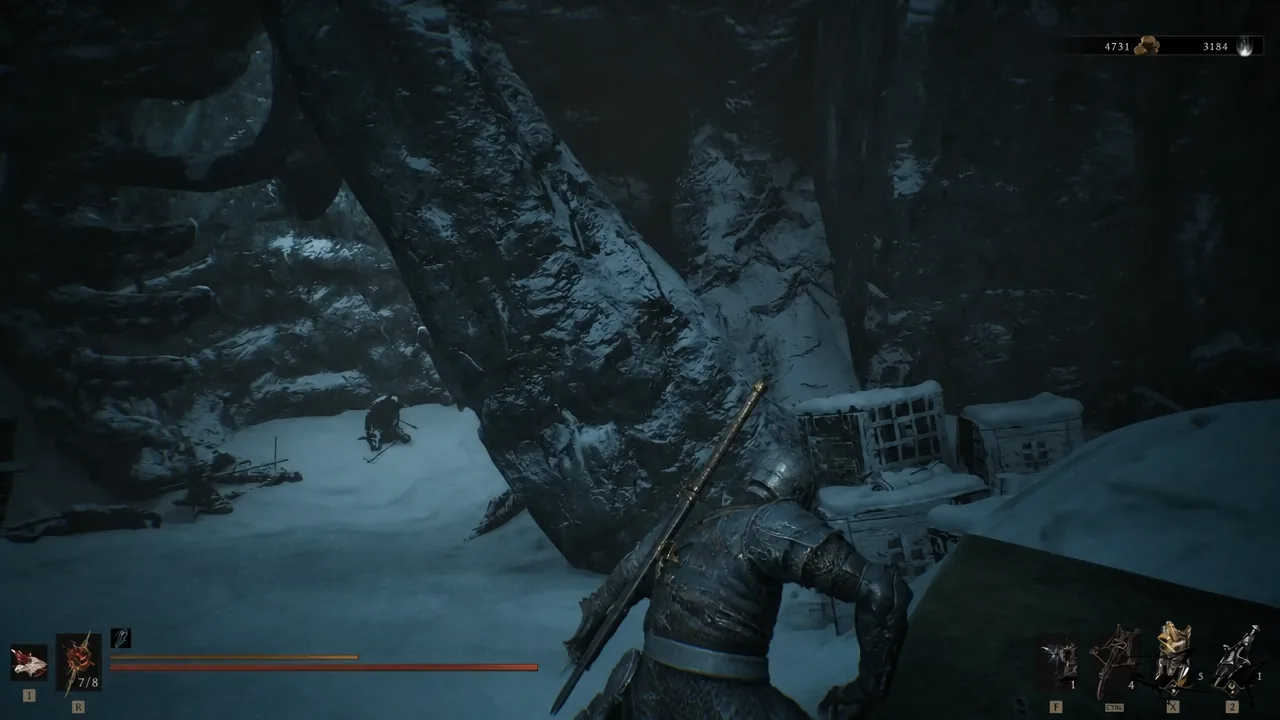
Pulse Stone chest location past the stone hand
How to confirm you have it, and why the path may still be blocked
Open the Tarstones menu and look under Combat. Pulse Stone appears at Level 1 with the line about projectiles generating a shockwave that pulls enemies in, and the Equip Tarstone option becomes available once a compatible Sidearm is equipped. Fire a shot into a group and the pull is immediately obvious as bodies slide toward the impact.
If something goes wrong, it is almost always one of two things. A hand that refuses to recede means the Immaculate Crown is not in your inventory yet, so go back through Mornefrost Grave and take it from the corpse. A bridge that stays impassable means only one of the two bells has been hit, and the second one, positioned in front of the bridge on the right, still needs a shot.
Raising the shockwave size
Upgrades happen at the Tarforge in Marrow Keep, and Franz needs the Etching Needle before the higher levels appear as options. That quest item sits in a bone chest just before the Magdalena, the Lady of the Woods boss fight. When you spot Ruk past the bridge, drop through the opening and turn right before the tunnel to find the small alcove holding it.
After that, keep the Pulse Stone equipped and kill enemies to fill its experience bar. Once the bar is full, return to Franz and pay Coin to push it to the next level. Each step widens the shockwave from small to medium to large, which is the difference between nudging one enemy and hauling a whole cluster into your swing.