

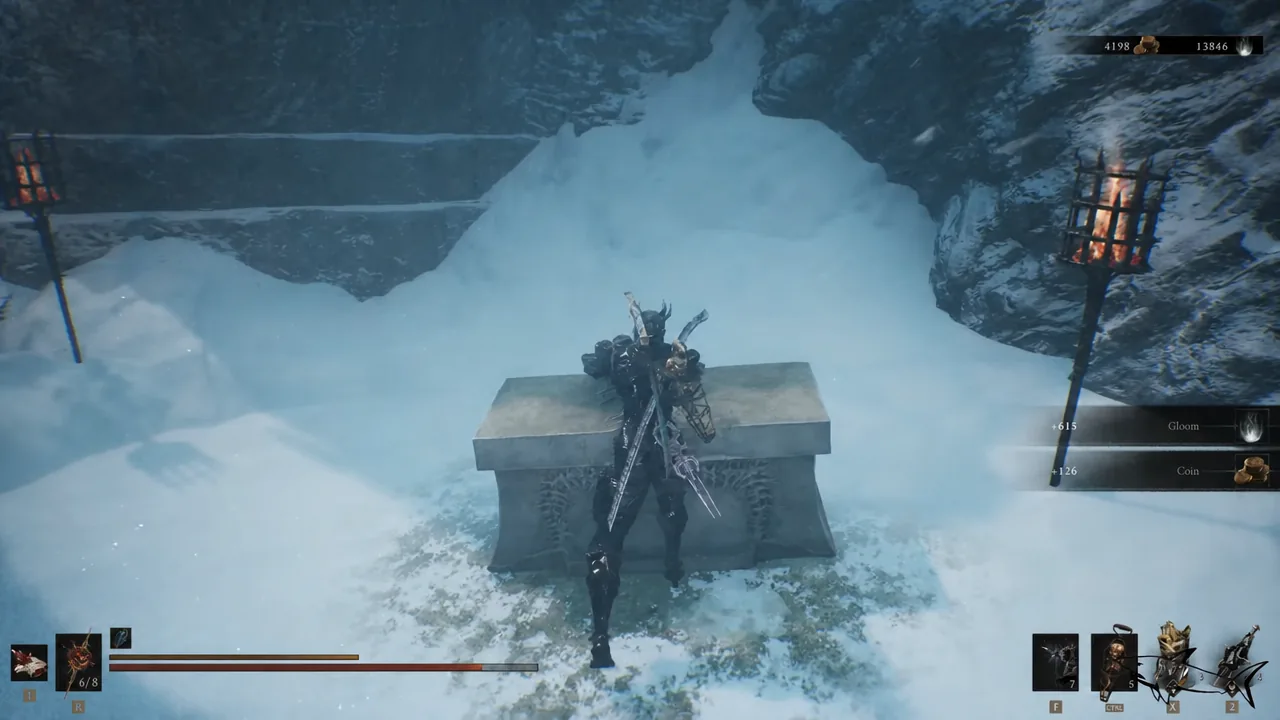
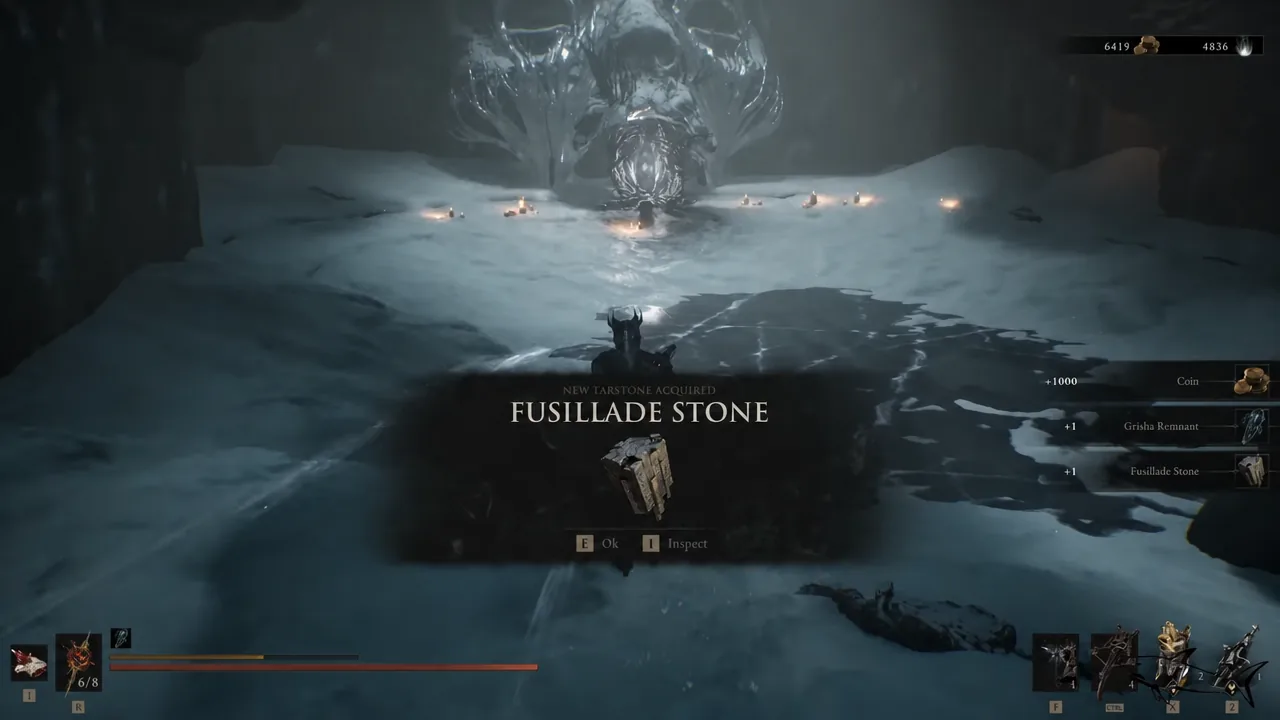
The Winterglass Lake Beacon is the checkpoint that opens up the Mornefrost Grave dungeon inside the Conquered Temple, and it is the only place to pick up the Immaculate Crown — the key item that makes the giant stone hands scattered around the frozen region move out of your way. Cleansing it also hands you the Fusillade Stone tarstone and an Ovum.
Quick answer: The Winterglass Lake Beacon sits at the bottom of the large multi-level structure in the Conquered Temple, reached through Sester’s Refuge and the snowy Valley of the Revered. Enter it, take the right-hand path at the three-way split to grab the Immaculate Crown, then defeat the Caged Grisha down the middle path and interact with the beacon core to cleanse the corruption.
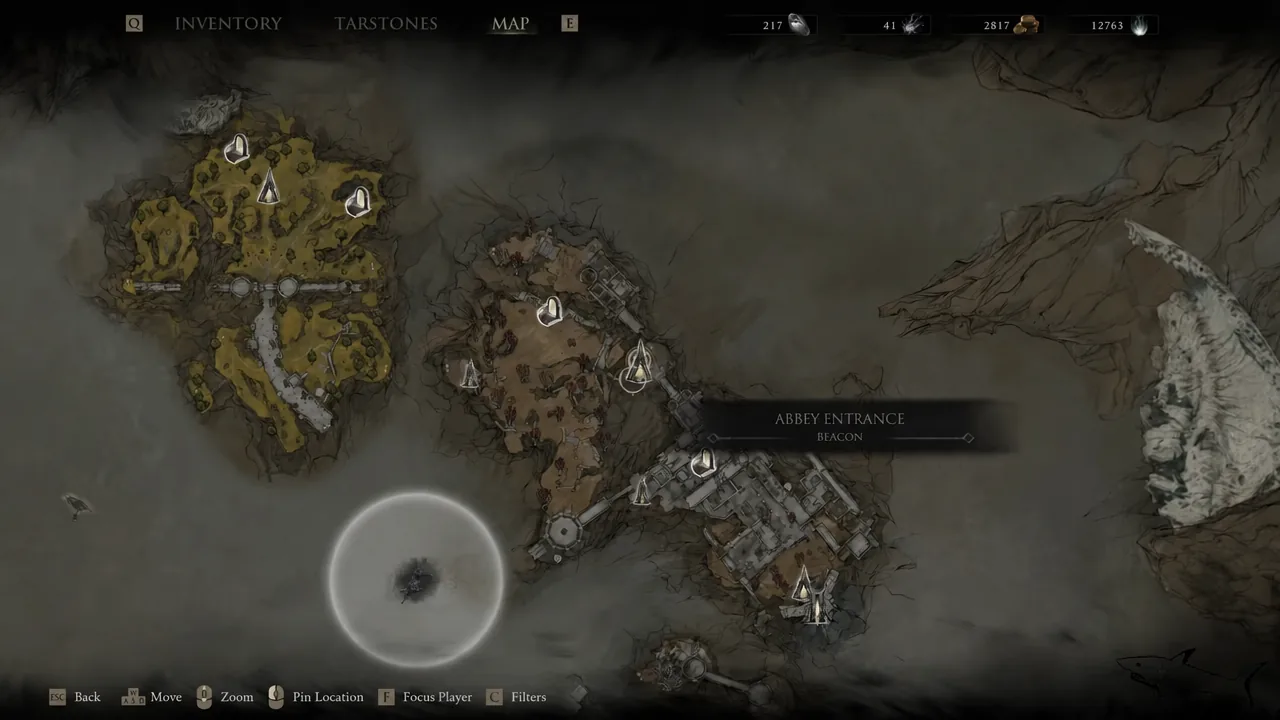
Winterglass Lake Beacon location and route from Outskirts of Mammon
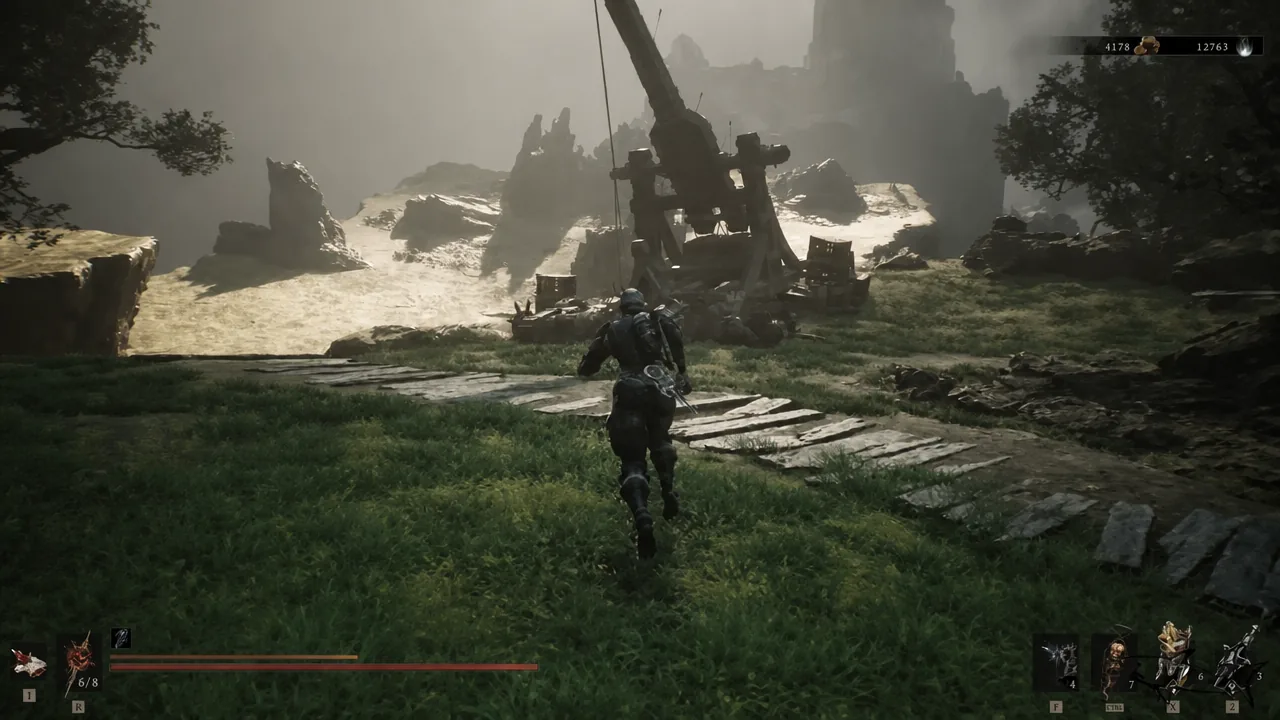
The Conquered Temple is a gate region, not part of the overworld map, so you cannot fast travel straight to it the first time. You reach it through the southeastern gate in Sester’s Refuge, which sits in the Ruins of Mammon. The Sester’s Bastion dungeon inside the Sester’s Gate Beacon needs to be cleared before the gate lets you through.
Mornefrost Grave walkthrough: getting the Immaculate Crown
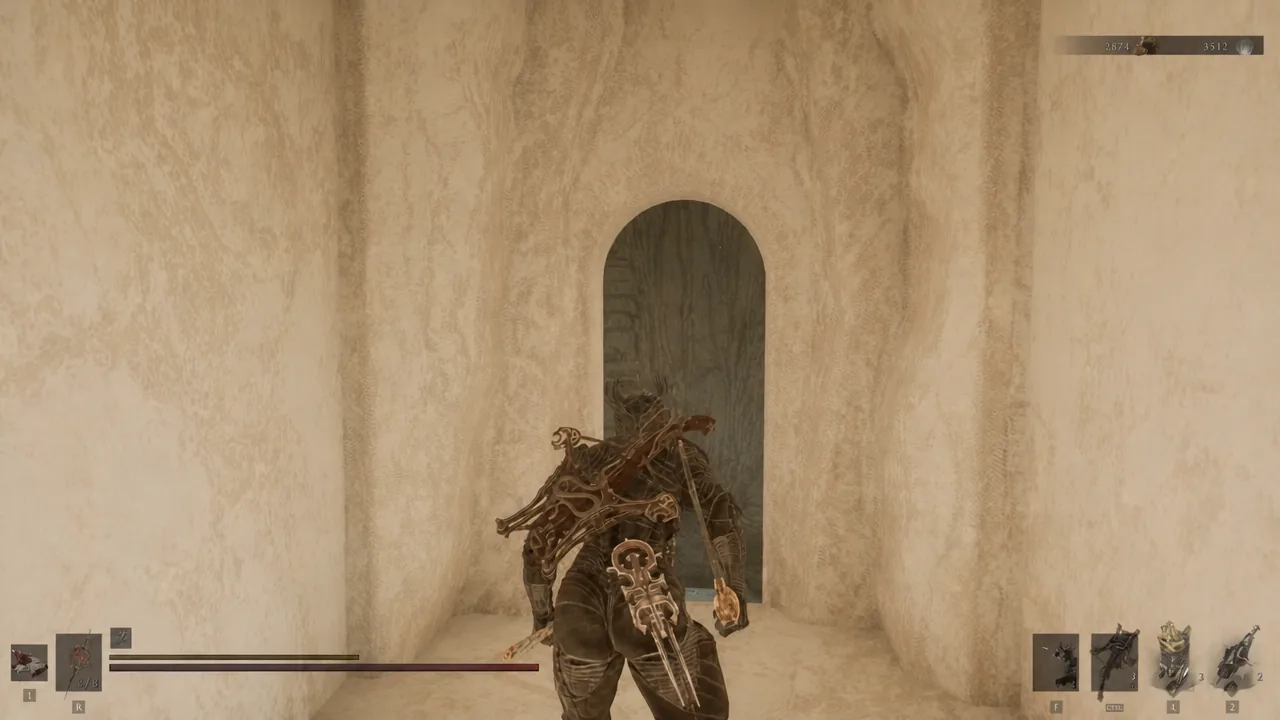
Selecting Enter/Cleanse Beacon drops you into Mornefrost Grave. The dungeon is built around one gimmick: a three-way split where two of the paths are physically held shut by hand statues, and the only way to move them is to fetch the crown first.
Caged Grisha boss fight and the Fusillade Stone
The middle path leads to the Caged Grisha, the beacon’s boss. It leans almost entirely on huge sweeping slashes that hit hard enough to erase most of your health bar in a couple of connections, so trading blows is the fastest way to lose the fight.
Dodge the wide swings when you have the room. When a slash comes out too close to roll away from, use Perfect Guard and follow it with a Riposte — that is where the bulk of your damage will come from. Back off between its combos rather than squeezing in an extra hit.
Killing it awards the Fusillade Stone tarstone, confirmed by the New Tarstone Acquired prompt.
Cleansing the beacon and confirming it worked
After the Caged Grisha falls, interact with the corruption at the end of the arena and accept the Ovum. You will see the NEW OVUM FOUND prompt followed by BEACON CLEANSED, which is the confirmation the dungeon is finished — there is nothing else to trigger.
A cleansed beacon also stops being a bare respawn point. Alongside resting, you get Level Up with Gloom, Change Equipment for your Primary, Sidearm and Seal slots, Mether’s Pulse upgrades using Revered Gland or Synaptic Vessel, and Return to Marrow Keep for fast travel. Cleansing additionally clears the obstructions that were stopping you from interacting with loot in the area.
If a hand statue still refuses to move, you have not collected the crown yet. It is a passive effect — the statues react to your presence only while the Immaculate Crown is in your inventory.
Mornefrost Grave rewards
| Reward | How you get it |
|---|---|
| Immaculate Crown | On a body under the large ribcage, down the right-hand path |
| Fusillade Stone | Defeating the Caged Grisha on the middle path |
| Grisha Remnant x1 | Boss drop |
| Glimpse x1 | Clearing the dungeon |
| Ova x1 | Cleansing the corruption at the beacon core |
What the Immaculate Crown unlocks outside the dungeon
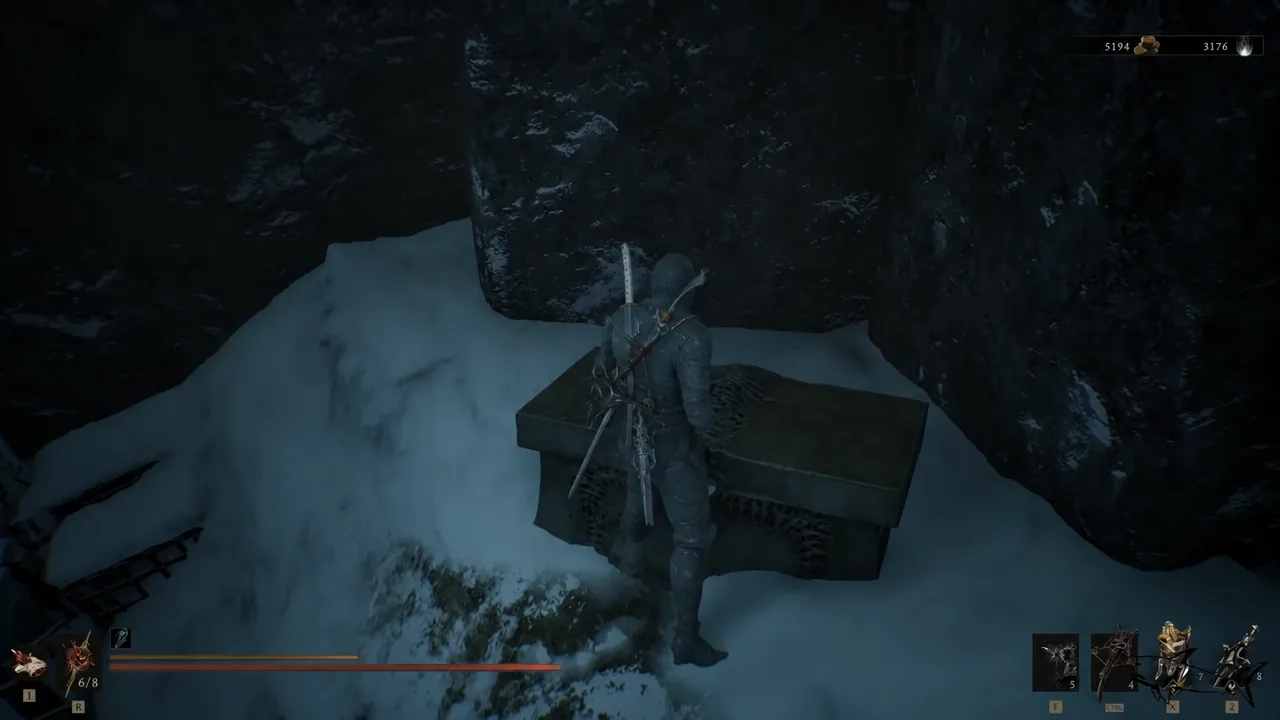
The crown’s description is short — “Unlocks secrets within the ice” — but it applies to the whole Conquered Temple, not just Mornefrost Grave. Any path or chest sealed by a giant stone hand will open once you walk up to it with the crown in hand, including the stone-hand chest just outside the Winterglass Lake Beacon that you had to skip on the way in.
Backtrack to that chest as soon as you leave the dungeon, then sweep the rest of the frozen region for the hands you walked past earlier. With the beacon cleansed you can also rest, level up and warp back to Marrow Keep from here, which makes Winterglass Lake the practical staging point for the rest of the Conquered Temple and the run toward Droeg, the Conquerer.





