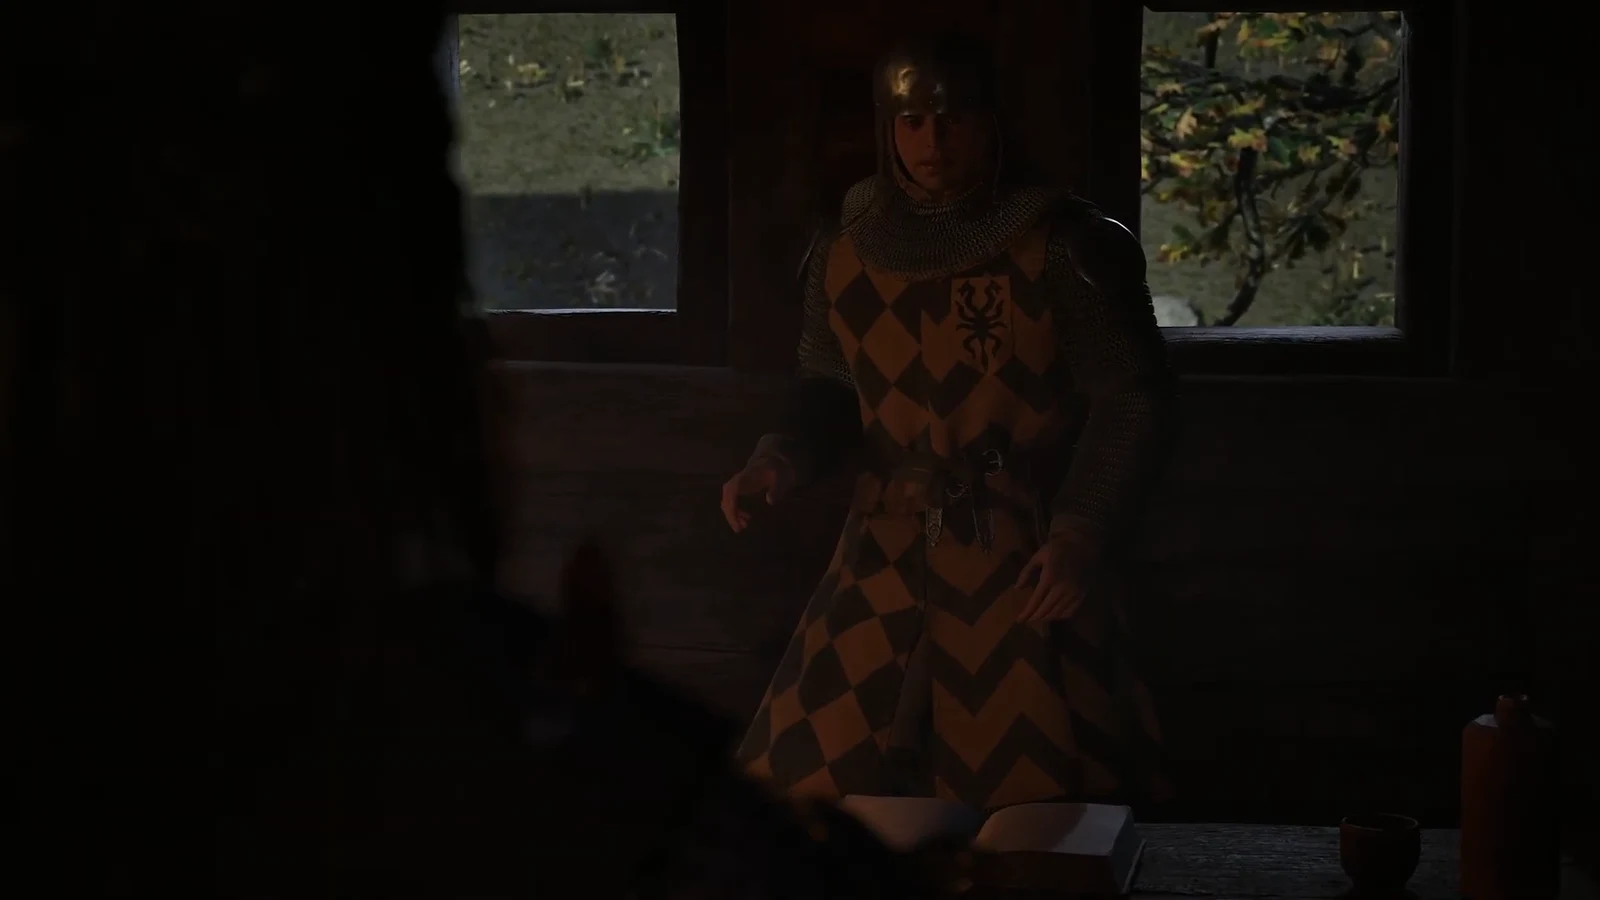
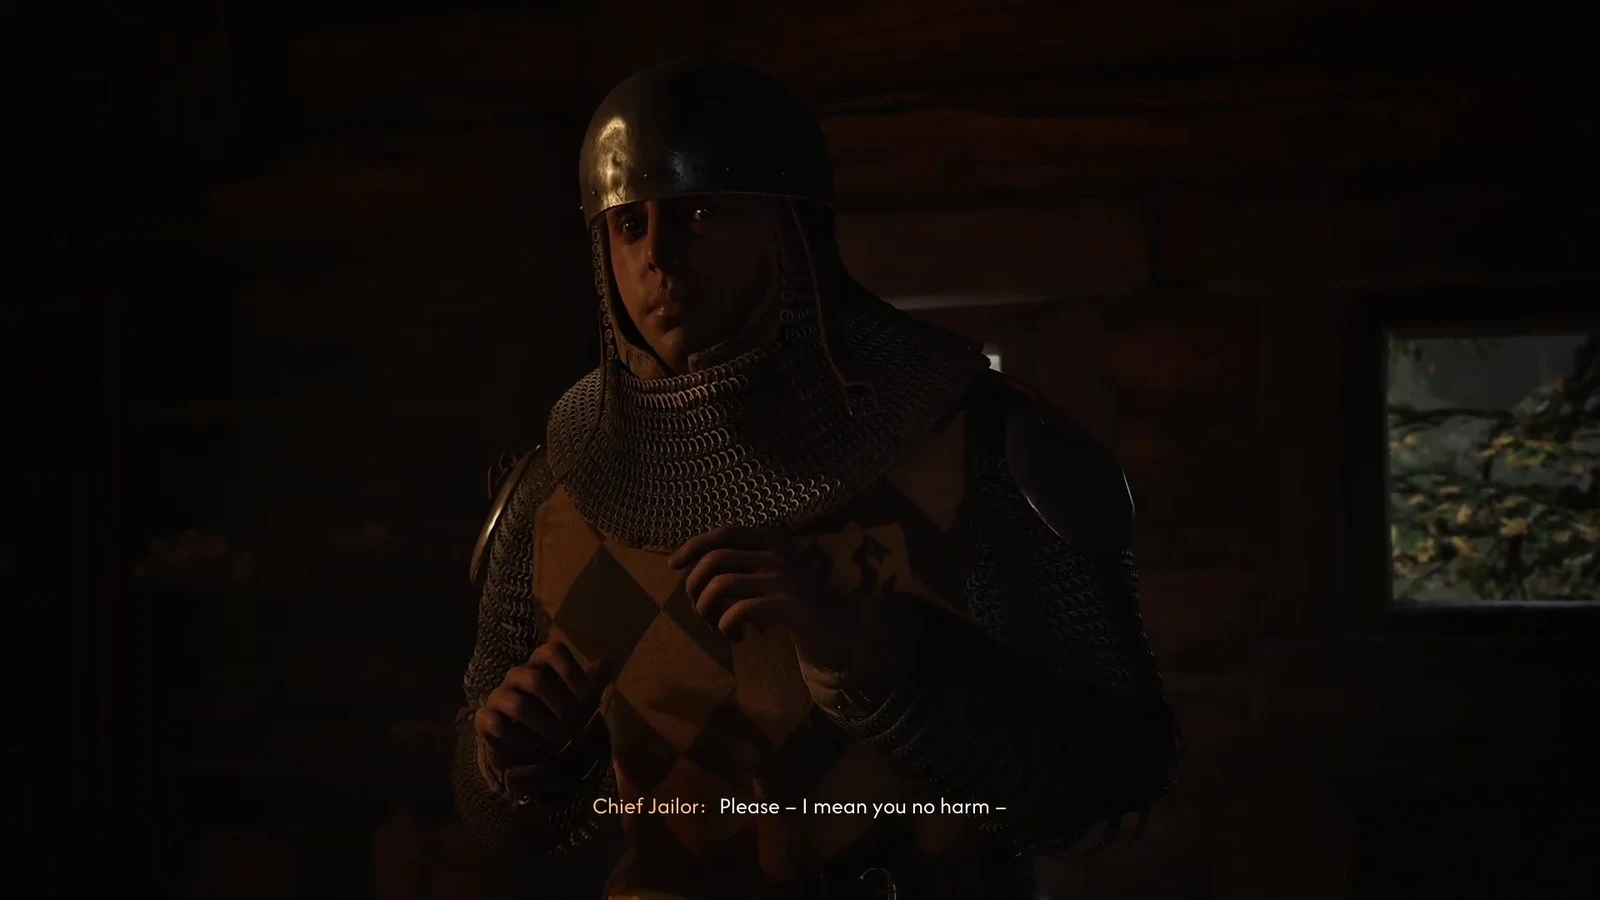
The Chief Jailor is the last thing standing between you and the payout hidden inside Ambrus’s Dungeons: Evil and Convenience. He is cornered in a locked cabin at a blood-draining camp in Briar Sloughs, he begs for his life, and whatever you decide to do with him, he ends up handing over the same treasure map. What changes is how much extra loot you walk away with and whether you take any Corruption doing it.
Quick answer: Choose Pay me and you walk to receive the Treasure Map: Hidden Stash without a fight, then leave through the palisade gate and open the chest buried at the base of the fallen tree to clear the “Look for the fallen tree” objective.
Chief Jailor location in Briar Sloughs
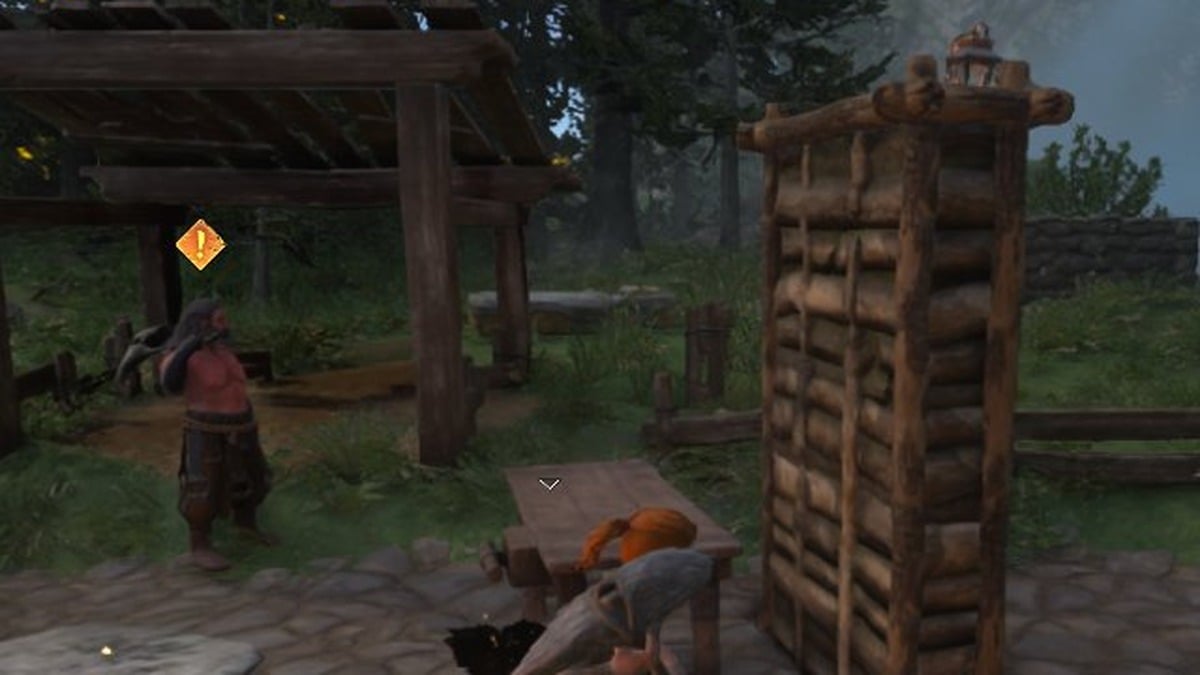
The camp sits in Briar Sloughs, just north of the Borescu Commons Shrine, on the western edge of Ambrus’s domain. Fast travel to that shrine and head north until the palisade comes into view. The soldiers inside treat Coen as a trespasser and attack the moment you step through the gate, so there is no stealth approach to plan around.
Morning is the better window. A dead guard’s soul in the torture chamber can be compelled during the day for extra context on what the soldiers were doing, and that interaction does not require night abilities you may not have unlocked yet. The activity itself can be started at any hour and costs 3 Time Segments either way.
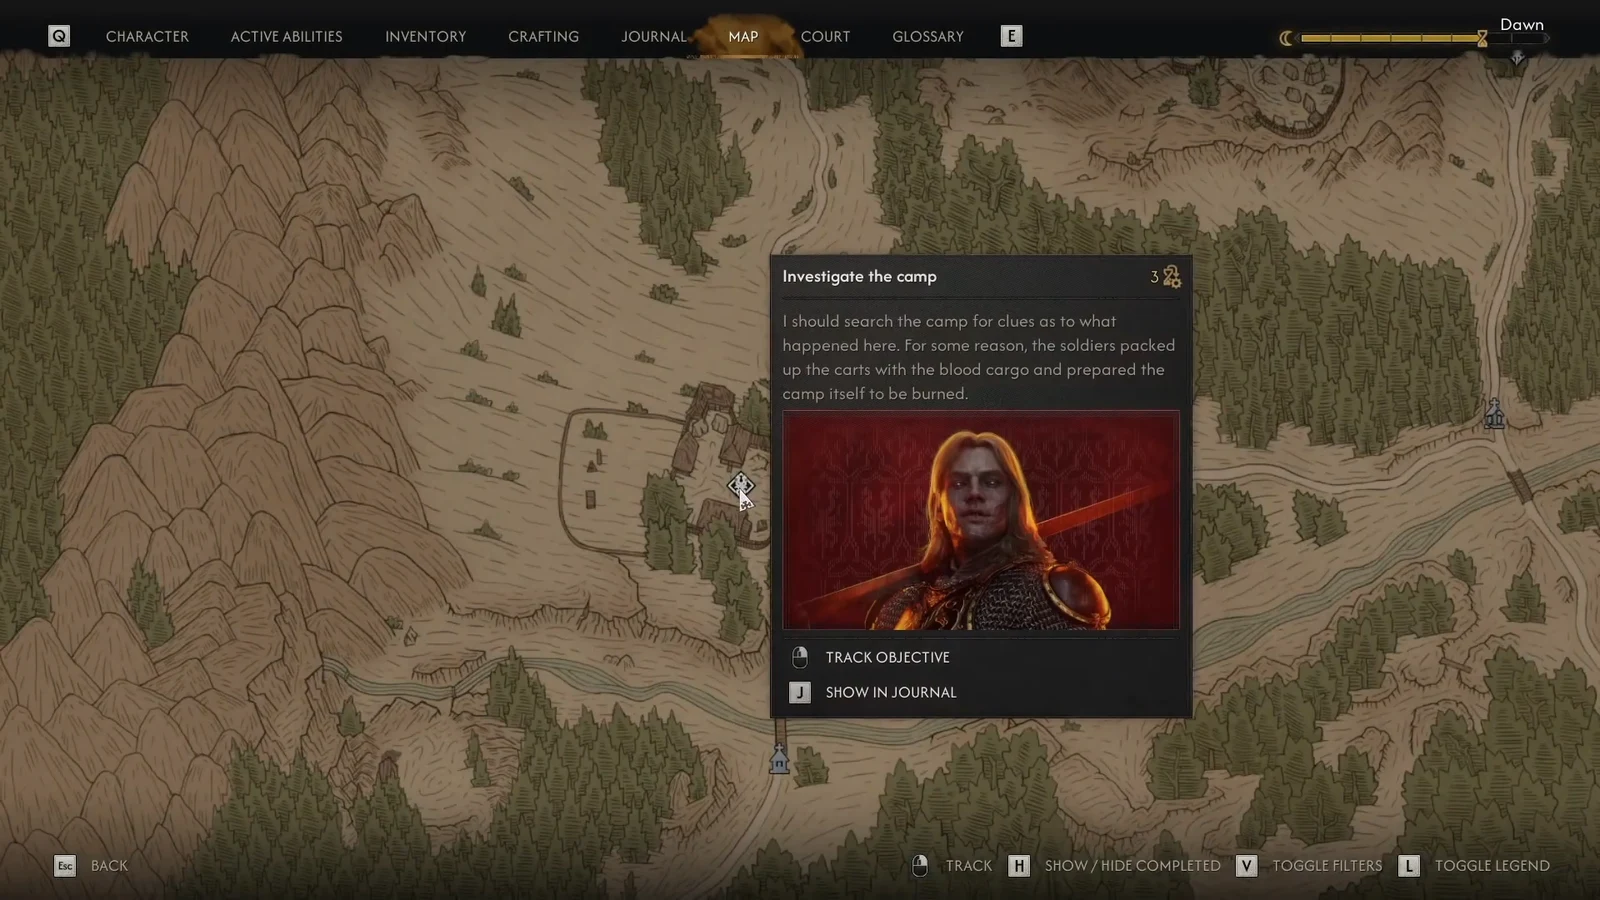
Unlock the cabin: clear the camp and take the Brass Key
The cabin door stays locked until you have worked through the camp, so the Chief Jailor cannot be reached early.
Chief Jailor dialogue options: spare, fight, or feed
Three replies are available, and all three end with the Treasure Map: Hidden Stash in your inventory. The map’s contents are identical whether he hands it over or you pull it off his corpse.
| Dialogue option | Outcome |
|---|---|
| Pay me and you walk. | No fight. He explains where he buried his stash and hands you the map, then leaves. |
| You’re not going anywhere. | Starts a miniboss fight. Loot his body for the Treasure Map: Hidden Stash plus Brencis Soldier Patch, Strong Spirits, and Golden Earrings. Awards combat XP. |
| [give in to the hunger] | Coen feeds on him, killing him without combat. Same body loot, no combat XP, and you gain Corruption. |
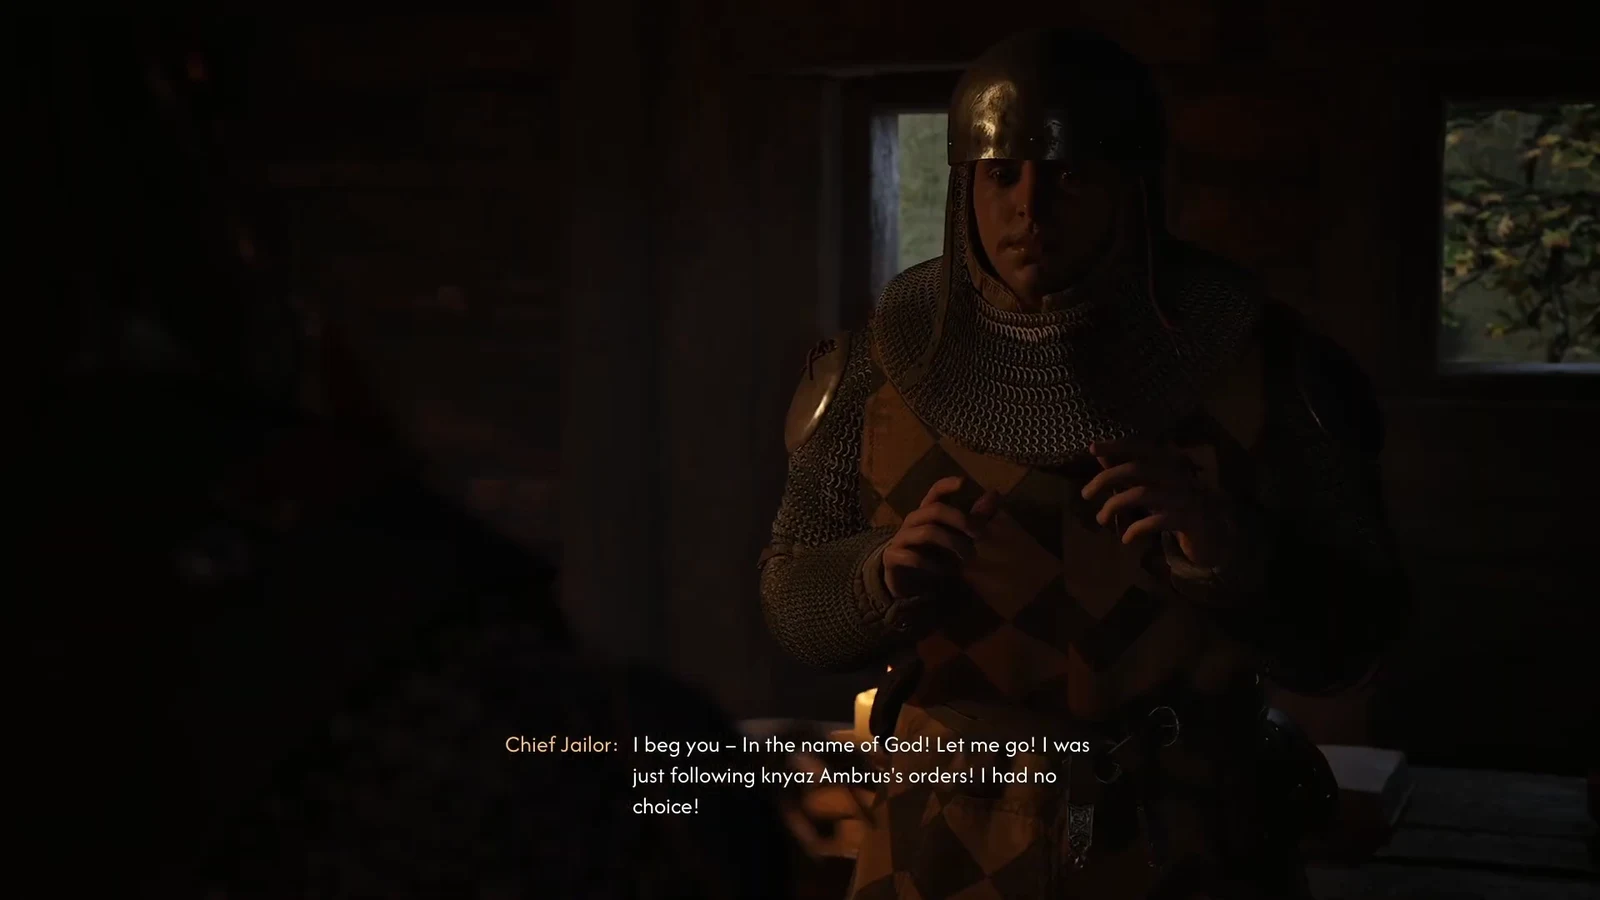
If you fight him, he is not a serious threat. He mixes overhead and backhand slashes with spins, weaves, and sidestep stabs, and everything he throws can be parried or blocked. He can be interrupted, so a parry followed by an aggressive chain shuts the fight down quickly. Keep the pressure on rather than backing off, since he throws projectiles at range.
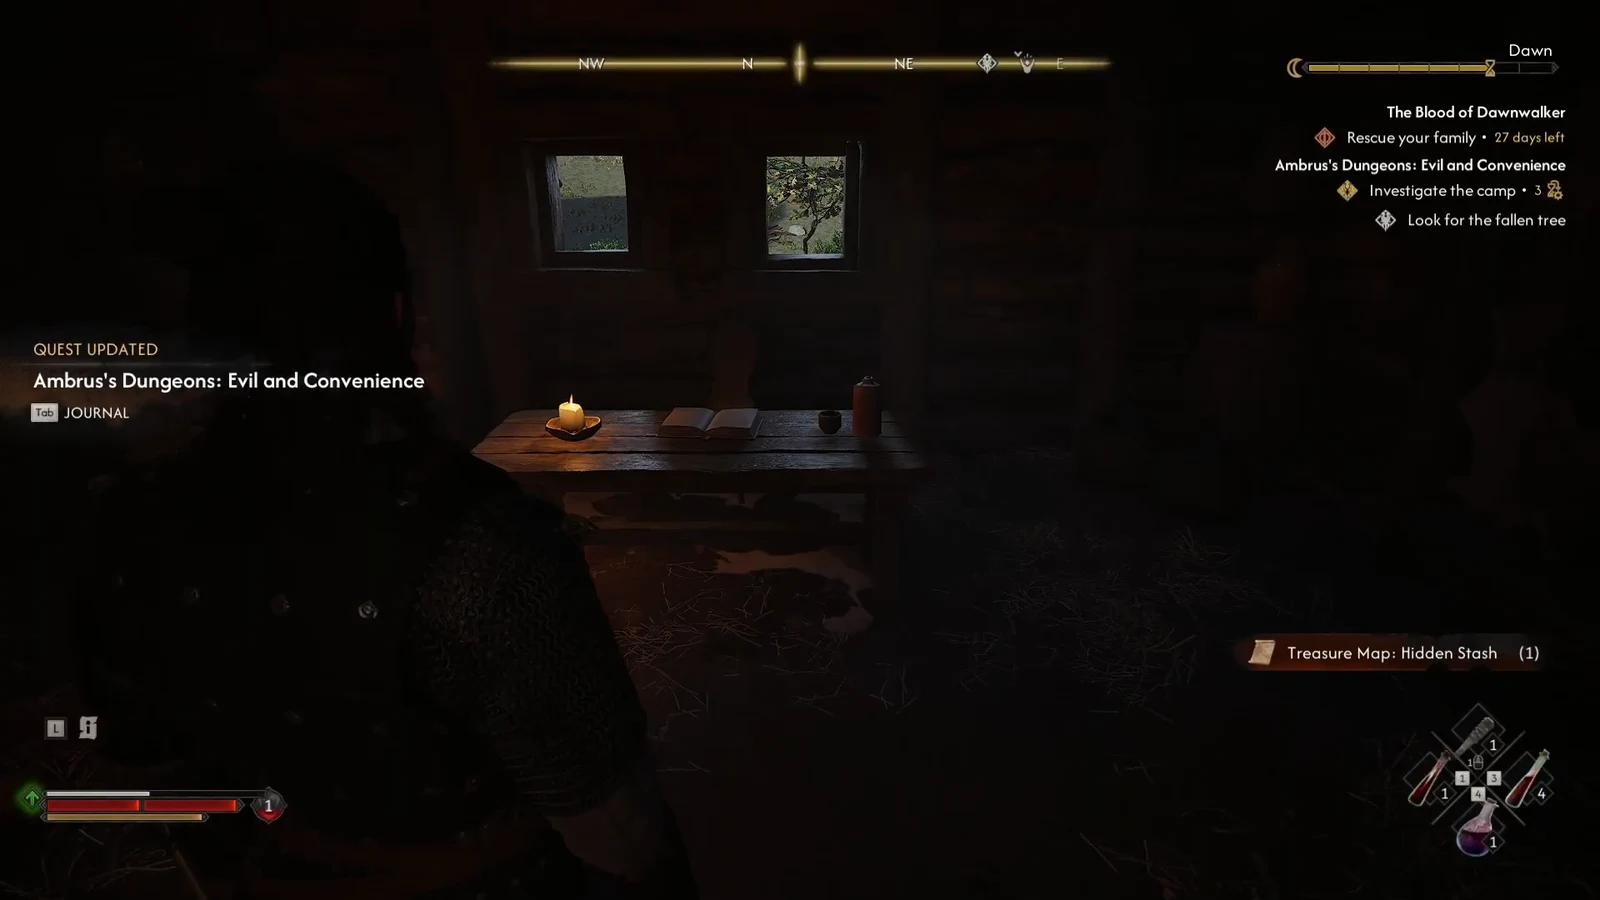
Once he is dealt with, read the Ledger on the desk in the same room. It shows Ambrus’s own men have been skimming blood barrels and shipping them elsewhere, which sets up what the treasure chest confirms later.
Fallen tree treasure location and chest contents
Reading the Treasure Map: Hidden Stash adds a “Look for the fallen tree” objective and drops a marker on your map automatically. Track it from the map or journal screen so the waypoint stays on your compass.
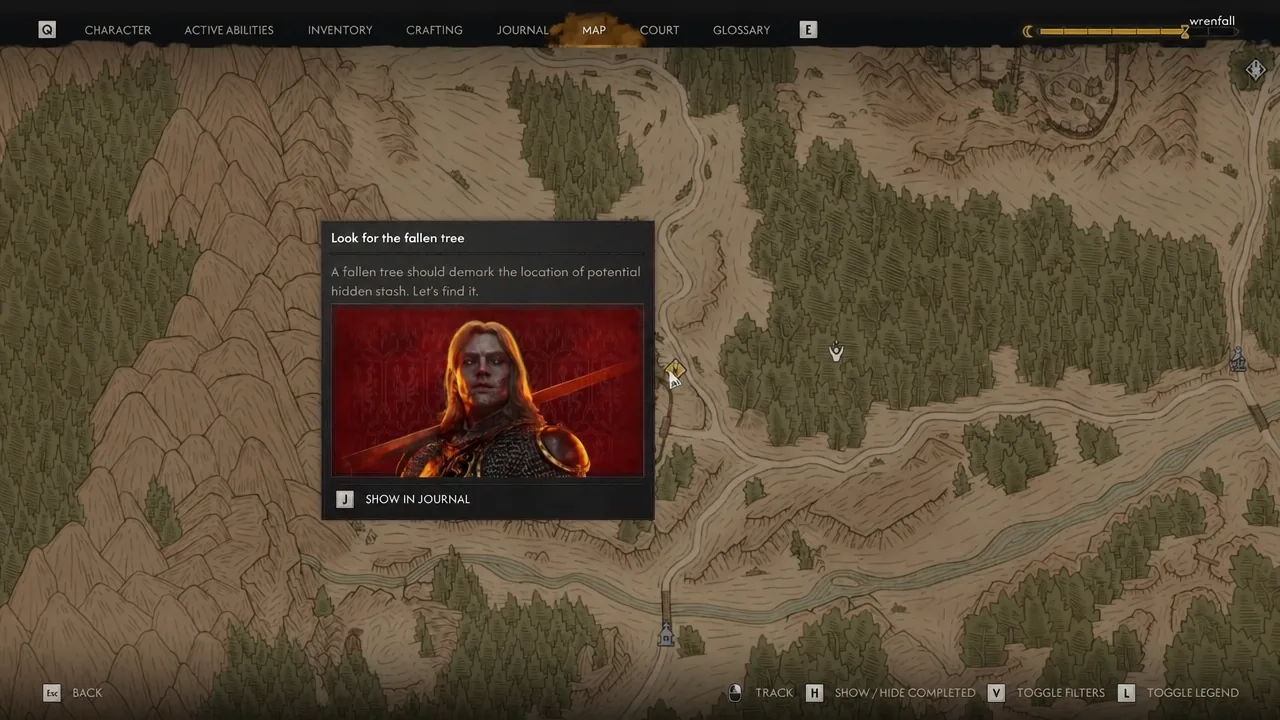
Leave the camp through the palisade gate, turn left, and follow the outside of the wall. The fallen tree is a short walk from the camp boundary and the buried chest sits right at its base. Approach the trunk and the loot prompt appears.
The chest holds an Amulet of Endurance, a Recipe for Minor Keen-Eye Potion, 60 Denarius, and the Letter from Bakir. That letter is the payoff for the Ledger you read in the cabin, confirming the missing blood barrels were being routed to Bakir behind Ambrus’s back.
How to confirm Evil and Convenience is complete
Looting the chest clears the “Look for the fallen tree” objective and closes out the activity, paying 250 XP and 1 Skill Point. Once the map is in your inventory, that chest becomes the completion condition, so heading off to do something else leaves the objective open in your journal.
There is one alternate ending worth knowing. If you never obtained the map, reading the Ledger on the cabin desk completes the activity on its own for the same 250 XP and Skill Point. The reward does not change based on which route you take, and if you finish via the Ledger you can still go dig up the chest afterwards for the items inside.
Note: the whole activity consumes 3 Time Segments regardless of how you resolve the Chief Jailor, and it feeds Ambrus’s Anger meter. Clearing his Court Activities is what eventually opens The Gilded Gauntlet boss quest, so Evil and Convenience is a reasonably efficient one to knock out early given it also hands you a bonus treasure hunt on top of the standard reward.