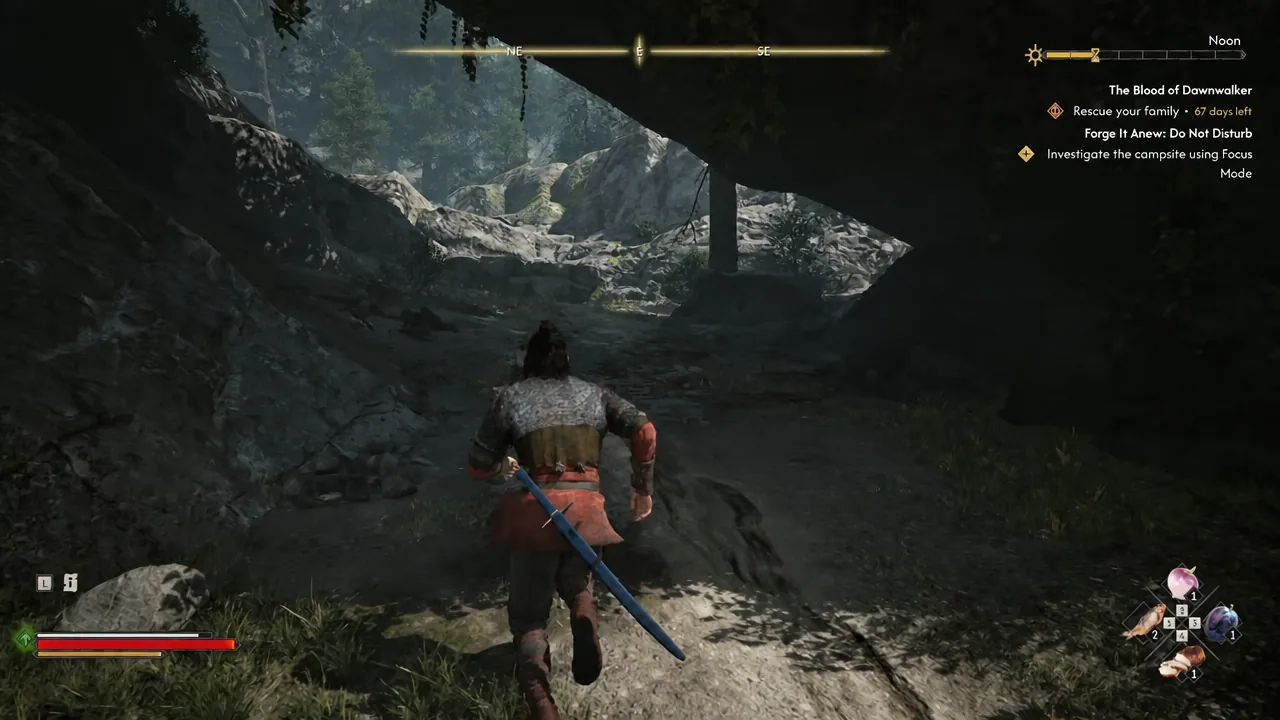
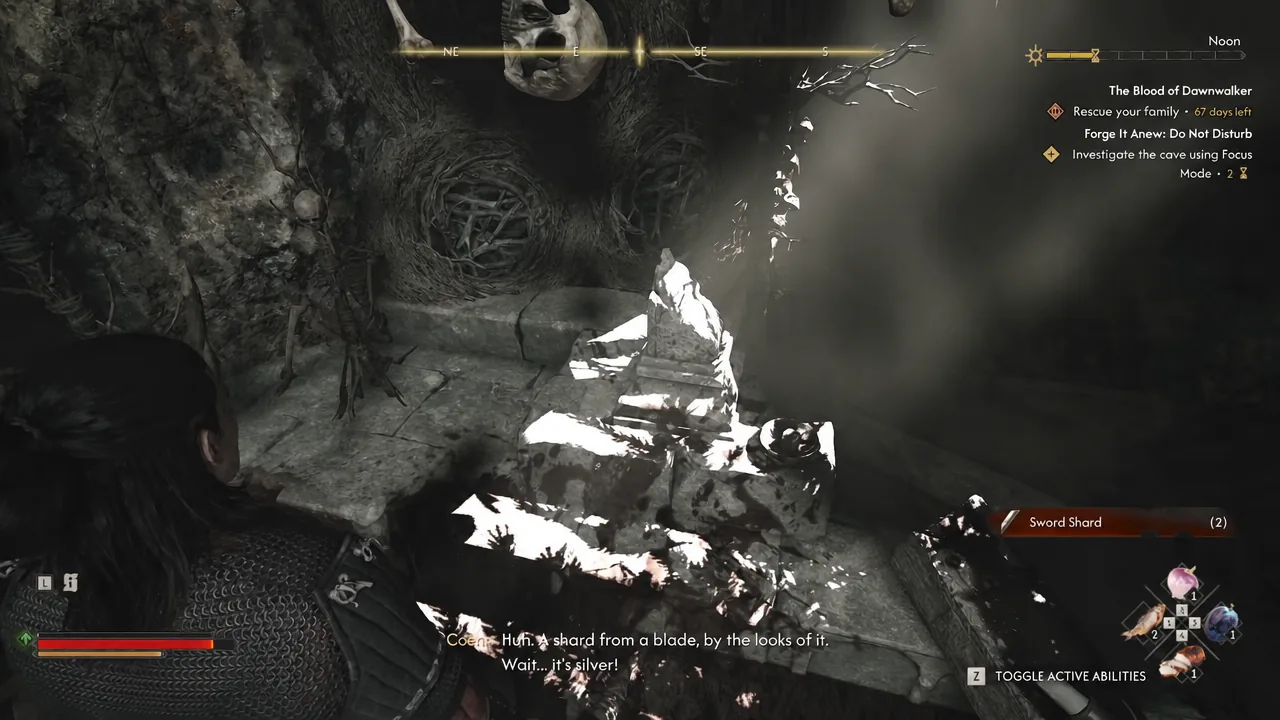
Forge It Anew: Do Not Disturb is the first of three shard hunts in The Blood of Dawnwalker, and it is the one most players trip over by accident. It sits in the woods of the Maragir Wealds, starts with a ransacked camp instead of a quest marker, and ends with Coen prying a silver Sword Shard out of a ruined shrine.
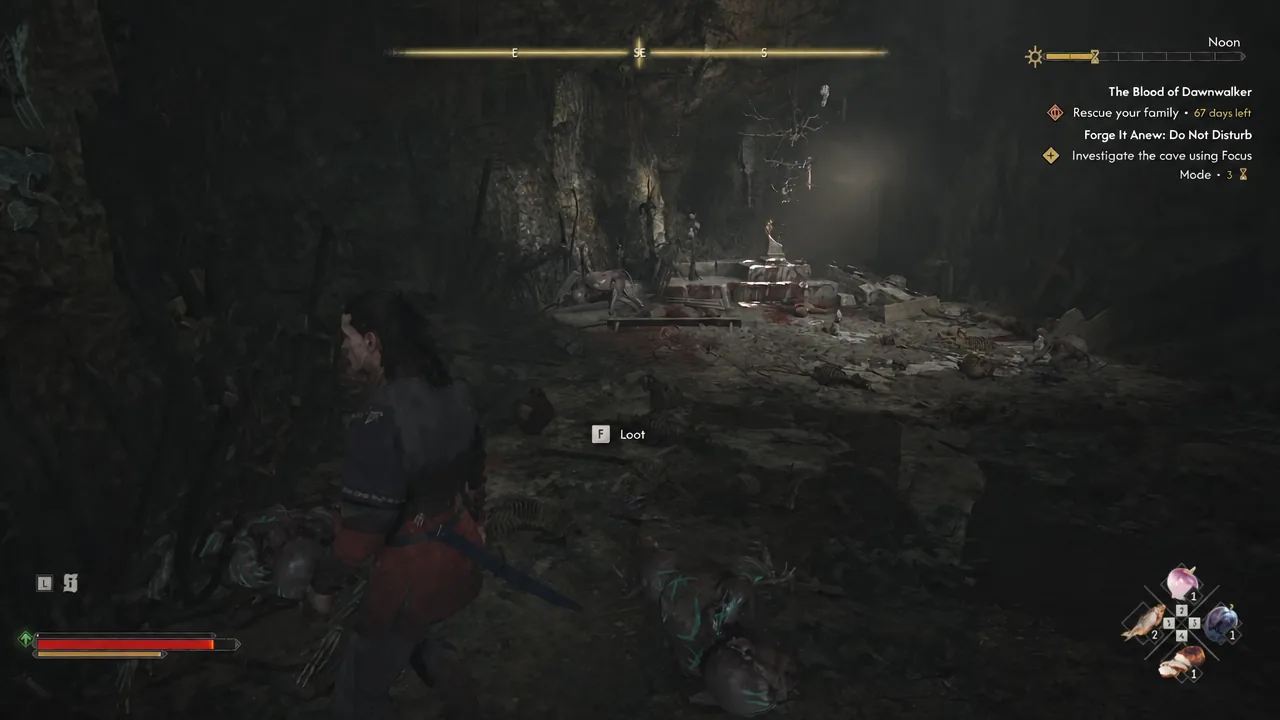
Quick answer: Find the abandoned camp north of the Maragir Wealds, loot Florin’s Orders, use Focus Mode to pick up the blood trail, follow it into the cave, kill the kobolds inside, then inspect the broken cross behind the altar and spend three hours picking up the Sword Shard.
What starts Forge It Anew: Do Not Disturb
The wider Forge It Anew quest begins in Svartrau, where the A Monk and a Saint questline leads Coen into the cathedral crypt and ends with the Broken Sword of St. Mihai. Mihai’s Journal, looted from his cell, spells out the two jobs ahead: track down an Uriash blacksmith, and recover the three shards the blade was shattered into.
Do Not Disturb itself triggers on proximity. Walk into the bloodied camp north of the Maragir Wealds and the sub-quest fires whether or not you were looking for it, which is why some players stumble into this shard long before the rest of the chain. To get the marker on your map deliberately, climb the Maragir Wealds Tower at night and scout from the top. A question mark appears north of the Wealds, and that is your destination.
Camp and cave location in the Maragir Wealds
Both the camp and the cave sit in the forest a short ride from Laslea, well east of Mert’s Mill and north of the Upper Maragir Wealds Shrine. The terrain is rocky, so expect a short climb rather than a clean road. The cave mouth is dark and easy to miss until the blood trail lines you up with it.
Walkthrough: From the camp to the Sword Shard
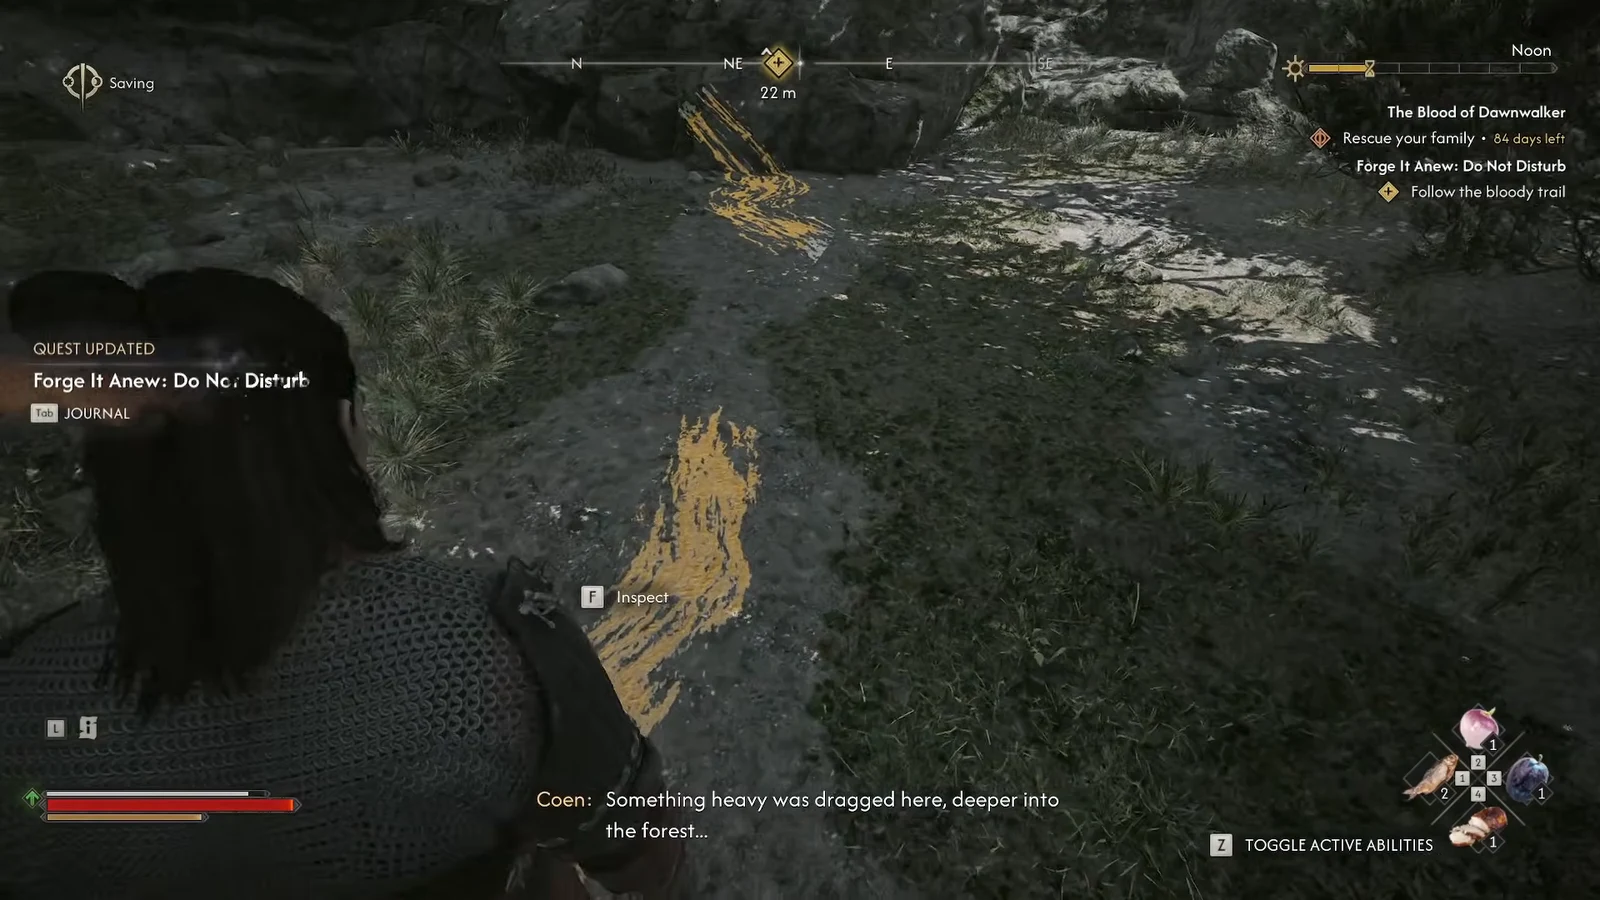
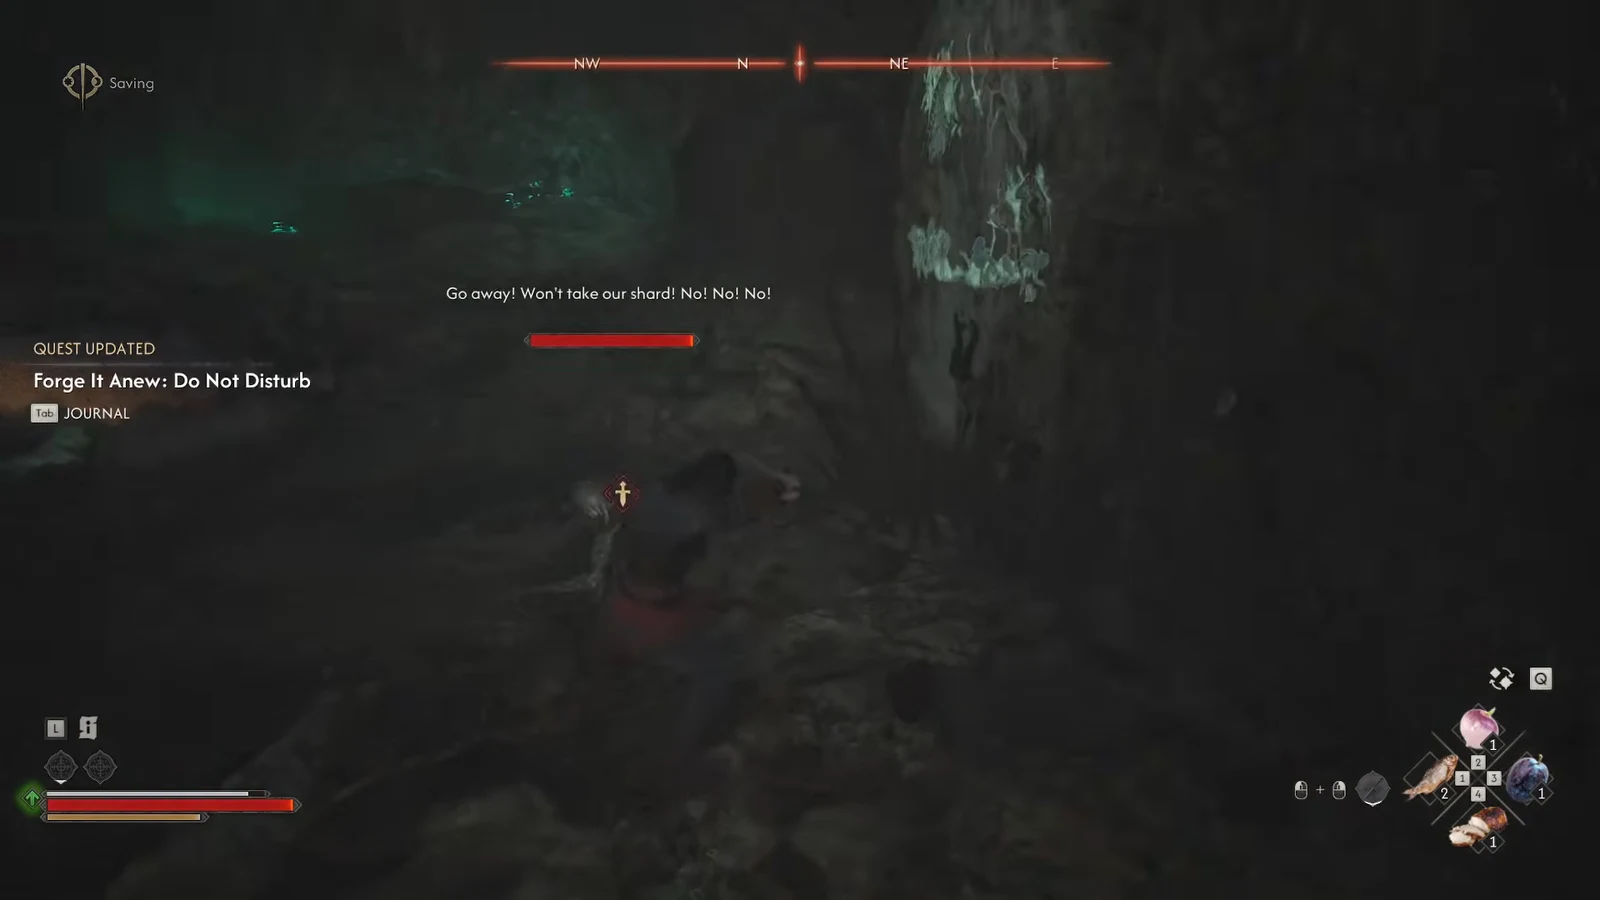
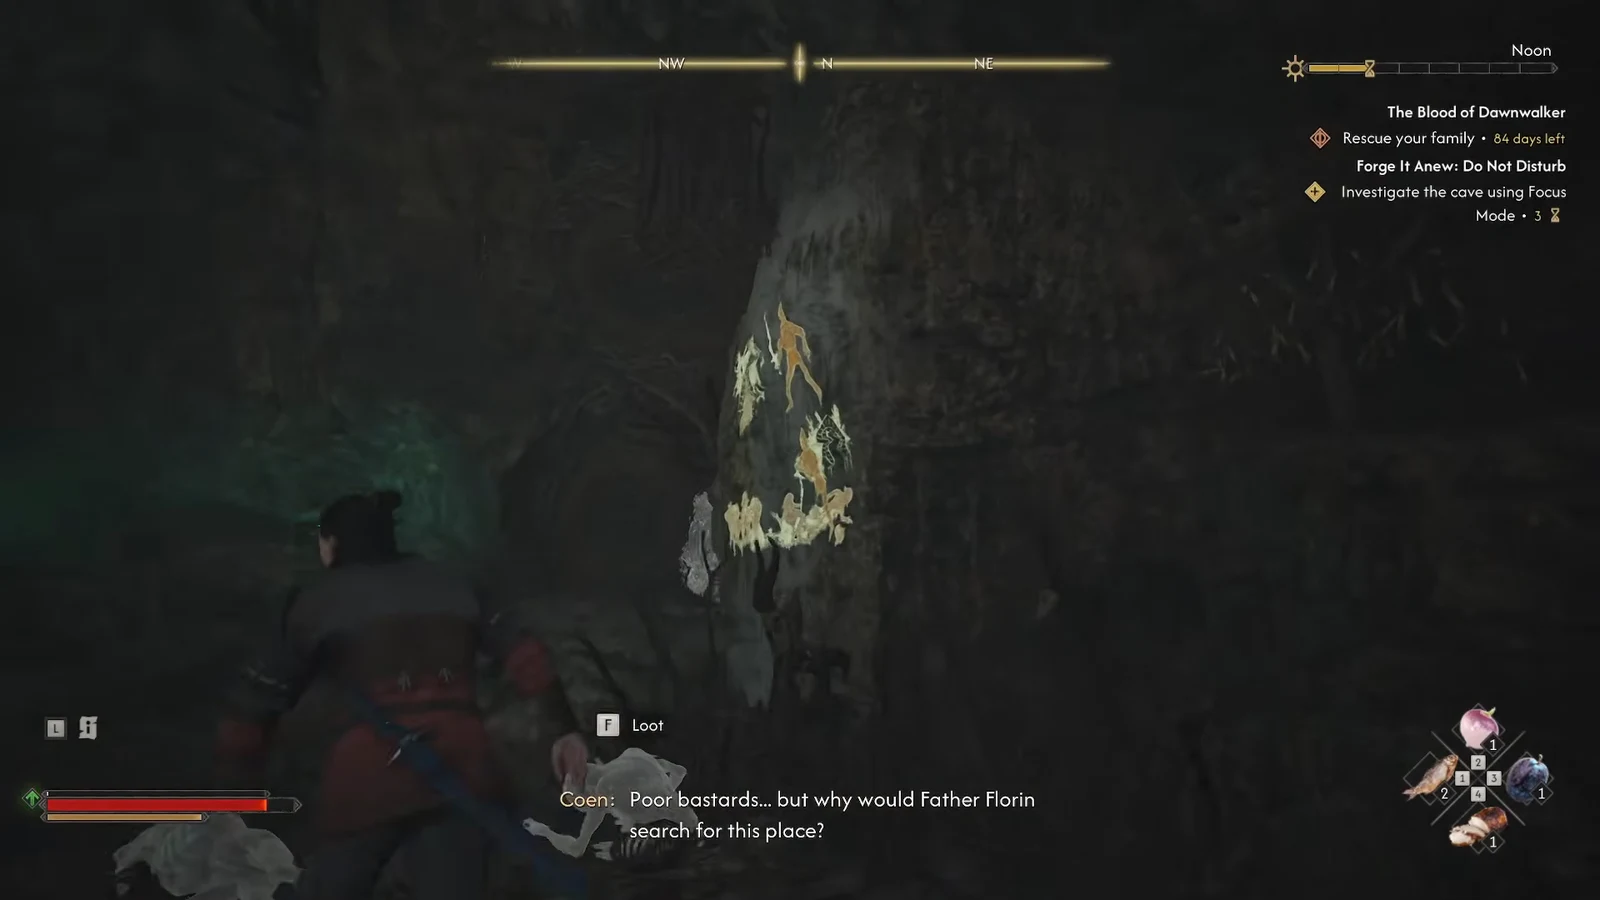
What you loot in the cave
Two of these are quest documents. The rest is ordinary field loot, useful for cooking and alchemy rather than anything Forge It Anew needs.
| Item | Where it is |
|---|---|
| Florin’s Orders | Bag in the abandoned camp |
| Blood-Soaked Journal | First inspection of the ruined altar |
| Sword Shard | Beside the broken cross behind the altar |
| Tainted Marrow, Kobold Bile | Kobold remains and nests in the cave |
| Rabbit Meat, Mouldy Bread | Camp and cave floor |
| Yellow Sweet Clover, Saffron Milk Cap | Gathered around the cave and the path outside |
How to confirm the quest completed
Three things happen at once when the shard is yours. Forge It Anew: Do Not Disturb is struck off in the quest log, the Sword Shard shows up in your inventory as a quest item, and two fresh markers land on the world map for the remaining caves.
If the shard prompt never appears, you have almost certainly only done the first altar inspection. The Blood-Soaked Journal and the shard come from two separate interactions with the same spot, and the second one is tied to the broken cross at the back of the chamber. The other common stall is walking into the cave with the wall painting and stone map still unexamined, which leaves the map markers unrevealed even after the fight is over.
Where the stone map sends you next
The carving marks all three sites, including the one you are standing in, so the order is entirely yours to pick from here.
| Sub-quest | Area |
|---|---|
| Forge It Anew: Do Not Disturb | Maragir Wealds, north of the Upper Maragir Wealds Shrine |
| Forge It Anew: Hostile Takeover | Hills near Shrike’s Crag, guarded by the kobold Munch-Munch |
| Forge It Anew: Executive Order | Cave southeast of the Crossroads Inn near Tantari, already ransacked |
Do Not Disturb is comfortably the gentlest of the three, which makes it the sensible first stop. The kobolds here go down quickly at the level most players reach the Wealds, and the whole detour takes a few minutes plus the three hours the shard demands. The two caves it unlocks are a different proposition, so bank the skill points and the better gear before you commit to them.