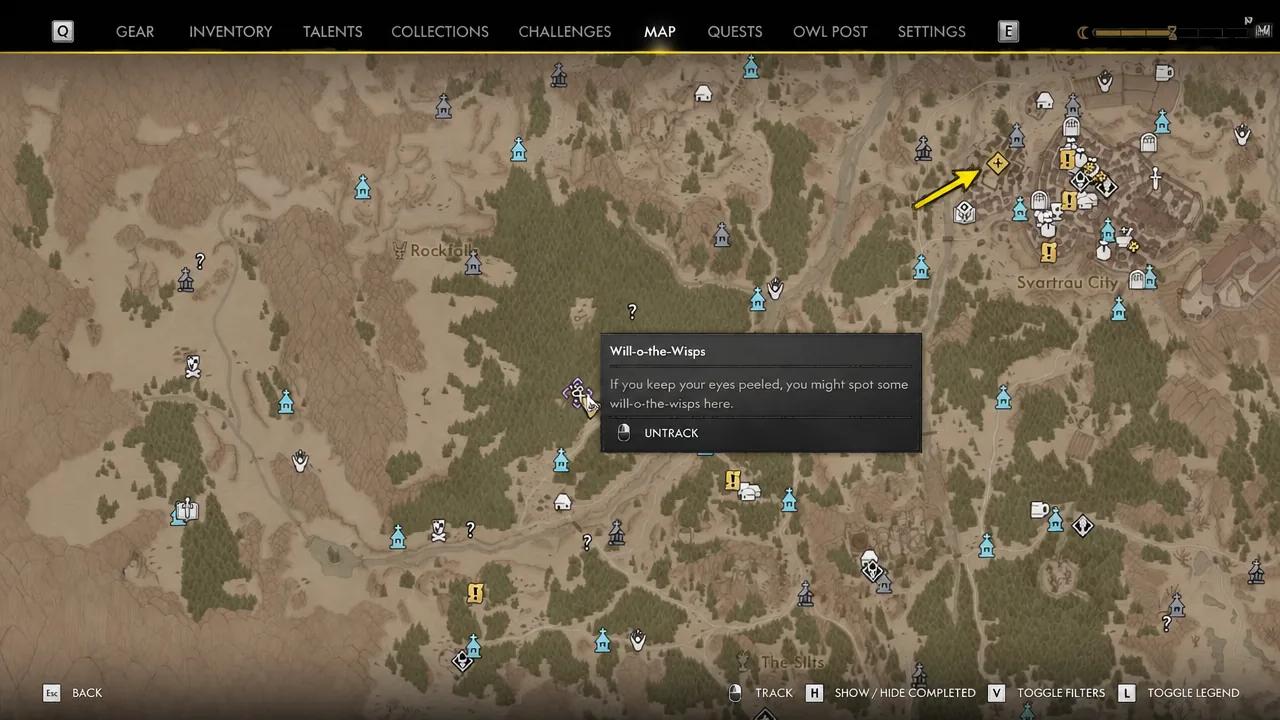
Six Will-o-the-Wisp markers sit scattered across Vale Sangora in The Blood of Dawnwalker, and each one is a self-contained treasure hunt. Walk close to a cluster of glowing lights, a quest starts on its own, and the wisps drift toward a hidden chest with something unpleasant standing between you and it. The payoff is consistent: XP, gold, and a character development manual that unlocks a perk upgrade once Coen reads it.
Quick answer: Find the wisps at each of the six marked spots, follow them without straying off their path, kill whatever guards the route, and open the chest at the end. Each completed hunt awards 40 XP, 100 gold, and loot; the Watermill Hills hunt in Briar Sloughs also grants 100 XP and a skill point on completion.
All six Will-o-the-Wisp locations and their treasure hunts
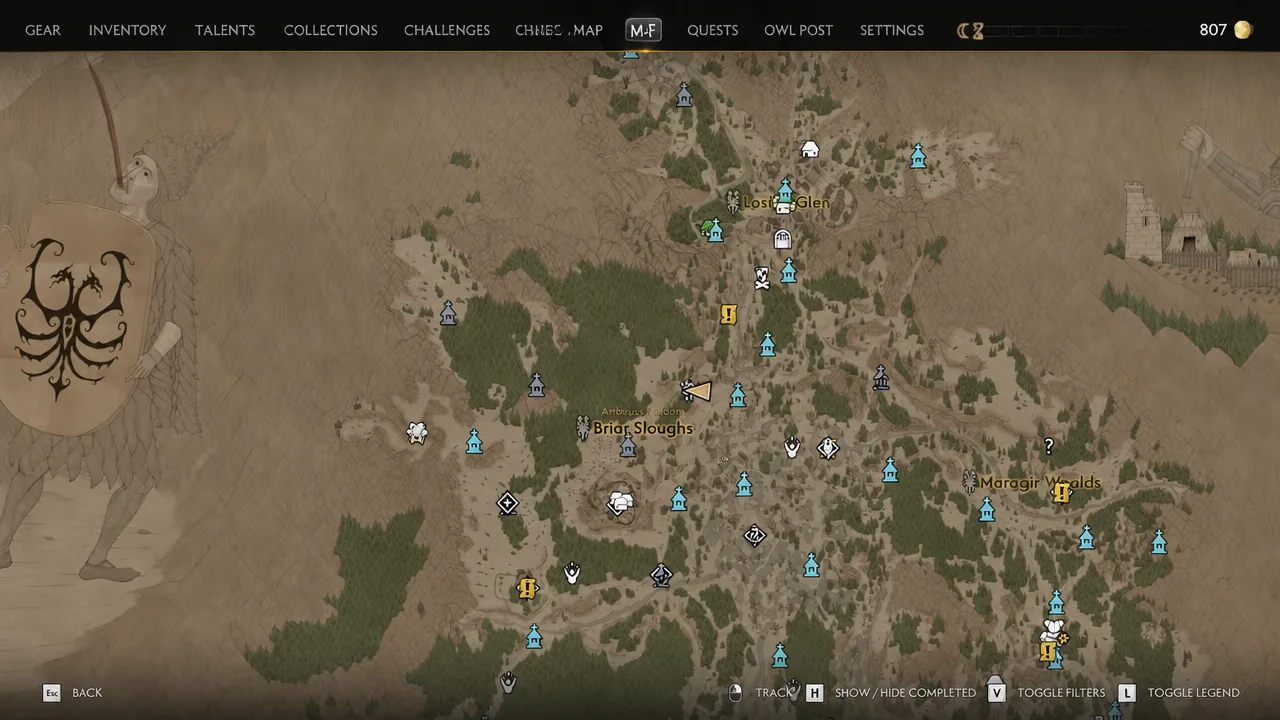
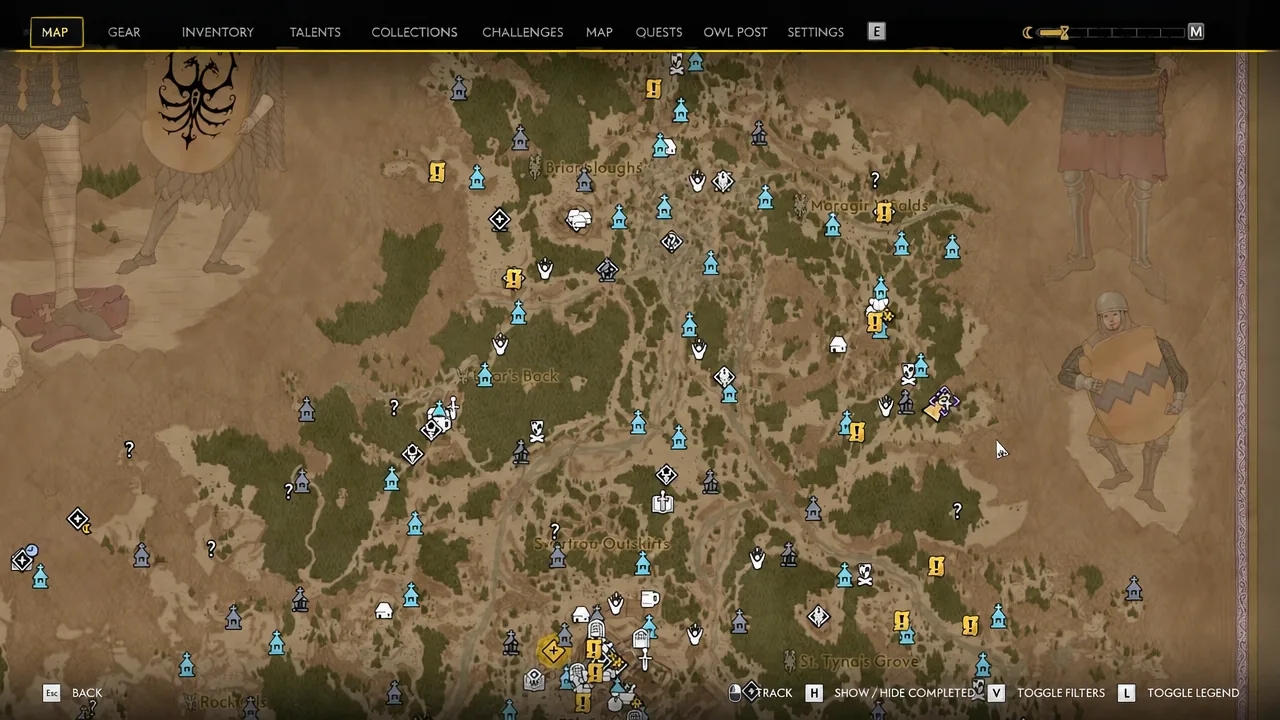
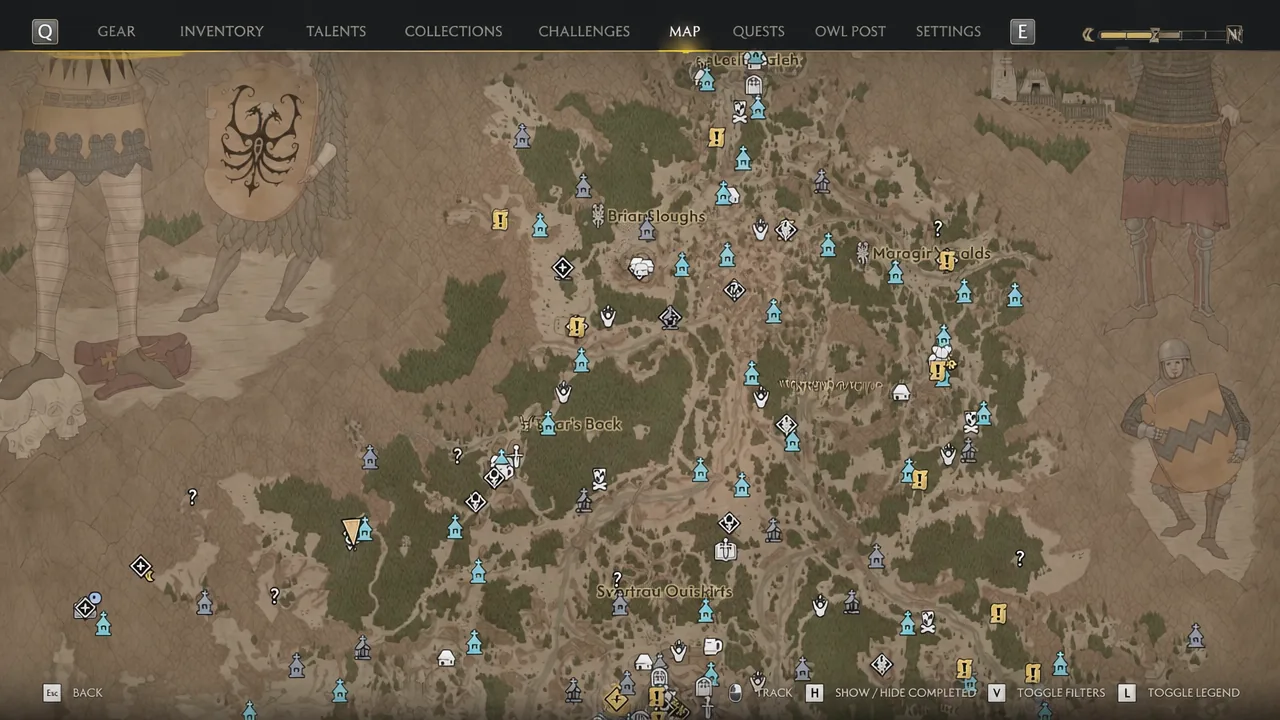
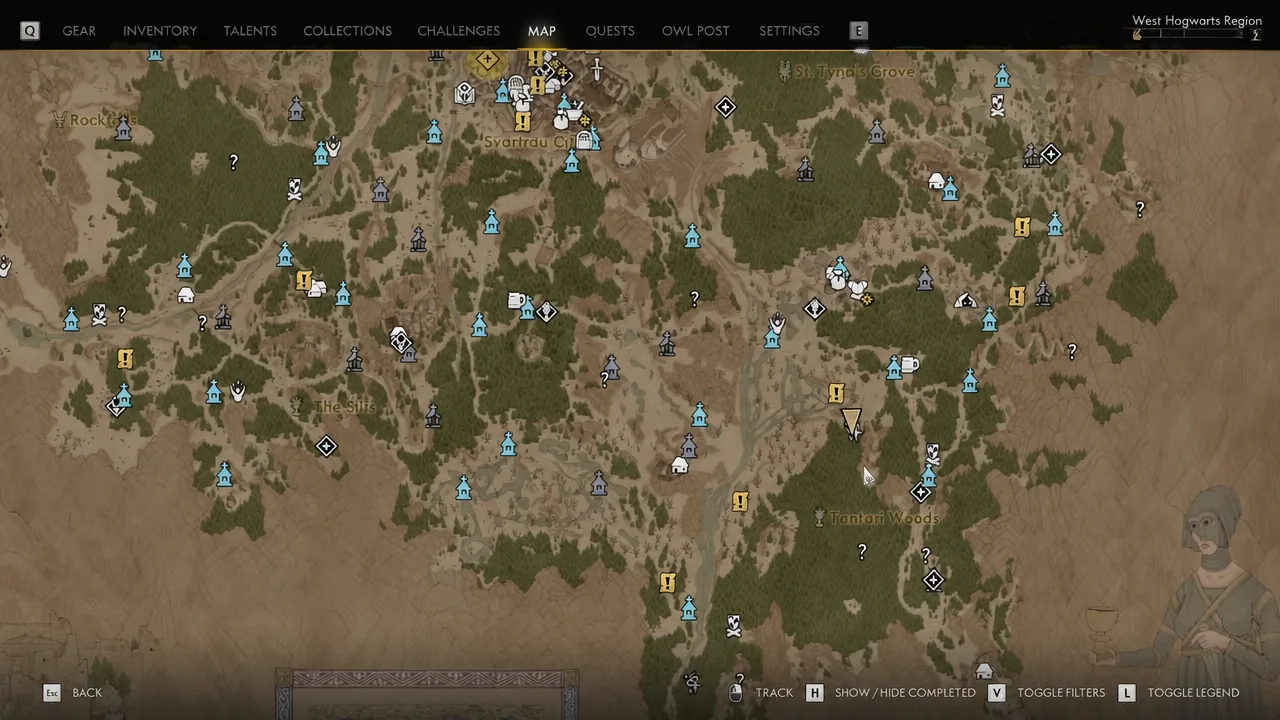
The interactive world map lists Will-o-the-Wisps as its own category with exactly six entries, so there is nothing hidden beyond this set. Every hunt is named after the area where its chest sits, which is not always the same place the lights first appear.
| Hunt | Where the wisps appear | Guarding enemies |
|---|---|---|
| Wisp Treasure Hunt: Watermill Hills | Briar Sloughs, uphill west of the Sloughside Mill Shrine | Ravenous Bear |
| Wisp Treasure Hunt: East Road | Eastern side of Vale Sangora | Bandits at a campfire |
| Wisp Treasure Hunt: Drawing Place | Near Giant’s Pawns | Wolves |
| Wisp Treasure Hunt: South Foot | Southern forest | Bandits |
| Wisp Treasure Hunt: North Clearing | Tantari Woods | Bear |
| Wisp Treasure Hunt: North Creek | Near The Silts | Wolves and bandits |
How a wisp hunt works from start to chest
Every hunt runs on the same loop, so learning it once covers all six. There is no quest giver and no journal entry beforehand — proximity is the only trigger.
Because the chest costs a time segment, saving right before you open it lets you inspect the contents and reload if the loot does not suit your build. Time is a finite resource across the 30 days and nights, so this is worth doing on hunts you are unsure about.
Watermill Hills: The Briar Sloughs hunt in detail
The Briar Sloughs hunt is the one most players hit first, and it has the toughest single fight of the six. Fast travel to the Sloughside Mill Shrine, which unlocks automatically if you investigated the mill while looking into the rebels. From the shrine, turn west and climb the slope until the lights appear. They read as bright red at night and are difficult to walk past.
The trail runs southwest toward a cliff and dead-ends at a Ravenous Bear. The fight is mandatory. The bear carries three large health bars, so blocking and parrying preserves far more stamina than dodging everything, and the red attacks cannot be blocked at all — those have to be rolled. Killing it yields 36 XP plus meat, liver, and bones for crafting or selling.
Once the bear is down, the wisps lead northwest uphill, then turn east and drop back down. The chest sits among a cluster of corpses at the end of that descent. Completing the hunt pays out 100 XP and one skill point on top of the chest loot.
Wisp treasure chest rewards by location
Each chest holds a manual plus a mix of consumables, crafting materials, gear, and coin. The manuals are the reason to bother — reading one unlocks a perk upgrade in the matching skill tree. Chest contents can vary somewhat between runs, but the manual is the anchor reward in every case.
| Hunt | Manual | Other notable loot |
|---|---|---|
| Watermill Hills | Forager Manual | Unbreakable Battleward, Perilla, Buttermilk |
| East Road | Looting Malediction Manual | Recipe for Minor Razor Claw Vial, Nature’s Bone, Cave Fungus, Millet Beer |
| Drawing Place | Witchcraft Mastery Manual | Blood-Knee Trousers, Young Priest’s Note, Parasol Mushroom, Denarius |
| South Foot | Potent Blood Manual | Adventurer’s Cuffs, Minor Regenerative Salve |
| North Clearing | Frugal Witchcraft Manual | Meeting Note, Potent Vitality Balm, Moldavan Red Wine |
| North Creek | Unnatural Resilience Manual | Recipe for Aetheric Attunement, Ruthful Corruption, Strong Spirits, Pickle |
A Warrior’s Rush Amulet, Linseed Oil, Barley Beer, and a Frugal Witchcraft Manual can also turn up in the Watermill Hills chest. The amulet trims Swordmastery ability cooldown and adds weapon damage, which makes it the more useful pull if you are running a melee-focused Coen.
Why a wisp trail stops working
Two things break these hunts, and both are avoidable. The first is distance — the lights hold position for you, but only inside a limited area, and sprinting ahead or detouring through the trees drops the trail entirely. Walk back toward where you last saw them to pick it up again.
The second is unresolved combat. The bear, wolf packs, and bandit groups are placed to block progress rather than to be avoided, so the wisps will not continue toward the chest while they are alive. Clear the encounter, then look for the lights nearby.
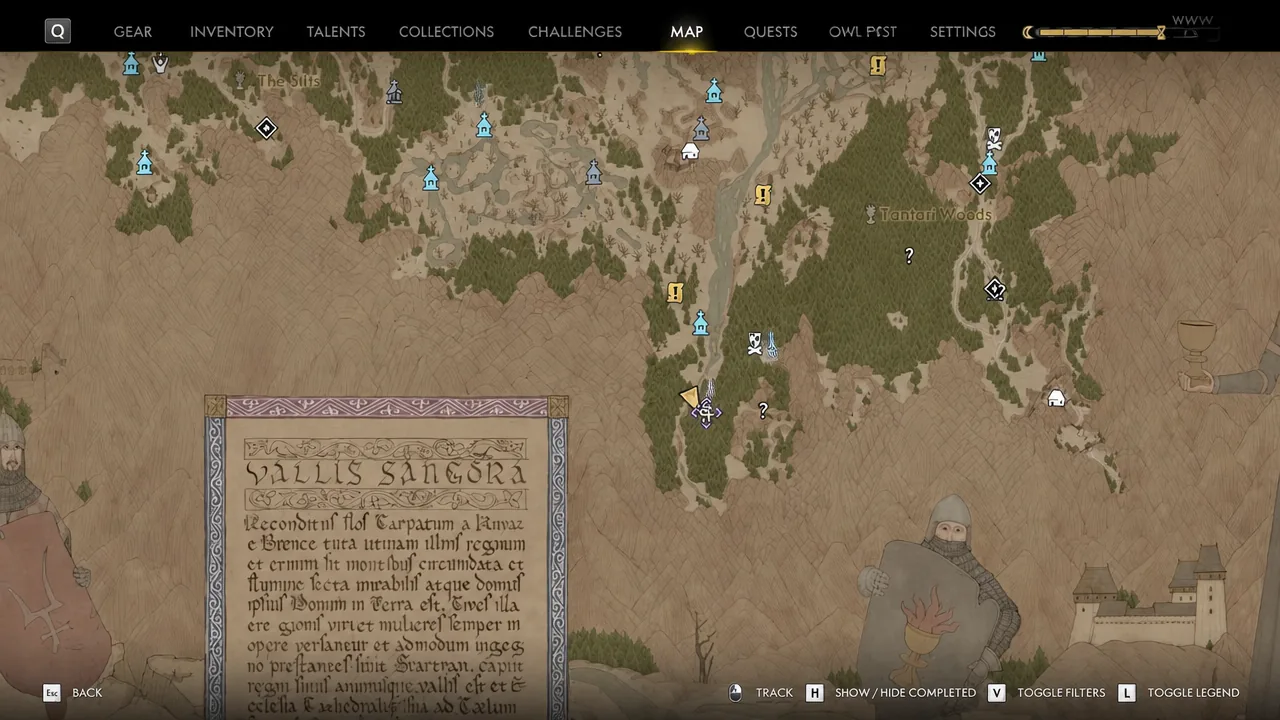
You can confirm each hunt is finished by the completion prompt that fires after you loot the chest and by checking the Will-o-the-Wisps filter on the map — six marked and six cleared means there is nothing left to chase in Vale Sangora. If you are hunting manuals specifically, the six chests together cover Forager, Looting Malediction, Witchcraft Mastery, Potent Blood, Frugal Witchcraft, and Unnatural Resilience, which is a solid haul of perk upgrades for a handful of short detours.