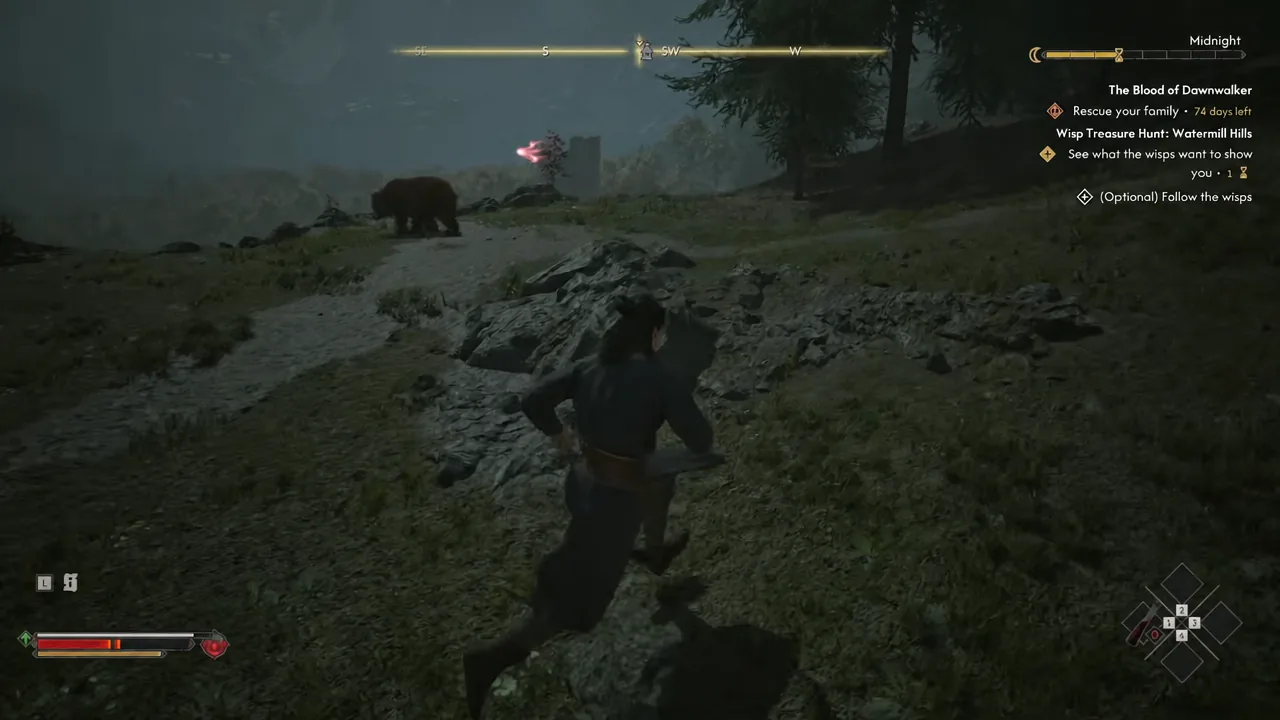
Wisp Treasure Hunt: Watermill Hills is one of the quiet finds in The Blood of Dawnwalker. There is no quest giver and no marker. Coen simply walks into a cluster of floating lights in the hills, the objective “See what the wisps want to show you” appears, and the trail starts moving. What follows is a short escort route through the forest, one mandatory bear fight, and a chest that costs an hour of Coen’s limited time to crack open.
Quick answer: Fast travel to the Sloughside Mill Shrine, walk west and up the slope until the glowing wisps appear, then follow them southwest to the cliff, kill the Ravenous Bear, and keep trailing them northwest up the hill and back east downhill to the stone altar chest.
Wisp Treasure Hunt: Watermill Hills quest details
Everything about this hunt is fixed. The wisps sit in the hills north of Briar Sloughs, the fight in the middle cannot be skipped, and the payout at the end is the same every run except for the contents of the chest.
| Detail | What to expect |
|---|---|
| Region | Briar Sloughs, in the hills above the watermill |
| Nearest waypoint | Sloughside Mill Shrine |
| How it starts | Automatically, when Coen walks up to the wisps |
| Objective text | See what the wisps want to show you / (Optional) Follow the wisps |
| Mandatory fight | Ravenous Bear, three health bars, 36 XP |
| Chest cost | 1 in-game hour to open |
| Quest reward | 100 XP and 1 skill point, plus chest loot |
This is one of two wisp hunts in the game, the other being Wisp Treasure Hunt: South Foot. Neither is tied to the main story, so there is no deadline pressure beyond the hour the chest takes.
Where to find the wisps near Sloughside Mill Shrine
The Sloughside Mill Shrine unlocks on its own if you have already been to the mill while digging into the rebels in that area. If it is on your map, open the map, set the shrine as your destination, and fast travel there rather than walking in from elsewhere.
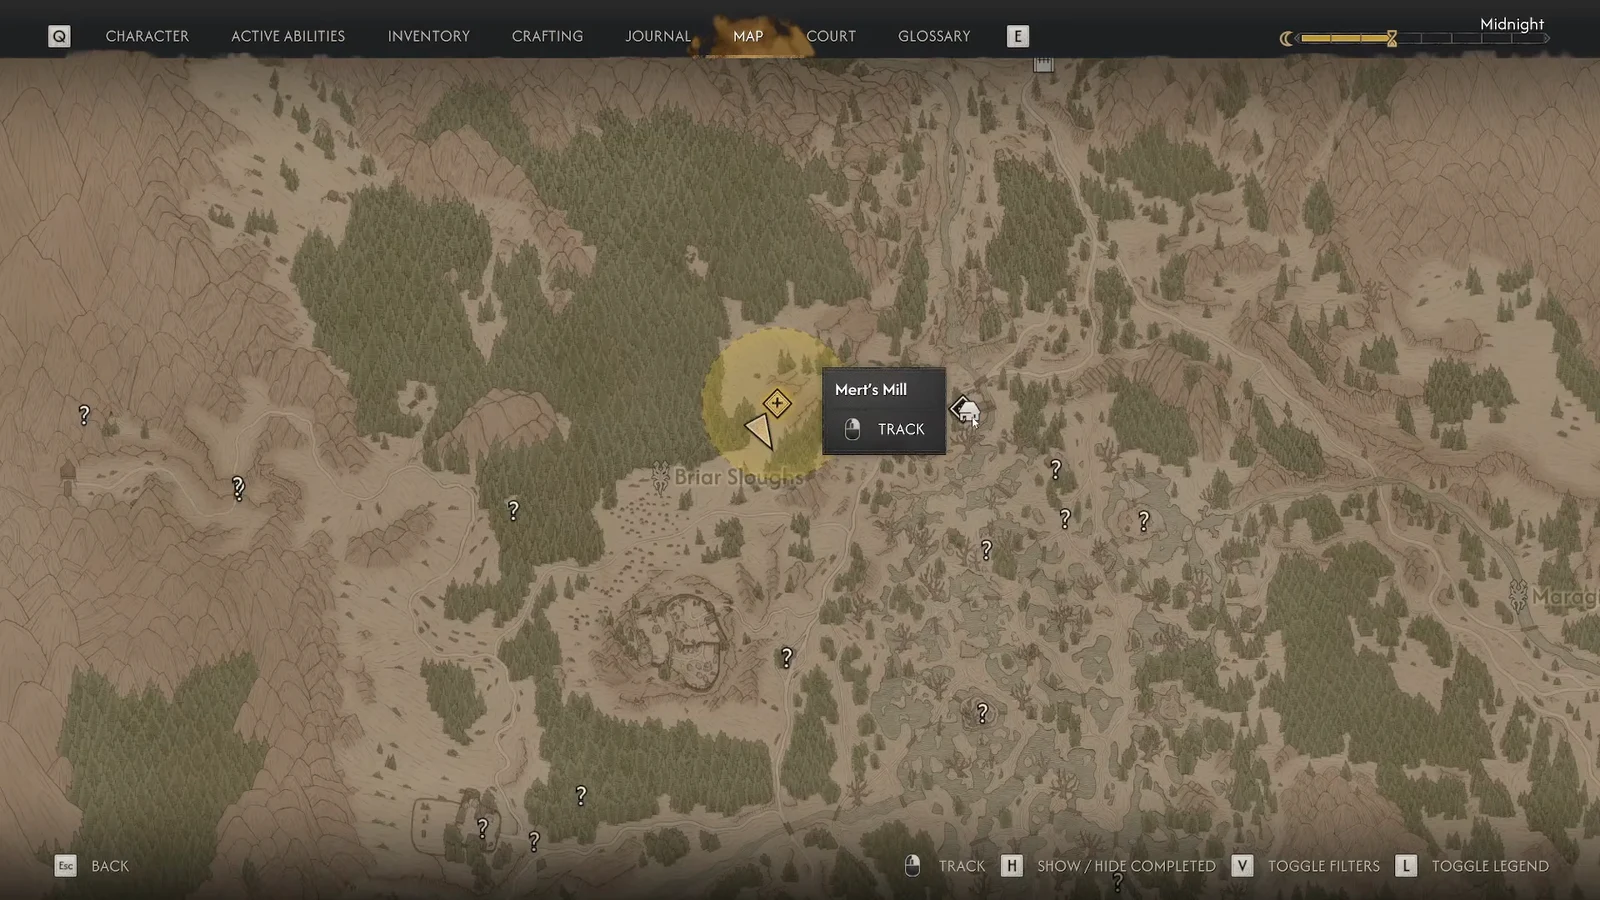
From the shrine, turn west and climb the slope. The Will-o-the-Wisps hover in the open above the watermill area and give off a strong red glow, so they are hard to walk past. Night makes them stand out far more against the trees; during the day they are still visible, just dimmer.
There is no dialogue and no NPC involved. The moment Coen gets close enough, the quest name pops up and the wisps start drifting away from you.
How to follow the wisps to the Watermill Hills treasure
The wisps move at walking pace and wait for you when you fall behind, but only within a small radius. Stay on the line they trace instead of cutting through the trees on your own, or you will lose them.
How to beat the Ravenous Bear
The bear carries three large health bars, which makes it a much longer fight than the wolves and bandits around Briar Sloughs. Trading blows without a plan drains your stamina long before its health runs out.
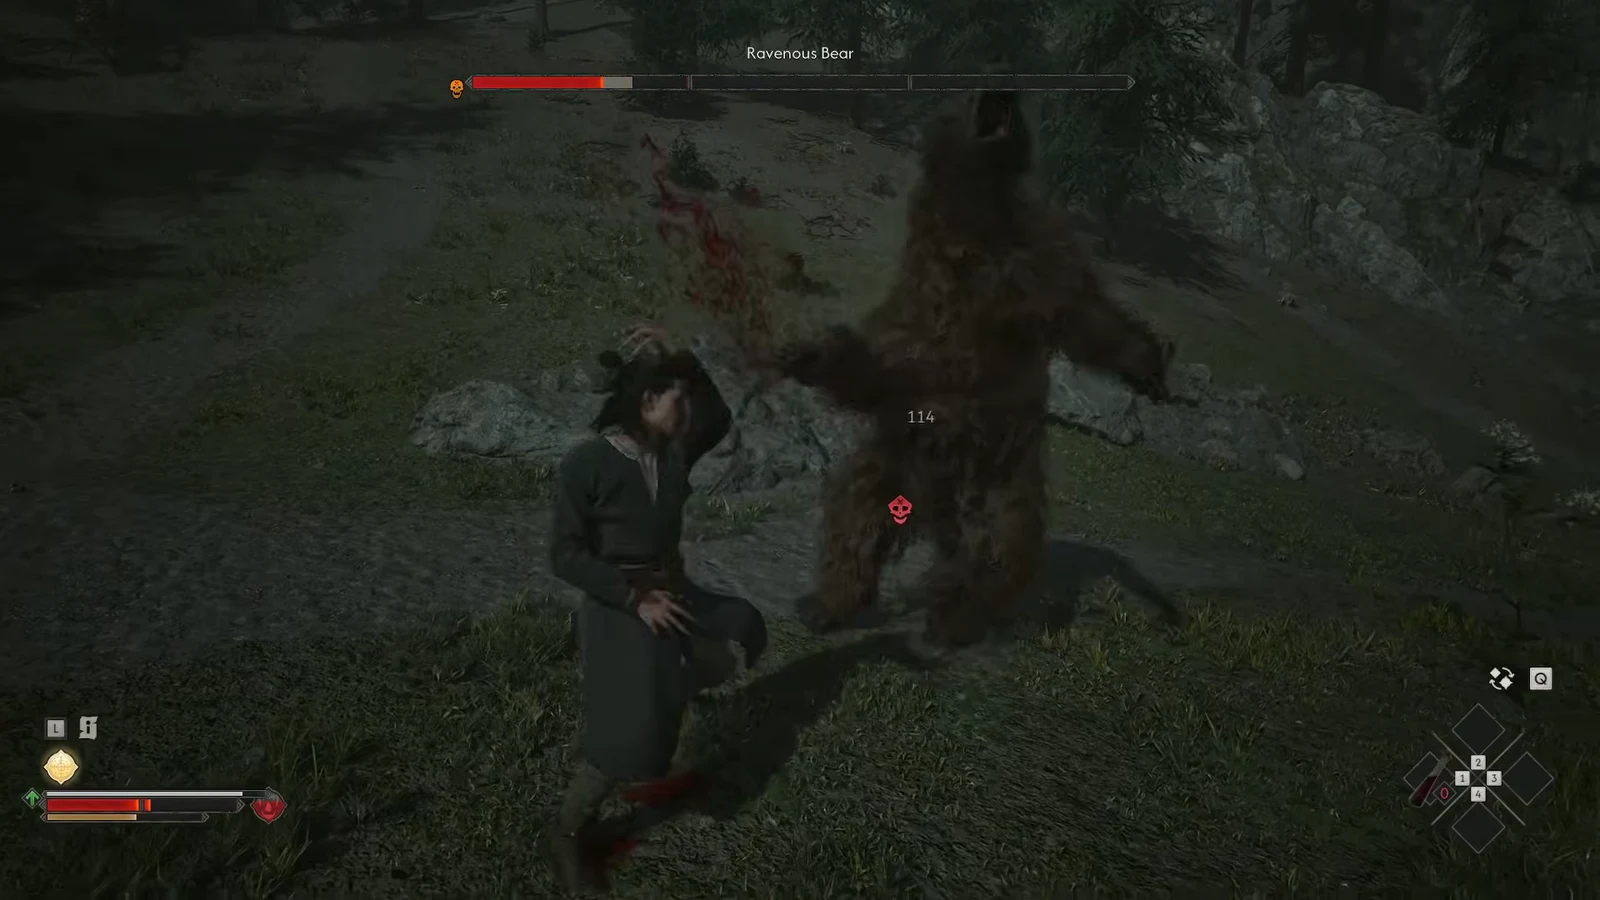
- Block and parry the normal swipes instead of dodging everything, since parrying is far kinder to your stamina bar.
- Dodge anything that glows red. Those attacks cannot be blocked and hit hard.
- Wait for the bear to commit to a swing, then answer with one clean combo rather than spamming attacks.
- If it keeps winning, put points into Swordmastery before coming back.
The kill is worth 36 XP. Loot the corpse before moving on for Bear Meat, Bear Liver, and Animal Bones, all of which are useful for crafting or selling.
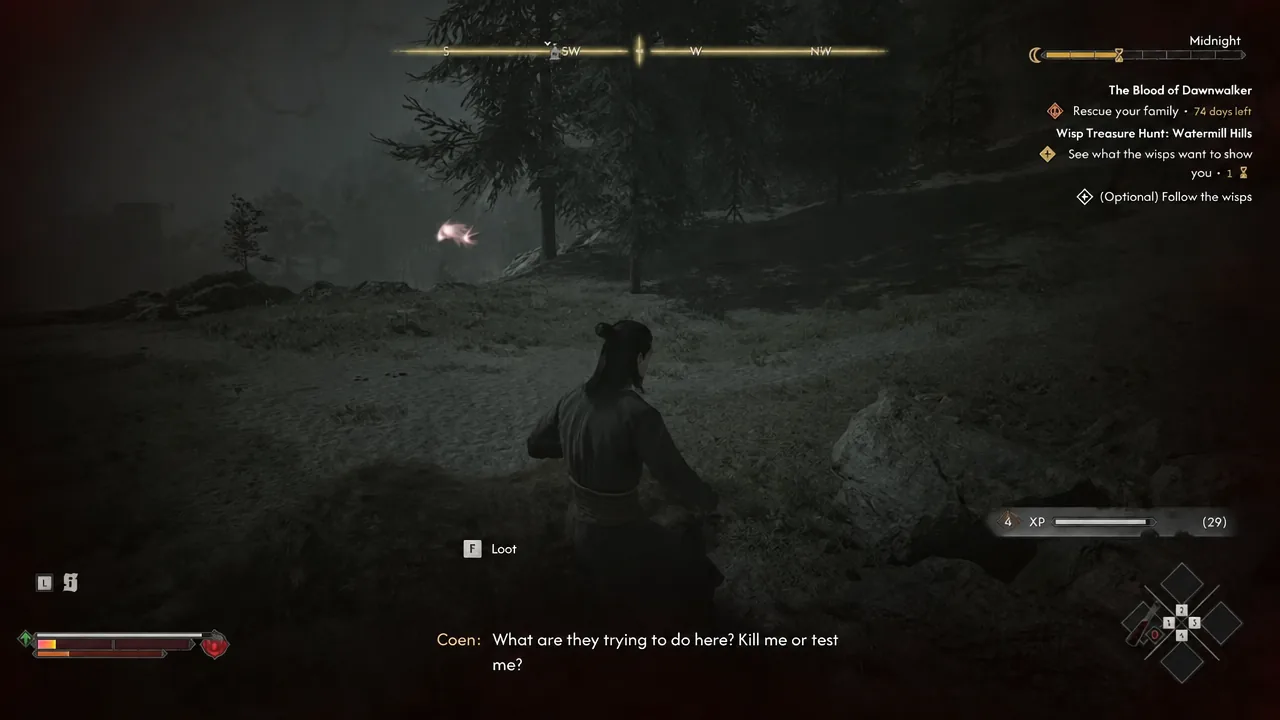
Opening the chest costs 1 in-game hour
Interacting with the chest at the altar advances the clock by one hour. Time is a resource in The Blood of Dawnwalker, and every hour spent here is an hour not spent on Coen’s family, so treat it as a real cost rather than a loading screen.
Tip: Save right before you touch the chest. You can open it, look at what dropped, and reload if the contents are not worth the hour. The game does not penalize this.
Watermill Hills treasure rewards
Finishing the hunt pays out 100 XP and one skill point on top of whatever is inside the chest. Early in a run, that skill point alone tends to justify the detour.
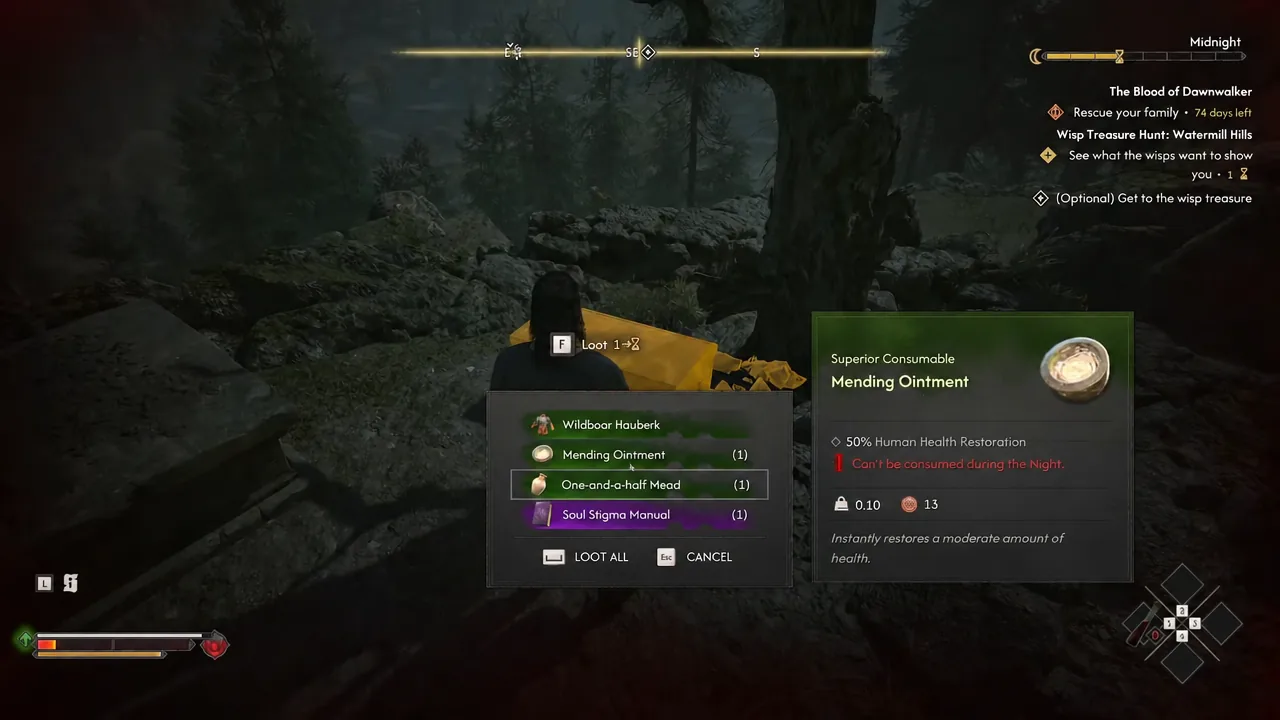
The chest contents are not identical for everyone. Expect a mix of gear, a consumable or two, and a skill manual. Items that have shown up inside include the following.
| Item | What it does |
|---|---|
| Wildboar Hauberk | Body armour |
| Warrior’s Rush Amulet | Swordmastery ability cooldown and weapon damage |
| Soul Stigma Manual | Unlocks a perk upgrade once read |
| Frugal Witchcraft Manual | Unlocks the matching Witchcraft perk upgrade once read |
| Mending Ointment | Healing consumable |
| One-and-a-half Mead / Barley Beer | Drink; Barley Beer boosts stamina regeneration rate |
| Linseed Oil | Common weapon oil |
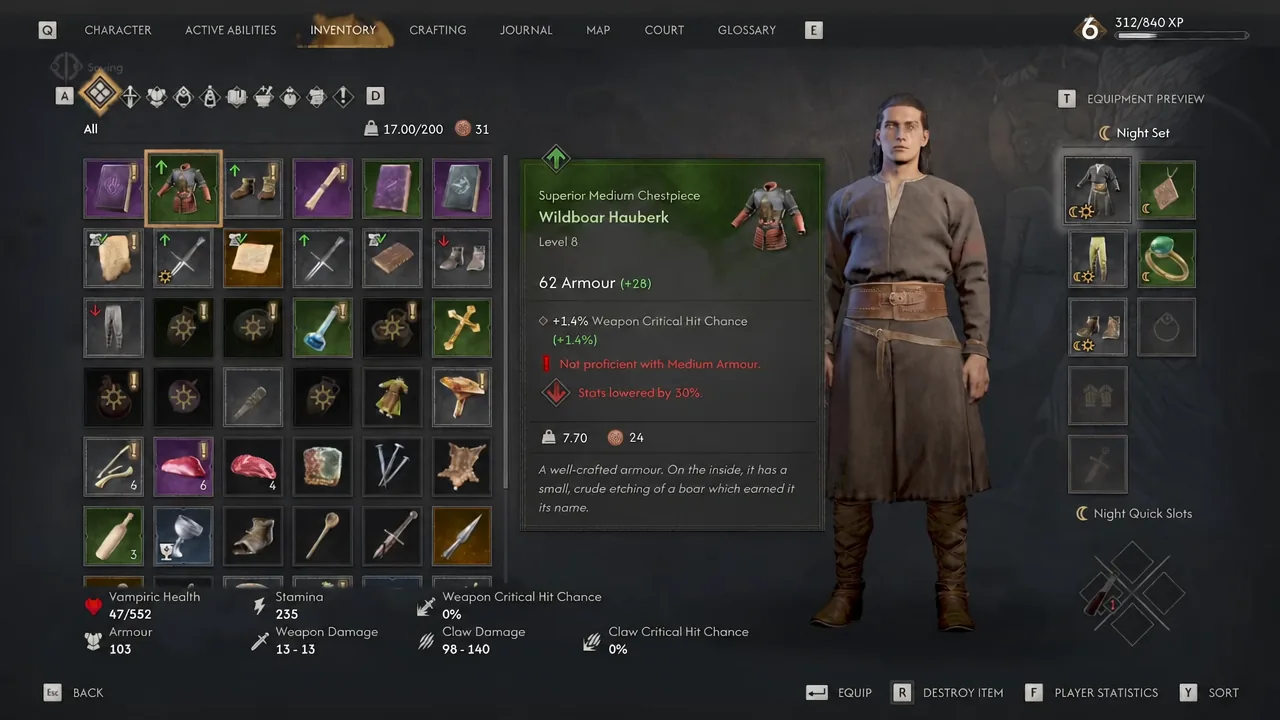
How to confirm the quest is complete
Looting the chest closes the hunt. The objective clears, the 100 XP and skill point land, and the wisps stop leading you anywhere. Read any manual you picked up from your inventory to actually apply the perk unlock, since holding it does nothing on its own.
Two things stop people from finishing it. Wandering too far off the wisp trail breaks the follow, so return to where you last saw the lights and pick them up again. And the Ravenous Bear cannot be avoided or outrun to the treasure, so the path stays closed until it is dead.
Since the wisps sit close to the shrine and the route loops back on itself, the whole hunt fits neatly into a trip through Briar Sloughs. Clear it while you are already in the area, and the only real expense is that single hour on the clock.