Gear in The Blood of Dawnwalker ages out fast. A sword you picked up at level 8 will still be a level 8 sword when Coen hits 16, and the damage gap shows up almost immediately in fights. The fix is not crafting or a workbench in your inventory. You have to walk up to a vendor and pay.
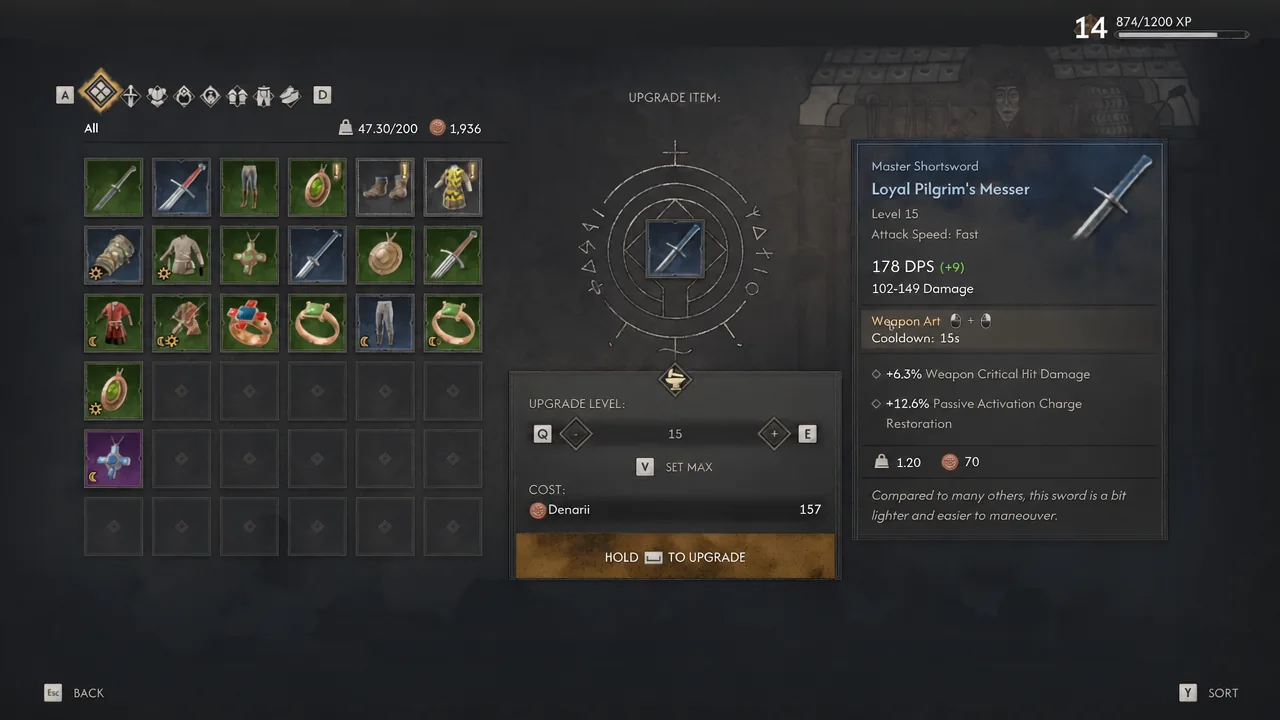
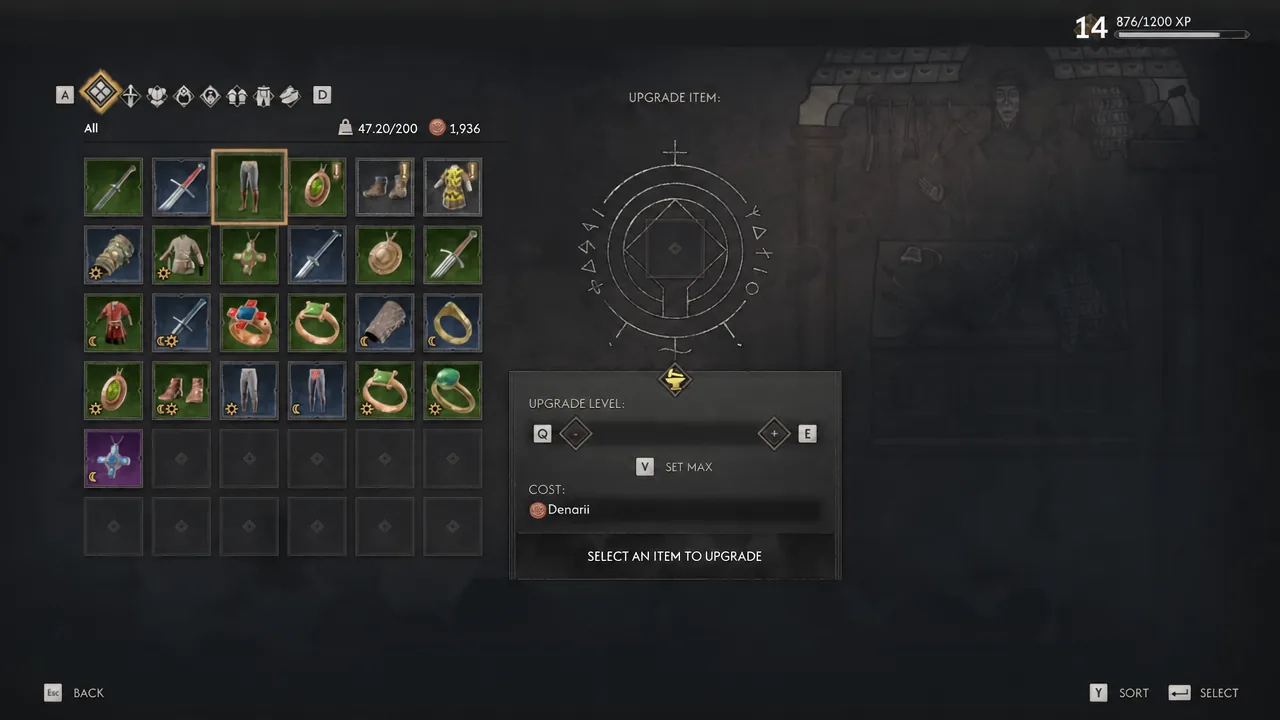
Quick answer: Talk to a blacksmith, armorer, or the witchcraft vendor Vera, pick “Improve my equipment!” in the dialogue menu, select the item, set the target level, and hold the confirm button to spend the Denarii. The item’s level and base stats jump to match your character level.
What upgrading changes, and what it leaves alone
Upgrading scales an item’s level up to your current character level, and scales its base numbers along with it. For a weapon that means DPS and the damage range. For armor and bracers it means the armor value. A Master shortsword sitting at level 15 with 176 DPS gets pulled up to level 17 and gains damage accordingly.
What it does not touch are the passive stats and bonus attributes rolled onto the item. Critical hit chance, stamina cost reductions, damage against supernatural enemies, and similar modifiers stay where they are. So an upgrade keeps a favorite weapon competitive on raw numbers, but it will not turn a weak affix set into a good one.
Cost scales with two things: how high the item’s tier is, and how high your level is. Early on, bumping a Master shortsword by two levels runs a few hundred Denarii. Late in a playthrough, keeping a legendary blade current can run into the thousands per upgrade.
| Aspect | Effect of upgrading |
|---|---|
| Item level | Raised, capped at your current character level |
| Weapon DPS and damage range | Scales up with the new level |
| Armor value | Scales up with the new level |
| Passive stats and bonus attributes | Unchanged |
| Rarity or tier | Unchanged |
| Cost | Rises with item tier and your level |
Doing the upgrade at a vendor
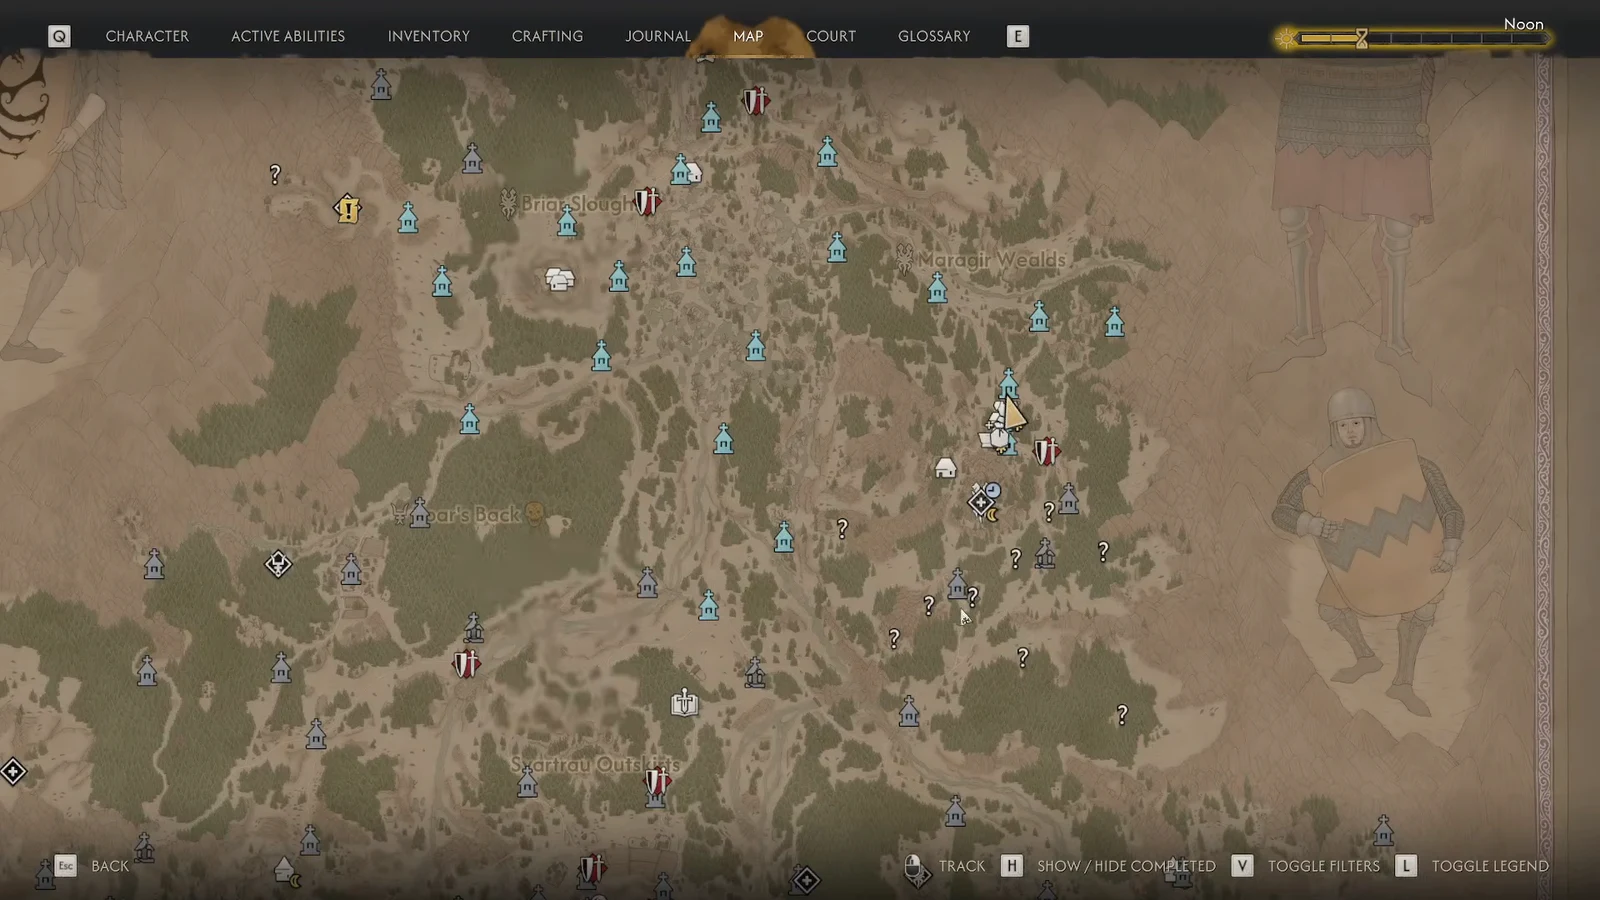
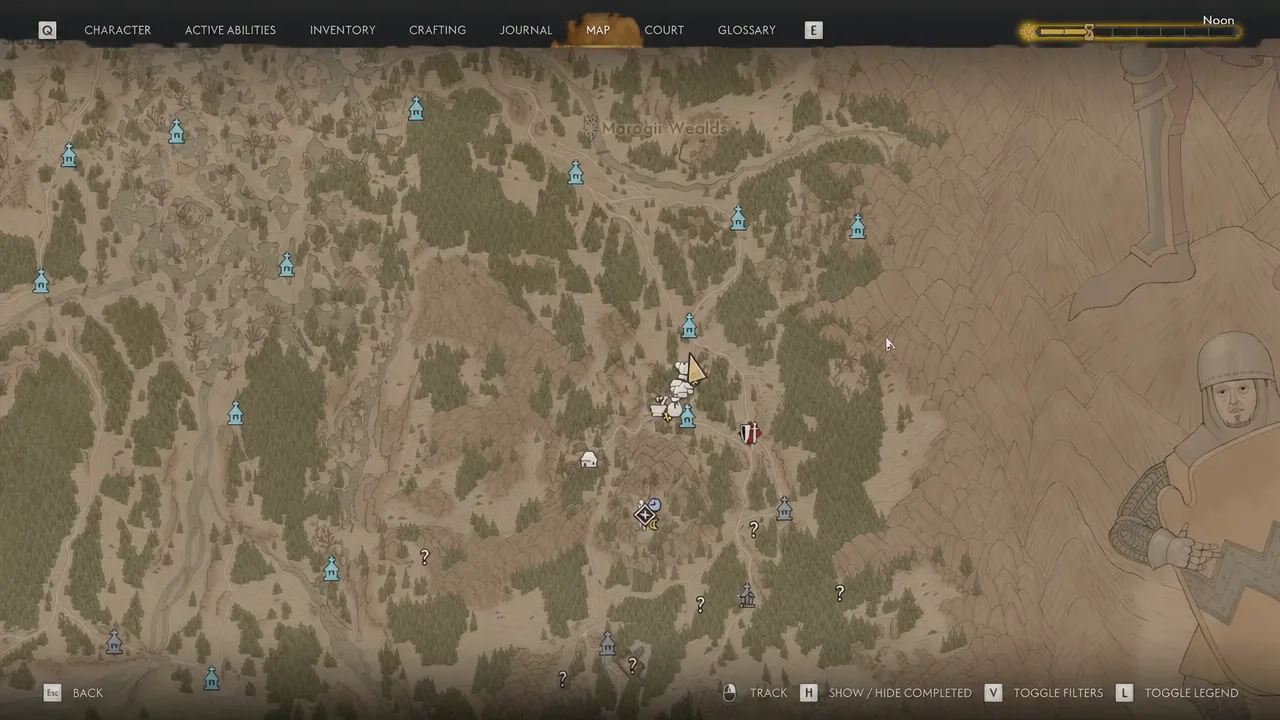
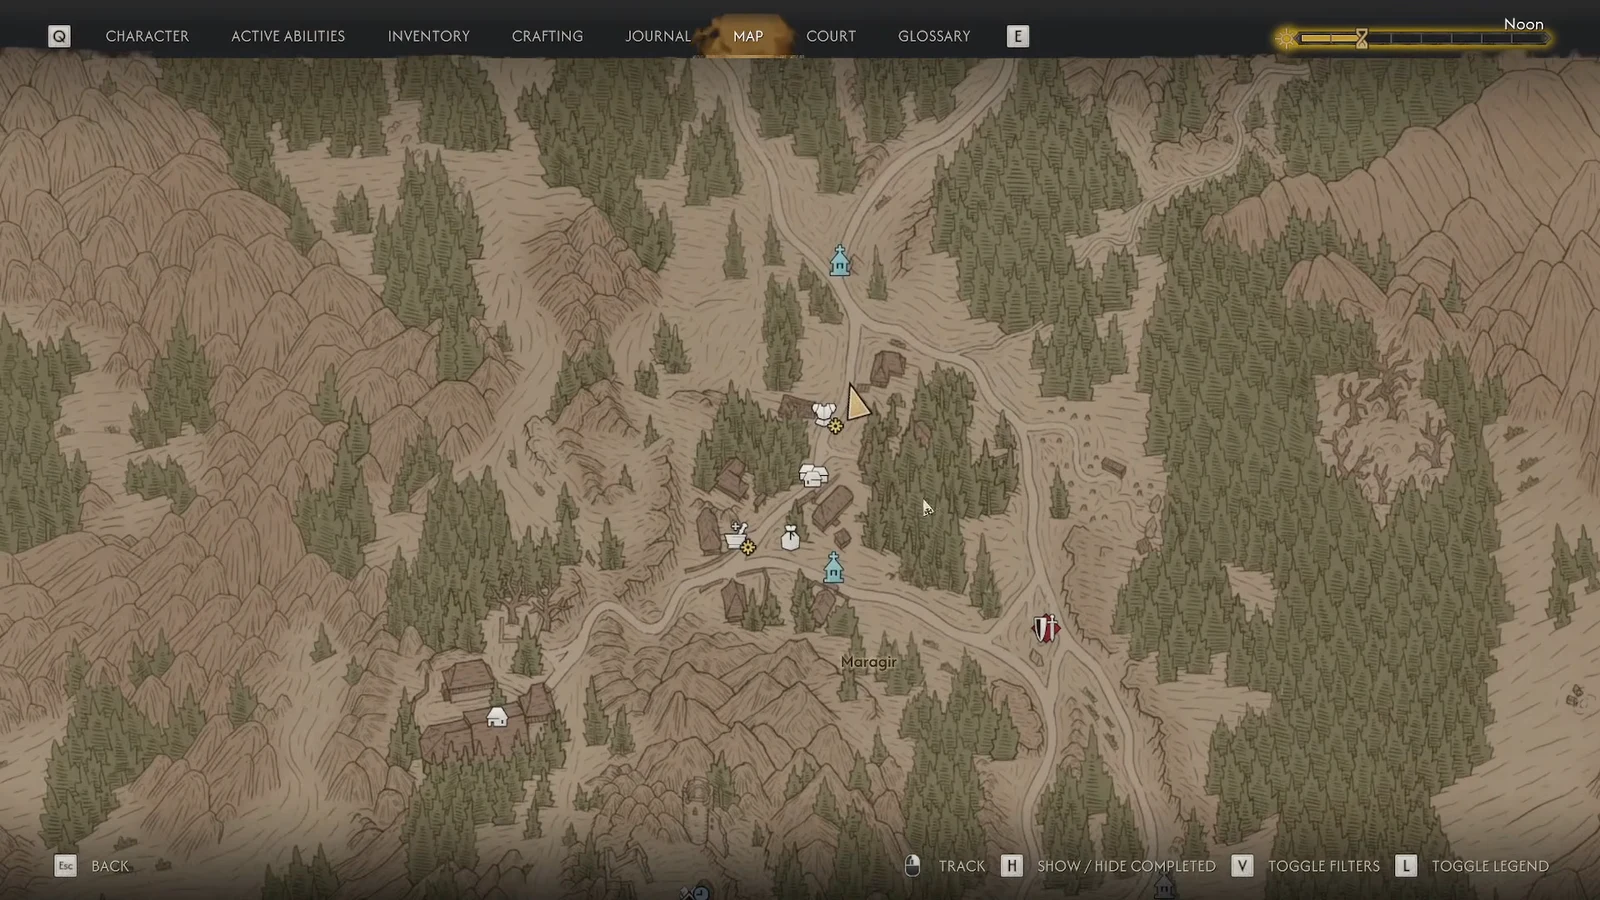
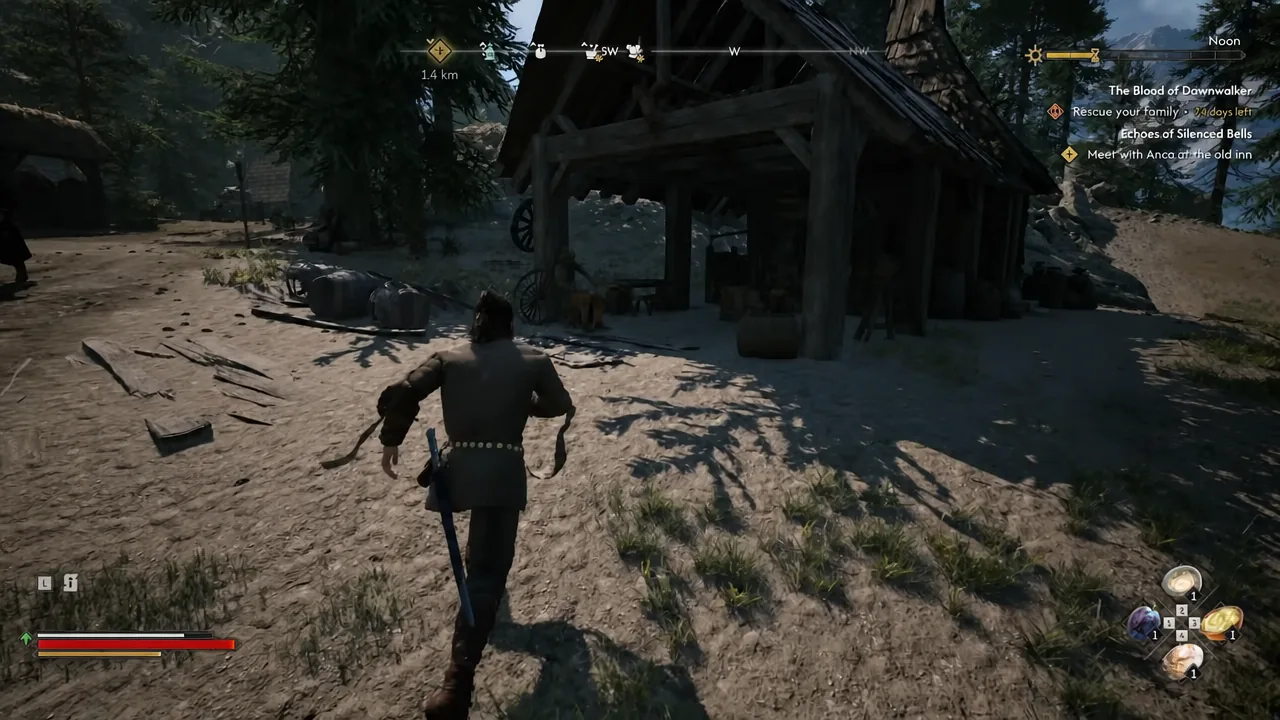
Blacksmith and armorer locations in Vale Sangora
Blacksmiths handle weapons and sometimes stock Manuals, which are used for Coen’s skills and abilities. Armorers cover protective gear. In practice both open the same upgrade interface, so whoever is nearest usually does the job.
| Vendor | Where to find them |
|---|---|
| Blacksmith, Maragir Village | Eastern Vale Sangora, in the centre of town |
| Blacksmith, Svartrau City | Near the market by the North-East Gate |
| Blacksmith, Parlita | Western Boar’s Back region |
| Blacksmith, Briar Sloughs | Northwest of the region, by the Uriashi Hermitage Shrine north of Parlita |
| Armorer, Tantari | South of St. Tyna’s Convent |
| Armorers, Svartrau City | Two of them, at the North-West Gate market and the West Gate market |
| Armorer, Maragir | North of Svartrau City |
| Vera, witchcraft vendor | Swamps west of the Maragir Wealds |
Vera is the odd one out and worth remembering early. She sits close to where the campaign opens, sells assorted items, and improves equipment without being a smith at all. If you find something strong in the first few hours and want it to keep pace, she is the shortest trip.
When an upgrade does not go through
Three things account for most failed attempts. You cannot push an item past your own character level, so the slider will refuse to go higher no matter how much coin you have. You need the full Denarii cost in hand, and the price climbs sharply for legendary and epic gear at high levels. And the confirmation is a hold, not a tap, which trips up players who are used to a single button press.
Note: because upgrading only moves base stats, it is worth deciding whether a piece is worth the coin before you pay. Gear with useful affixes, such as a legendary weapon carrying critical hit damage or bonus damage against supernatural enemies, holds its value across a whole playthrough. Ordinary gear is usually cheaper to replace than to keep patching.
Since costs rise with your level, the practical habit is to upgrade in batches rather than after every level-up. Let a few levels accumulate, then make one trip to a smith and bring your main weapon and chest piece current in a single visit. That keeps your damage and survivability in step with the valley without draining your purse on incremental one-level bumps you would only have to pay for again an hour later.