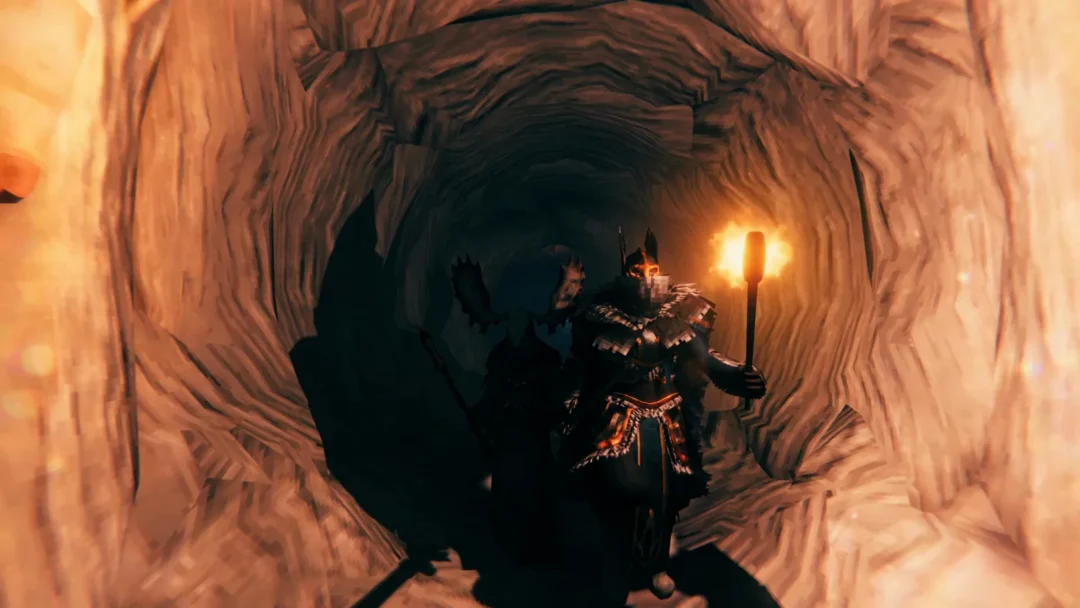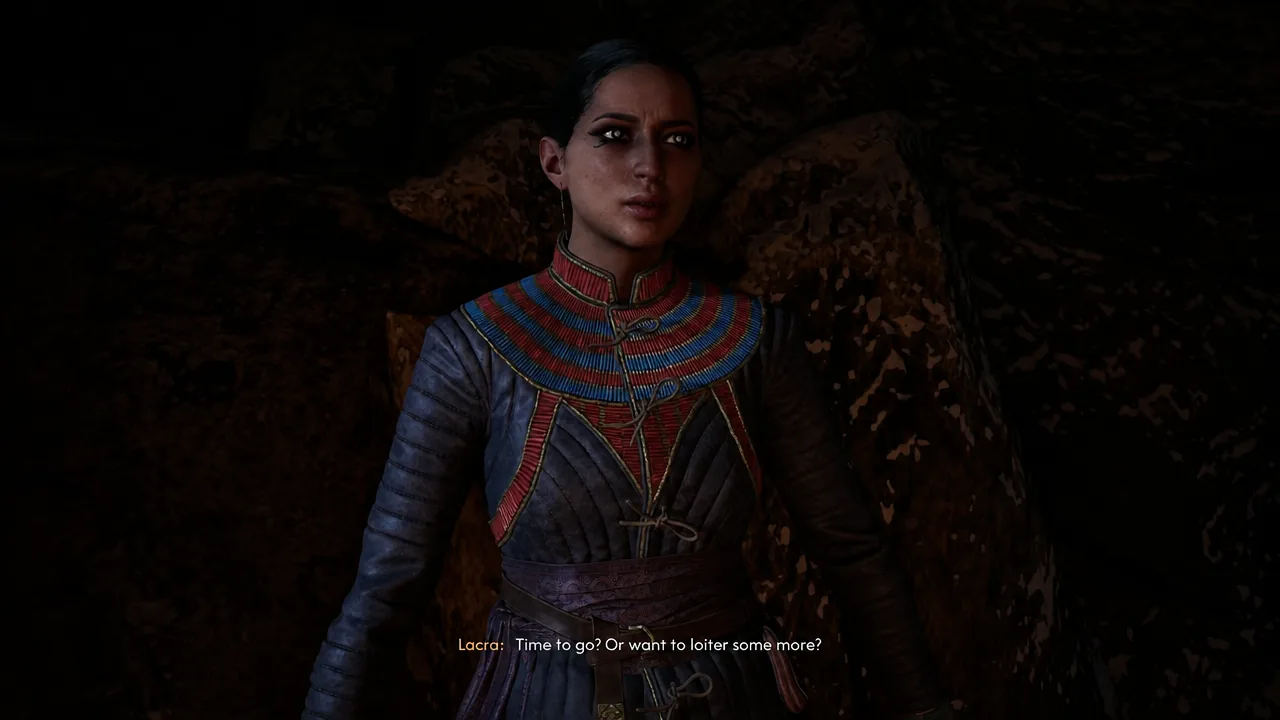
Hive and Seek sends Coen and Lacra into a kobold-infested cave system beneath Rockfalls to find Isbrand, the vampire who made Brencis. Isbrand has been chained up down there for two years, and the kobolds have been eating him piece by piece while his body regenerates. The route is linear, but the quest stacks a lot of objectives together, and one bad dialogue turn at the end can put the whole hive on top of you.
Quick answer: Follow Lacra into the caves, agree to the Hive’s offer of guidance, kill Chonk the Insatiable, then defuse the kobolds with “Calm down and think for a moment.” → “You can’t all eat at once.” → “You will lose your bond if you eat it.” and speak to Isbrand to end the quest for 1,000 XP and 1 skill point.
Hive and Seek quest requirements and rewards
Hive and Seek is a side quest that begins on its own once Song of the Mountain is finished. Lacra waits for you at Uriash Village, in the hills on the northwestern side of Rockfalls. Entering the village peacefully appears to matter for reaching this point, so avoid turning the settlement hostile.
| Detail | Value |
|---|---|
| Quest type | Side quest |
| Quest giver | Lacra |
| Starting location | Uriash Village, northwest of Rockfalls |
| Requirement | Complete Song of the Mountain |
| Time cost | 4 time segments |
| Fail state | None |
| Reward | 1,000 XP, 1 skill point |
| Hidden loot | Isbrand’s Plate (Legendary medium chestpiece) |
The objective list runs as follows: talk to Lacra, go to the caves with Lacra, find and question Isbrand, follow kobold guidance (optional), defeat the corrupted kobolds, ambush Chonk using the secret tunnel, and talk to Isbrand.
Reaching the cave with Lacra
Silver water and traversal inside the hive
The first chamber is flooded, and the water is laced with silver. Standing in it drains your health steadily. It will not kill you outright from a single fall, but there is no reason to wade through it when Shadowstep lets you hop between the raised platforms instead.
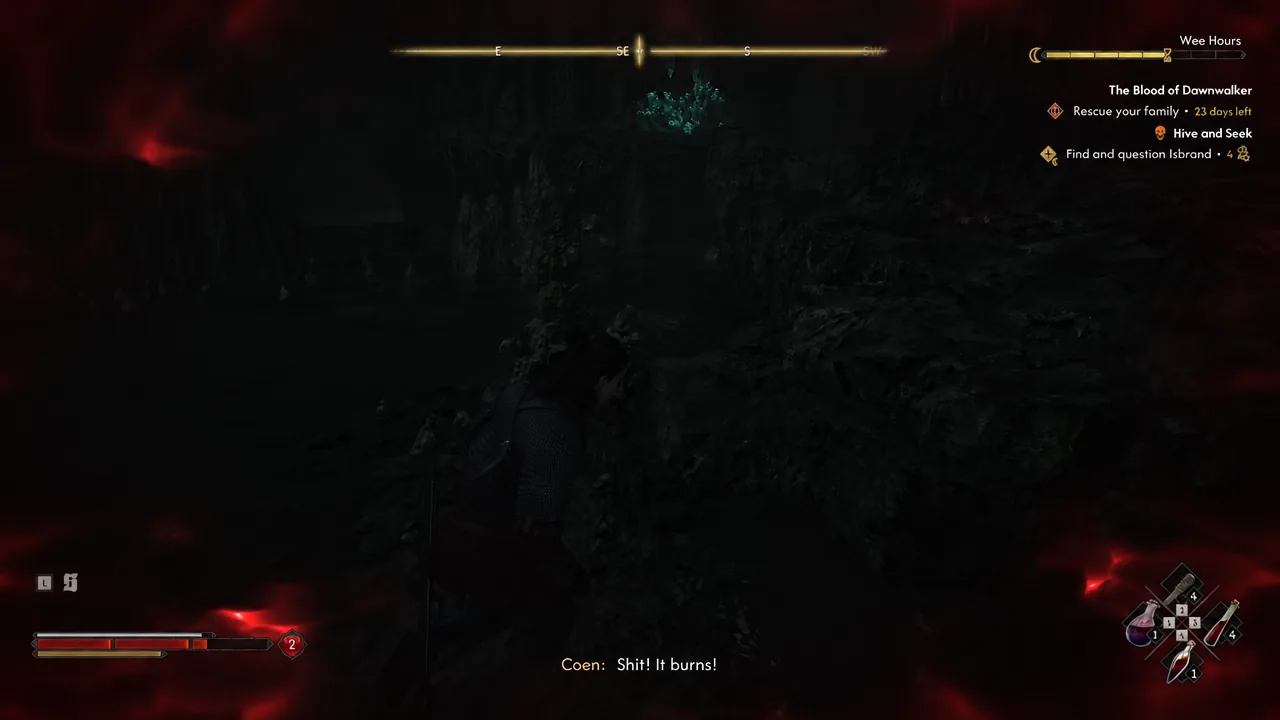
The layout mirrors the prologue cave, so the same two abilities carry you through it. Shadowstep handles vertical jumps and wall climbs, while Planeshift crosses the wide gaps that have no floor. When you lose the path, look for the glowing green stones and fungus, which mark the correct route every time.
Cross to the north side of the first room and take the linear tunnels beyond it. You will crawl through a few narrow passages lined with bones before the cave opens up again. Cove Fungus grows along the way and is worth grabbing as you pass.
Fighting corrupted kobolds
Regular kobolds die quickly. The corrupted ones do not. They use the same attack patterns as the standard version but carry far more health and apply poison damage on hit, so treat them like drawn-out duels rather than trash mobs.
After the first corrupted kobold falls, Lacra stops you to explain the corruption. Finish that conversation, then look to the right side of the room for a tall wall ringed with glowing green stones. Planeshift across the gap there and work through the platforming section beyond it toward the next corrupted kobold.
Taking the Hive’s deal to reach Isbrand
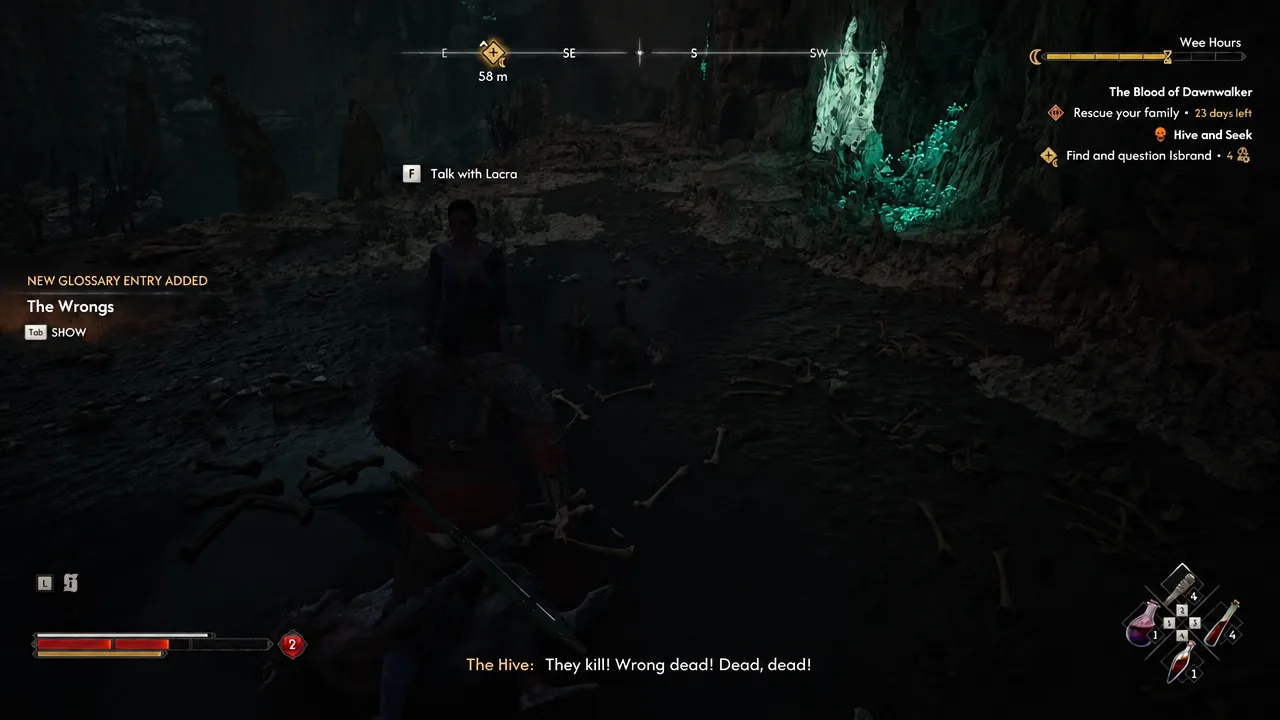
Once the second group of corrupted kobolds is dead, the Hive speaks to you from above. It offers to lead you straight to Isbrand if you deal with Chonk and the rest of the corrupted kobolds for it. The objective is flagged as optional, and Coen can read the whole thing as a setup, but accepting is the better play.
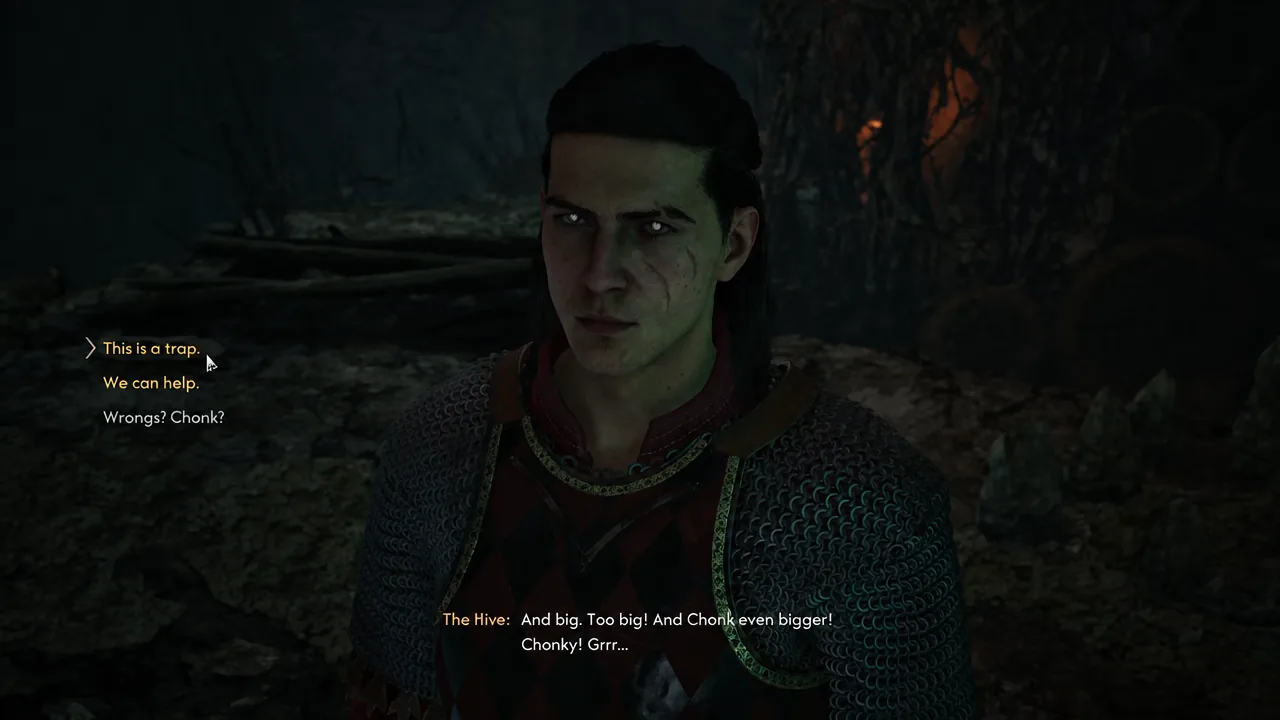
Refusing means navigating the next cave area blind. Agreeing sends a single kobold out of hiding to guide you, and it takes the left path through the tunnels. Stay behind it. Another pack of corrupted kobolds interrupts the escort partway through, so clear them out and then pick the guide back up.
The kobold eventually stops at an opening above a chamber. That is the secret tunnel the objective refers to. Drop down to trigger the ambush.
How to beat Chonk the Insatiable
Isbrand is chained to the wall of this chamber, mutilated but still alive and regenerating. Chonk the Insatiable arrives with a group of minions shortly after you reach him. Mechanically, Chonk is a larger corrupted kobold with a bigger health pool, so nothing you learned in the tunnels goes to waste. He hits hard enough to punish greed, but every one of his attacks is telegraphed.
| Chonk’s attack | Tell and response |
|---|---|
| Acid spit | He spreads his arms wide first. Dodge on that animation, then circle behind him and attack. |
| Lunge | He leaps forward with his claws. Sidestep it and punish the recovery. |
| Claw combo | Standard multi-hit swings. Read the incoming direction and perfect block each strike. |
Clear the smaller enemies where you can so they are not chipping at you during Chonk’s combos. Expect a level or two out of the fight itself.
The dialogue that stops the kobolds from eating Isbrand
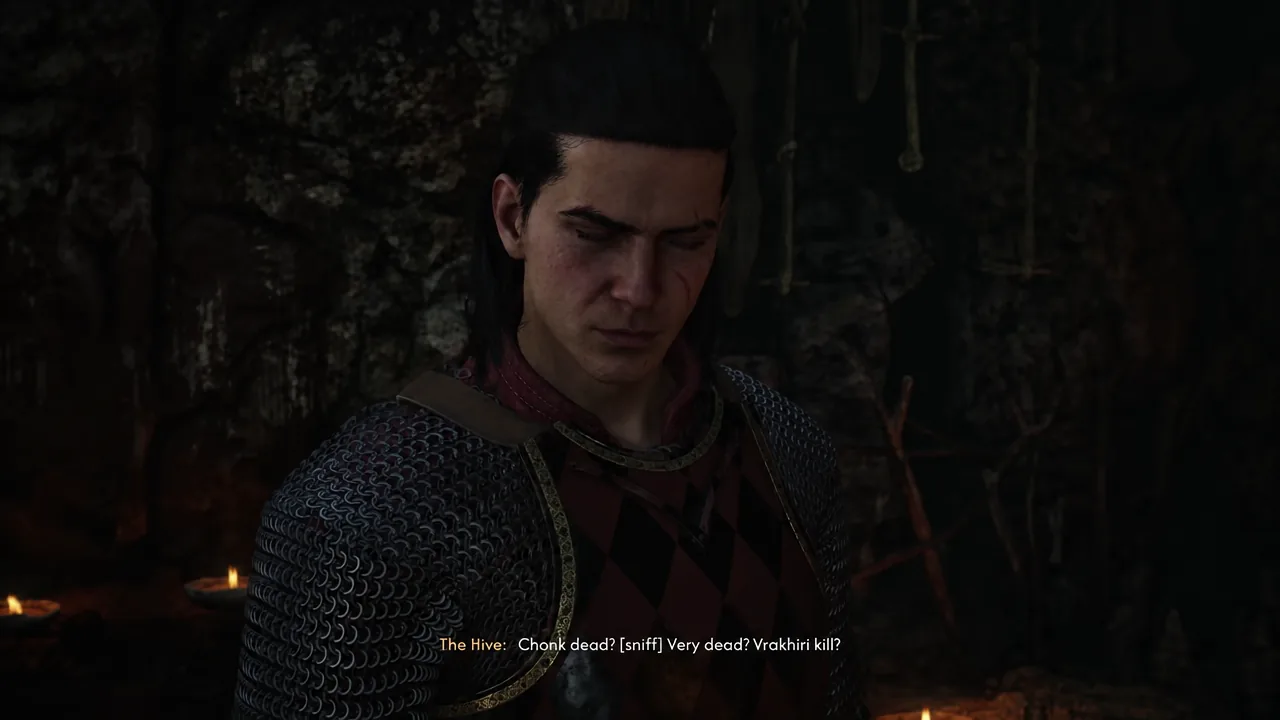
With Chonk dead, the Hive decides it is owed a meal and turns its attention to Isbrand. Wrong answers here, or deliberately provoking them, will make the kobolds attack you. Talking them down instead requires this exact chain of responses.
Grab Isbrand’s Plate before you finish the quest
Do not talk to Isbrand yet. There is a chest on the right side of the chamber holding Isbrand’s Plate, a Legendary medium chestpiece. Speaking to Isbrand moves you to a new area automatically, so anything left in this room is behind you once that cutscene starts.
With the chest looted, interact with Isbrand where he hangs on the wall and confirm the decision with Lacra. Coen and Lacra free him and carry him out of the cave, and the game skips ahead from night to morning as you arrive at a safehouse. Lacra explains his condition and asks for a night alone with him to work out a solution.
You will know it worked when the QUEST ENDED banner appears alongside 1,000 XP and 1 skill point. Hive and Seek costs four time segments in total, and it has no fail state, so nothing here can be lost by taking the fights slowly. Note that clearing the hive also raises your infamy, which is worth keeping in mind before your next stop in a settlement.