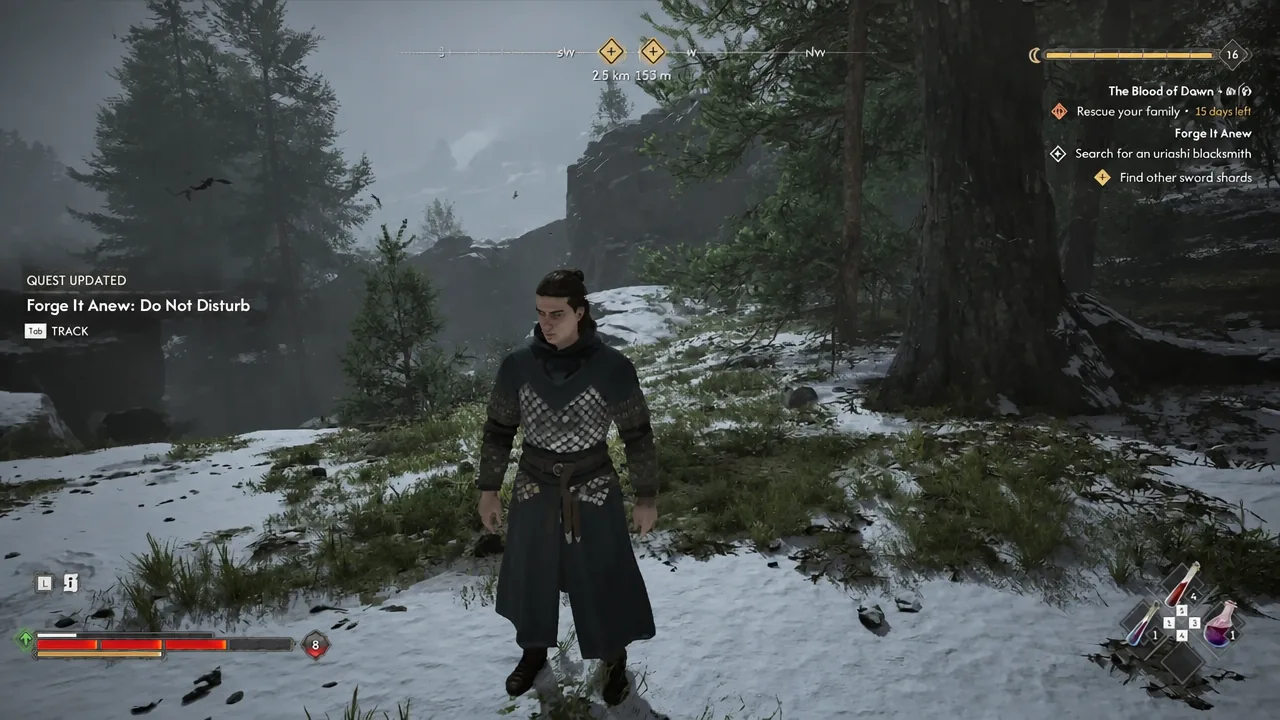
Forge It Anew is the long side chain in The Blood of Dawnwalker that ends with one of the strongest weapons in the game. It asks for three Sword Shards scattered across Vale Sangora, a broken hilt buried under Svartrau, and a single smith willing to put them back together. None of it is marked for you at the start, and every pickup costs time you may not want to spend.
Quick answer: The three Sword Shards sit in a kobold cave north of the Maragir Wealds marker, a hidden hillside cave near Shrike’s Crag guarded by the miniboss Munch-Munch, and a cave near Tantari that has already been emptied by Xanthe’s soldiers, who keep the shard in the main tent of their nearby camp. Each shard costs 3 Time Segments to pick up.
Forge It Anew requirements before you start hunting shards
The quest does not sit in your journal from the beginning. Two things can put it there. Walking into any of the three shard caves and inspecting the mural on the wall reveals a painted view of the valley, which drops markers for the other cave locations on your world map. The other route is the Svartrau side quest A Monk and a Saint, which hands you a broken weapon and explains that shards are needed to make it whole again.
| Requirement | Where it comes from |
|---|---|
| Broken Sword of St. Mihai (the hilt) | Reward for finishing A Monk and a Saint in Svartrau |
| 3x Sword Shards | Three cave locations across Vale Sangora |
| Time cost | 3 Time Segments per shard, plus 3 more for the final ritual |
| Smith | The uriash hermit at the Uriashi Hermitage in the northwest |
| Dialogue check | Tell the hermit you intend to kill Brencis |
Note: Coen is likely underlevelled if you try to sweep all three caves early. The first shard can be picked up almost by accident, but the soldier camp and the tempering fight at the end are late-game encounters in practice.
Where to get the Broken Sword of St. Mihai in Svartrau
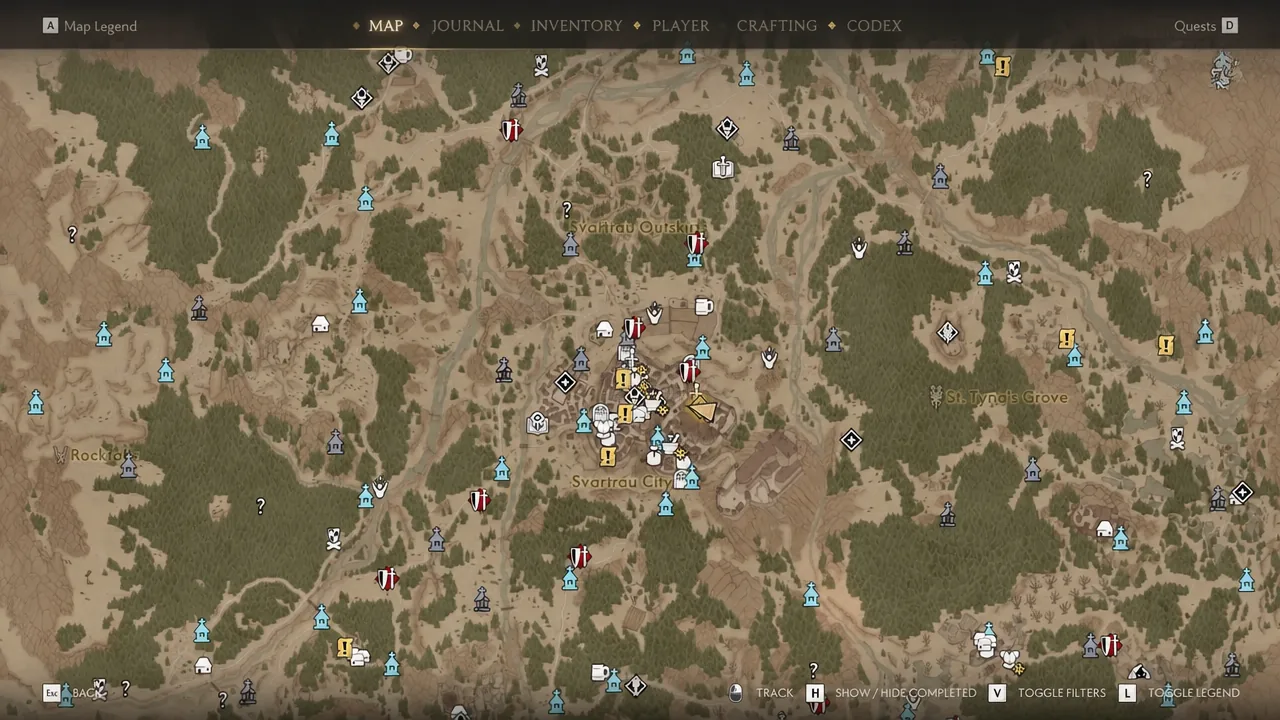
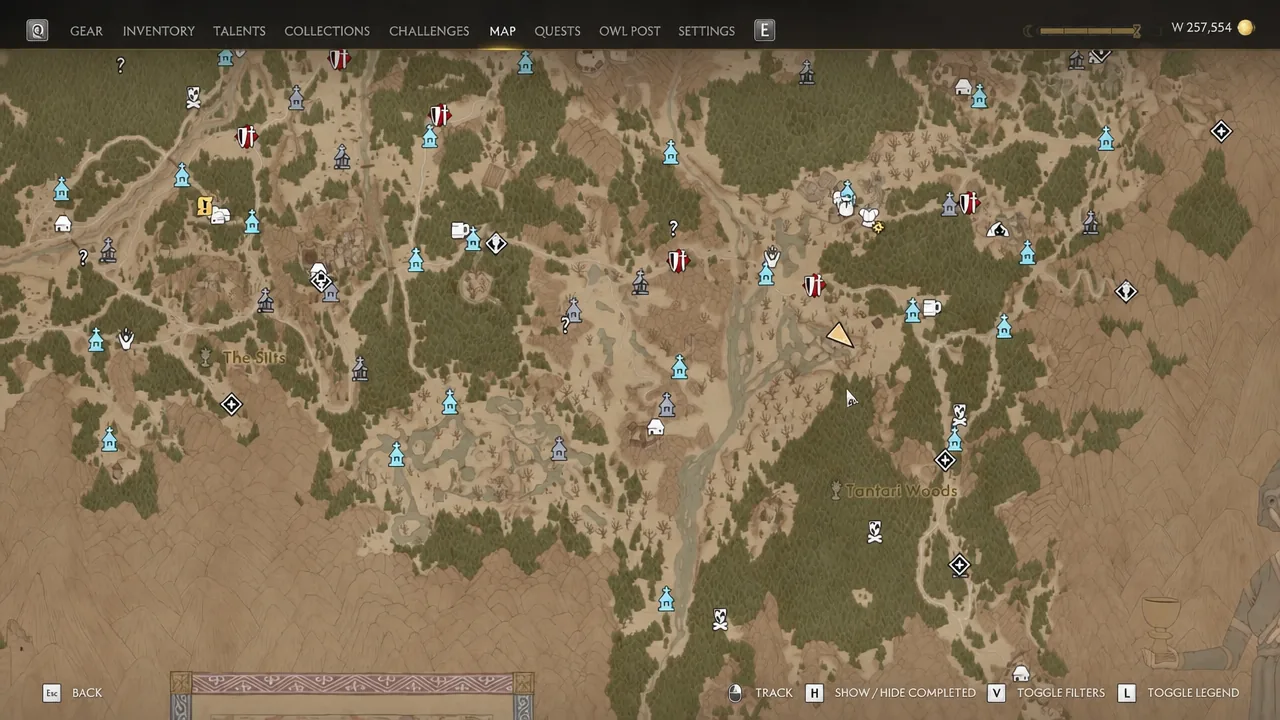
All three Sword Shard locations in Vale Sangora
The shards are split across three sub-quests, and you can tackle them in any order. Two are still sitting in kobold nests. The third was stolen before you got there.
| Sub-quest | Location | Main threat |
|---|---|---|
| Do Not Disturb | Cave just north of the Maragir Wealds marker, east of Mert’s Mill and north of the Upper Maragir Wealds shrine | Kobold pack outside and inside |
| Hostile Takeover | Hidden hillside cave near Shrike’s Crag, past the Giant’s Pawns shrine | Munch-Munch, a poison-inflicting miniboss |
| Executive Order | Ransacked cave near Tantari, then a soldier camp close by | Xanthe’s soldiers |
Do Not Disturb: The Maragir Wealds cave
Head a short distance north of the Maragir Wealds marker and look for a large, slanted rock formation. Pass underneath it and follow the trail into the woods. A bloody camp sits near the approach, and using Focus Mode there picks out a blood trail leading straight to the cave mouth.
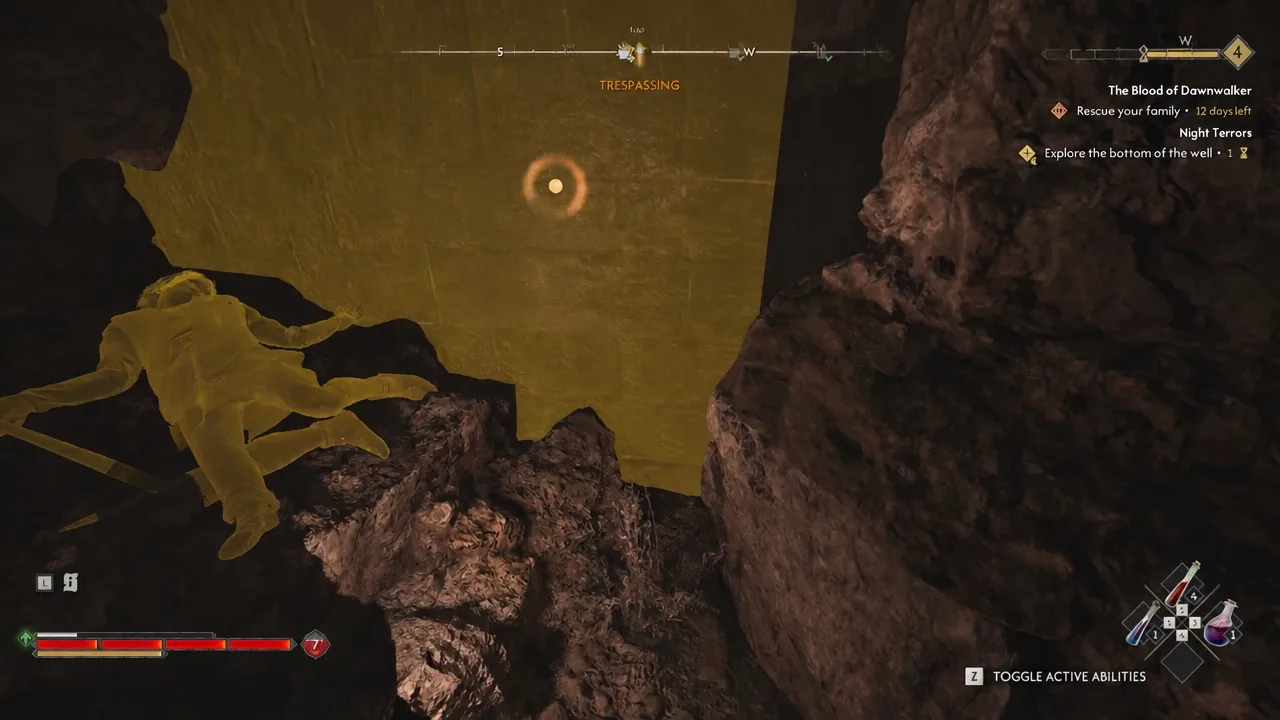
Kobolds guard the entrance, and more wait inside. Clear both groups, inspect the mural and the crude map on the wall, then check the broken cross at the back of the chamber. The shard is next to it, in the nest. Confirm the Pick Up Sword Shard prompt and 3 Time Segments come off the clock.
Hostile Takeover: Munch-Munch’s nest near Shrike’s Crag
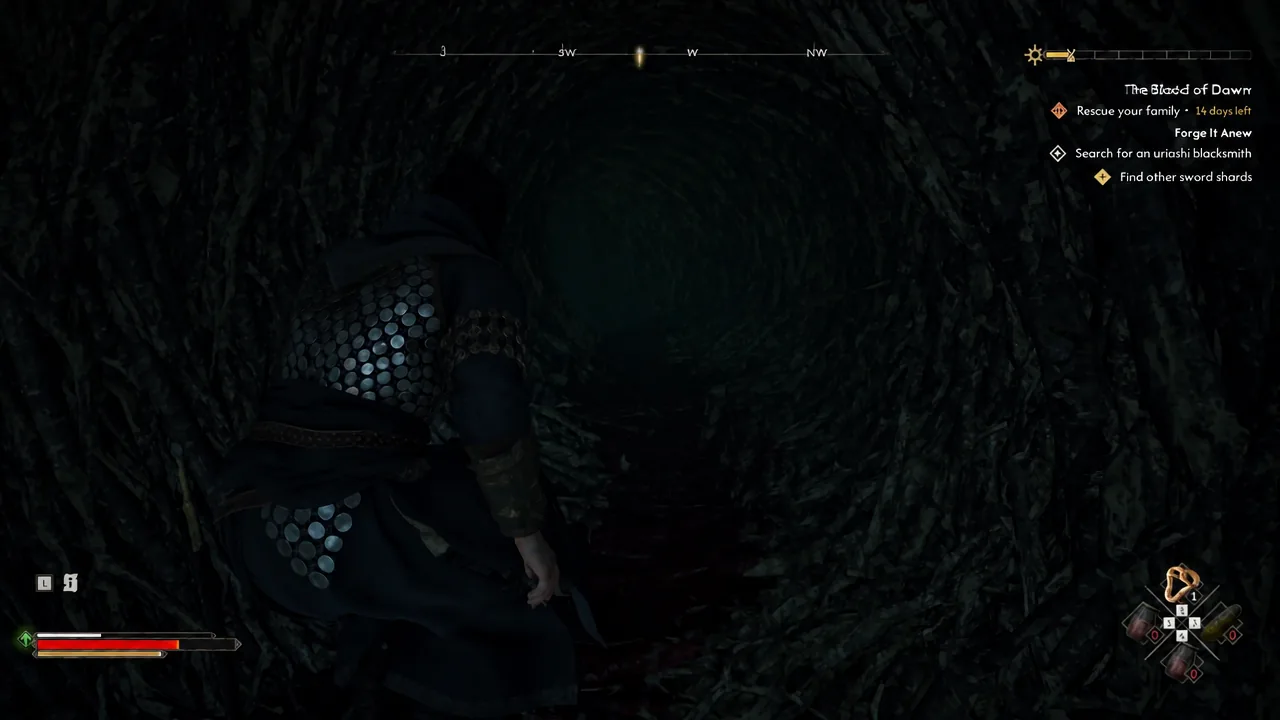
This cave is tucked into the hills, so expect to climb before you find it. Wolves prowl outside, along with a pile of dead kobolds, and the entrance itself is small enough that Coen has to crouch to get through.
The resident is Munch-Munch, a Wrongs variant miniboss and a real step up from the kobolds you have been cutting through. Its claw swipes and breath attack both apply poison, so block and dodge rather than trading hits. Dirty Trick works on it. With Munch-Munch dead, take the shard from the nest at the back of the room.
Executive Order: The shard stolen by Xanthe’s soldiers
The third cave sits in the ridges near Tantari, close to the inn where Anca is staying. There is a deserted camp at the entrance, and inside you will find dead kobolds and dead guards but no shard. Inspecting the bodies costs 3 Time Segments and produces two useful pieces of information. One note hints at the uriash blacksmith. The other reveals that the soldiers hauled their plunder back to a camp near Tantari.
That camp is heavily manned, and if this is your first run-in with Xanthe’s troops they hit considerably harder than bandits or beasts. Scout it from high ground first. The shard is inside the main tent in the middle of the camp, resting on a barrel to the right as you walk in.
You do not have to win a straight fight for it. Attack a single soldier at one edge of the camp, ideally along the northern side, and pull the whole group up the sloping path. Wild boar in the area often join in and keep the guards busy. While that is happening, sprint wide around the swamps to drop aggro, then cut back into the camp and loot the tent before anyone wanders home.
Reforging the sword at the Uriashi Hermitage
Only one smith in Vale Sangora can work this metal, and she lives alone at the Uriashi Hermitage in the far northwestern hinterlands, past Mert’s Mill and the Military Camp and out near the edge of the map, close to Briar Sloughs. Approach the small house and raise the subject of the sword.
She will ask why you want it repaired. Say that you mean to kill Brencis. Hand over the Broken Sword of St. Mihai together with all three Sword Shards and she forges the Restored Sword of St. Mihai, an epic-tier weapon. Shards alone will not do it, so if the option is greyed out you are still missing the hilt from Svartrau.
Tempering the blade for the Imbued Sword of St. Mihai
The hermit is not finished. She tells you the weapon can be pushed further and marks a spot even further northwest, up the slope from the hermitage. Look for an opening choked with red vines and cut through them with your sword to get inside.
The cavern beyond is full of dryad-like undead. Fight through to the innermost chamber, inspect the altar, and interact with the red orb to summon the Echoing Anger. Starting the ritual spends another 3 Time Segments and triggers three waves of undead enemies. It is one of the longest slogs in the game rather than a single boss, and the Restored Sword helps a lot here.
Survive every wave and a short cutscene plays, turning the weapon into the Imbued Sword of St. Mihai.
Forge It Anew rewards and how to confirm it completed
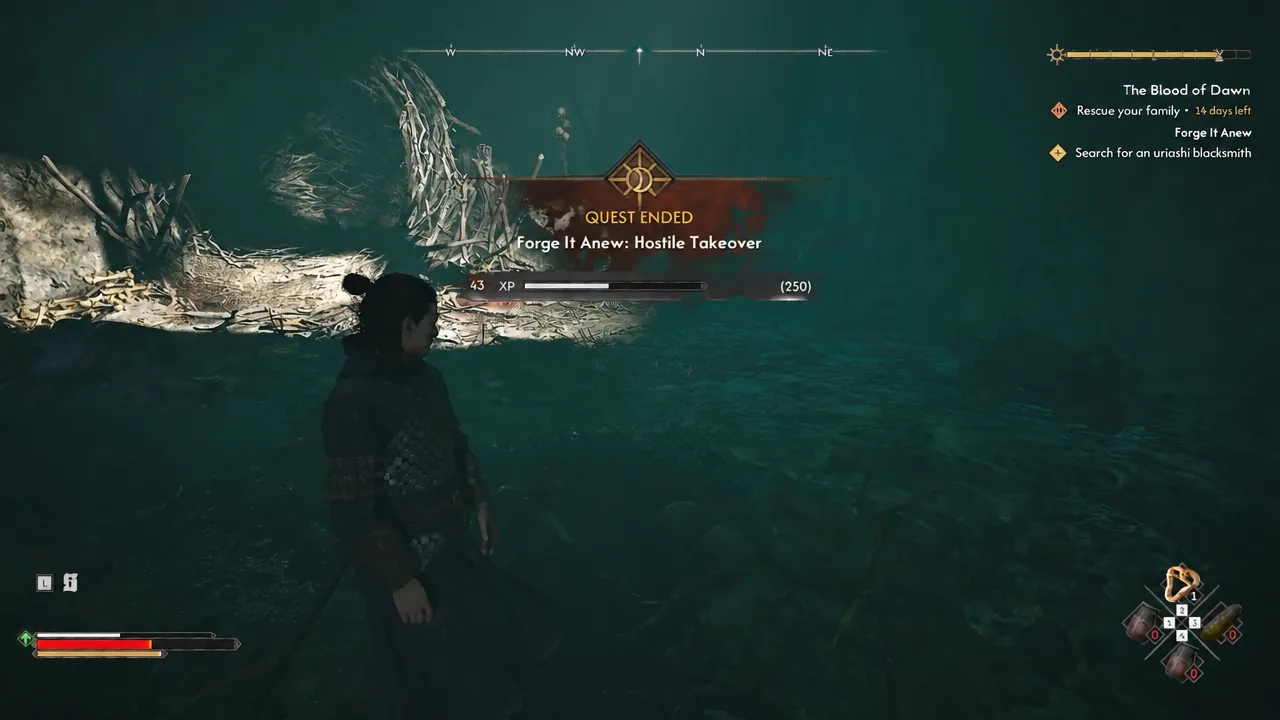
Each shard pickup ends its own sub-quest with a “Quest Ended” banner and a small XP payout. The chain itself closes after the tempering cutscene, awarding 500 XP and a skill point, and unlocking the “Arbiter’s Blade” achievement.
| Weapon | Tier | What it grants |
|---|---|---|
| Restored Sword of St. Mihai | Epic | Intermediate step, handed over by the uriash hermit |
| Imbued Sword of St. Mihai | Legendary | Swordmastery ability cooldown, weapon critical hit chance and damage, extra damage against supernatural enemies, plus a wide-area weapon art |
If the chain stalls, the reason is almost always one of three things. You are carrying shards but not the broken hilt. You never picked the dialogue option about killing Brencis. Or you stopped at the Restored Sword and skipped the vine-covered cave, which leaves the legendary version unclaimed. Fix whichever applies and the quest picks up where it left off.