

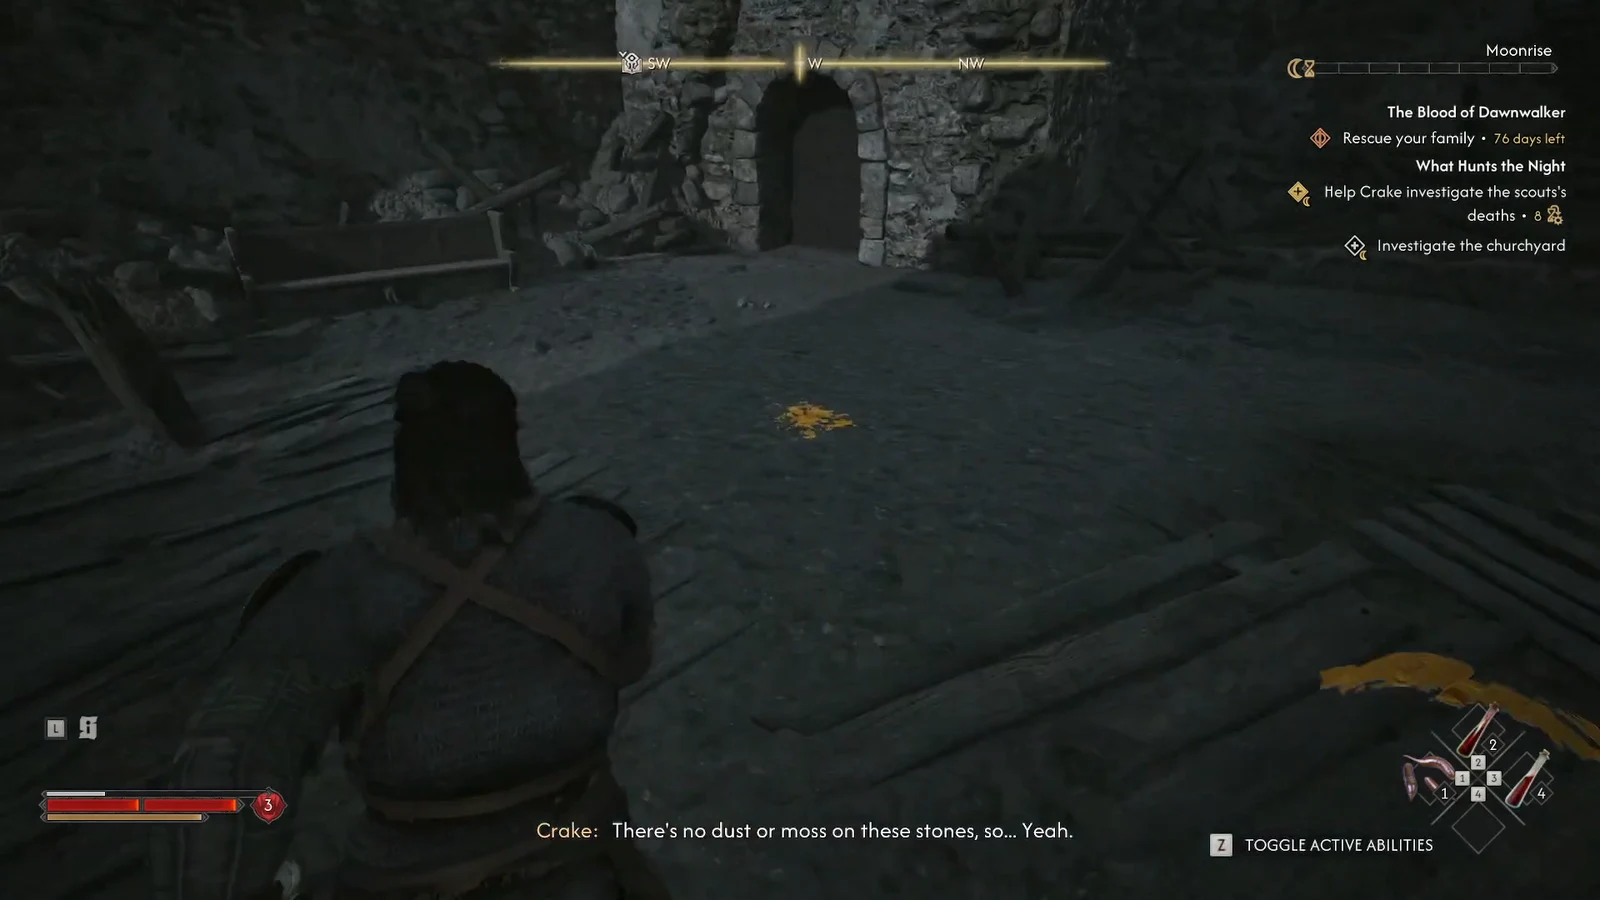
The churchyard leg of What Hunts the Night is short, but it can stall you. There is no combat and no puzzle here, just a set of stains on the ground that have to be inspected in order. Miss one and the objective sits there unchanged while you circle the ruins.
Quick answer: Inspect the yellow ichor splatters on the churchyard floor one at a time, follow the trail to the large wooden tower door, then interact with the door. The objective changes to “Check the belltower doors.”
How to reach the churchyard investigation
What Hunts the Night begins as soon as you wrap up Where Loyalty Lies. Head back into the city and follow the compass marker to Crake’s location, go down into the cellar, open the door and finish the conversation. Any dialogue choice works here.
After that you wait for nightfall. Sara joins the group once it is dark, and the three of you set out to look into the scouts’ deaths. The churchyard is the second of the three investigation stops, tracked in the journal as the scouts’ deaths objective at 2/3.
When you arrive, Crake points out that a section of the tower wall has collapsed recently, and Coen spots a strange liquid on the stones that is still wet. That liquid is the trail you are meant to follow.
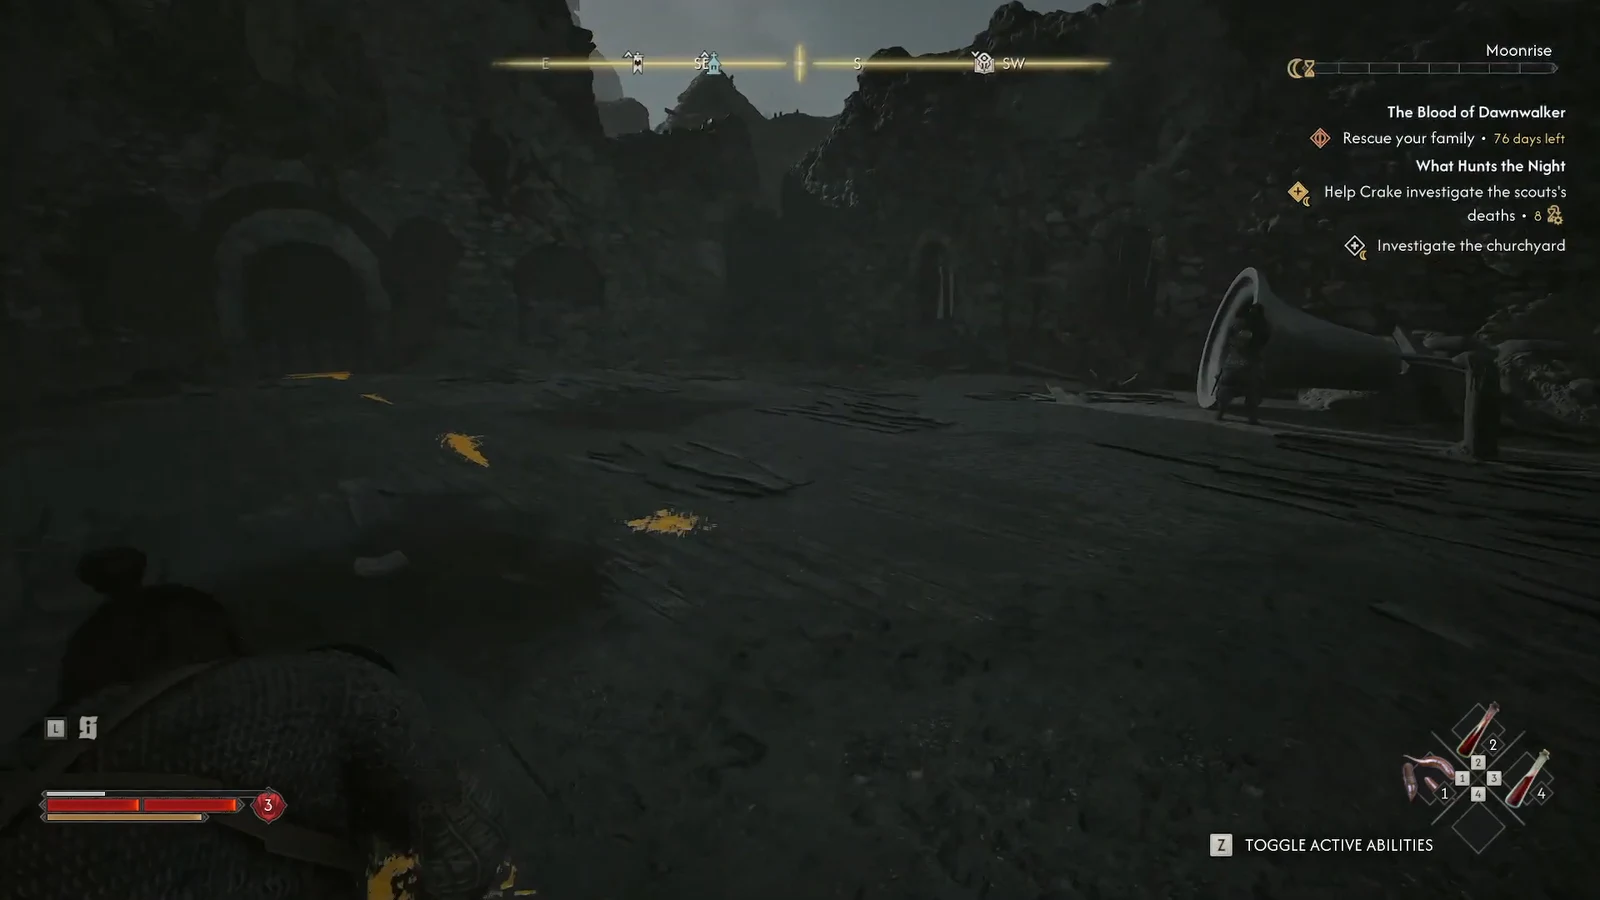
Follow the ichor trail across the churchyard
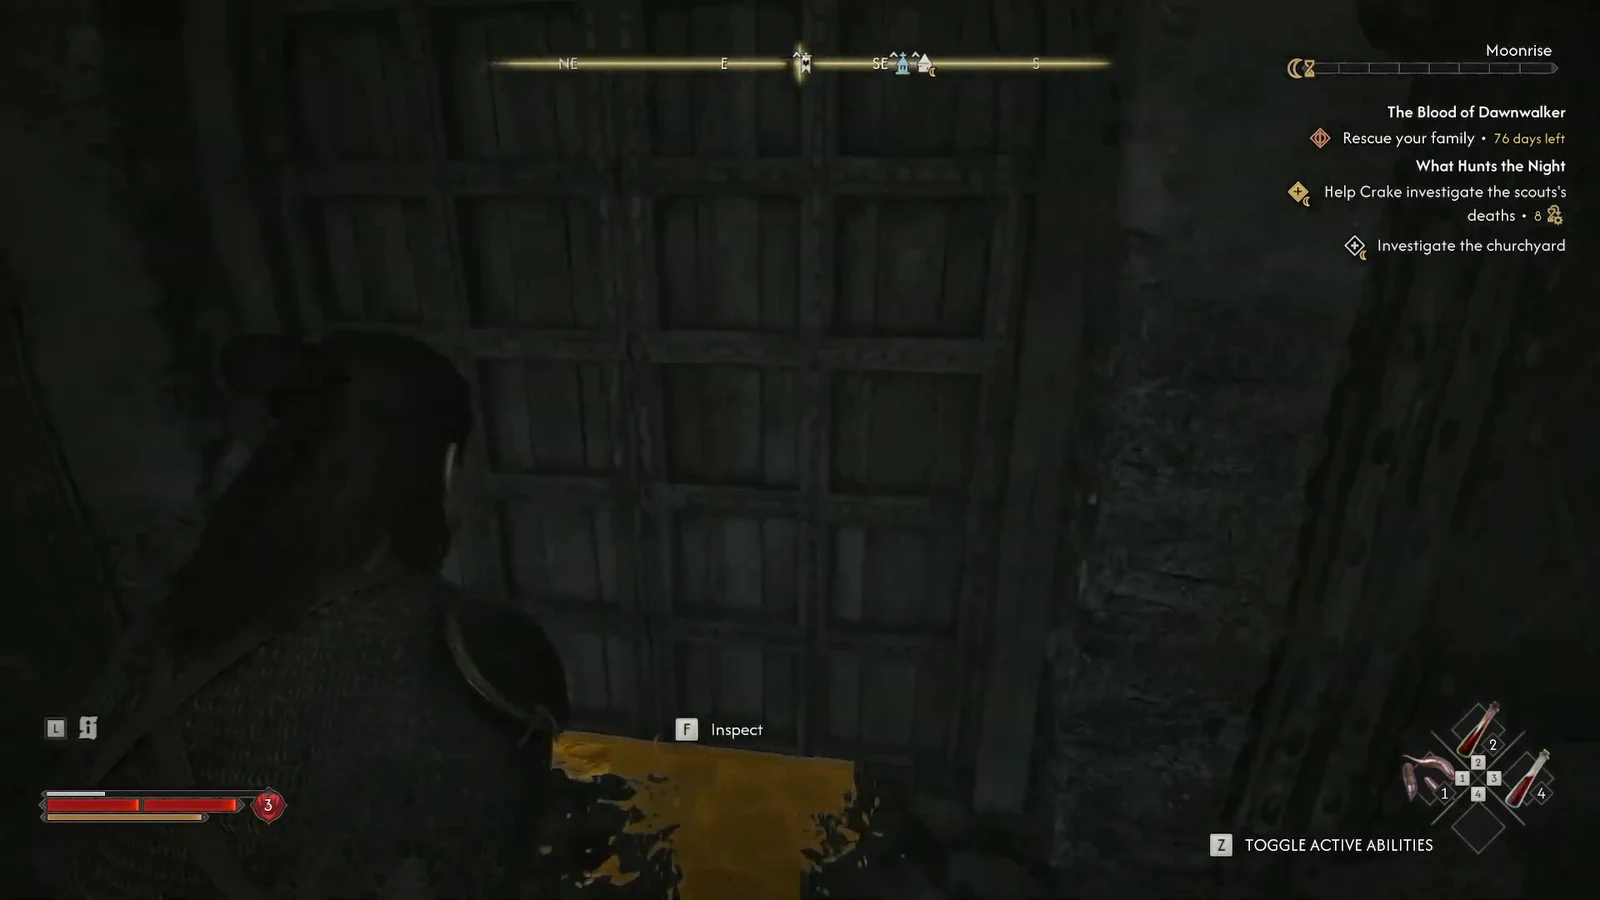
How to confirm the objective is complete
Two things tell you the churchyard portion is finished. The tracker swaps from “Investigate the churchyard” to “Check the belltower doors,” and the door itself picks up an “Open the door” prompt. Interacting with it plays a short scene where Coen fails to shift the door and Sara steps in to handle it.
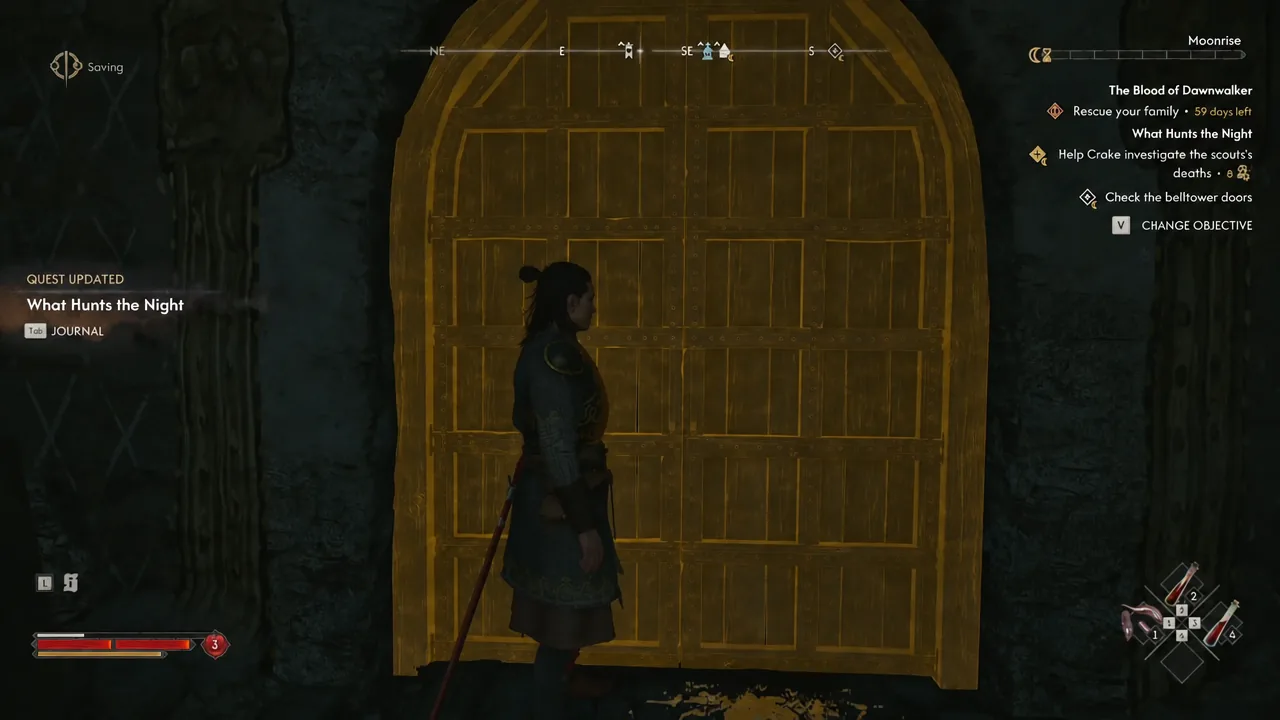
If the objective does not update
The usual cause is a splatter that was walked over instead of inspected. Each stain needs its own interaction, and Coen has a line of dialogue for each one, so silence means nothing registered. Retrace the trail from the centre of the courtyard back toward the tower and check the ground for any mark you skipped.
Note: the door prompt only appears after the trail has been read. If you reach the tower and nothing is interactive, there is still a stain behind you.
What waits behind the belltower doors
Opening the doors starts a boss fight immediately, so save or top up before you interact. The enemy is the Beast of St. Teotim’s, a large monster with a sizeable health pool. Sara fights alongside you, and the encounter can take a few attempts.
Sara is wounded during the fight, which triggers the next story scene. After that you examine several parts of the creature’s corpse for clues, then escape the area with Crake through hostile guards, climbing over a locked gate to open it from the far side. Crake then takes you to Mevasser, which closes out the quest and leads directly into What Moves the Dead.
The whole churchyard sequence is a good preview of how investigations work elsewhere in Vale Sangora. Highlighted objects are the only things that matter, they have to be inspected individually, and the quest simply waits until you have read all of them.





