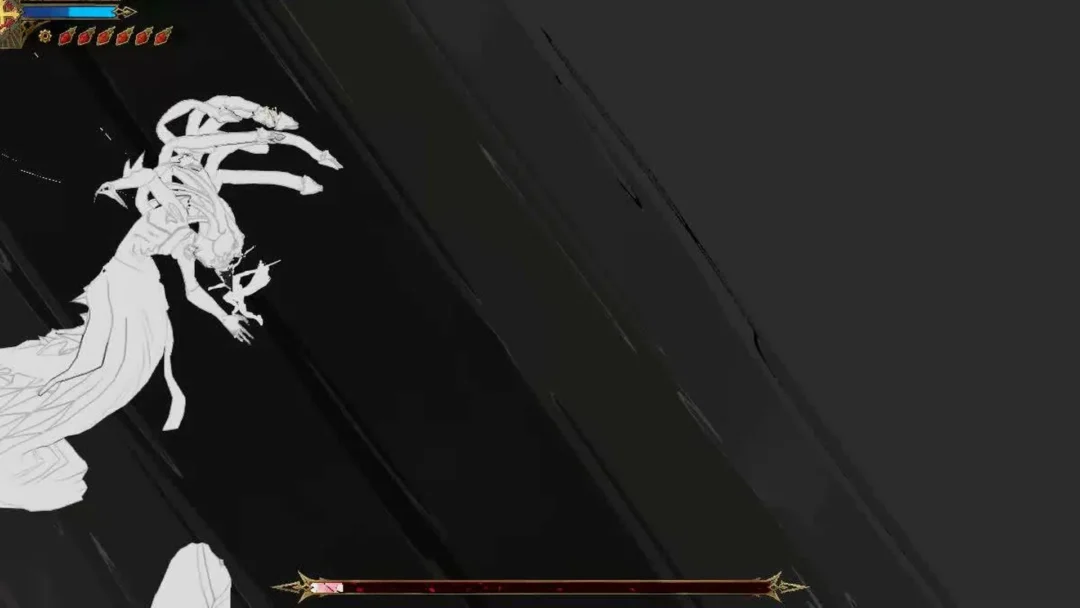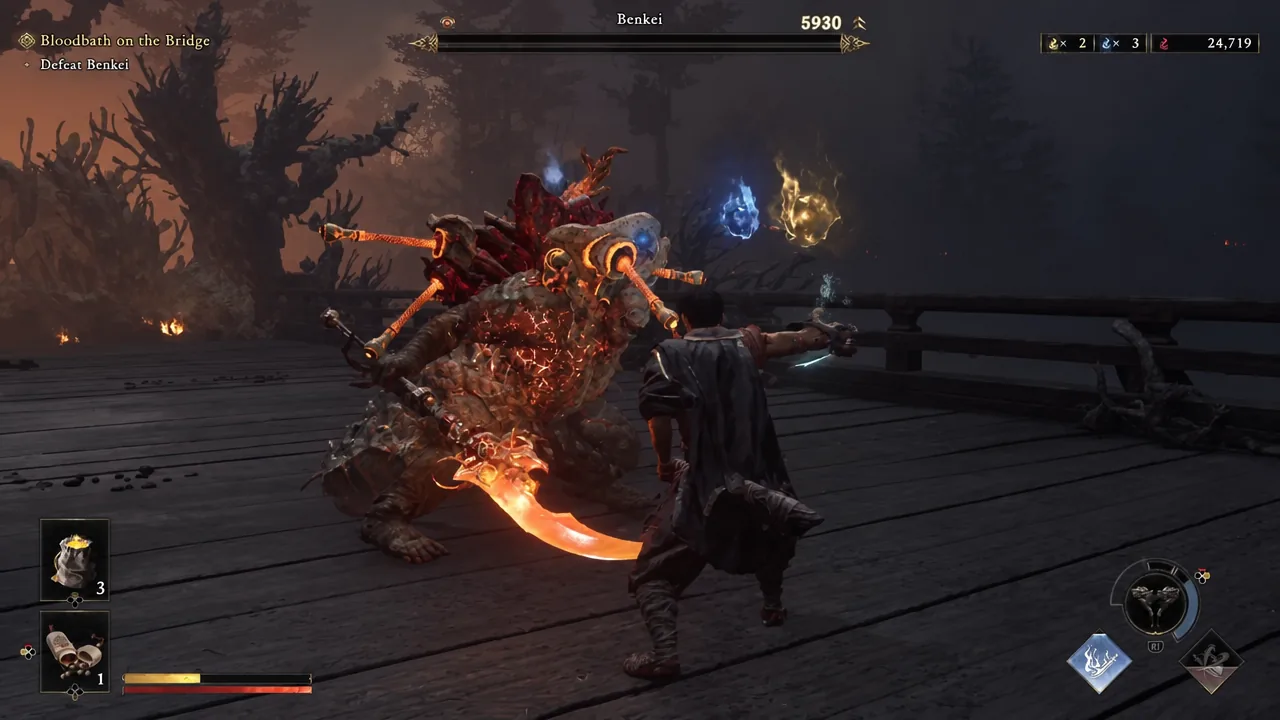
Benkei is the armored wall that stops a lot of first playthroughs cold. He shows up mid-campaign as a towering Genma monk on the Gojo-ohashi Bridge, and unlike the duelists Musashi has faced up to that point, he does not lose to aggression. On Action difficulty he is a pure reaction check, and the fight has a hard gate built into it: your katana does almost nothing until his armor is gone.
Quick answer: Strip Benkei’s armor segments first using Break Issen and the bridge’s Stout Pillars, then counter his jump, overhead, and charged swing with Issen, and parry the final hit of his three-hit sweeping combo instead of trying to dodge it.
Where the Benkei fight starts and what the objective is called
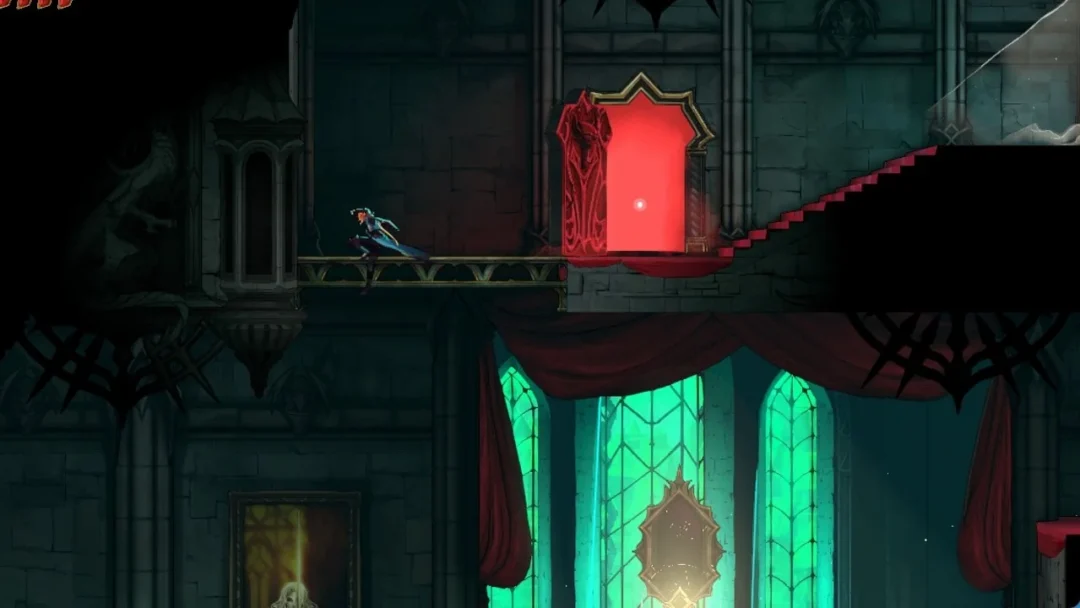
The encounter comes out of the Eastern Kyoto mission that sends Musashi after a new Genma threat, with Takamura warning that Benkei was already a monster of a warrior while he was alive. You run through the ruined village toward the Gojo-ohashi Bridge, villagers scatter, and the giant armored figure drops in to open the fight.
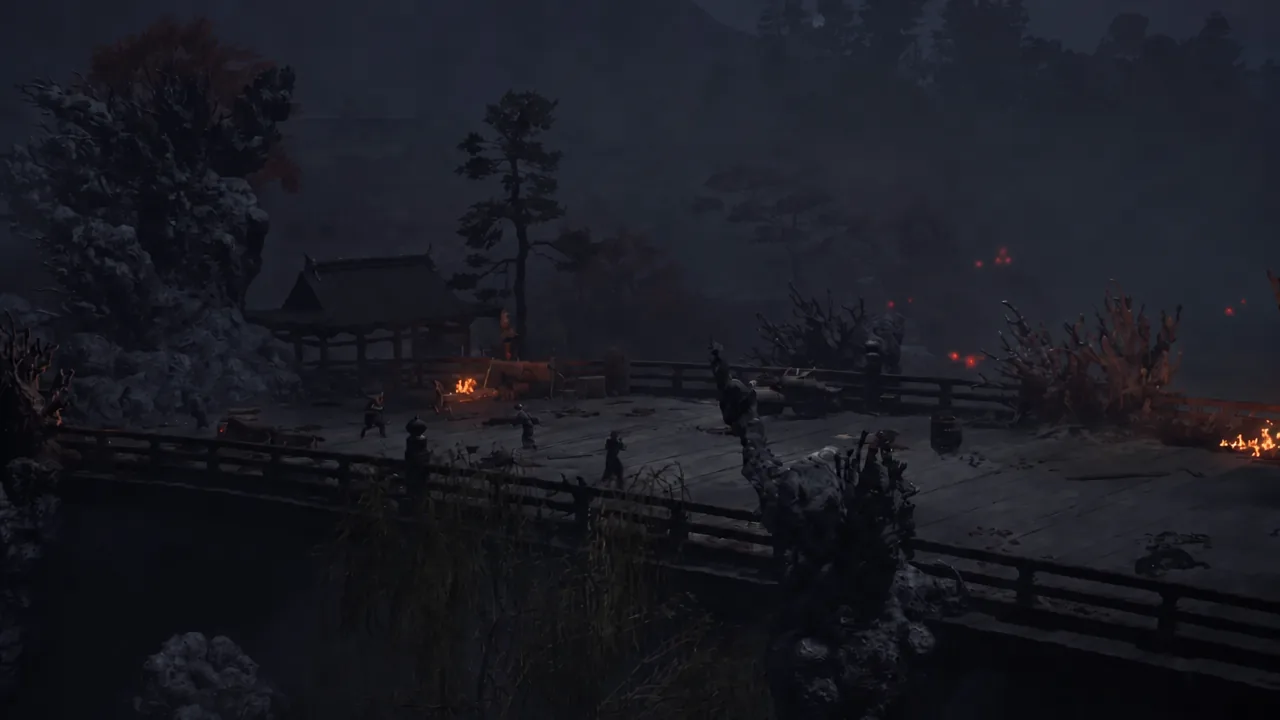
Once control returns, the objective on screen reads Bloodbath on the Bridge, with the task listed as “Defeat Benkei.” The arena is the bridge itself, so there is far less room to run than you might want. Clearing it awards the bronze trophy Benkei: Down but Not Out.
Armor first, health second: breaking Benkei’s plating
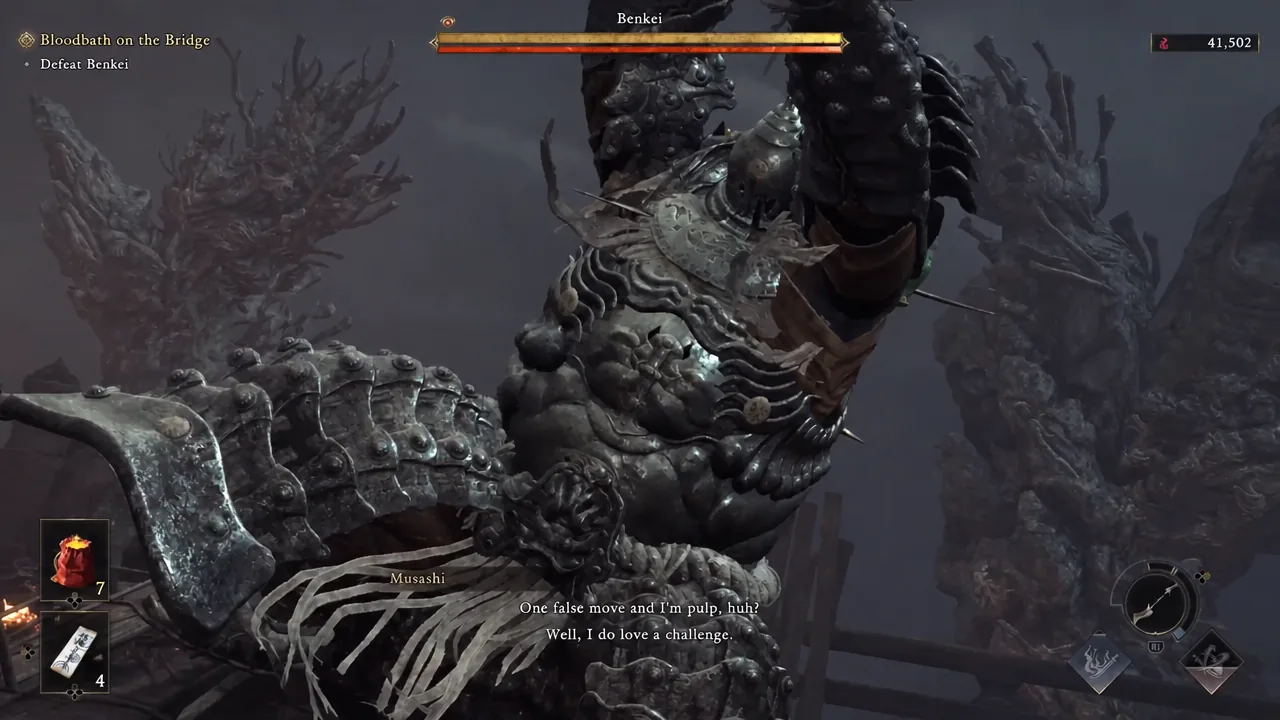
Benkei wears several heavy armor segments, and until those are chipped away you are not touching his health pool at all. Treat the opening of the fight as free study time rather than a damage race, because every counter you land while learning his rhythm still contributes to peeling the plating.
Two things speed this up. Break Issen is your main armor breaker, so aim for the exposed weak point when the prompt lines up. The Stout Pillars on the bridge also carry Oni power that shatters armor and blows through guard stances, and they are the single fastest way to open him up. Oni Armaments help too, with heavy options like the Earth-Shakers and the Wind-Whipper doing the structural work that your katana cannot.
Benkei’s full moveset and the correct answer to each attack
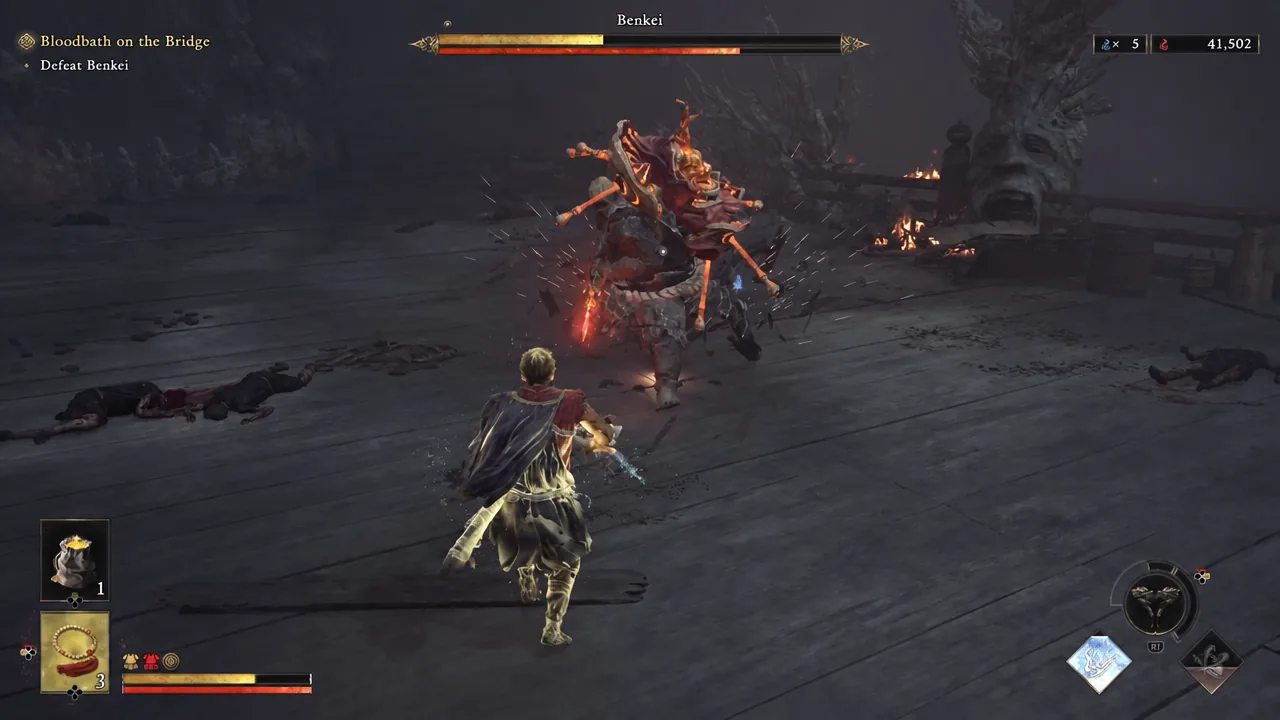
His arsenal is small, which is exactly why this fight is winnable on pattern recognition alone. Watch the blade rather than the body, since several of his strikes are deliberately delayed to bait an early input.
| Attack | What happens | How to answer it |
|---|---|---|
| Jump | Leaps up and stomps down on Musashi. | Easiest read in the fight. Dodge out or take the Issen counter. |
| Kick | Boot to the face followed by a hammerfist. | Barely telegraphed and chips real health. Stay defensive and reset spacing. |
| Hilt blow | A fast smack with the sword hilt. | Low damage but constant. Do not get baited into attacking through it. |
| Charged swing | Draws the sword to his right for a sweep, with a follow-up if you parry. | Strong punish window. Counter, then expect the second beat. |
| Overhead blow | Vertical chop, then a harder repeat with a second weapon. | One of the best counter opportunities available. |
| Fast combo | Four to six quick swings in a row. | Breaks your stagger if you are below roughly 80 percent. Keep your guard topped up before it starts. |
| Sweeping combo | Three sweeping hits, the last one unavoidable by dodging. | The final hit must be parried. It is the hardest-hitting strike in the fight. |
| Charged sweeping combo | Rarer version that opens with a dash instead of the first sweep. | Only triggers when you back off. Close the gap or be ready for the dash-in. |
Tip: the jump, overhead blow, and charged swing are the three attacks you actually want him to throw. The kick and hilt blow are the ones that quietly grind you down, so respect them instead of trying to trade.
Soul siphoning, the enraged state, and phase two
Like every Genma boss from Daidara onward, Benkei can drain the souls stored in your gauntlet. That matters twice over. Losing souls cuts off your Oni Armaments, and feeding him enough of them pushes him into his enraged state, where the same moveset comes out faster and harder. His unblockable attacks are the killer here, since they cannot be parried and have to be deflected instead.
Bosses in this game escalate dynamically. Taking heavy damage early makes Benkei flip into his stronger state well before you have broken his armor, which is how an even fight turns lopsided. Going for Break Issen on his weak point claws souls back and keeps your armaments online.
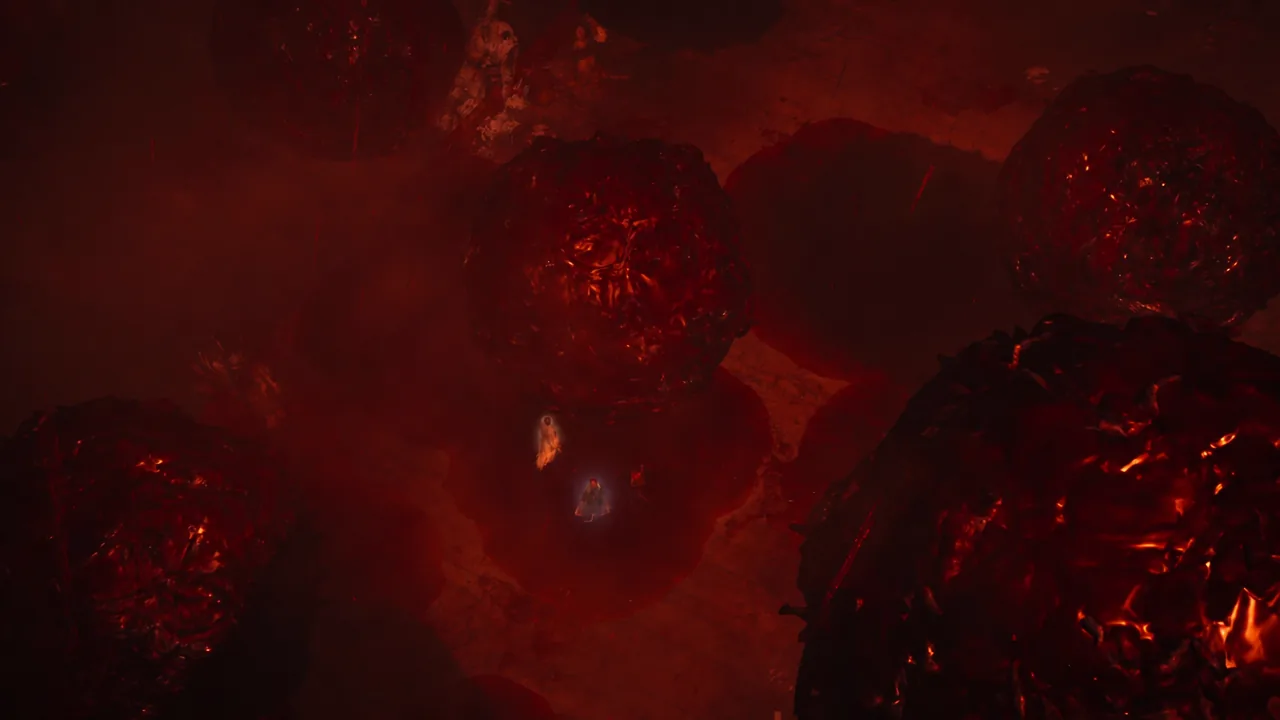
The second phase is a straight escalation rather than a new fight. His weapons ignite, the pressure rises, and the attack list stays the same. Nothing new needs to be learned at that point, so if your parry timing held in phase one it will hold here.
Why Benkei runs fail on Action difficulty
Almost every loss traces back to one of a handful of causes, and none of them are about damage output.
- Missing a single counter. His hits are heavy enough that one whiffed defensive input can erase most of the progress you made.
- Trying to dodge the last hit of the sweeping combo. It has to be parried, and it hits harder than anything else he throws.
- Entering the fast combo with a low stagger gauge, which breaks your guard mid-string.
- Blocking his unblockable attacks instead of deflecting them once he is enraged.
- Ignoring the Stout Pillars and trying to grind the armor down with normal attacks.
Bloodbath on the Bridge rewards
Landing the final blow dissolves Benkei and rolls straight into a cutscene, which is your confirmation that the objective has closed out. The mission payout is upgrade material rather than a new weapon.
| Reward | Amount |
|---|---|
| Hempen Cloth | x2 |
| Tamahagane | x1 |
| Power Stone | x2 |
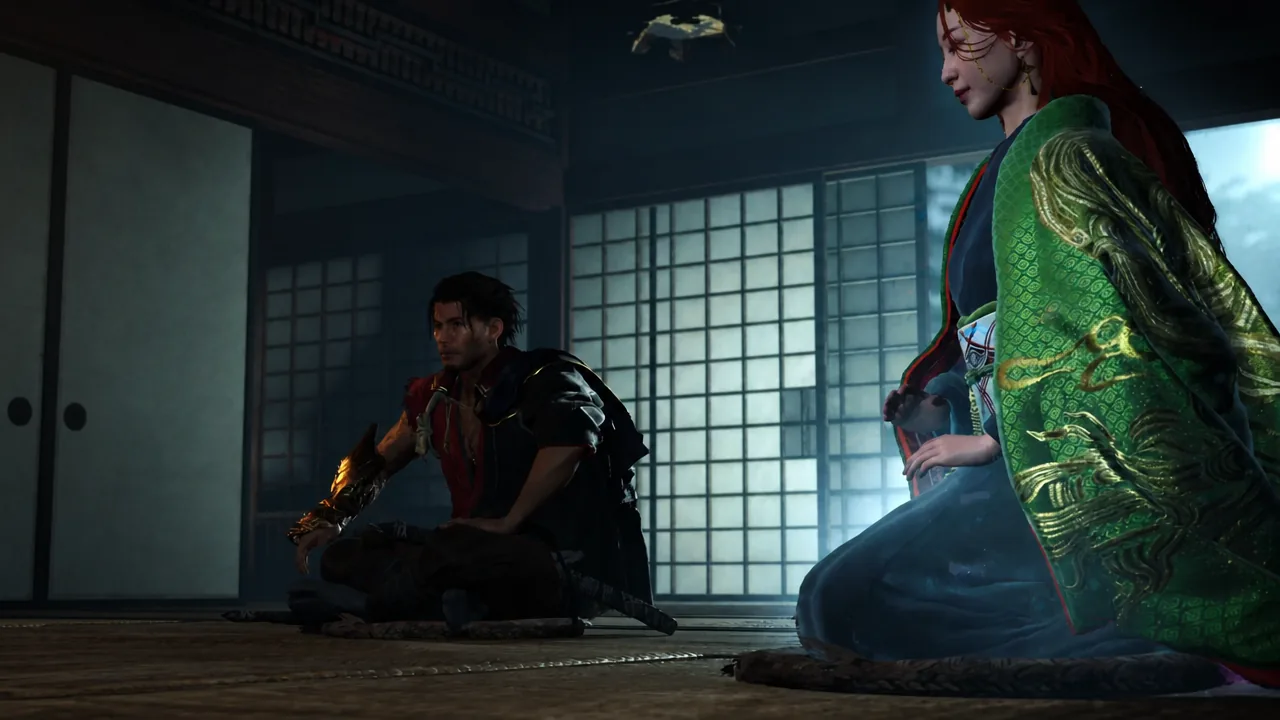
The Benkei rematch: Full Arsenal
Benkei returns near the end of the campaign with everything he was holding back. This version adds ranged pressure on top of the melee set, including cannons, thrown axes, and a flamethrower, and beating it unlocks the Drawn to Benkei trophy.
The counters are specific. Use your Oni bow to cancel his cannon shots before they fire, and handle the thrown axes with either a deflect or a straight Issen. Everything else about the fight, including the armor gate, works the same way it did on the bridge.
If the timing on the sweeping combo never clicks during the story run, both versions of Benkei are available again through Boss Rematch at the Practice Ground, which lets you drill the parry windows without risking mission progress.