Disco-Tech is the first part of Chapter 2 in Season 2 of Terminal [Escape Room], and on Beginner Mode it runs on a 75-minute clock with a two-star difficulty rating. The room chains together price-based keypads, a wiring panel, laser dodging, mirror reflection stages, bottle sorting, a sound puzzle, and a memory path — all of it ending with an identity check on a suspect named Emily Andal.
Quick answer: Enter 6411, 8889, 9987, and 6567 on the four painting keypads, wire the box as A1 B4 C6 D3 E7 F2 G5 H8, use 2516 at the jukebox, 2745 in the kitchen, and 1274 on the server computer, then dress the mannequin as Emily Andal to open the hidden server room.
All Disco-Tech keypad codes (Beginner Mode)
These codes are fixed on Beginner, so you can enter them as soon as you reach each keypad. The four painting keypads exist purely to hand you the letter values for the wiring panel.
| Keypad | Code | Result |
|---|---|---|
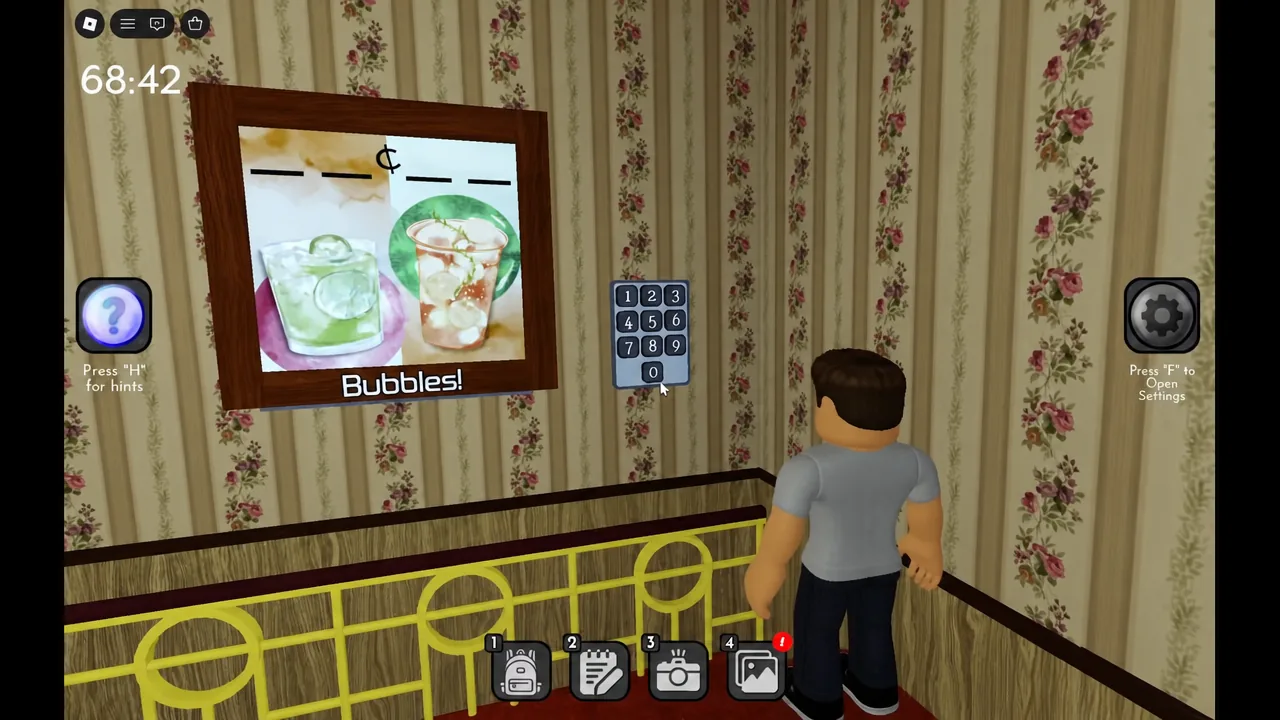
| “Bubbles!” painting | 6411 | E = 7, H = 8 |
| “Pink & Green” painting | 8889 | C = 6, G = 5 |
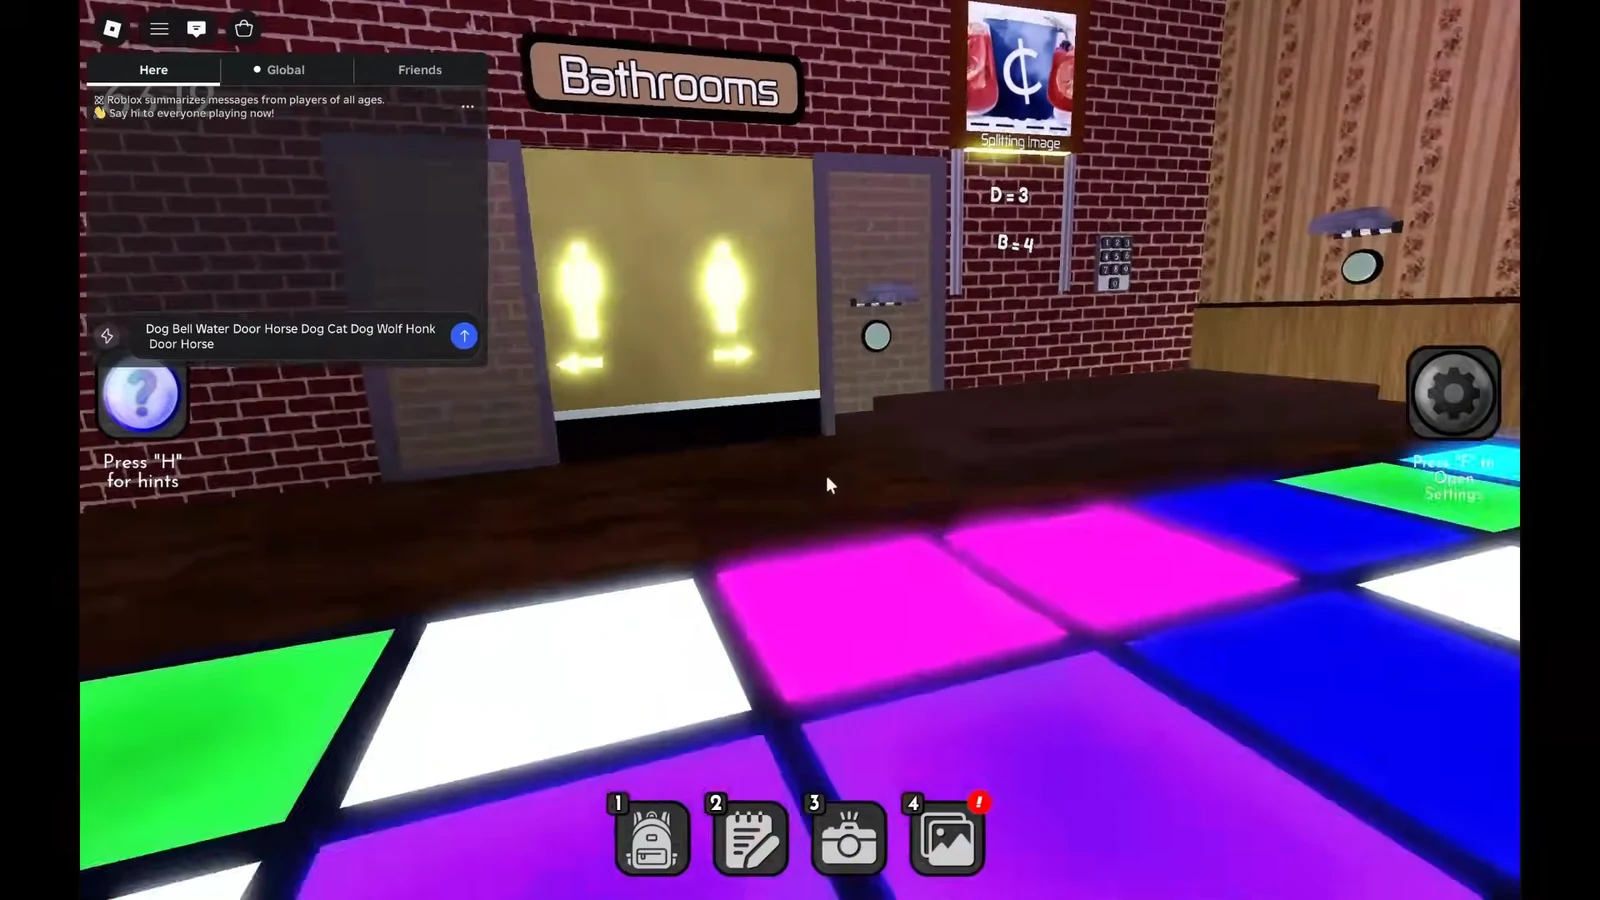
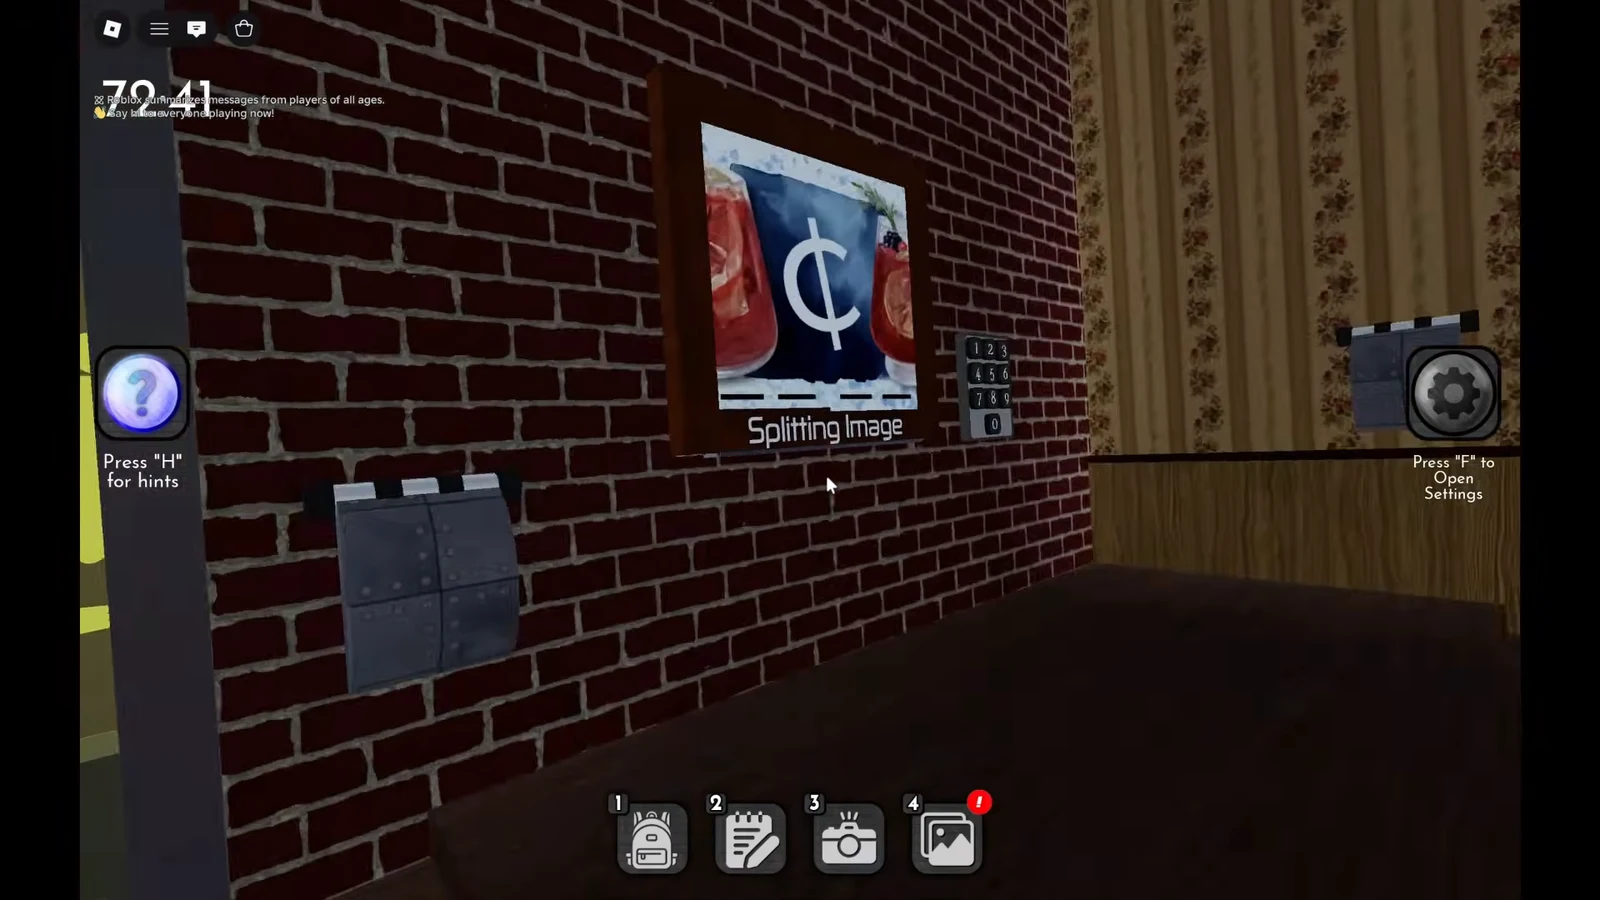
| “Splitting Image” painting | 9987 | D = 3, B = 4 |
| “In Shadows” painting | 6567 | A = 1, F = 2 |
| Jukebox keypad | 2516 | Activates the dance floor |
| Kitchen keypad | 2745 | Coat check key |
| Server room computer | 1274 | Turns on the final screen |
Grab the blank flashdrive, then build the ladder
The blank flashdrive sits inside the van at the start. Take it before you climb, because the only way back later is a full trip down and up again.
Painting keypads and the electrical box wiring
Four paintings are scattered around the club, each with its own four-digit keypad. Every painting shows two drinks, and the code is simply their prices in cents, read in order.
Laser buttons and the five mirror stages
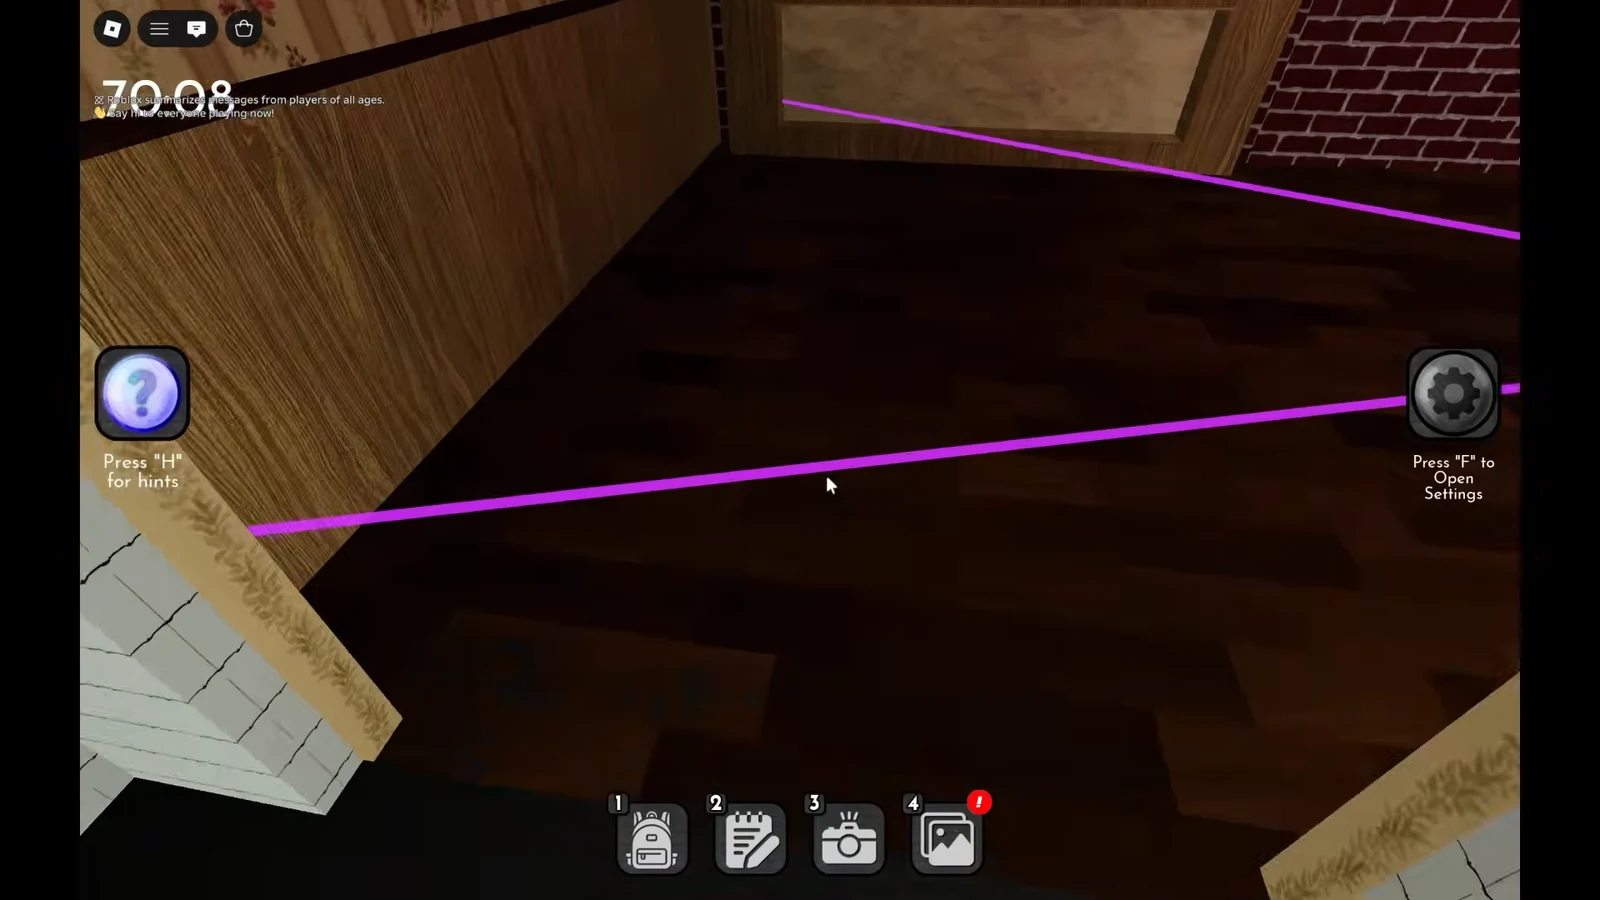
With power restored, moving lasers fill the room along with a glowing green button. Reach that button, and the next one activates further along the wall. Five buttons in total unlock the DJ booth.
Getting clipped by a laser is not a run-ender. Walk back to the last button you successfully pressed, press it again, and the sequence resumes from there.
Inside the booth, pick up the mirror from the floor and climb the ladder to start the reflection puzzle. Each stage asks you to bounce the beam into a cube from the direction shown, and every solve opens a cubby containing another mirror. Clear all five stages, ending with five mirrors in play, and the bar cage opens.
Bar bottle sorting for the bathroom key
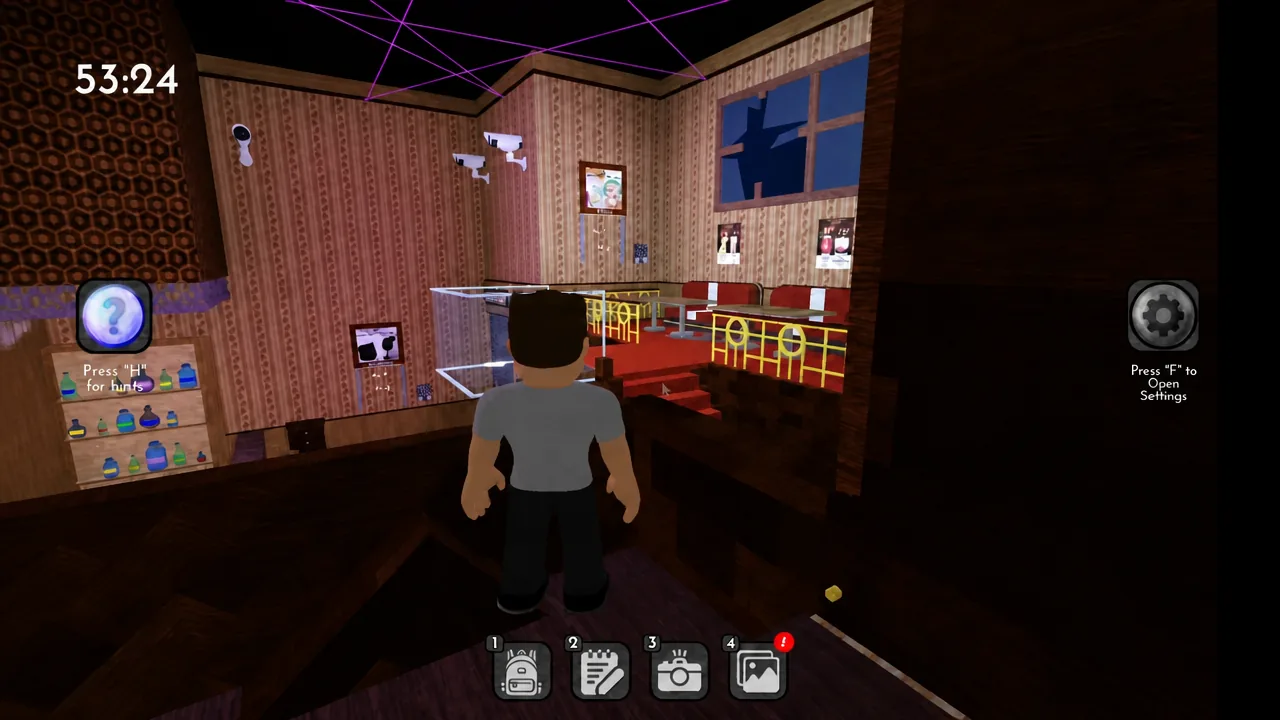
Three bottles are lying on the floor around the bar. Collect all three and put them on the shelves so the display is complete, then rearrange the shelf to match the two ordering clues posted nearby. When the arrangement is correct, the drawer beside the shelf pops open with the bathroom key inside.
Jukebox sounds, code 2516, and the dance floor path
The jukebox buttons each play a distinct noise, and the DJ’s mix upstairs is built from them. The clue steps that turn those sounds into digits are printed inside the men’s and women’s bathrooms, two per room.
| Button | Sound |
|---|---|
| 1 | Meow |
| 2 | Bark |
| 3 | Bell |
| 4 | Door |
| 5 | Footsteps |
| 6 | Rooster |
| 7 | Splash |
| 8 | Howl |
| 9 | Honk |
The mix plays in this order: Bark, Bell, Splash, Door, Footsteps, Bark, Meow, Bark, Howl, Honk, Door, Footsteps. The most frequent sound is Bark (2). The sound that always follows the door squeak is Footsteps (5). The one sitting between two barks is Meow (1). The jukebox sound never used in the mix is Rooster (6). That gives 2516 on the keypad beside the jukebox, which powers up the dance floor.
Kitchen stove pans: code 2745 and the coat check key
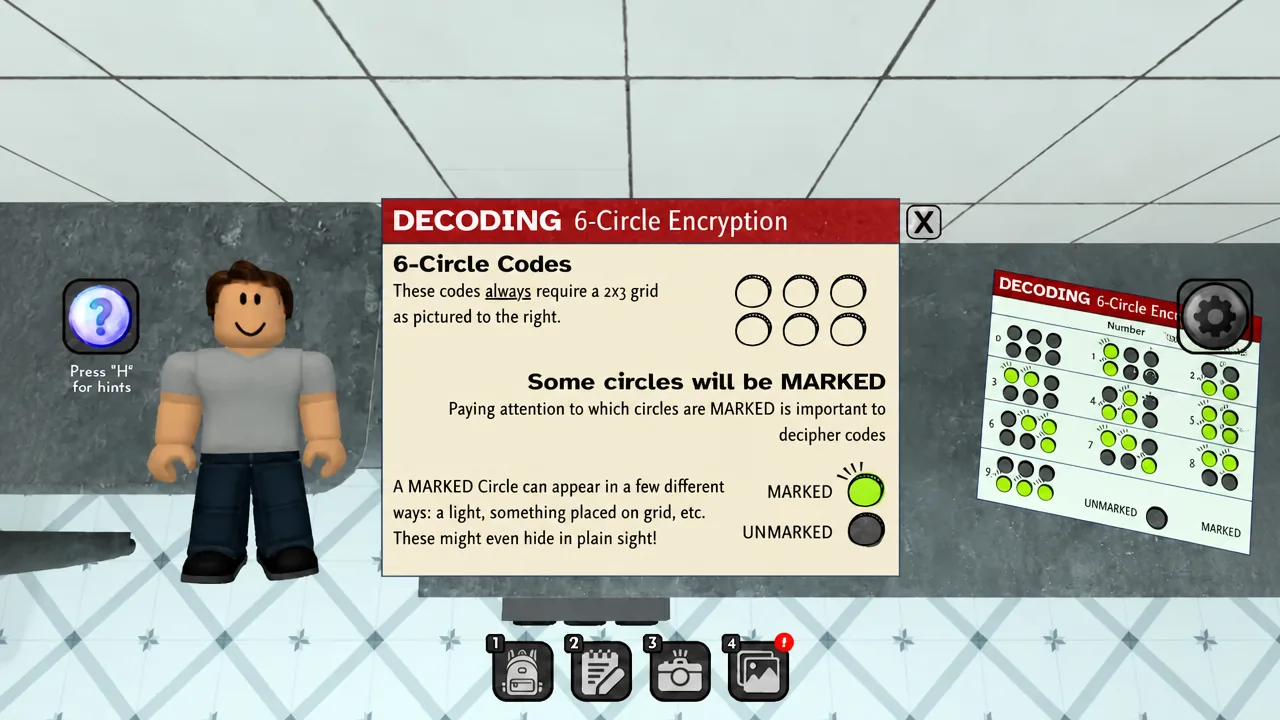
The kitchen holds four stoves labelled 1 through 4, each with pans arranged on the burners, plus two posters explaining 6-Circle encryption. Read each stove’s pan layout against the poster to convert it into a digit, going stove by stove in order. The result is 2745, and entering it opens the drawer holding the coat check key.
All five evidence photos and the suspect loadout
Press 3 to equip the camera. Beginner Mode only asks for five photos, and each one is picked up naturally as you unlock new areas, so photograph them the moment you walk in rather than backtracking later.
| Evidence | Location |
|---|---|
| Footprint | On the rug near the entrance booths |
| Brown Fabric Scrap | Floor of the DJ booth |
| Denim Fabric | Sink counter in the men’s bathroom |
| Hair Strand | Sink counter in the women’s bathroom |
| Stained Wool Fabric | Kitchen floor, beside a spilled bottle |
Open the coat check with its key and dress the mannequin to match what those five items describe. The wool traces point to a beanie, the brown cotton to a crewneck, the denim to jeans, and the strand to black hair.
| Slot | Setting |
|---|---|
| Hat | Beanie — wool, black |
| Shirt | Crewneck — cotton, brown |
| Pants | Jeans — denim, blue |
| Shoes | Sneakers |
| Hair | Black |
Fingerprint scan, server room, and the escape
Where Beginner runs usually stall
Three things block progress more often than anything else. The ladder minigame ignores mouse clicks entirely, so it will not advance until you use the spacebar. The bar drawer stays shut if any of the three floor bottles are still on the ground, since the shelf cannot be sorted correctly while a slot is empty. And the server room will not open until the mannequin is dressed exactly right and the laptop has printed the fingerprint — the scanner does nothing without that printout in hand.
Note: The codes listed here apply to Beginner Mode. Standard Mode runs a different, longer version of Disco-Tech with its own puzzle set.
Worked through in order, the room is mostly a chain of small unlocks — power, then the booth, then the bar, then the kitchen — with the evidence quietly accumulating along the way. The 75-minute timer is generous for a first attempt as long as you photograph each item when you first see it instead of running the club twice.