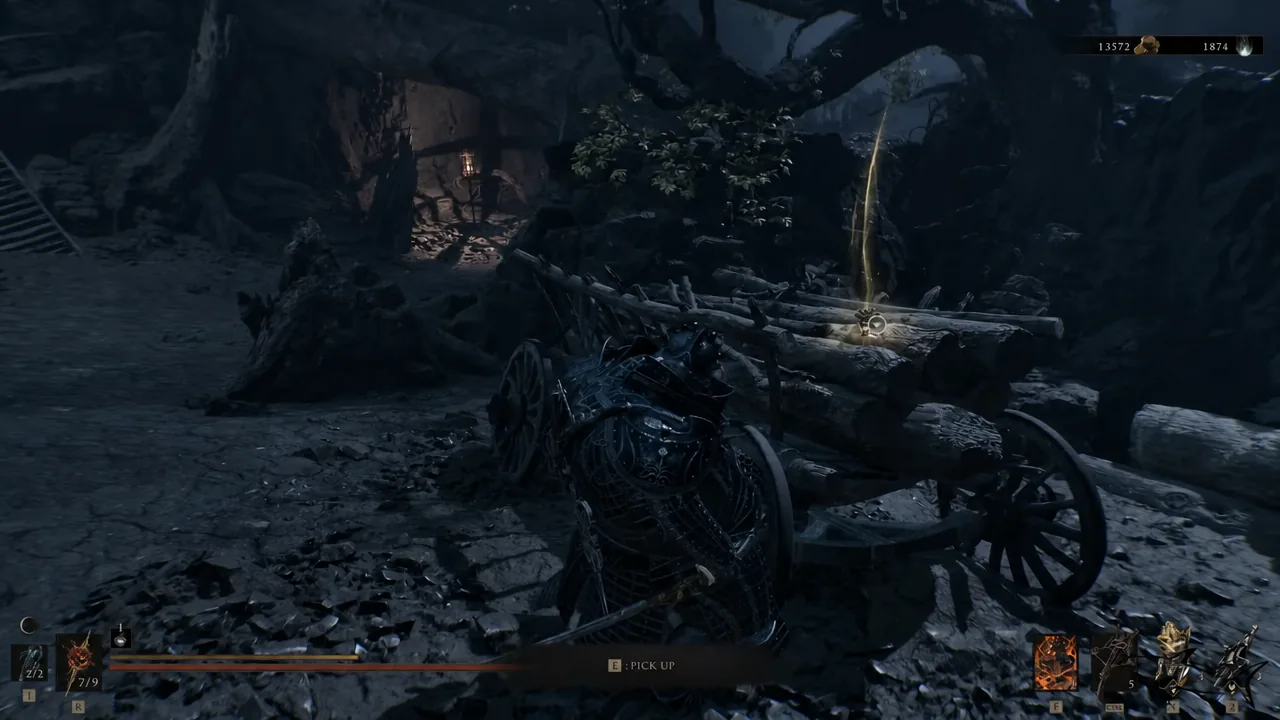
The Fulminant Stone is one of the few Tarstones in Mortal Shell 2 that you cannot stumble into. There is no chest, no Trial, and no boss drop attached to it. It sits in a merchant’s inventory that simply does not exist until you change the time of day, which is why plenty of players finish the map with an empty slot in their Ability list.
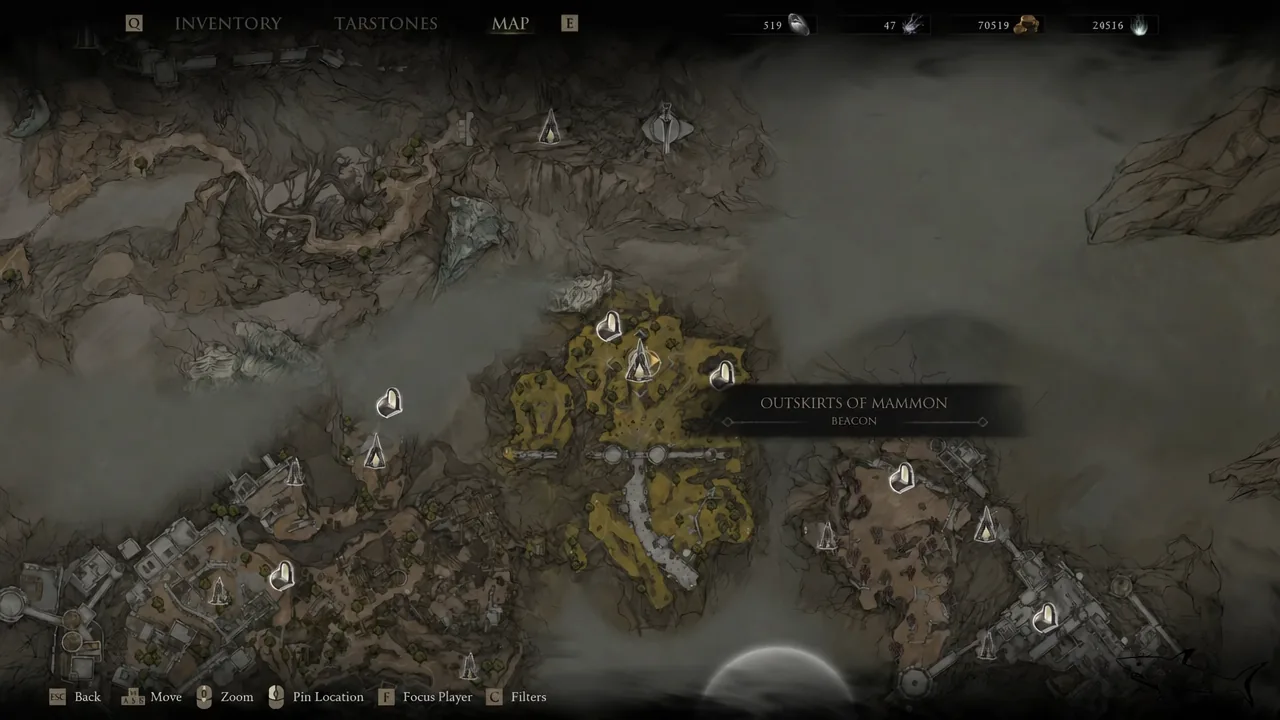
Quick answer: Activate Night Mode on the roof of Marrow Keep, then fast travel to the Outskirts of Mammon beacon, head into the Deserted Slums toward the Abandoned Outpost beacon, and buy the Fulminant Stone from The Collector for 1,500 coins and 15 Glimpses.
Fulminant Stone effects and weapon compatibility
Fulminant Stone is an Ability Tarstone, and Ability Tarstones only fit the equipment they were built for. This one is locked to the Ballistazooka sidearm, so it will not appear as an option if you have the Naylshotte, Forgotten Crossbow, Triarch Repeater, or anything else equipped in that slot. You can carry two Ability Tarstones at a time out of ten total slots, so the Ballistazooka essentially has to be part of your loadout for this stone to earn its place.
The shot itself costs 60 Resolve and fires a heavy-caliber round that detonates in a cluster around whatever it hits. Upgrades do not increase the raw damage so much as the number of detonations, and the final level converts each blast into Break Damage, which is what makes it a stagger tool rather than a pure damage spike.
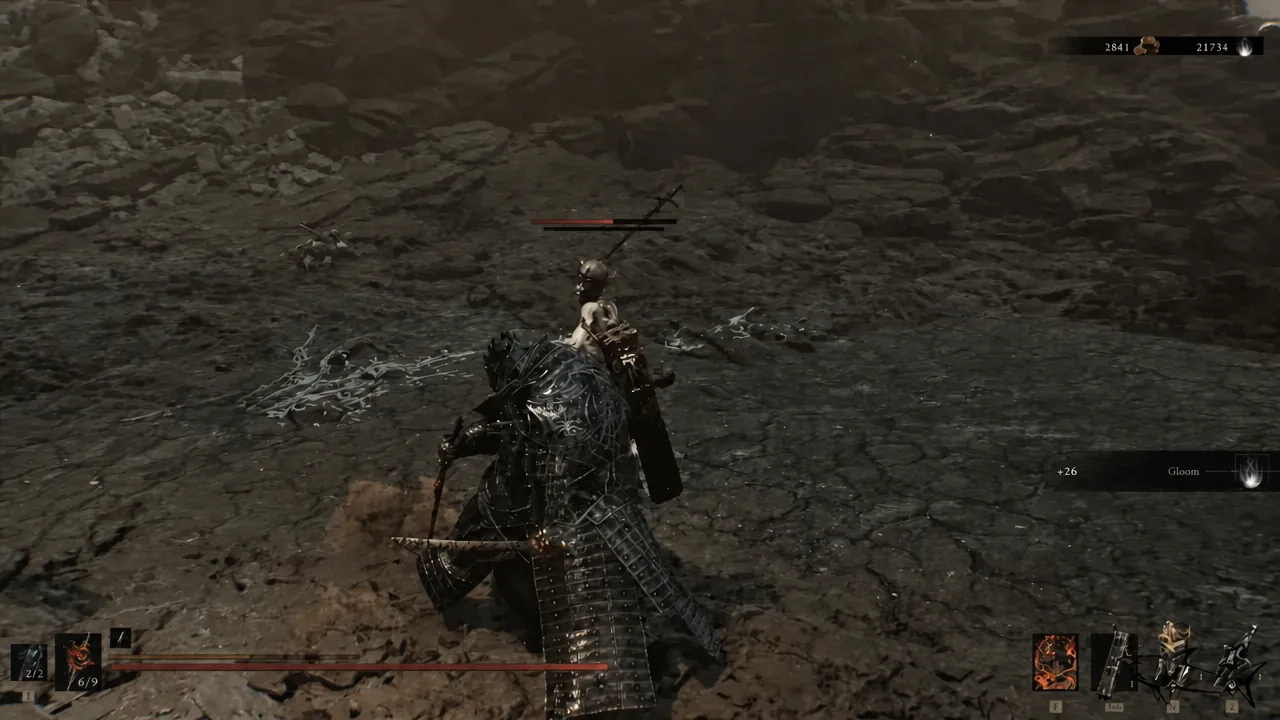
| Level | Effect |
|---|---|
| 1 | Consume 60 Resolve to fire a heavy-caliber round that triggers multiple explosions around the target |
| 2 | The heavy-caliber shot triggers 3 explosions around the target |
| 3 | The explosion count around the target increases again |
| 4 | Each explosion deals 20 Break Damage |
Requirement: Turn on Night Mode at Marrow Keep
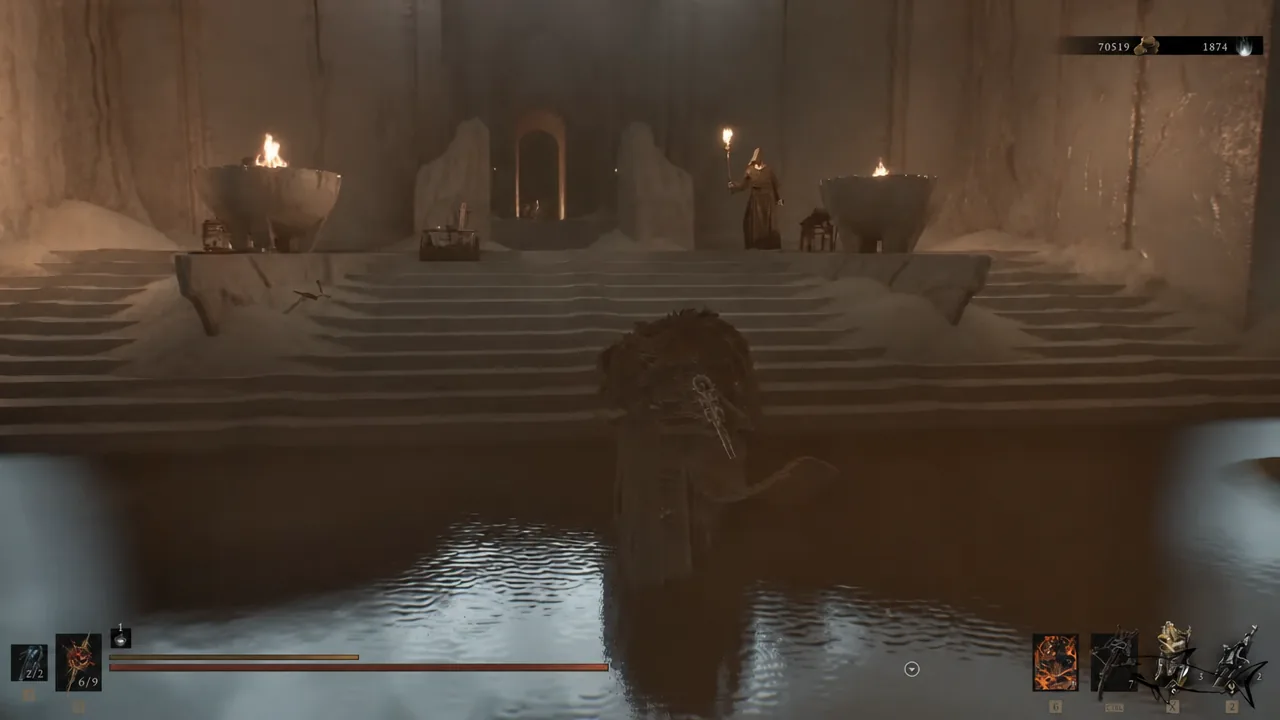
The Collector is a night-only merchant. During the day, the spot where he stands is empty, so the entire purchase depends on flipping the world into night first. The switch for that lives in Marrow Keep, and before you can use it you need the Gloomworshipper’s Flame, the item that unlocks the ability to swap between day and night in the first place.
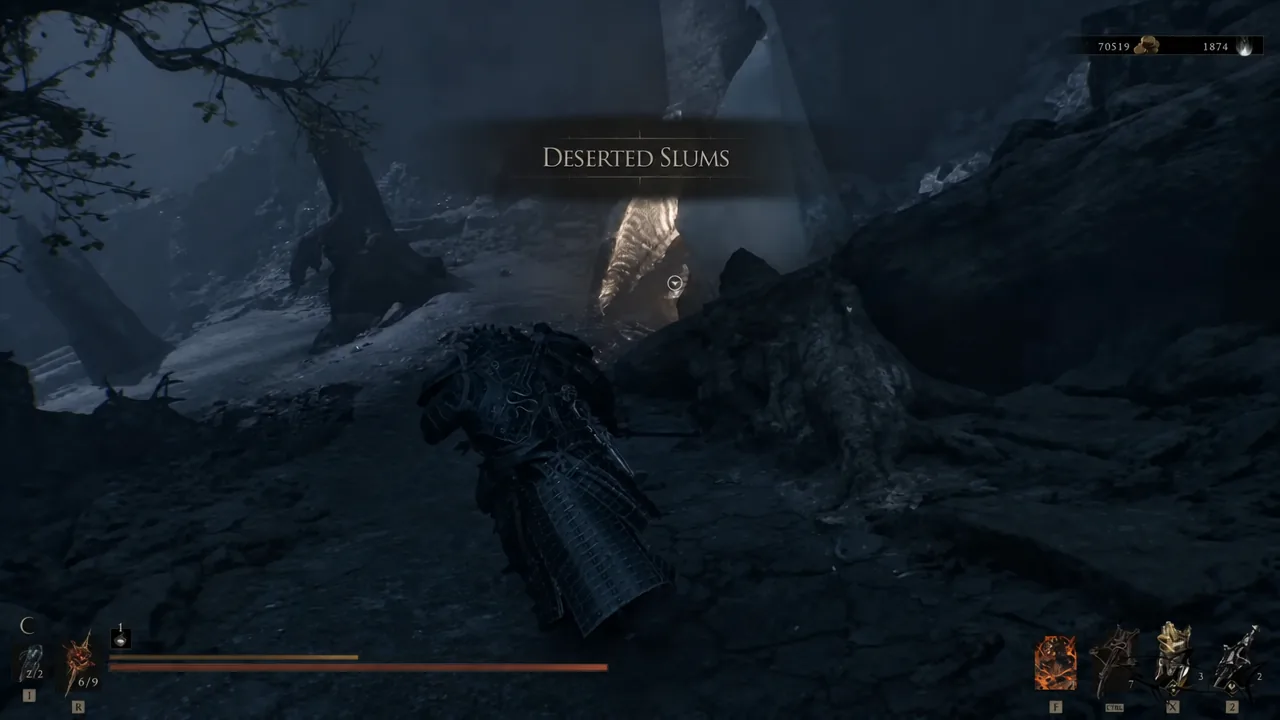
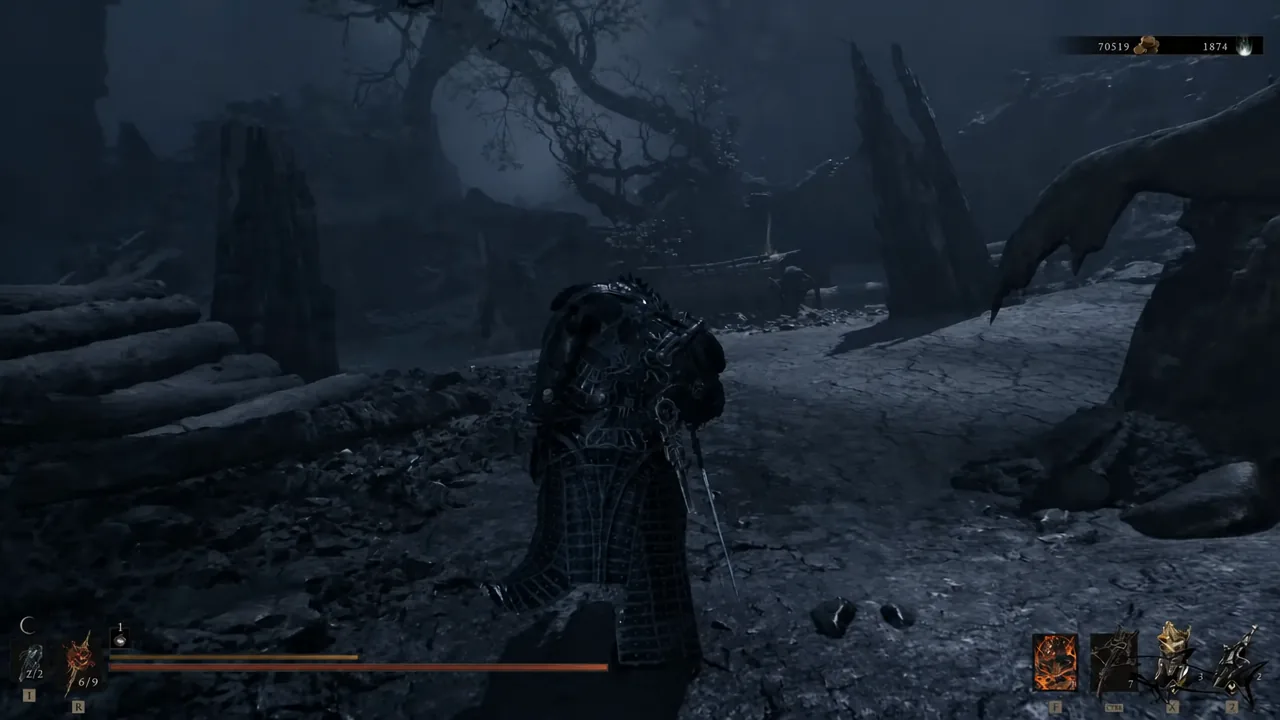
Route to The Collector in the Deserted Slums
The merchant sets up near the Abandoned Outpost beacon, inside the Deserted Slums. The fastest approach starts one region over.
Cost, stock, and how to confirm the purchase worked
The Fulminant Stone runs 1,500 coins plus 15 Glimpses. Glimpses are the sticking point for most players, since they are far scarcer than coins, so it is worth checking your count before making the trip. The Collector’s Tarstone shelf also holds the Infested Stone, Weeping Stone, and Infused Stone, along with materials like Thoracium, Tarcore, and the Blacknarrow Key.
You will know the purchase landed when the Fulminant Stone shows up in your Tarstones menu under the Ability category at Level 1. Equip it with the Ballistazooka in your sidearm slot and the cluster shot becomes usable at 60 Resolve. If the stone is greyed out or missing from the equip screen, the sidearm is the problem, not the stone.
If The Collector is not where he should be, the two usual causes are that the night was never summoned, or that it has already lapsed. Check for the night state before assuming you are in the wrong spot.
Upgrading the Fulminant Stone at the Tarforge
Levels 2 through 4 are handled by Franz at the Tarforge in Marrow Keep, but he cannot touch Tarstones until you hand him the Etching Needle. That quest item sits in a bone chest just before the Magdalena, the Lady of the Woods fight. When you reach Ruk past the bridge, drop through the opening and turn right before the tunnel to find the small alcove holding it.
Upgrades are not purely a coin sink. Each Tarstone carries its own experience bar that only fills while the stone is equipped and you are killing enemies, so the Fulminant Stone needs to be in an active Ability slot as you play. Once the bar is full, return to Franz and pay coins to push it to the next level. Given that the top level is what adds 20 Break Damage per explosion, an unupgraded Fulminant Stone is doing a fraction of the work it eventually will.