The Battlemage in Enshrouded 1.0 is a mage that never stops shooting. You fight with a wand, which costs no mana to fire. You keep a ward in your off hand for blocking. A staff waits on the side for the moments when one big spell beats ten more wand bolts. The 1.0 skill tree finally connects those two weapons with a single passive, and the whole build is designed around it.
Quick answer: Stack Intelligence, then Constitution. Rush Wand Specialization, Unity, and Blink, then Blast and Cast. Pair a Multishot wand with the Staff of Guidance, the Hailcaster Chest, Flaming Gauntlets, and Ring of the Mother Flame.
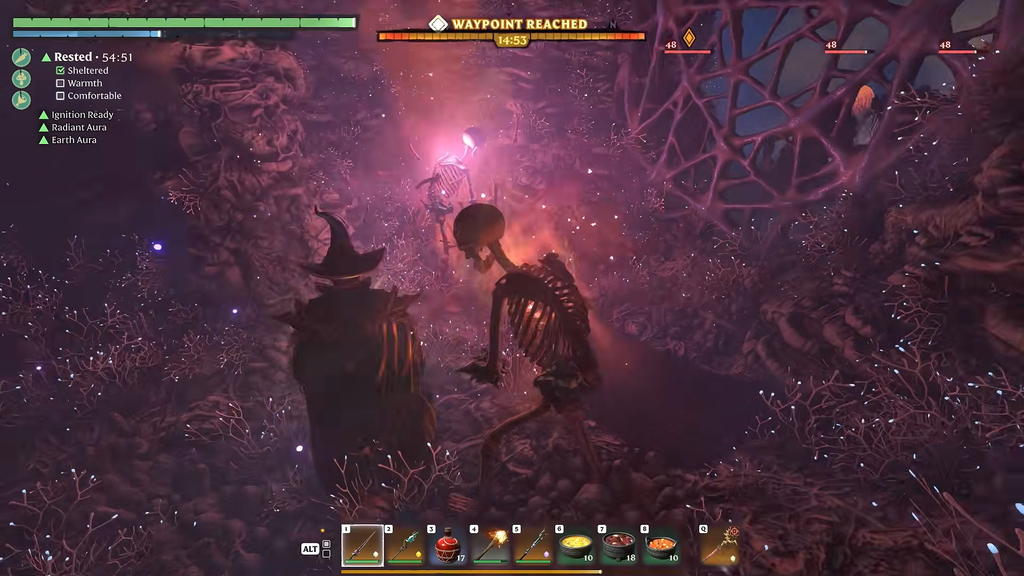
How the Enshrouded 1.0 Battlemage deals damage
Each weapon has a separate job. The wand fires quickly and costs nothing per shot, but every shot wears down its durability. It also works at mid range, which is shorter than most new players expect. The staff needs Spell Charges and spends Mana on every cast. In return it reaches much farther and hits much harder.
Blast and Cast is the effect connecting them. If a wand scores a Critical Strike, make a staff attack within 10 seconds to gain 50 percent additional base damage on that hit. This sets up a straightforward cycle: score wand crits, bring out the staff and use the boosted attack, then return to the wand. The 10-second window lets you wait for a safe opening instead of changing weapons immediately after a crit.
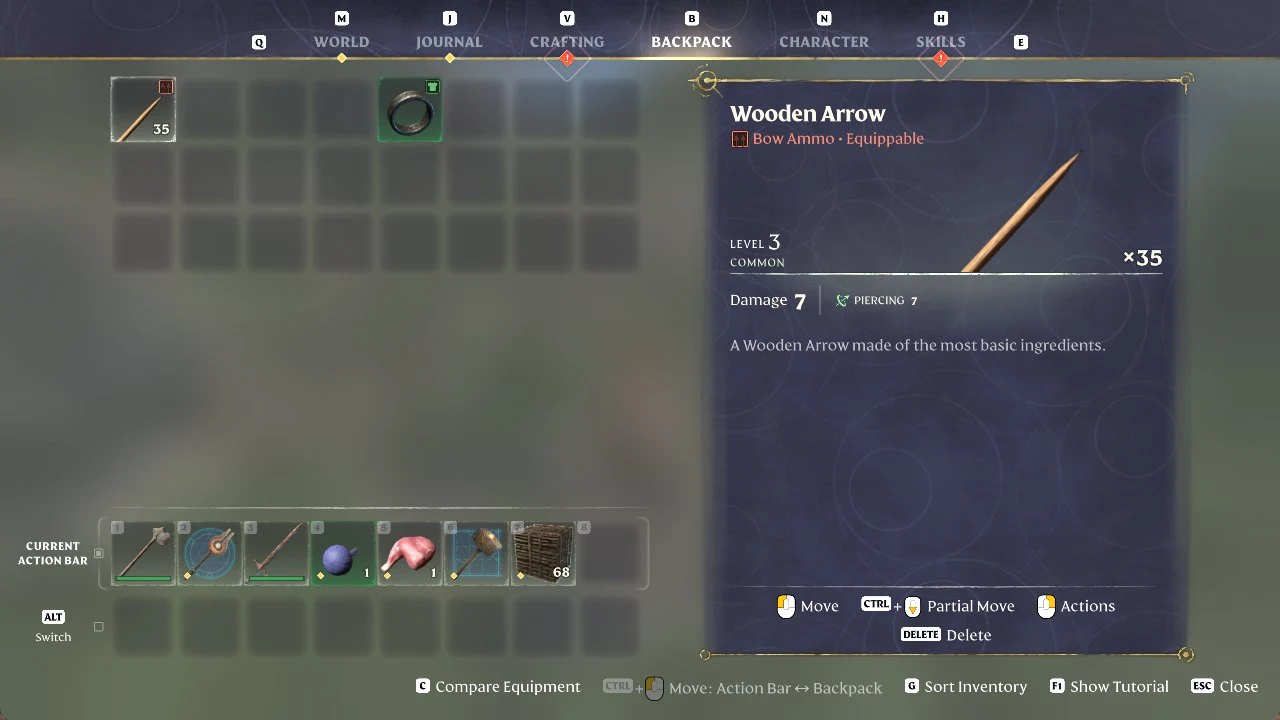
Your attributes follow the same logic:
- Intelligence is the primary stat. It scales wand damage, staff damage, and healing.
- Constitution comes second. Extra health is what separates a Battlemage from a fragile pure Wizard.
- Spirit is optional. Wand attacks are free, so add it only if Mana actually runs dry.
- Endurance is worth a few points if Blink and blocking keep draining your stamina.
Characters can reach level 50 in 1.0, and fully upgraded gear goes up to level 55. When you compare items, compare them at similar upgrade levels. A well-upgraded piece can beat a famous name that is still under-leveled.
Battlemage wand and staff skills: Costs and values
Most of the build’s points go into these Mage skills. Ranked skills scale per level, up to three ranks.
| Skill | Cost | Effect | Max ranks |
|---|---|---|---|
 Wand Specialization | 3 | Unlocks wand Special Abilities | 1 |
 Unity | 1 | 10% chance per rank to restore 2% max Mana per rank | 3 |
| Eternal Spark | 1 | 15% chance per rank to restore 1 wand durability | 3 |
| Wand Mastery | 1 | +5% wand damage per rank | 3 |
| Mage Apprentice | 1 | +5% wand and staff damage per rank | 3 |
| Wizard | 2 | +2% wand and staff crit chance per rank | 3 |
| Blast and Cast | 3 | Wand crit: next staff hit +50% base damage (10 s) | 1 |
| Sting | 3 | +20% repeated wand damage | 1 |
 Aerial Wand Attack | 3 | Jump attack, +50% weapon damage blast, 25 Mana | 1 |
 Wand Evasion Attack | 4 | Piercing disc while evading, +50% weapon damage, 50 Mana | 1 |
Fully ranked, Unity gives every wand hit a 30 percent chance to refund 6 percent of your maximum Mana. That refund is what keeps staff casts affordable without heavy Spirit investment. Wizard tops out at 6 percent extra crit chance. Since crits trigger Blast and Cast, that crit chance doubles as more staff windows.
Wand Specialization lets you build Focus by attacking and then unleash the wand’s Special Ability. That ability pulls clustered enemies together and hits them with pulses of the wand’s element.

Aerial Wand Attack fires while you are airborne, during a normal jump or a Double Jump. You can keep dealing area damage while you reposition.

Since Sneak Attacks aren’t available to wands or staves, this setup can’t use stealth openers.
Battlemage skill order from level 1 to 50
Spend points in layers. First make the wand reliable, then add mobility, then add crits and the wand-to-staff conversion. Shroud Roots and Elixir Wells give bonus skill points, so clearing them in each zone moves every step earlier.

Opening points
- Double Jump, for safety and positioning
- Two Intelligence nodes in the Battlemage branch
- Eternal Spark, so heavy wand use doesn’t burn through durability
- Arcane Deflection, which refunds Mana on a successful parry
- Unity, then Wand Specialization
Spirit, Mana Currents, and Updraft help with travel. Take them early if you explore a lot, or delay them if you want damage sooner.
Wand core and mobility
- Arcane Proliferation, which gives wand attacks a chance to double their projectiles at reduced damage
- Blink, which replaces the dodge roll with a short teleport
- Emergency Blink, which lets you Blink out of a stun
- Wand Mastery and Blink Attack, which adds a fire explosion when you Blink into an enemy
- Aerial Wand Attack and Wand Evasion Attack
Arcane Proliferation works especially well with wands that carry the Multishot perk. A single trigger can then put up to four projectiles in the air.

Crit layer and endgame
- Counterstrike, Mage Apprentice, and another Intelligence node in the central branch
- Wizard to full rank, plus Frost for melee attackers
- Blast and Cast
- Chain Hit and Mass Destruction, which add shock damage to nearby enemies on magic crits
- Sting, Quick Charge, and Life Burst to finish
Life Burst heals every player near a target you kill with a magic weapon, and the heal scales with Intelligence. That makes it a natural fit once your INT is high. Water Aura is another healing option. It is weak early, though, and a Ring of Health covers the same need without spending skill points. If you play in a group, Guardian picks like Warden and Tower can replace some personal damage.
Returning players start fresh, because 1.0 reset the skill tree on existing saves. Later respecs happen at a Flame Altar and cost Runes.
Best wands for the Battlemage
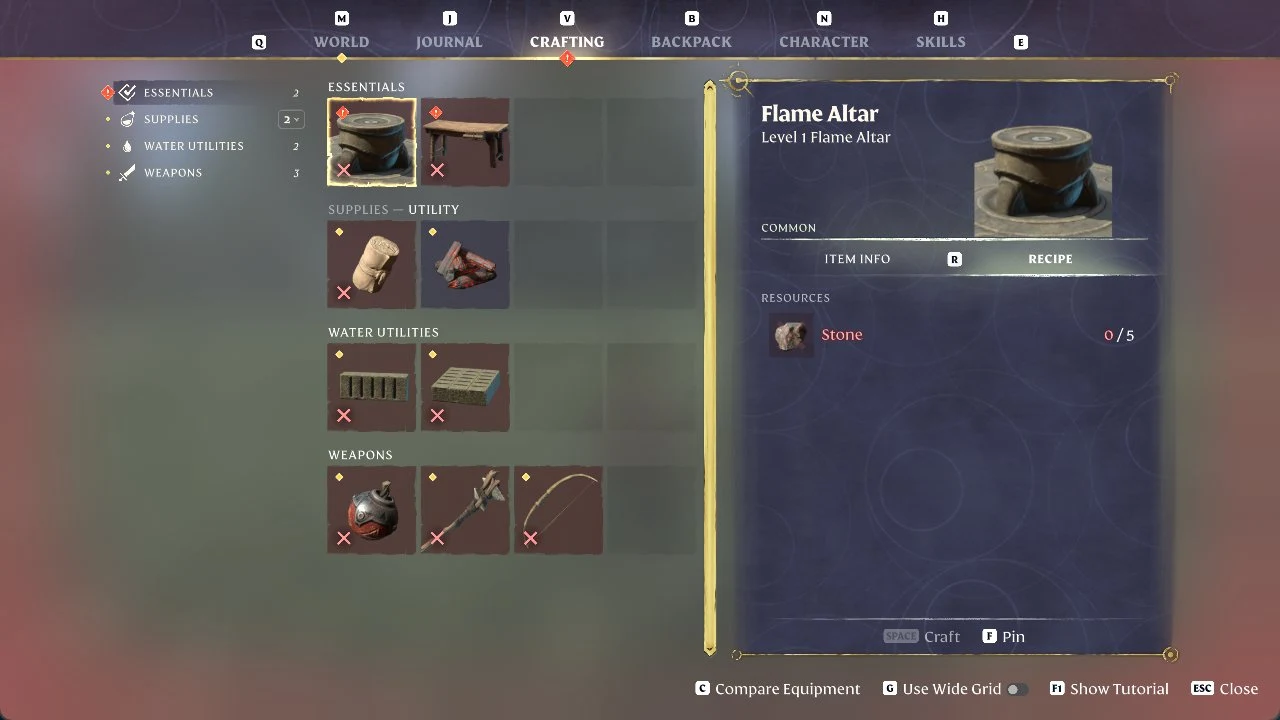
All of these wands scale the same way. They deal 7 damage at level 1, 31 at level 25, and 61 at level 55, and each attacks every 0.6 seconds. What sets them apart is element and perks.
| Wand | Element | Notable perks | Mana Regen |
|---|---|---|---|
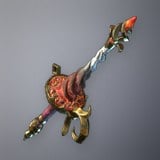 Candlelight Wand | Fire | Multishot 1, 7% crit, 3% Health Leech | 16 |
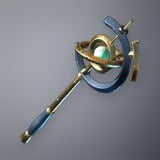 Androme’s Wand | Ice | Multishot 1, 7% crit, 3% Mana Leech | 16 |
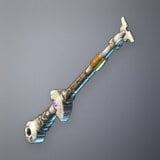 Ancient Drak Wand | Lightning | Multishot 1, 6% crit, Ruthless 32% | 14 |
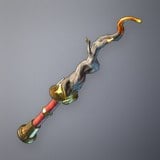 Ashwood Wand | Fire | 7% crit, Health Leech 9 | 16 |
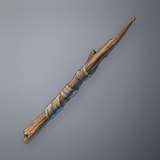 Apprentice Wand | Ice | Renewal 1, Mana Leech 3 | 4 |
Overcharge lets a wand sometimes add damage, with the bonus capped by its listed percentage. The Candlelight, Androme’s, and Ashwood wands each have a 30 percent value. Ancient Drak Wand is at 27 percent, while Apprentice Wand is at 12 percent.
Candlelight Wand is the default pick for a fire build. It combines Multishot, a solid crit chance for Blast and Cast, and the health leech that keeps a mid-range fighter alive. It also stacks with the fire bonuses on the recommended gloves and ring.
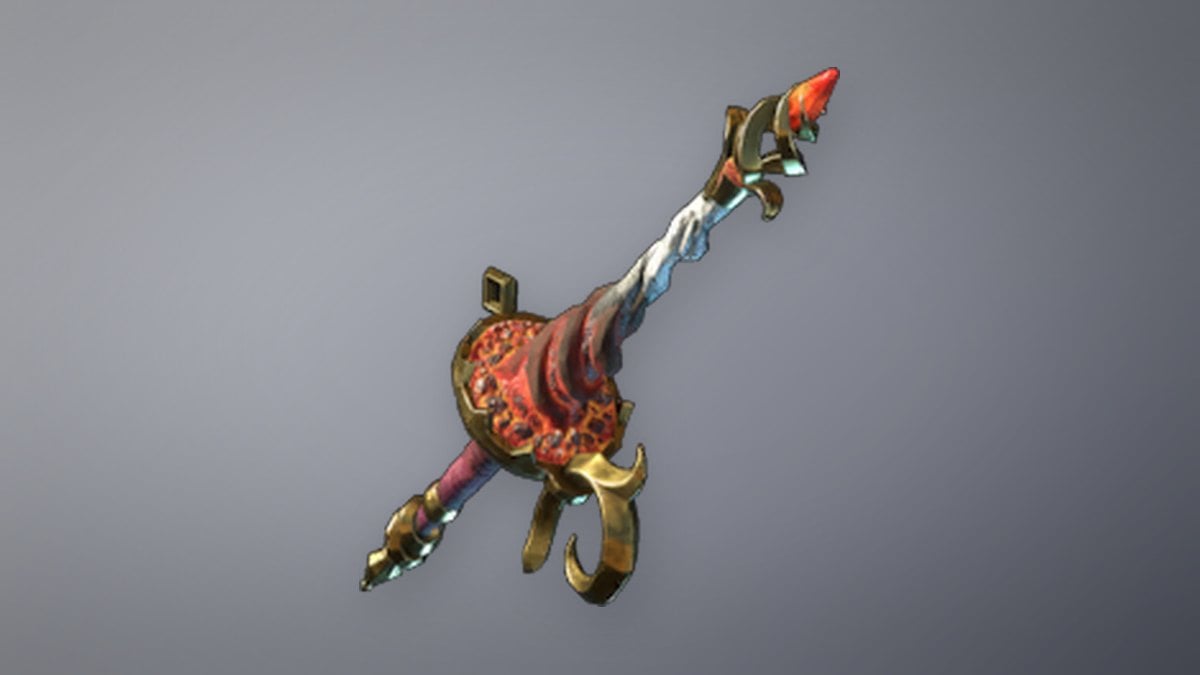
Androme’s Wand is the ice equivalent. It trades health leech for Mana Leech, which suits you if Mana is your bottleneck.
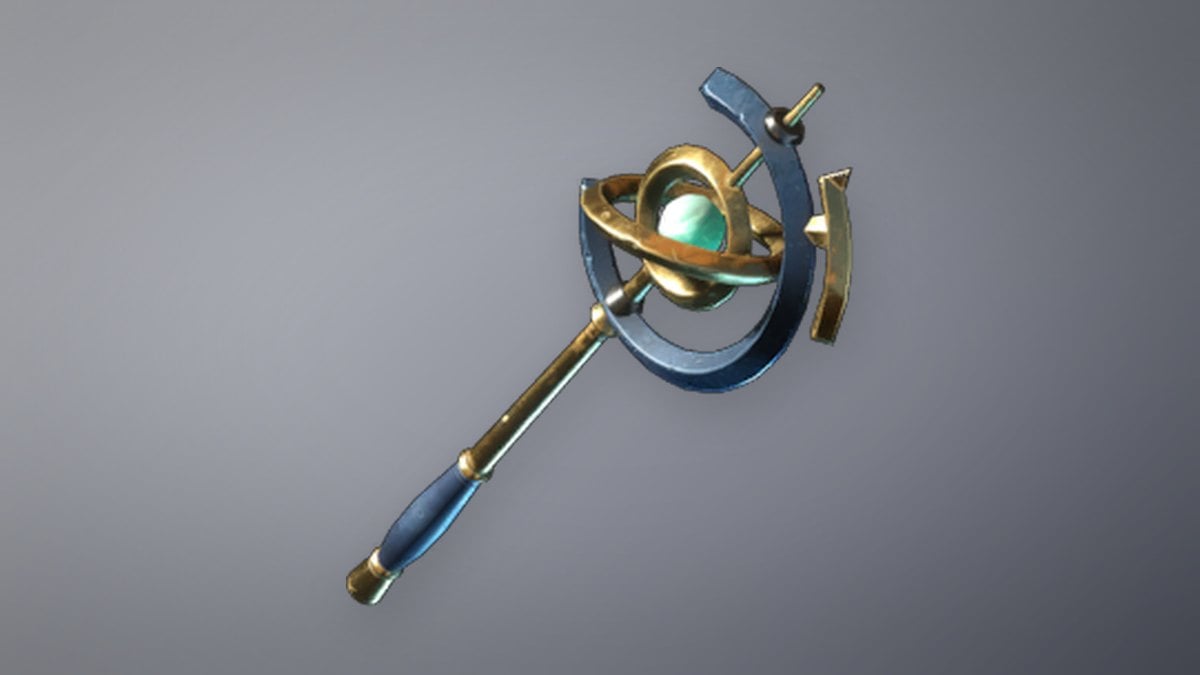
Ancient Drak Wand covers lightning. It is the slot to fill for enemies that shrug off fire and ice.
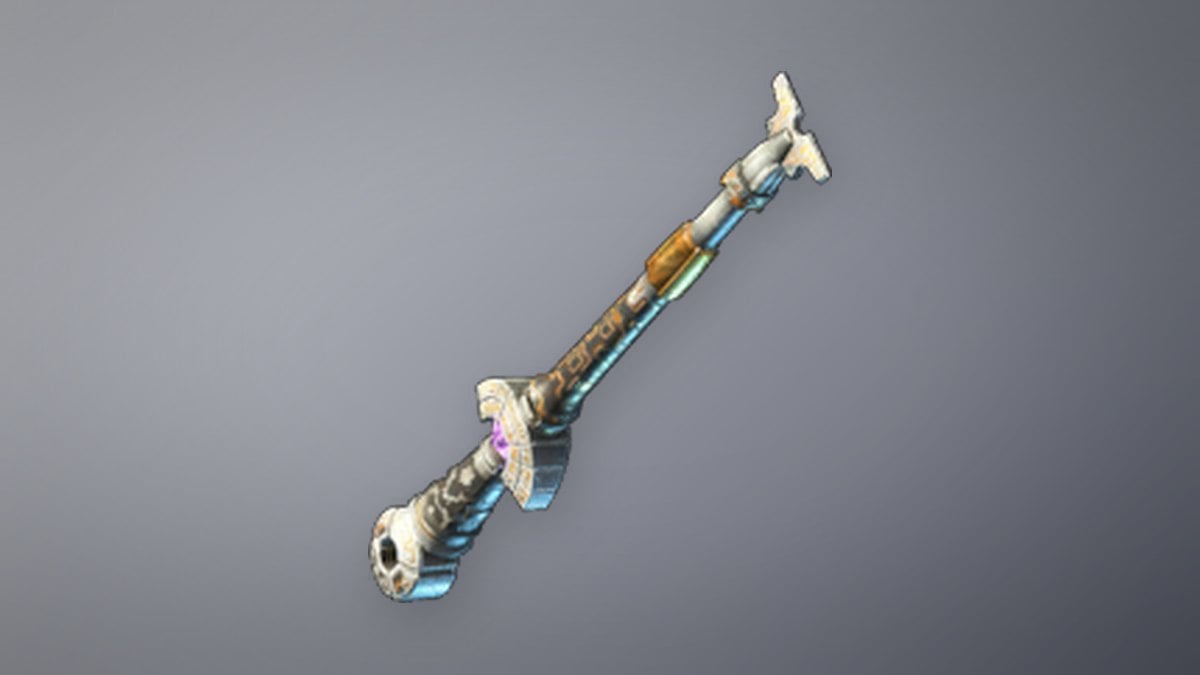
Ashwood Wand has no Multishot. It matches the Candlelight Wand on crit chance and Mana regeneration, and its leech comes as a flat Health Leech 9, so it works as a backup fire wand.
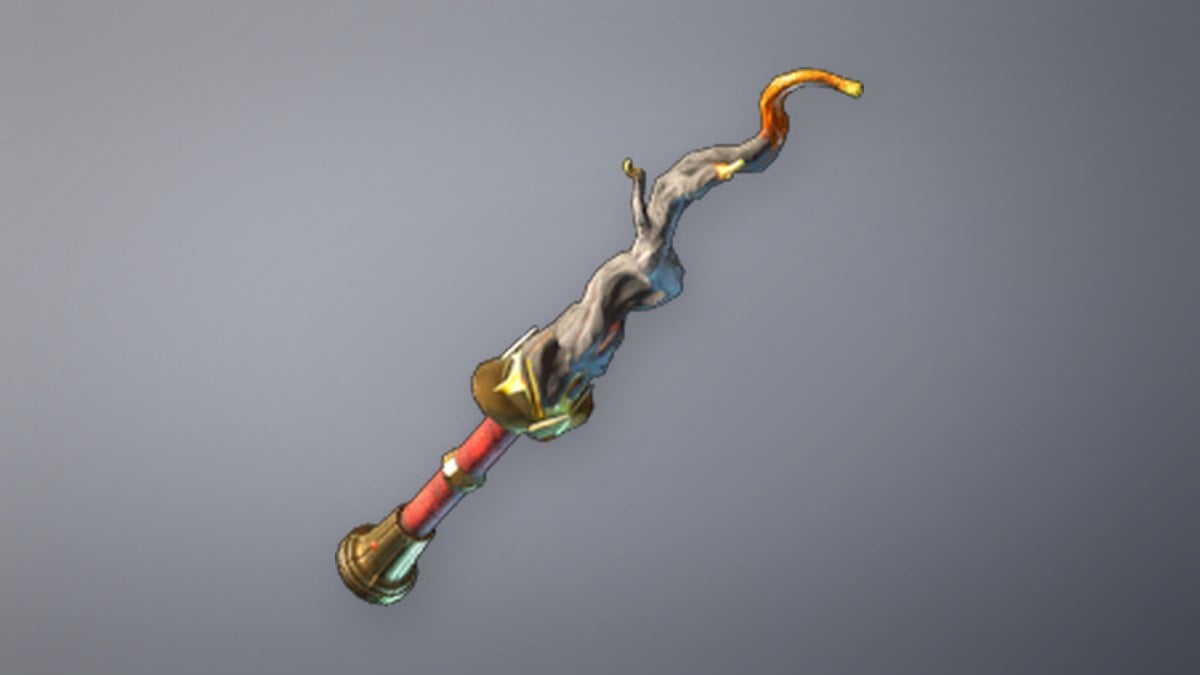
Apprentice Wand is a starter. Replace it once a Multishot wand drops.
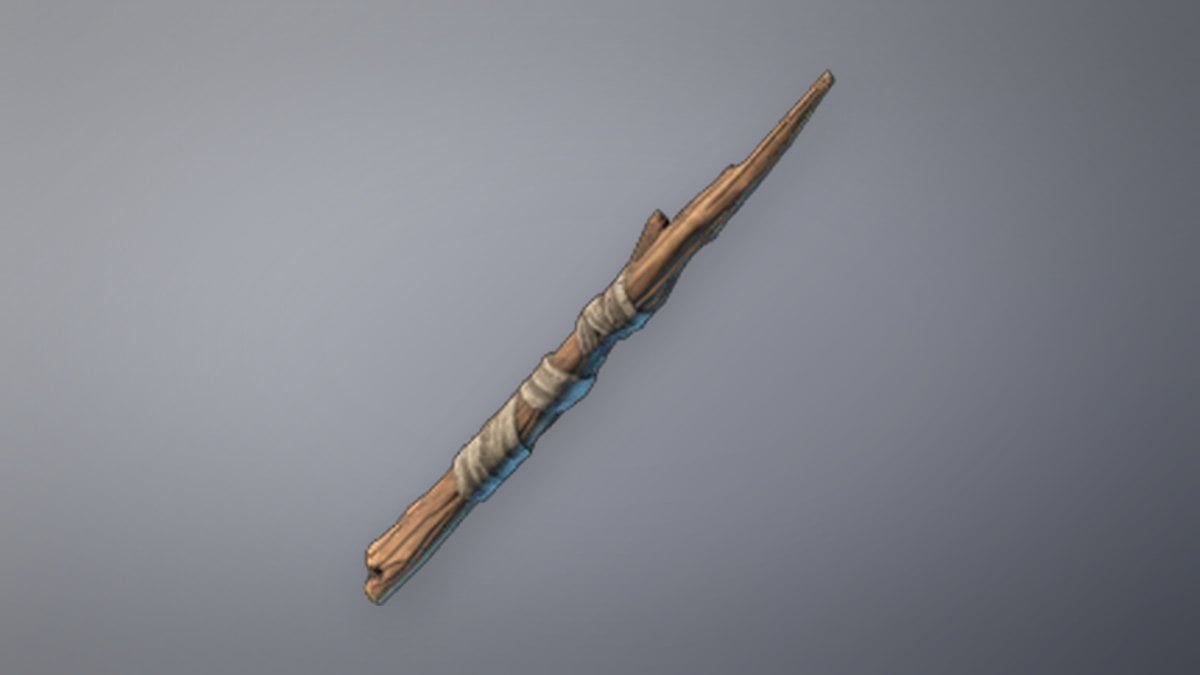
Carry at least one fire, one ice, and one shock wand, and switch based on the enemy. Polymath’s Wand is another strong endgame option. Electric Initialiser and Blizzard Wand are also worth picking up as they appear.
Staff of Guidance for Blast and Cast burst
The staff only has to do one thing well, which is turn a Blast and Cast proc into a large hit. The Legendary Staff of Guidance scales from item level 1 to 55. It carries 10 percent All Magic Fire Damage, 6 percent Critical Strike Chance, and 20 percent Critical Strike Damage. That lines up with a fire wand and fire gear without spreading your bonuses across unrelated elements.
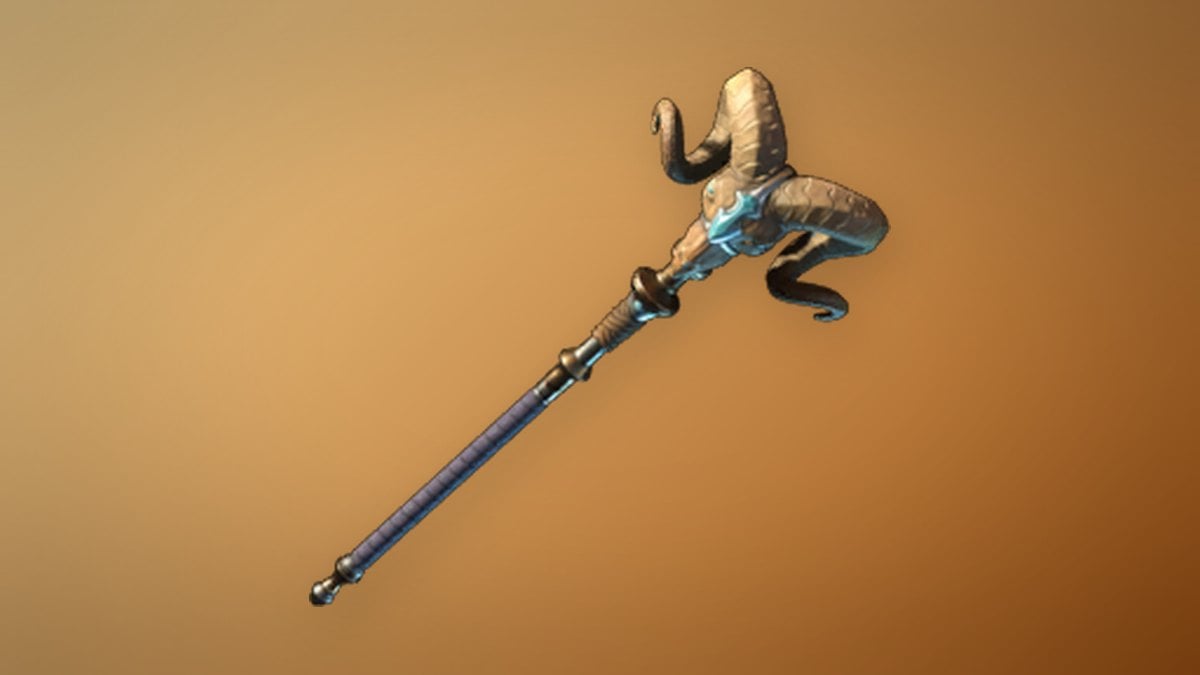
Keep the staff’s spell bar small and give each spell a different job:
- Eternal Fireball for grouped enemies
- Eternal Ice Bolt for single targets, since it also slows them
- Heal Channel to recover after you disengage while solo, or Chain Heal in co-op
- Entangle or Blizzard to hold enemies in place while you set up
Quick Charge shortens charge time on every spell. It earns its point once the staff becomes part of your routine.
Battlemage armor and ring setup
You don’t need a full matching set. Mix pieces that add wand damage, fire damage, crit chance, and health, including pieces whose built-in skill ranks match your tree.
| Slot | Item | Item level | Key bonuses |
|---|---|---|---|
| Head (early) |  Alchemist Apprentice Hat | 5 | 8% magic crit, Mage Apprentice 1 |
| Head (late) | 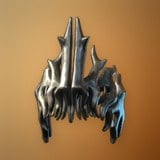 Vorgoth’s Soulbound Crown | — | Staff damage, magic crit |
| Chest | 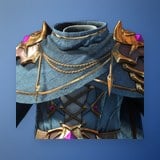 Hailcaster Chest | 30 | Health 240, 8% wand damage, Wizard 1 |
| Hands | 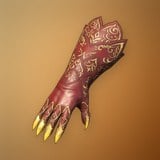 Flaming Gauntlets | 40 | 10% wand damage, 5% fire, Wand Mastery 1 |
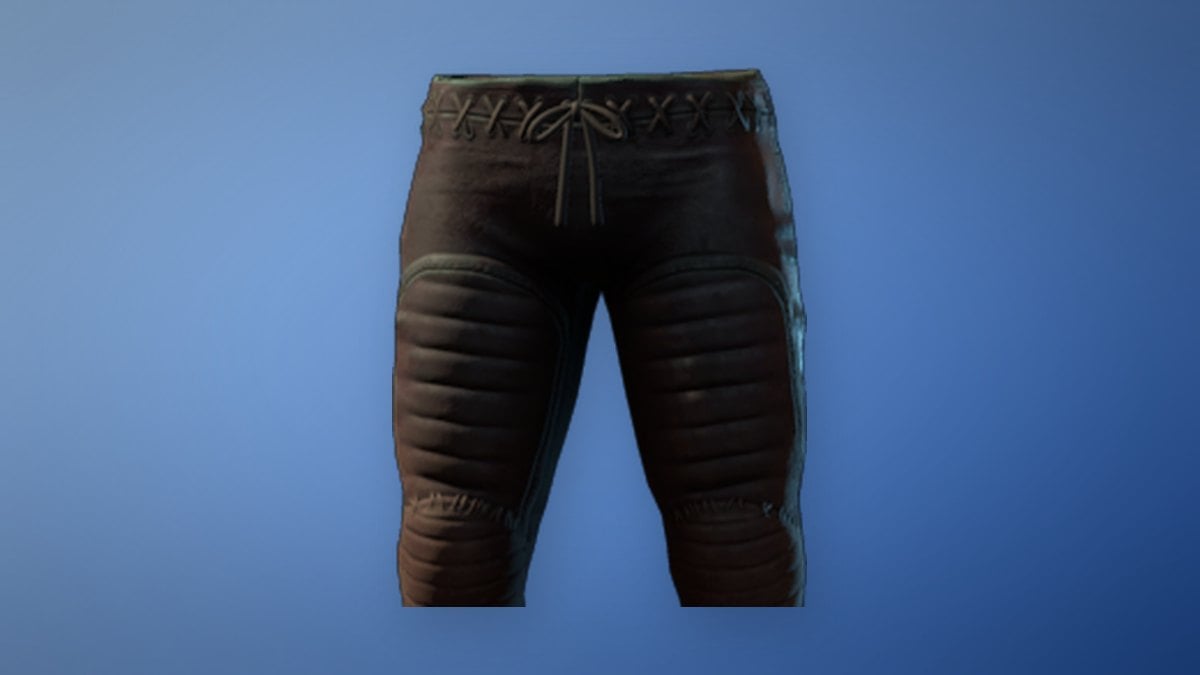
| Legs (early) |  Tank Trousers | 10 | Health 45, Health 40 perk, Absorb 1 |
| Legs (late) | 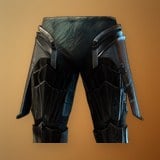 Vorgoth’s Soulbound Pants | — | Wand damage, Mana |
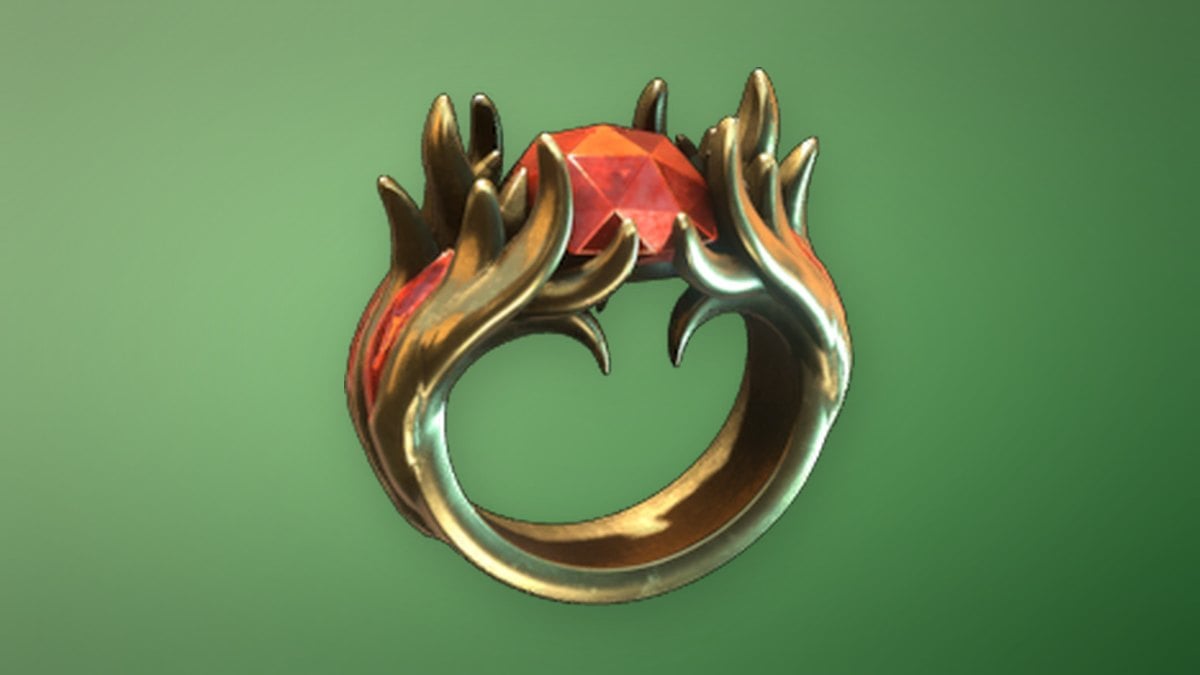
| Ring | 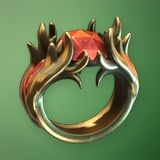 Ring of the Mother Flame | 45 | 16 Mana Regen, 5% fire, Mana 40 |
Alchemist Apprentice Hat is crafted at the Alchemist under a roof. It gives early crit chance plus Thunder 1, Mage Apprentice 1, and Mana Regeneration 4. Its armor values are 7 magical and 5 physical.
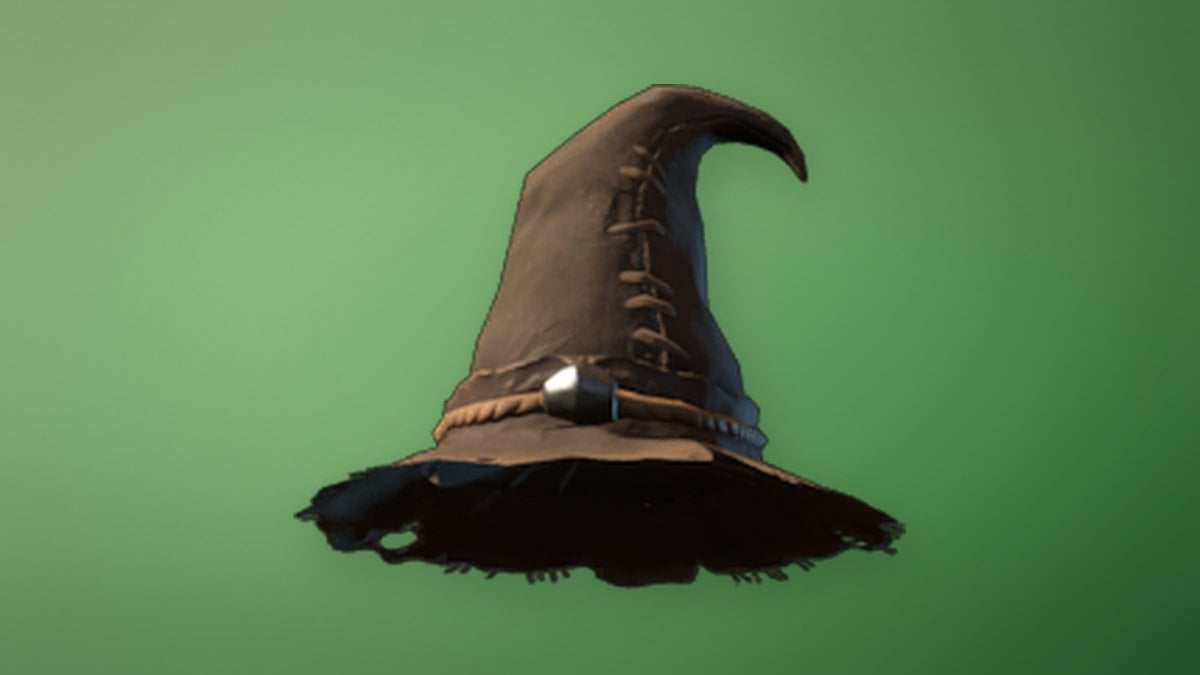
Hailcaster Chest unlocks at Flame level 6 at the Alchemist. It gives 71 magical and 61 physical armor, Frost Resistance 4, and a Life Essences rank alongside the health and wand damage. That mix of bulk and offense is what this build wants from its chest slot.
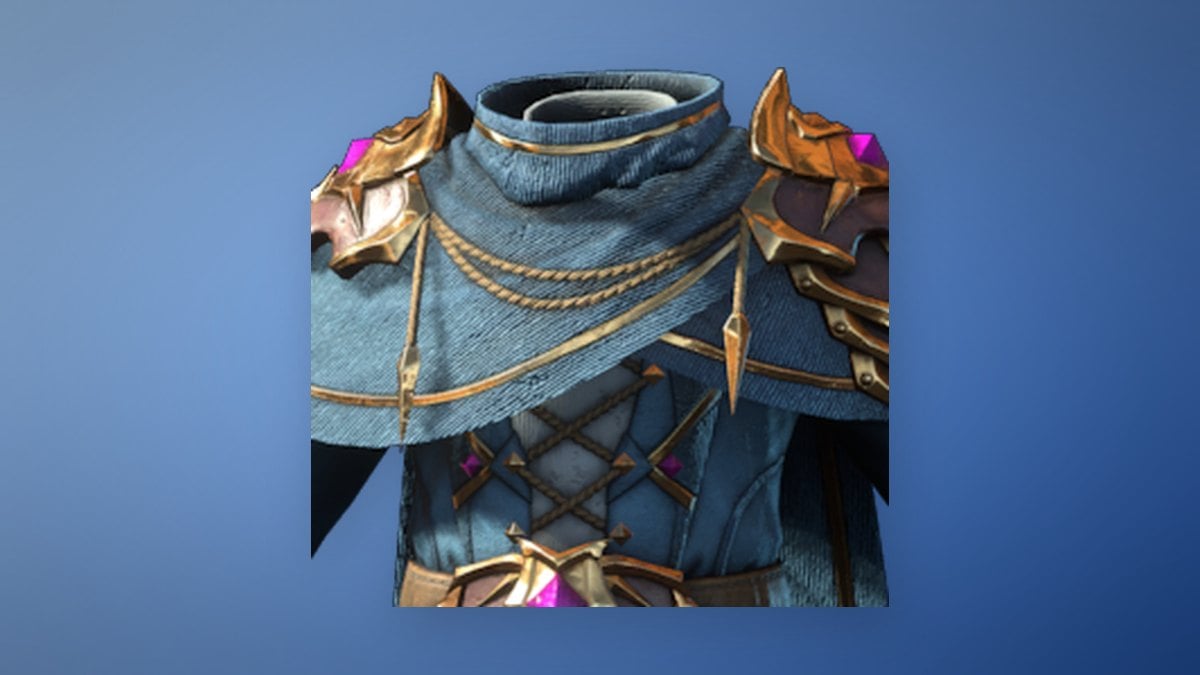
Flaming Gauntlets are Legendary and found in Veilwater Basin. They add 12 Mana Regeneration and Frost Resistance 3, plus ranks in Arsonist and Arcane Deflection. Their armor is 25 magical, 19 physical, and 19 fire.
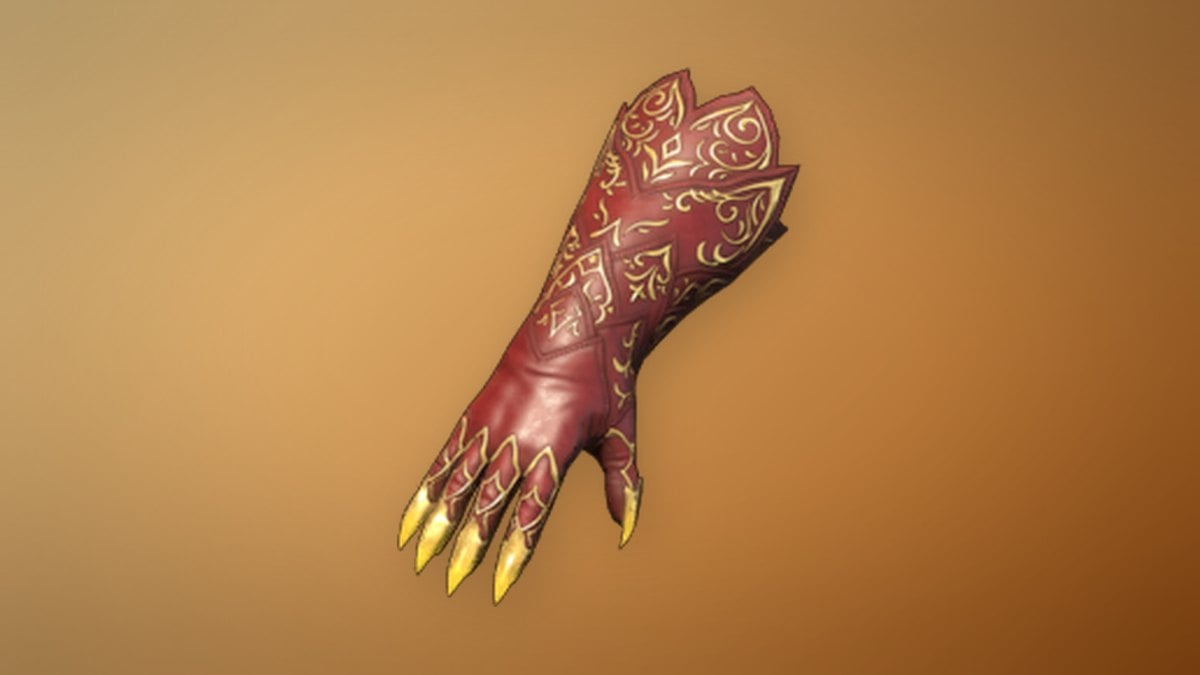
Tank Trousers are a Warrior piece from the Blacksmith that unlocks at Flame level 3. They outclass the early Mage legs for this build because they carry extra health and a Shiny Plates rank.
Ring of the Mother Flame rounds out a fire build. It adds Arsonist 1, Radiant Aura 1, Mage Apprentice 1, and 2 percent Health Leech. It also grants 5 percent Fire Resistance, Frost Resistance 2, and a 60-second Wet Duration Reduction. Skip it if your main wand and staff use a different element. A Ring of Health fills the second slot well early on.
In the off hand, a ward such as the Spectral Ward or Ghostly Ward gives you blocking, parrying, and Mana regeneration. Parrying matters here because Arcane Deflection refunds Mana on every successful parry.
Battlemage combat loop
Every fight cycles through the same three moves:
- Pressure. Fire the wand while you move. Block or Blink when something closes in, and watch for crits.
- Convert. After Blast and Cast triggers, if you have room, equip the staff and use the bonus for Fireball or Ice Bolt.
- Reset. Swap back to the wand, let Unity refill your Mana, and wait for the next opening.
Against crowds, back away while shooting so enemies bunch up, then drop a staff spell on the pile. Against bosses, use the wand while you learn the attack patterns, and cast only during recovery animations you know are long enough. Hold a charged wand shot to pierce a line of enemies and stagger them. Use Aerial Wand Attack mid-jump so dodging never stops your damage.
Treat a Blast and Cast proc as an option, not an obligation. Skipping one costs a single bigger hit. Getting caught halfway through a cast with a melee enemy on top of you can cost the whole fight, and the wand is still doing real damage while you wait for a better window.