Mortal Shell 2: Sentry’s Grave Location and Full Walkthrough
How to reach the Ruins of Mammon dungeon, clear its hidden walls, and beat the Subjugated Guardian for the Ballistazooka.
How to reach the Ruins of Mammon dungeon, clear its hidden walls, and beat the Subjugated Guardian for the Ballistazooka.
by AllThingsHow Staff
Sentry’s Grave is one of the dungeons buried under the Ruins of Mammon in Mortal Shell 2, and it exists for a single reason most players care about: it holds the Ballistazooka sidearm. The dungeon itself is short, but it is packed wall to wall with Subjugated Sentries that fire staggering ranged shots, so the trip is less about puzzle-solving and more about controlling crowds and picking off snipers before they pick you apart.
Quick answer: Travel to the Gate of Mammon beacon, head northeast toward the castle, climb the wooden staircase and turn left through the guarded doorway, follow the circular hallway to the fog gate, then ride the elevator down. Run the long grated hallway to the arena and kill the Subjugated Guardian to receive the Ballistazooka automatically.
Sentry’s Grave location and route from the Outskirts of Mammon
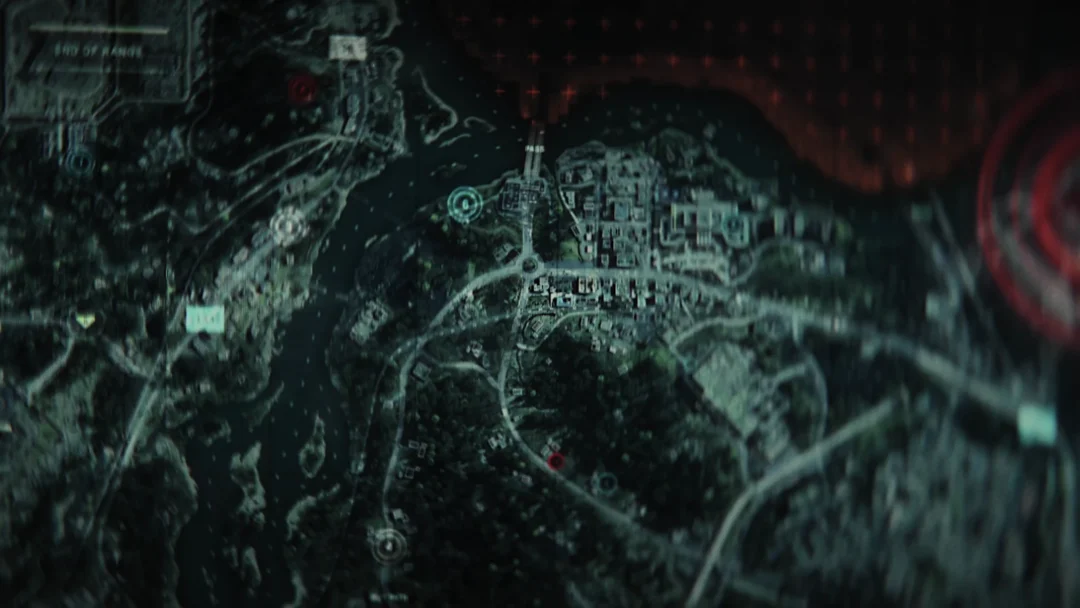
The entrance sits east of the Lonesome Spire, inside the castle structure near the Gate of Mammon beacon. If you already have that beacon unlocked, use Mether’s Breath and skip straight to the entrance steps below. If you don’t, the overland route runs through a chain of beacons in the Ruins of Mammon.
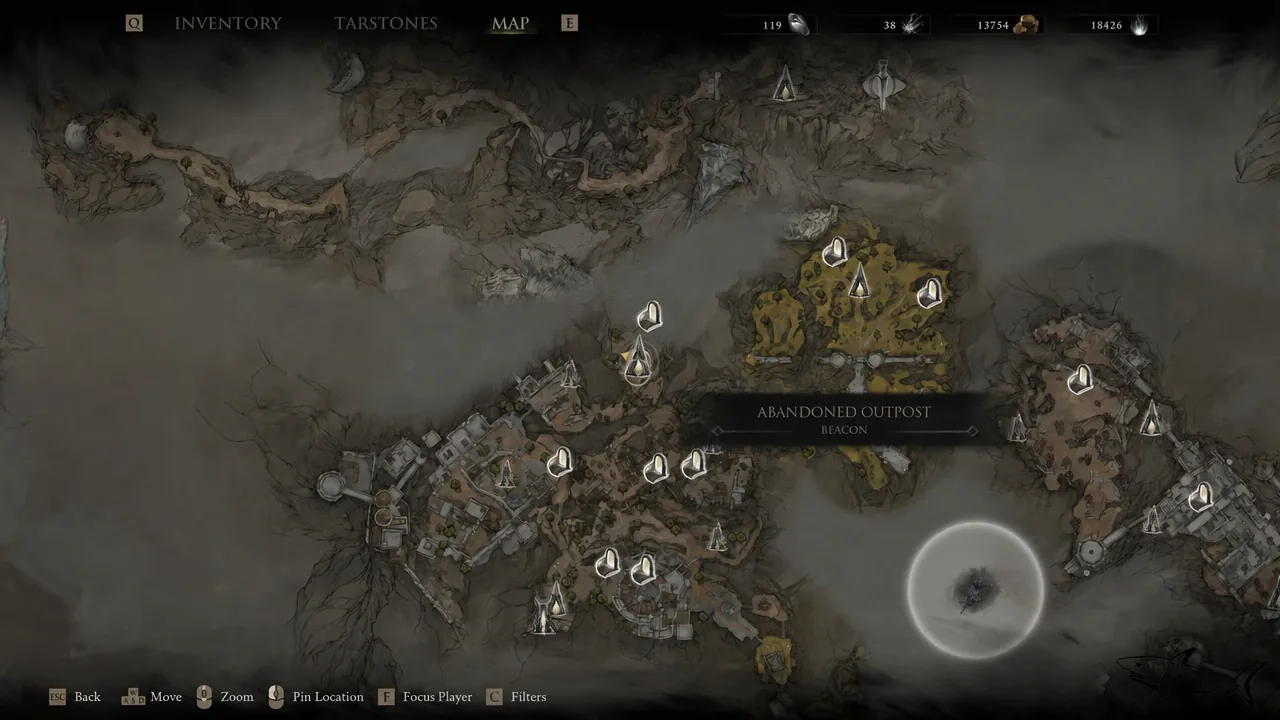
Start at the Outskirts of Mammon beacon and cross the wooden bridge to the portal that drops you into the Deserted Slums. Keep moving; the canyon beyond has a rolling enemy that is easier to dodge than to fight.
Rest at the Abandoned Outpost beacon, then take the portal up to the High Lord’s Terrace. From the terrace, run through the stone ruins and cross the wooden bridge into the High Lord’s Keep.
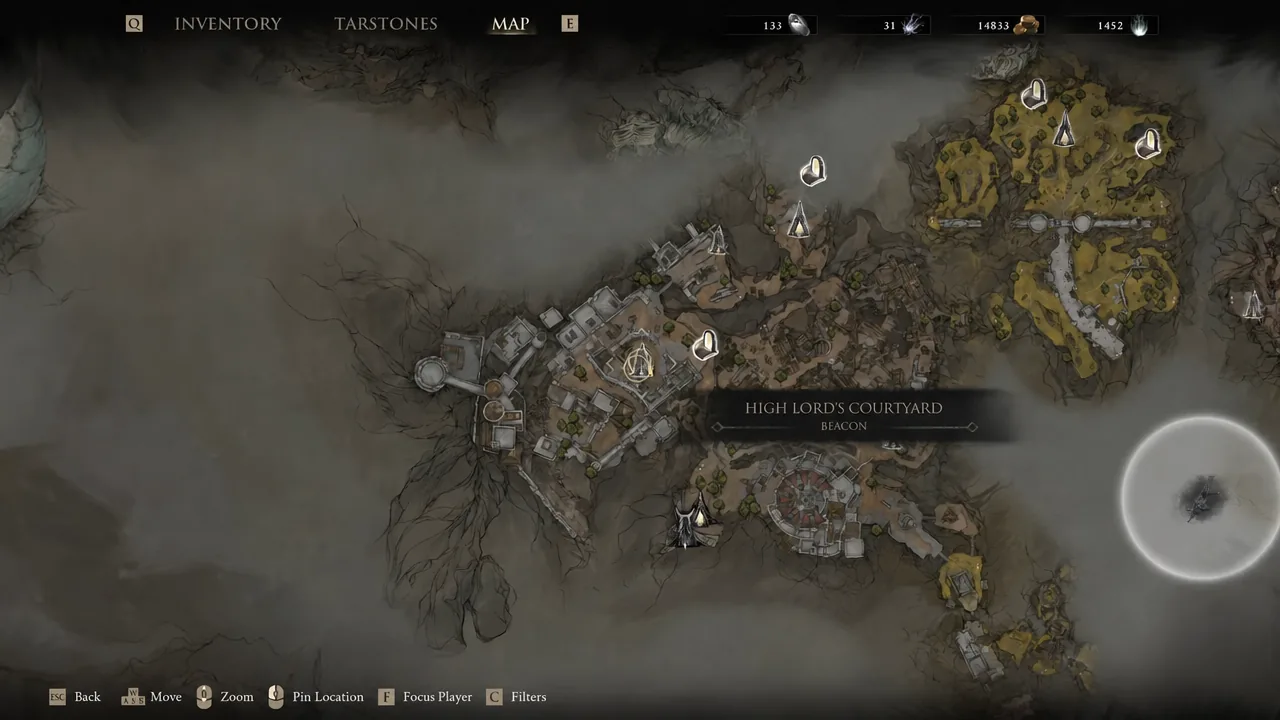
Light the High Lord’s Courtyard beacon. This is your safest checkpoint before the final stretch, and it is worth activating even if you plan to fast travel later.
01:22The map screen with the High Lord's Courtyard beacon selected, the last checkpoint before the Gate of Mammon. Shown at 01:22 in Shark R’s video.
From that beacon, head northeast toward the giant castle and climb the wooden staircase. Turn left at the top and you’ll see a doorway guarded by several soldiers.
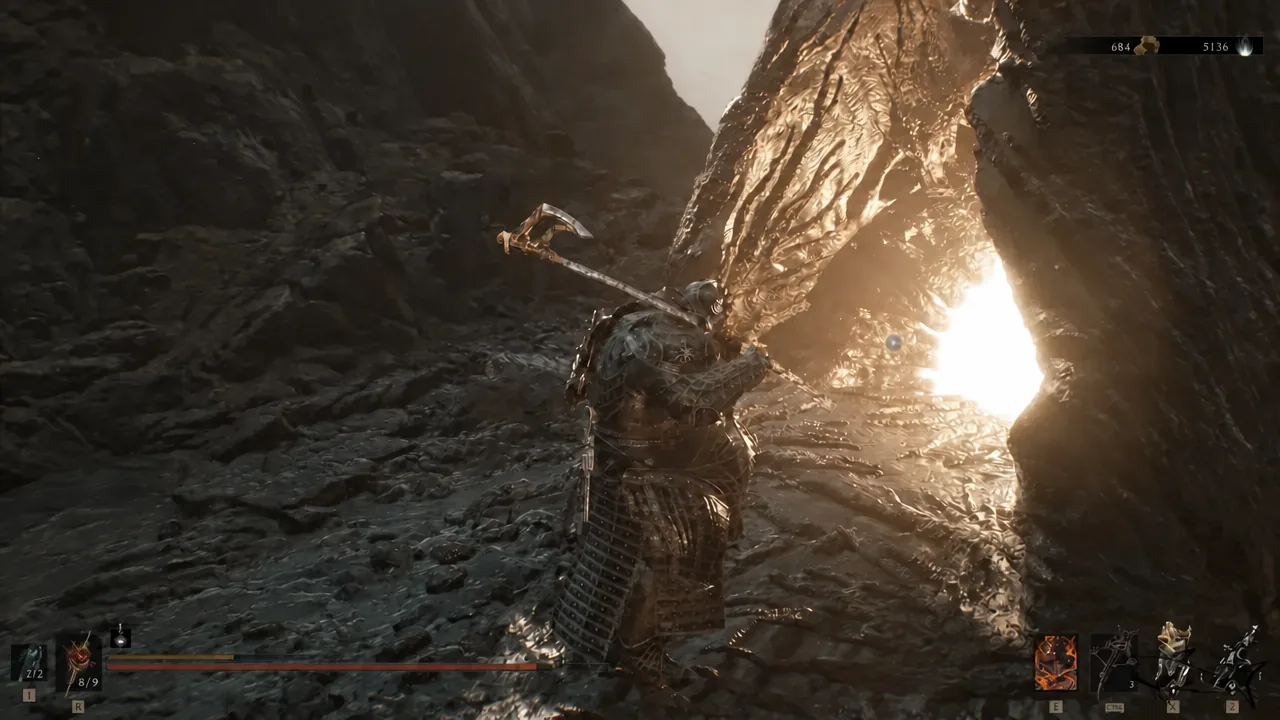
01:59Clearing the soldiers stationed at the doorway above the wooden staircase. Shown at 01:59 in Shark R’s video.
Push through that door into the circular hallway and stay inside the castle as you follow it around. The fog gate for Sentry’s Grave appears along this loop, and stepping through it pins the dungeon to your map permanently.
Note: dungeons in Mortal Shell 2 are not missable. You can come back for Sentry’s Grave after the final boss, during free roam, before choosing to start New Game+.
What Sentry’s Grave contains
The dungeon is compact and the loot list is short. Everything here can be picked up in a single run without backtracking.
Reward
How to get it
Ventrium
On an altar to the left of where the elevator sets you down
Ventrium
Behind the gate deeper in, opened by the button at the back of that room
Ride the elevator down and deal with the two ranged sentries in the landing room. Their bolts stagger, so track which one is aiming at you rather than trying to tank both.
In the next room, walk to the back wall and press the button. That lifts the gate and gives you access to the second Ventrium, along with a group of enemies that rushes in once it opens.
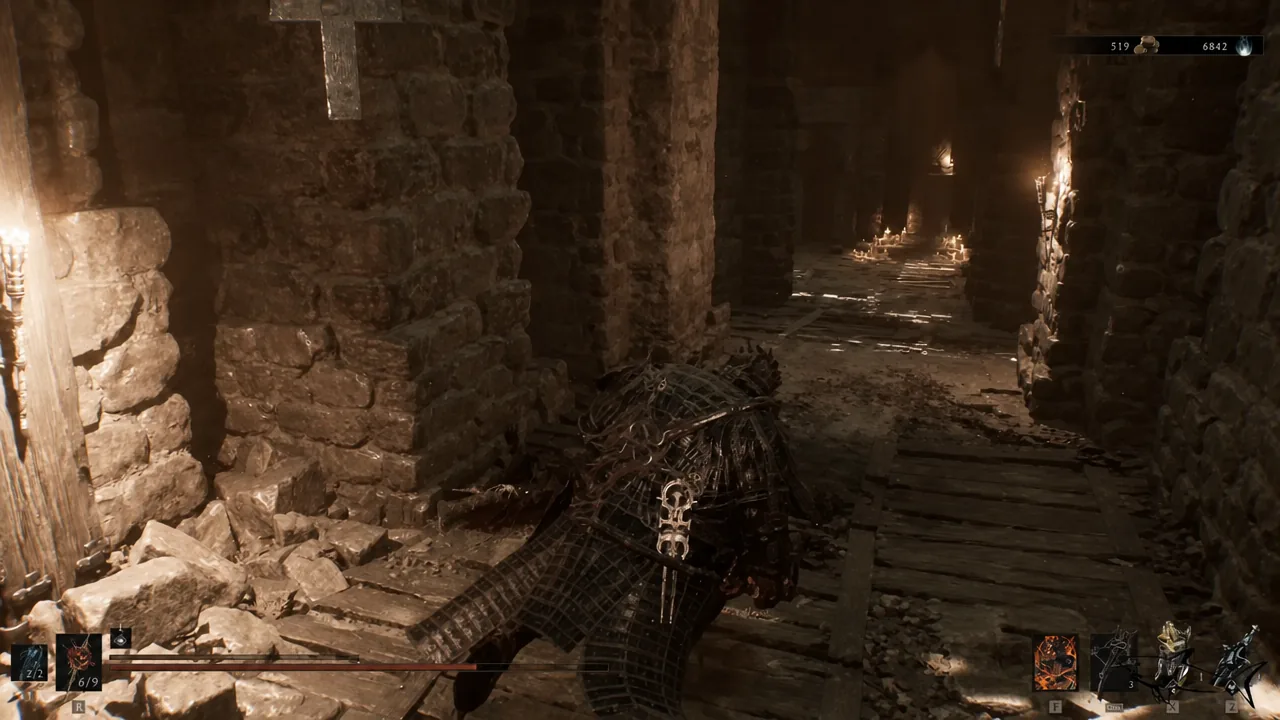
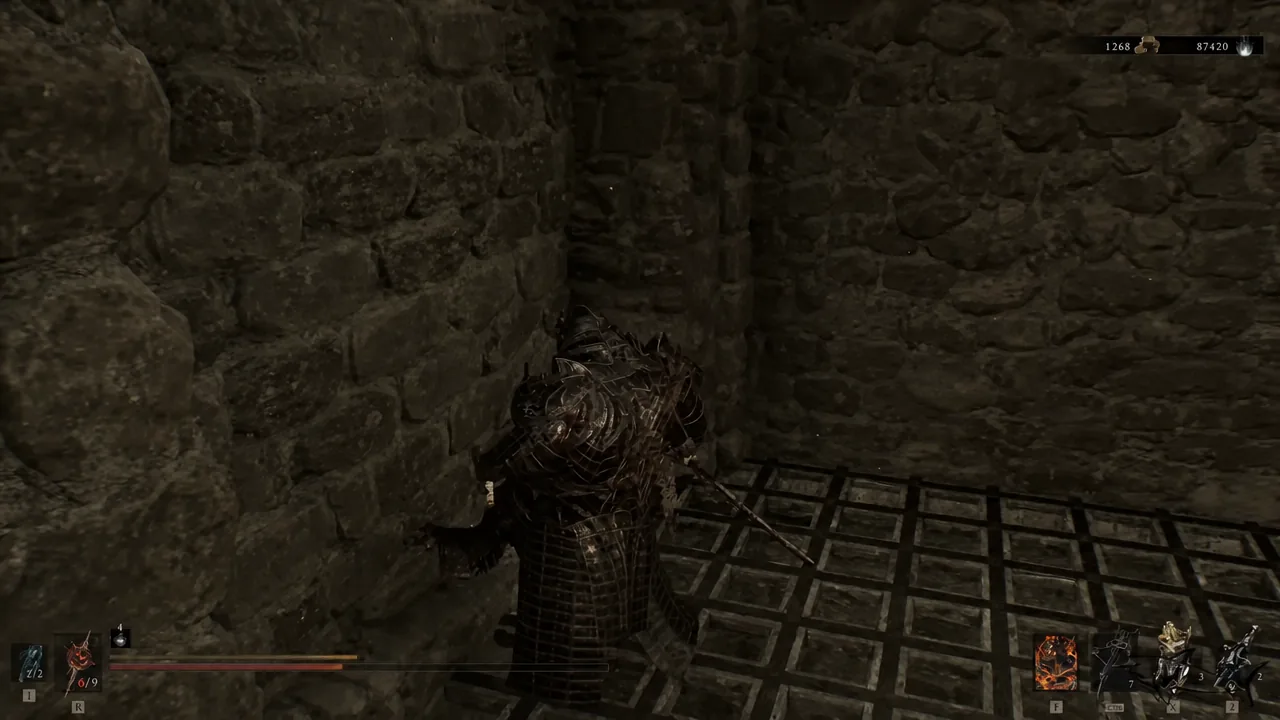
Test the suspicious walls as you go. Sentry’s Grave hides several destructible and illusory walls, including one tucked behind a statue, and they open into corridors stocked with extra enemies and loot. Striking a wall that gives way is the only reliable way to spot them.
04:53Testing a blank stone wall — hits that pass through reveal the hidden corridors. Shown at 04:53 in Shark R’s video.
When the layout opens into a long hallway over metal grating, you are at the approach to the boss. Falling fire traps and sentries positioned on both sides line this stretch. You can sprint straight through to the arena or clear them first, but clearing them makes the fight itself far more manageable.
How to beat the Subjugated Guardian
The Subjugated Guardian is essentially a scaled-up sentry with a bigger health pool and much heavier damage. Its own attack pattern is readable; the real problem is the supporting sentries firing into the arena while you fight it.
Rush the side staircases as soon as the fight begins and kill the two sentries posted there. Removing the crossfire is the single biggest change you can make to this encounter.
Shoot the chains holding the hanging pillars and spiked cages. Dropping them staggers and damages the supporting sentries, which is quicker than climbing to each one.
Against the Guardian itself, dodge the bolts and fire blasts at range and use Harden on its close-range melee swings. That builds break damage and sets up ripostes, which is the fastest way through its health bar.
Confirming the Ballistazooka drop
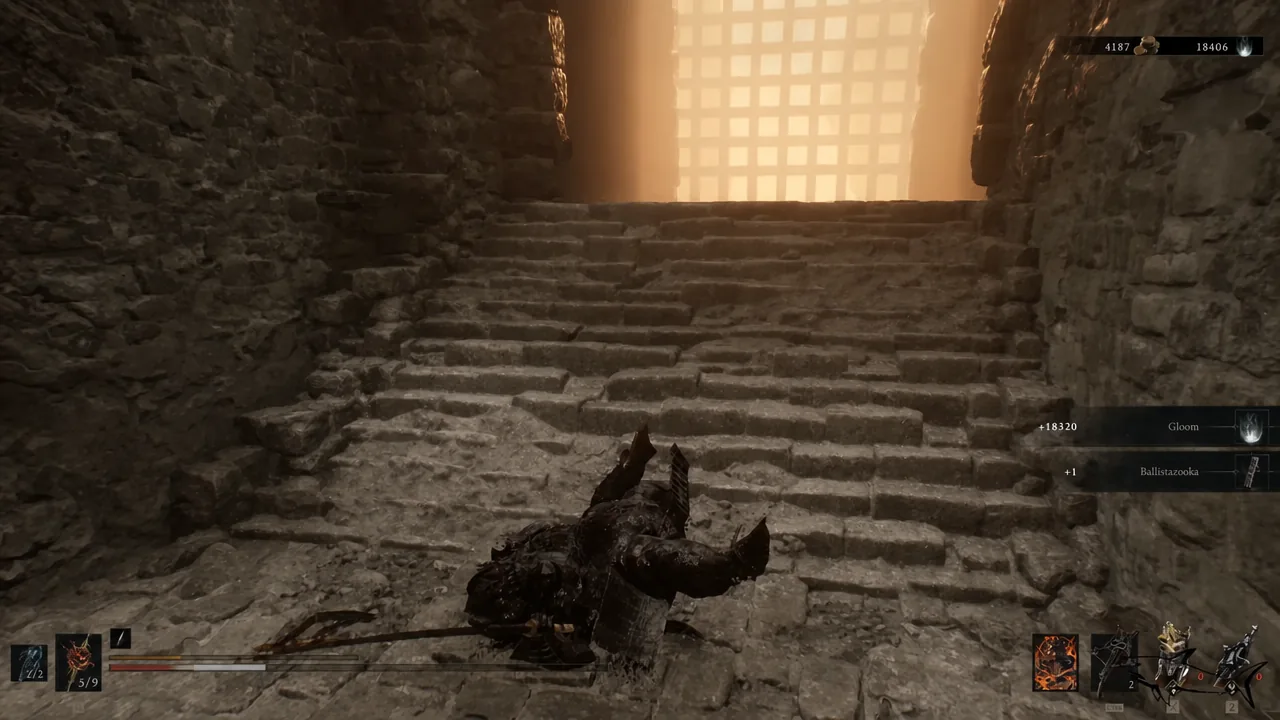
You do not need to open a chest or search the arena. The moment the Subjugated Guardian dies, the Ballistazooka banner appears on screen along with the Glimm payout. To double-check, open your inventory and look under Sidearms — the Ballistazooka will be listed there, ready to equip. If the game responds with “Sidearm Already Equipped,” it is already in your active slot.
Mopping up and leaving Sentry’s Grave
With the boss down, the arena stays hostile until you clear the elevated snipers ringing the room. Use your sidearm on the remaining counterweights and gunners, then sweep the inner corridors and the statue-lined hallway for anything you skipped on the way in. Pulling the lever near the back opens the large iron gate and links the loop back together, which saves a walk.
06:05The lever that lifts the iron gate during the post-boss sweep of the dungeon. Shown at 06:05 in Shark R’s video.
When you’re done, use the return point in the middle of the arena to warp back to the entrance, or take the lift up through the exit mist. Either way you resurface next to the Gate of Mammon beacon. Worth remembering: the game does not mark dungeons as finished on its own, so hover the icon on the map and press R3 if you want Sentry’s Grave logged as complete.