Chapter 2 of Halloween: The Game drops Michael into Main Street with a mask, a knife, and a town full of people who have no idea what is coming. Two Loomis Log cassette tapes are hidden on this map, and both sit inside buildings you have every reason to walk into anyway. Clear them here and your running total hits 6 of 14 collectibles.
Quick answer: Take Loomis Log #9 from the back of the A-Side Music Store, near the stacked boxes by the pillar away from the cash register, then take Loomis Log #3 off the fireplace mantel in the house north of the graveyard. Both must be collected before you approach the gravestone that ends the chapter.
Chapter 2 Loomis Log locations and XP
The chapter registers these as collectibles 5/14 and 6/14, though the tapes themselves are labeled out of order in Loomis’ recordings. Each pickup pays a base XP amount plus a flat 1,000 XP bonus for the collectible.
| Tape | Location | XP |
|---|---|---|
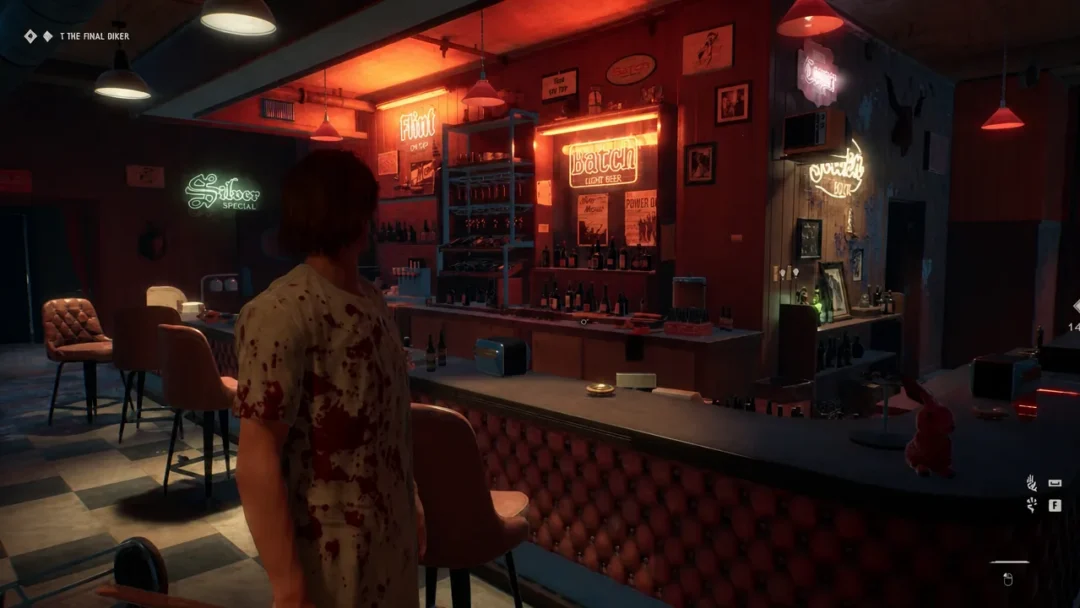
| Loomis Log #9 (5/14) | A-Side Music Store, back of the shop by the boxes and pillar, away from the register | +625, plus +1,000 |
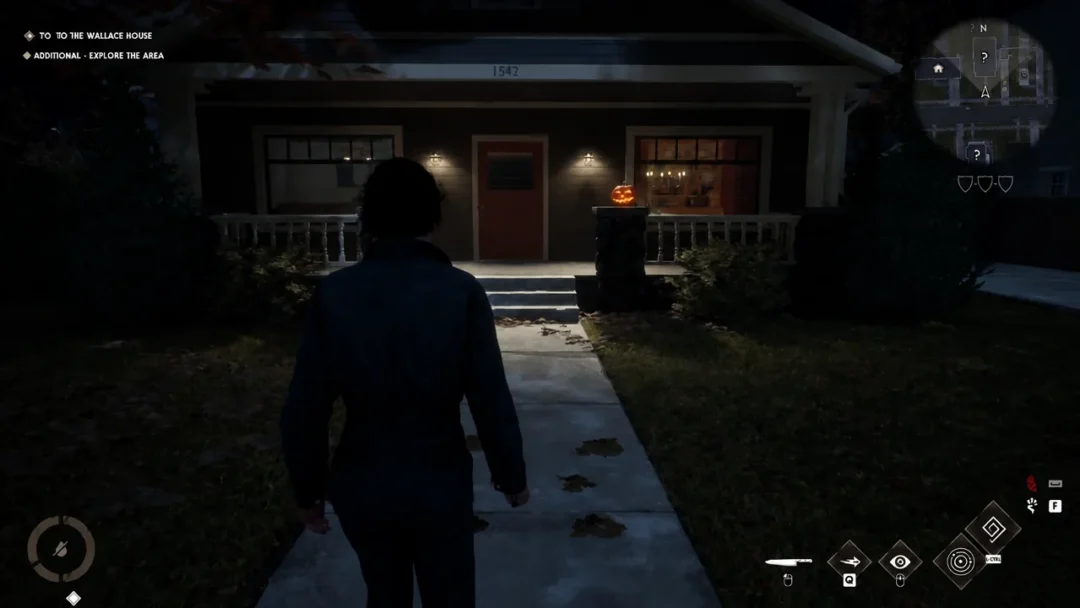
| Loomis Log #3 (6/14) | House north of the graveyard, on the fireplace mantel in the room right of the front door | +446, plus +1,000 |
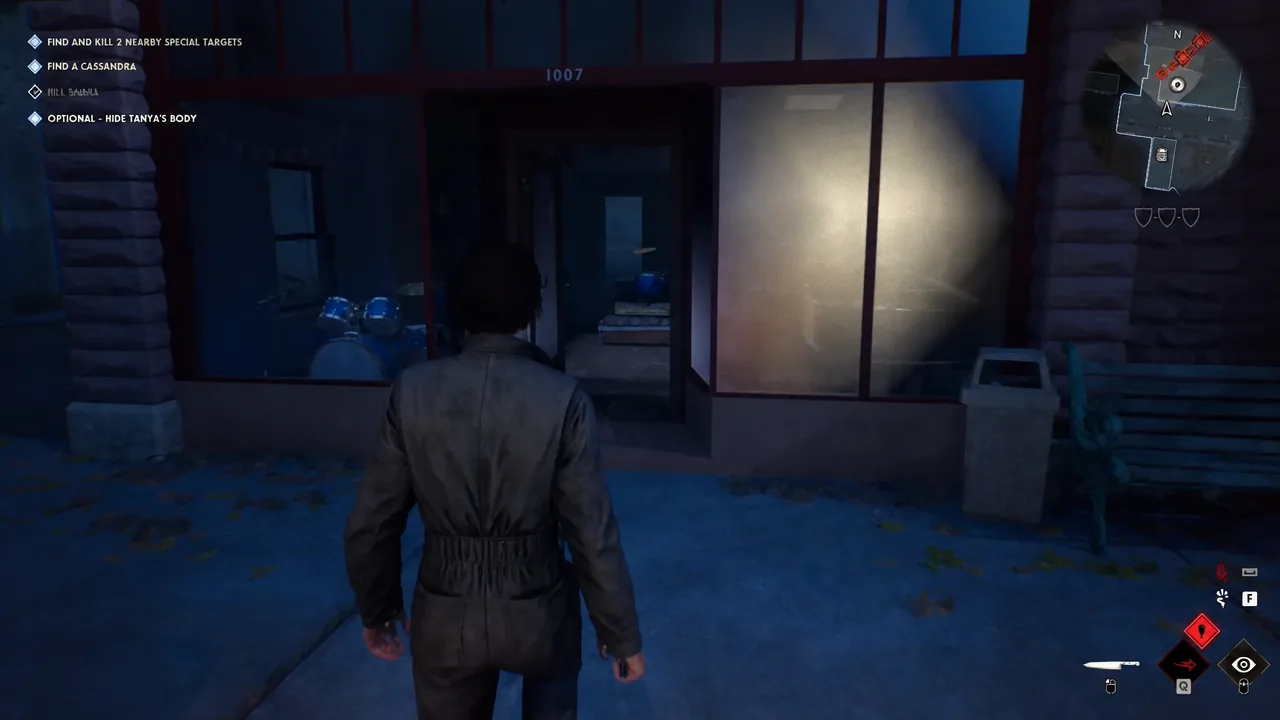
Loomis Log #9: A-Side Music Store
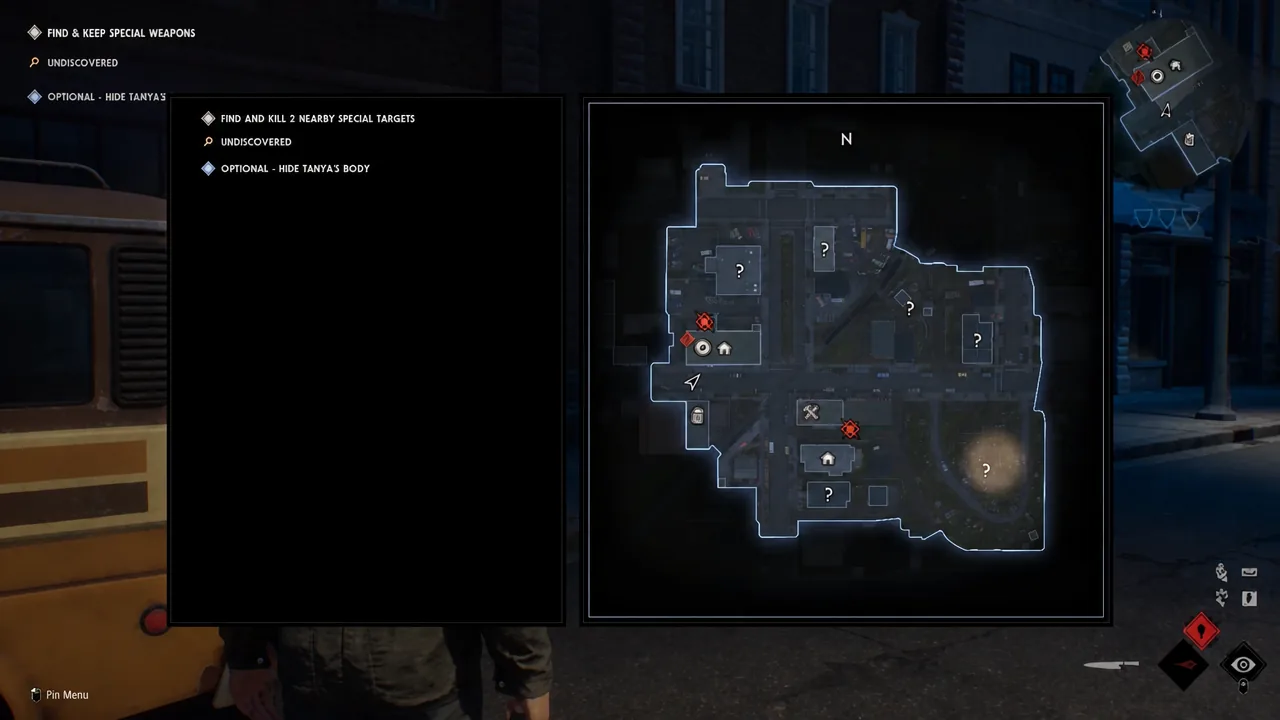
This one is tied to Tanya, one of the two special targets the game points you toward after you stash Eric’s body in the dumpster. The music store sits north-west of the hardware shop, so head left once the objective updates.
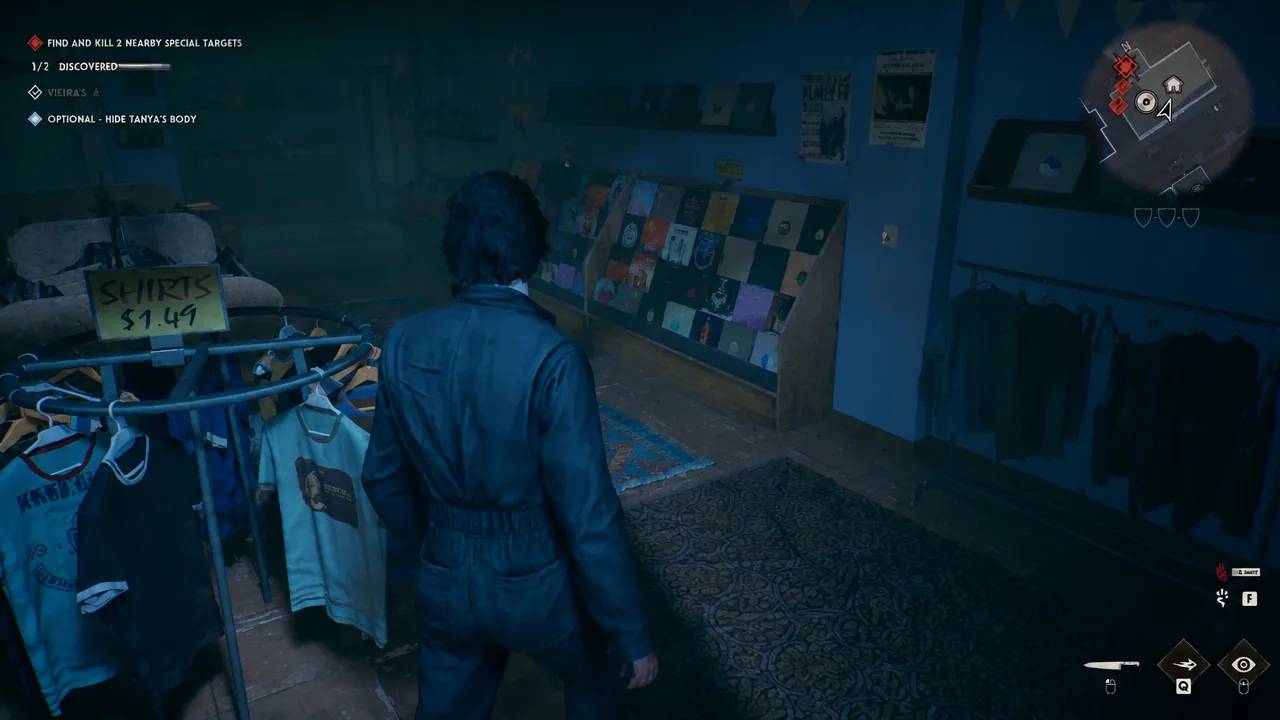
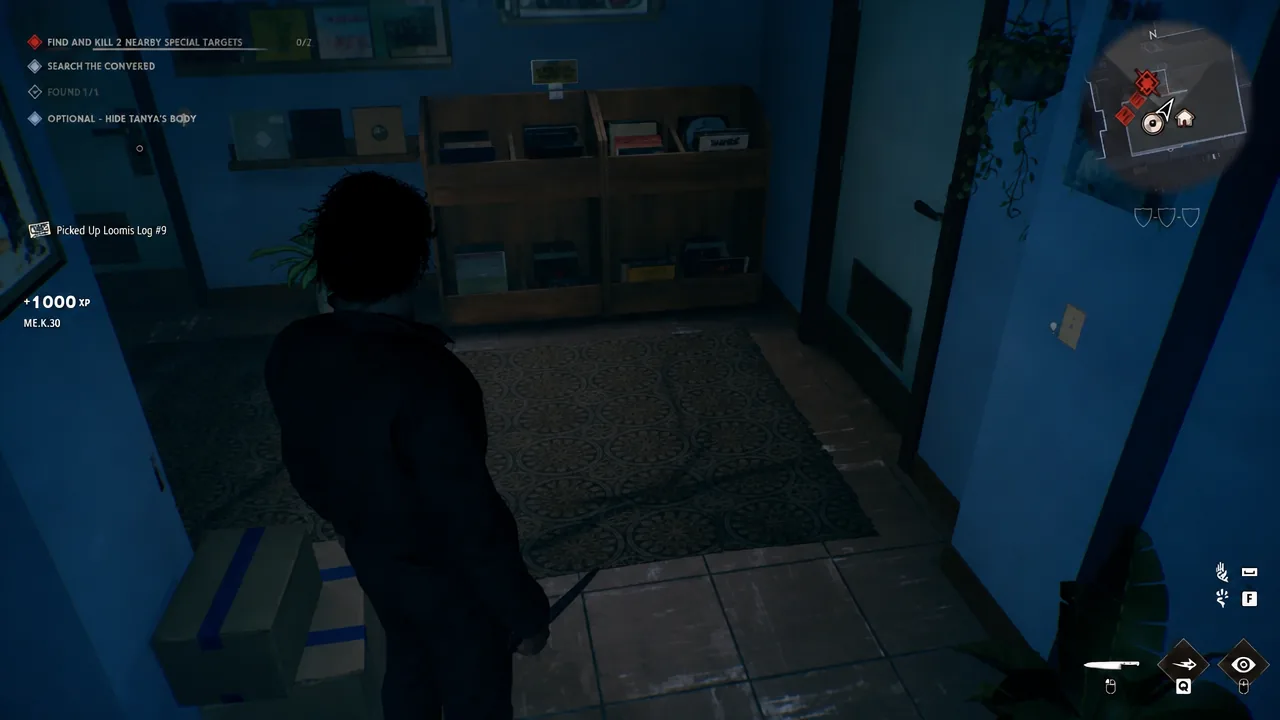
Loomis Log #3: the house north of the graveyard
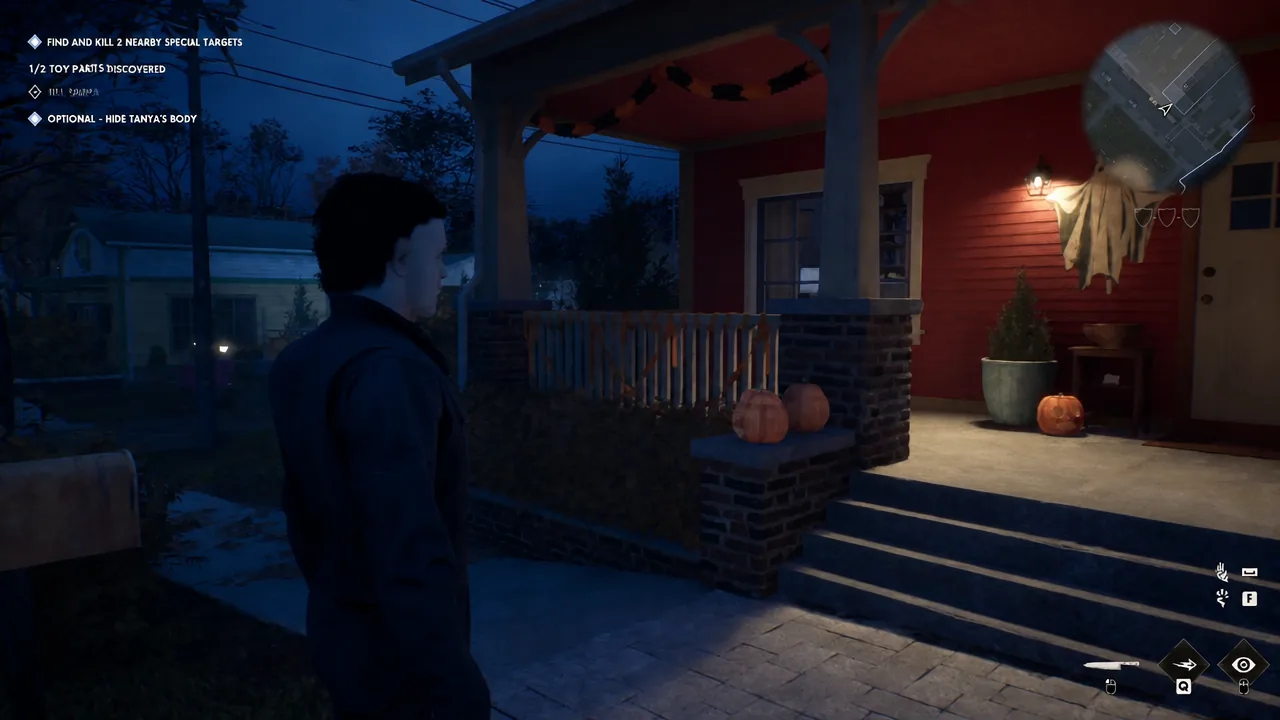
The second tape is in an entirely optional building, which is exactly why people finish the chapter without it. The graveyard is the large grassy area in the south-east corner of the map. Directly north of it is a single decorated house Michael can enter.
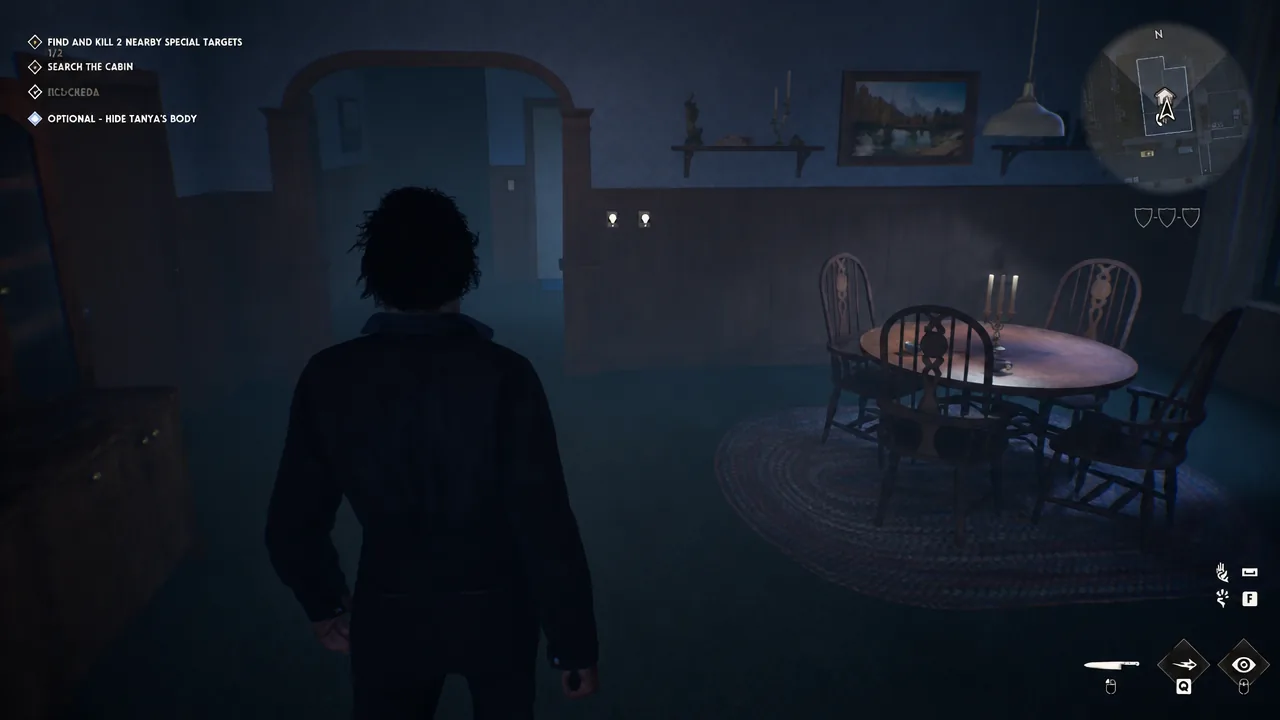
How to confirm both Chapter 2 collectibles registered
Each successful pickup throws a banner across the screen naming the specific log, followed immediately by the XP awards. The collectible counter also advances, showing 5/14 after the music store tape and 6/14 after the house tape. If the counter still reads 4/14 when you reach the graveyard, you skipped the music store.
The point of no return on Main Street
Chapter 2 ends the moment you approach Judith Myers’ gravestone. That interaction fires a cutscene and closes the map, so anything you left behind stays behind until you replay the chapter. Treat the gravestone objective as a hard deadline, not a suggestion.
Two other things reliably cost people the tapes. Letting Tanya escape the music store fails the level outright, which wipes the run before you ever reach the shelves. And walking into the house north of the graveyard without cutting the phone lines first can flood the area with police, turning a simple mantel grab into a chase.
Note: the optional challenges on this map, like the cash register kill on Tanya and the gravestone execution on Rachel, are independent of the collectibles. You do not need either challenge to pick up a tape, and a replay run is a cleaner place to chase both at once.
With both tapes banked, Main Street is done as far as the collection log is concerned, and Michael can head for the cemetery without leaving anything on the map. The remaining eight logs are spread across the chapters that follow, and the pattern holds — optional buildings, quiet corners, and shelves you would only check if you were looking.