The story mode of Halloween: The Game hides 14 cassette tapes across its six playable maps. Eleven of them are numbered Loomis Logs, and the other three are personal recordings tied to Sheriff Brackett, Laurie, and Nurse Chambers. They sit in plain sight on tables, counters, shelves, and appliances inside the buildings Michael can enter, but almost all of them are tucked into optional houses and back rooms that the main objectives never send you to.
Quick answer: Pick up two tapes in the Prologue, two each in Chapters 1, 2, and 3, then three each in Chapters 4 and 5. All 14 unlock the Collector trophy, and each one can be replayed from the Graveyard Menu once retrieved.
All 14 collectible tape locations
The tapes are not numbered in the order you find them. Loomis Log #2 comes first and Loomis Log #1 does not appear until Chapter 3, so track your progress by the counter rather than the log numbers.
| Chapter | Tape | Location |
|---|---|---|
| Prologue | Loomis Log #2 | Opening courtyard at Smith’s Grove, in the corner by the benches |
| Prologue | Loomis Log #4 | Bus shelter down the street from the power box |
| Chapter 1 | Loomis Log #6 | Vanity table in the dressing room at the Rabbit in Red Lounge |
| Chapter 1 | Loomis Log #8 | Desk in the gas station back office |
| Chapter 2 | Loomis Log #9 | Cardboard boxes in the back of the record shop |
| Chapter 2 | Loomis Log #3 | Fireplace mantel in the house north of the graveyard |
| Chapter 3 | Loomis Log #5 | Desk beside the typewriter in the pink bedroom |
| Chapter 3 | Loomis Log #1 | Hutch shelf outside the laundry room in the corner house |
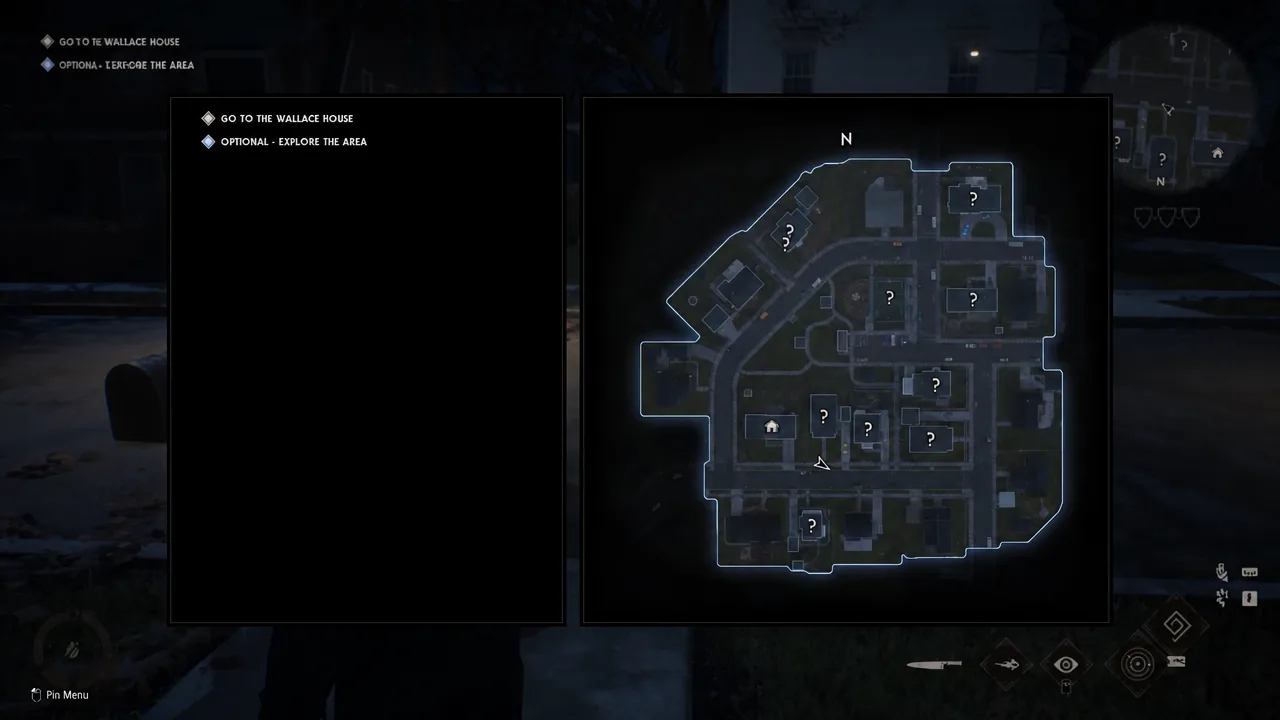
| Chapter 4 | Loomis Log #10 | Side table in house 1542, across from the Wallace house |
| Chapter 4 | Loomis Log #7 | Washing machine in the Wallace detached laundry room |
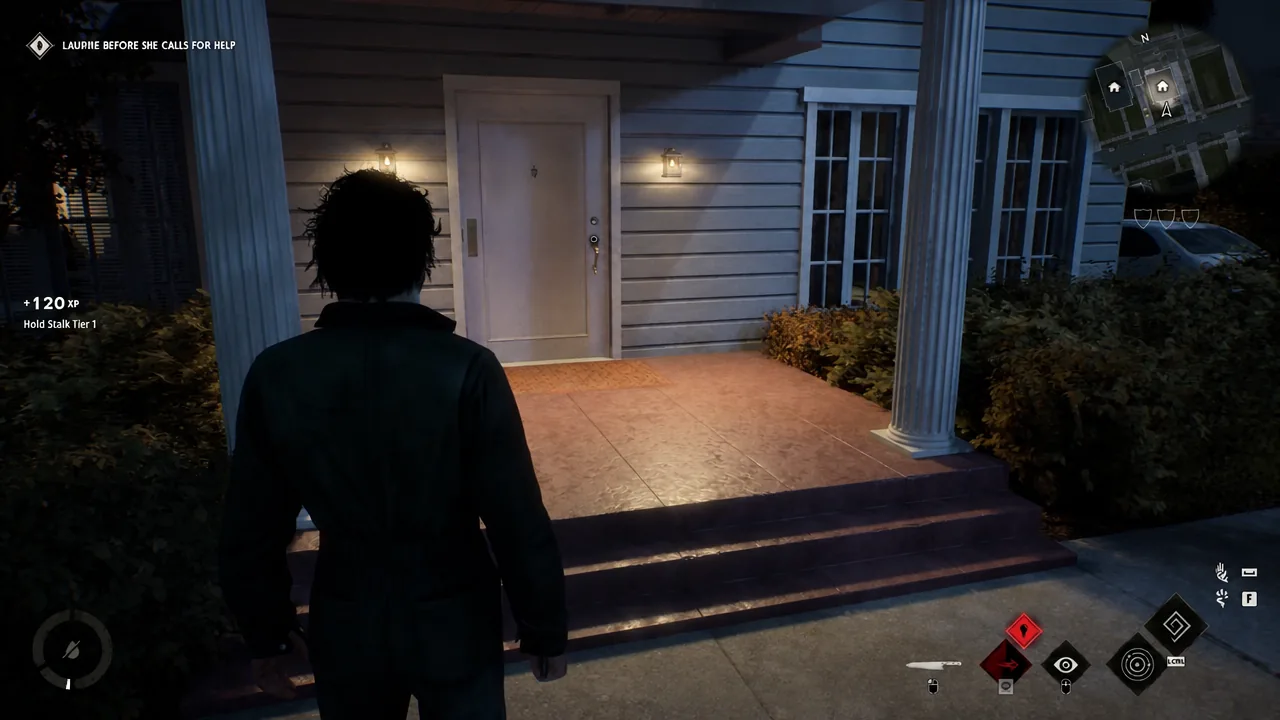
| Chapter 4 | Sheriff Brackett’s Recording | Dining table in the house Laurie runs to |
| Chapter 5 | Laurie’s Recording | Lamp side table on a ground floor |
| Chapter 5 | Loomis Log #11 | Upstairs bedroom window sill in house 1533 |
| Chapter 5 | Nurse Chambers’s Recording | Side table next to a fireplace |
Prologue: Smith’s Grove tapes
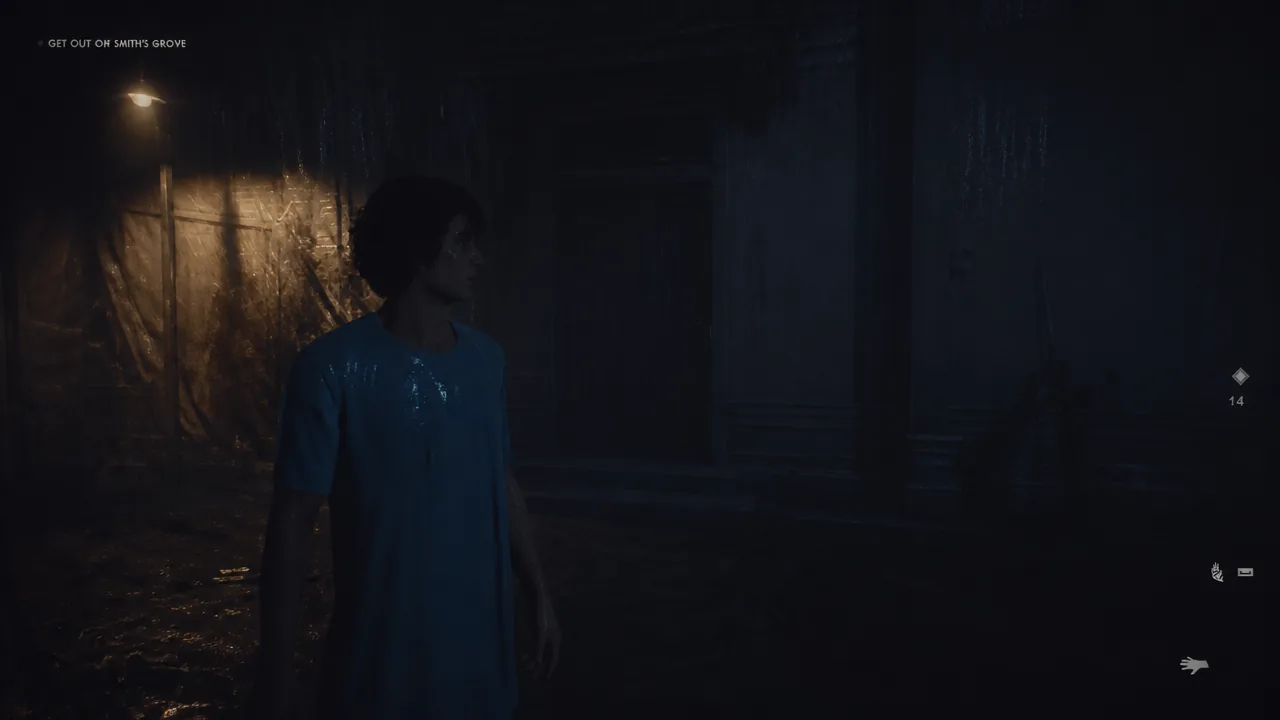
The sanitarium escape is the only map with a hard point of no return, so clear both tapes before you touch the gate.
Chapter 1: Rabbit in Red Lounge and the gas station
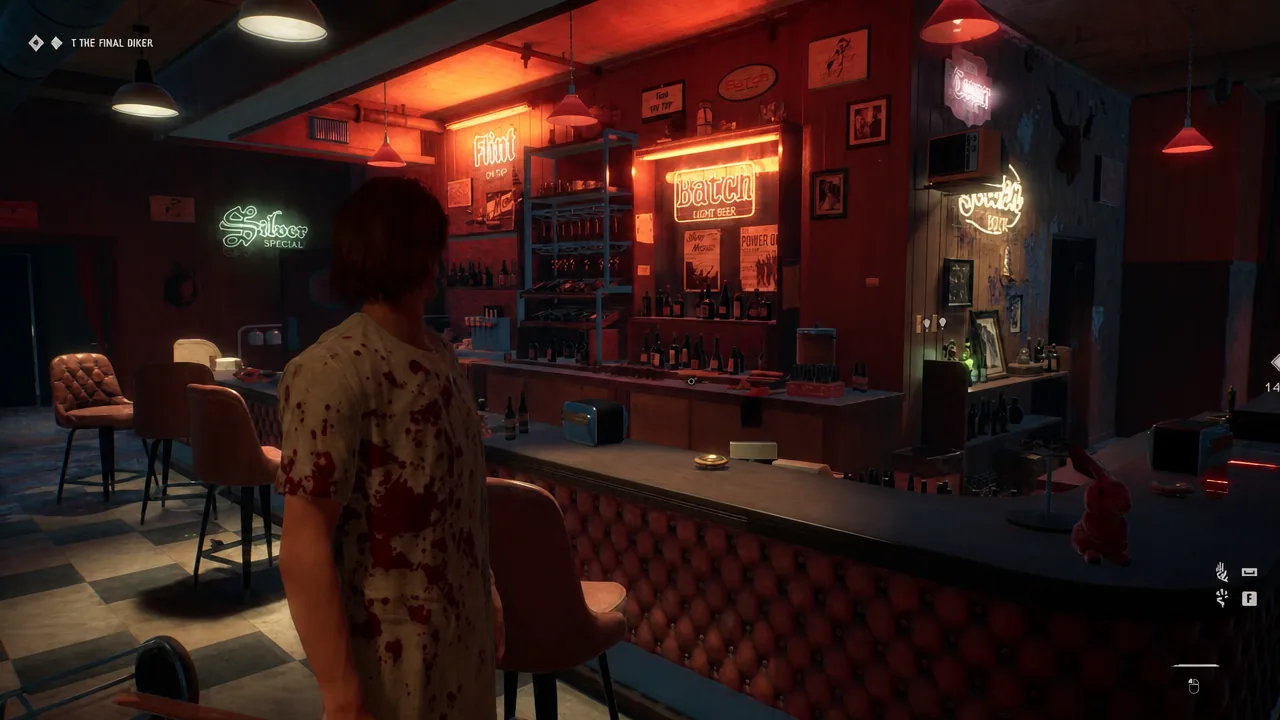
Both tapes here sit in side rooms attached to the two main set pieces. The bar comes first. After the bikers are dealt with inside the Rabbit in Red Lounge, look for the dressing room off the main floor. Loomis Log #6 is on the vanity table.
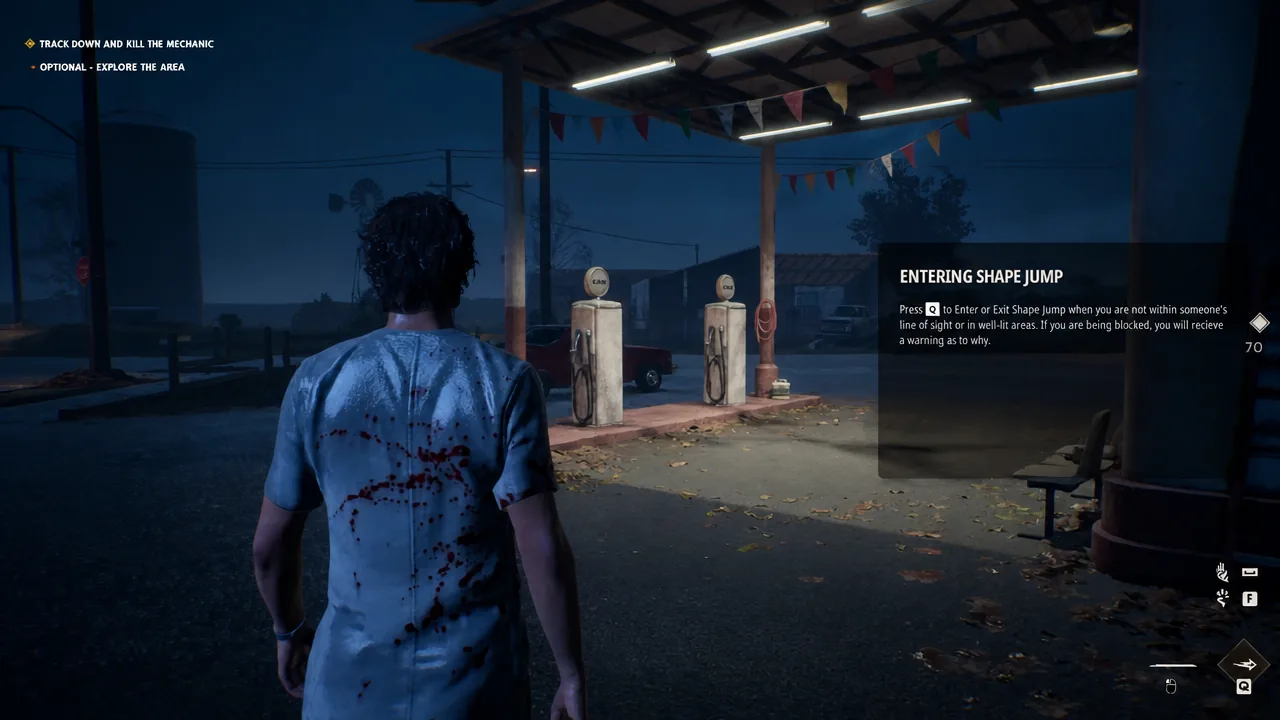
The chase then moves you toward the gas station. The back office behind the counter holds Loomis Log #8 on the desk. Grab it while you are tracking the mechanic, since finishing him ends the chapter.
Chapter 2: Main Street record shop and graveyard house
The town opens up after you finish at the hardware store. Two special targets are marked on the map, and one of them, Tanya, is inside the record shop to the north-west. If you are unsure where to go, trigger Shape Jump and follow the yellow beams in the sky.
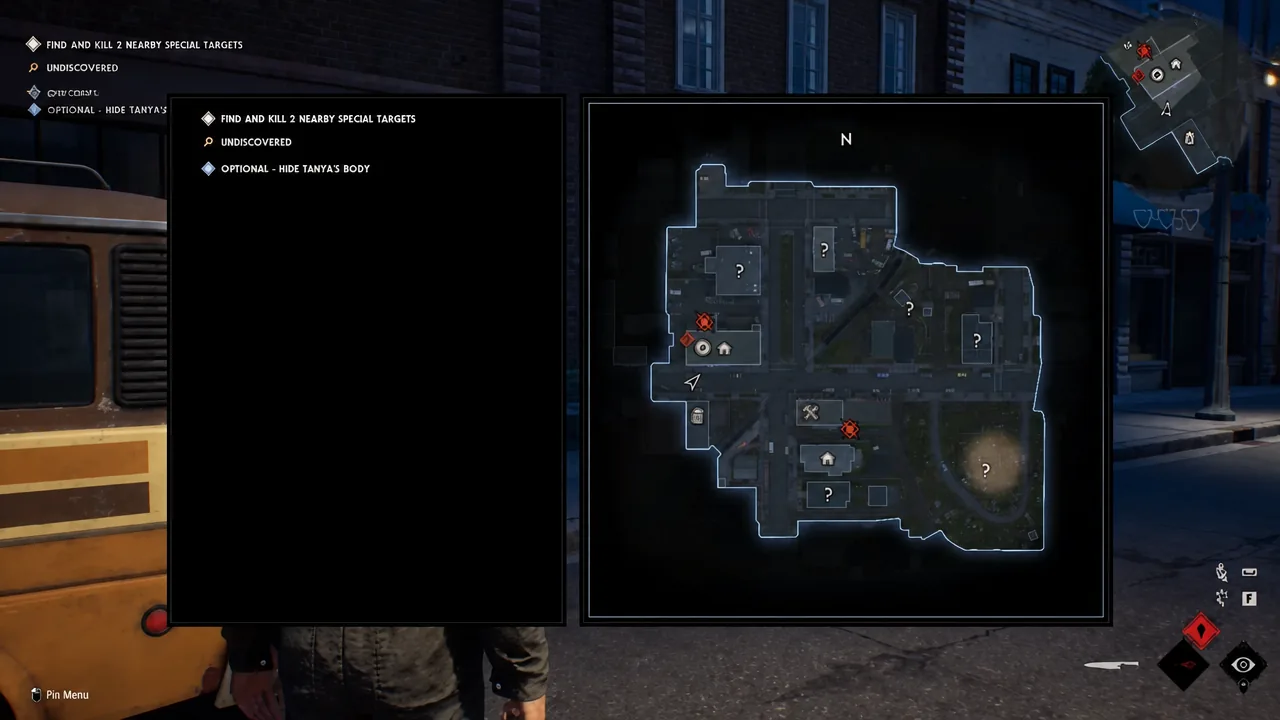
Deal with Tanya first. If she escapes, the level fails and you lose the tape along with it. Once she is down, go to the room with the display shelves away from the register and check the stack of boxes beside the pillar. Loomis Log #9 is sitting on top.
For the second tape, head to the large grassy graveyard in the south-east corner of the map, then look at the lone enterable house just north of it. Go in the front door, take the room on the right, and check the mantel over the fireplace on the east wall for Loomis Log #3. Cut the phone lines before entering, because residents inside will call the police if you give them the chance.
Chapter 3: Two optional houses near the Myers home
Nine buildings can be entered on this map, and both tapes are inside homes rather than anywhere along the main path. The first is in the corner house directly across the street from Michael’s old home. The cleanest run is to go there right after you handle the intruder, cutting the phone lines and power and clearing the residents first.
Walk the interior until you find a door covered in stickers. It opens onto a pink child’s bedroom, and Loomis Log #5 is on the desk beside the lamp and typewriter.
The second is in another optional house on the same side of that street, at the opposite corner. Clear the residents, then look toward the middle of the home for the hutch standing outside the laundry room. Loomis Log #1 rests on the open shelf between its upper and lower cabinets.
Chapter 4: The three Babysitters tapes and their timing
This is the first map with three tapes, and it is also the easiest place to lose one. Only the first can be picked up by exploring freely. The other two depend on where Annie and Laurie are at that moment.
Chapter 5: The final three tapes
The last map also holds three, and it is where the remaining character recordings turn up. Laurie’s Recording sits on a lamp side table on a ground floor, so sweep living rooms as you clear each house.
Loomis Log #11 is the one worth going out of your way for. It is in house 1533, upstairs, resting on a bedroom window sill rather than on any furniture. Nurse Chambers’s Recording, the fourteenth and final tape, is on a side table next to a fireplace.
How to confirm a tape was collected
Standing next to a tape brings up a Pick Up Tape prompt. Using it prints a confirmation naming the exact tape, such as Picked Up Loomis Log #2 or Picked Up Nurse Chambers’s Recording, so you always know which entry you just filled in. Everything you retrieve becomes playable from the Graveyard Menu.
The Collector trophy fires once all of the story mode recordings have been retrieved. If it has not unlocked after 14 pickups, the missing tape is almost always one of the timing-dependent ones in Chapter 4 or the pair sealed behind the Prologue gate.
Note: killing residents and cutting phone lines before you search a house is not just flavor. A resident who reaches a working phone can end a run early, and losing a special target like Tanya fails the level outright, which means re-clearing the whole map for a tape you were standing next to.