The 5th God Hand is the Dark/Psychic Secret unit added to Anime Expeditions, and almost everything about its kit is built around one idea: the more enemies standing inside its range, the harder it hits. Every passive on the unit and every relic worth slotting into it scales off enemy count, so the build below is designed to feed that loop instead of chasing flat damage.
Quick answer: Roll the Unbound trait, keep the Orb of Causality in the unique slot, and fill the two standard slots with a Shinigami Sword and a Sacrificial Mark rerolled toward range (around 9%) with a 24% damage cap.
5th God Hand build sheet: trait and equipment
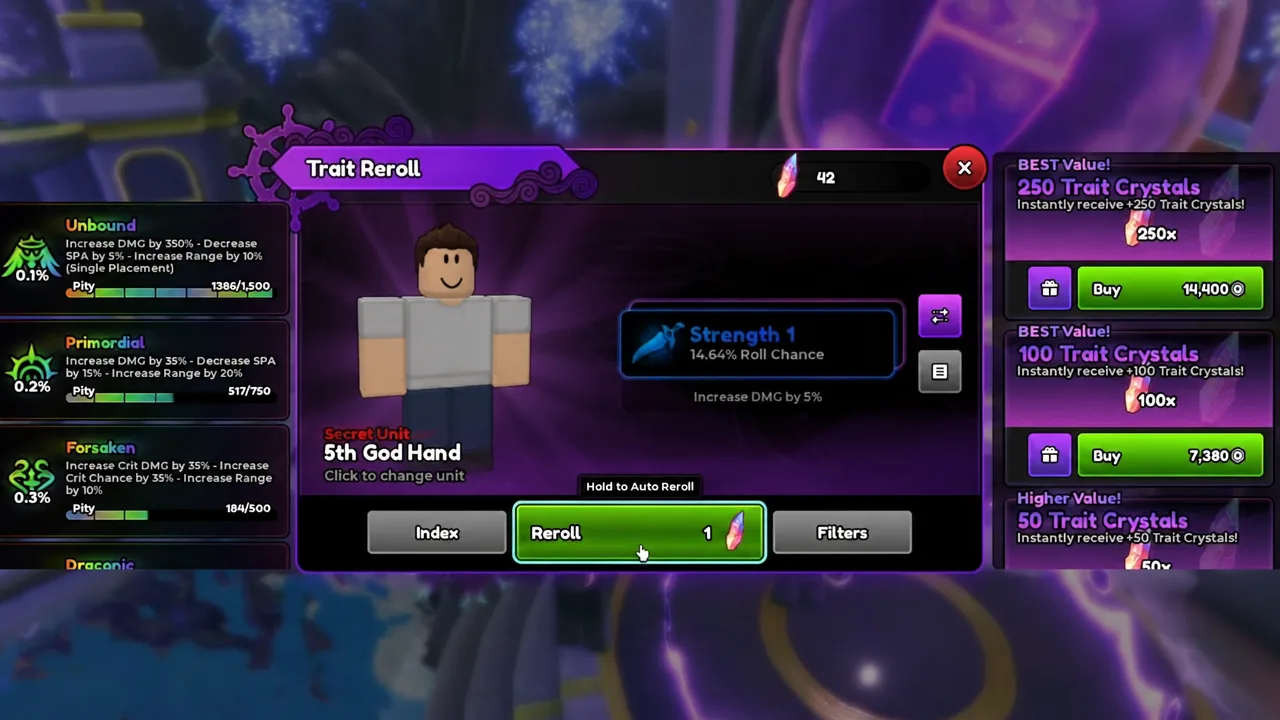
Three slots and one trait decide the whole build. Unbound is the correct Mythic trait here because the unit is a single-placement carry, which is exactly the profile Unbound is designed for — you get the full value of one placement instead of splitting resources across copies.
| Slot | Pick | What it gives |
|---|---|---|
| Trait | Unbound (Mythic) | +350% DMG, -5% SPA, +10% Range, single placement |
| Unique | Orb of Causality | +8.83% Damage, -4.48% SPA, plus the Fated Meter |
| Standard 1 | Shinigami Sword | +8.56% Critical Chance, +3.48% Damage |
| Standard 2 | Sacrificial Mark | +9.37% Range after a good reroll |
Open the Units menu and select 5th God Hand to confirm the trait and the unique relic are both attached before you take it anywhere. The unit page lists its trait, its equipped gear, and its live DMG, SPA, and RNG values in one place.

How Causality and Eclipse scale the unit’s damage
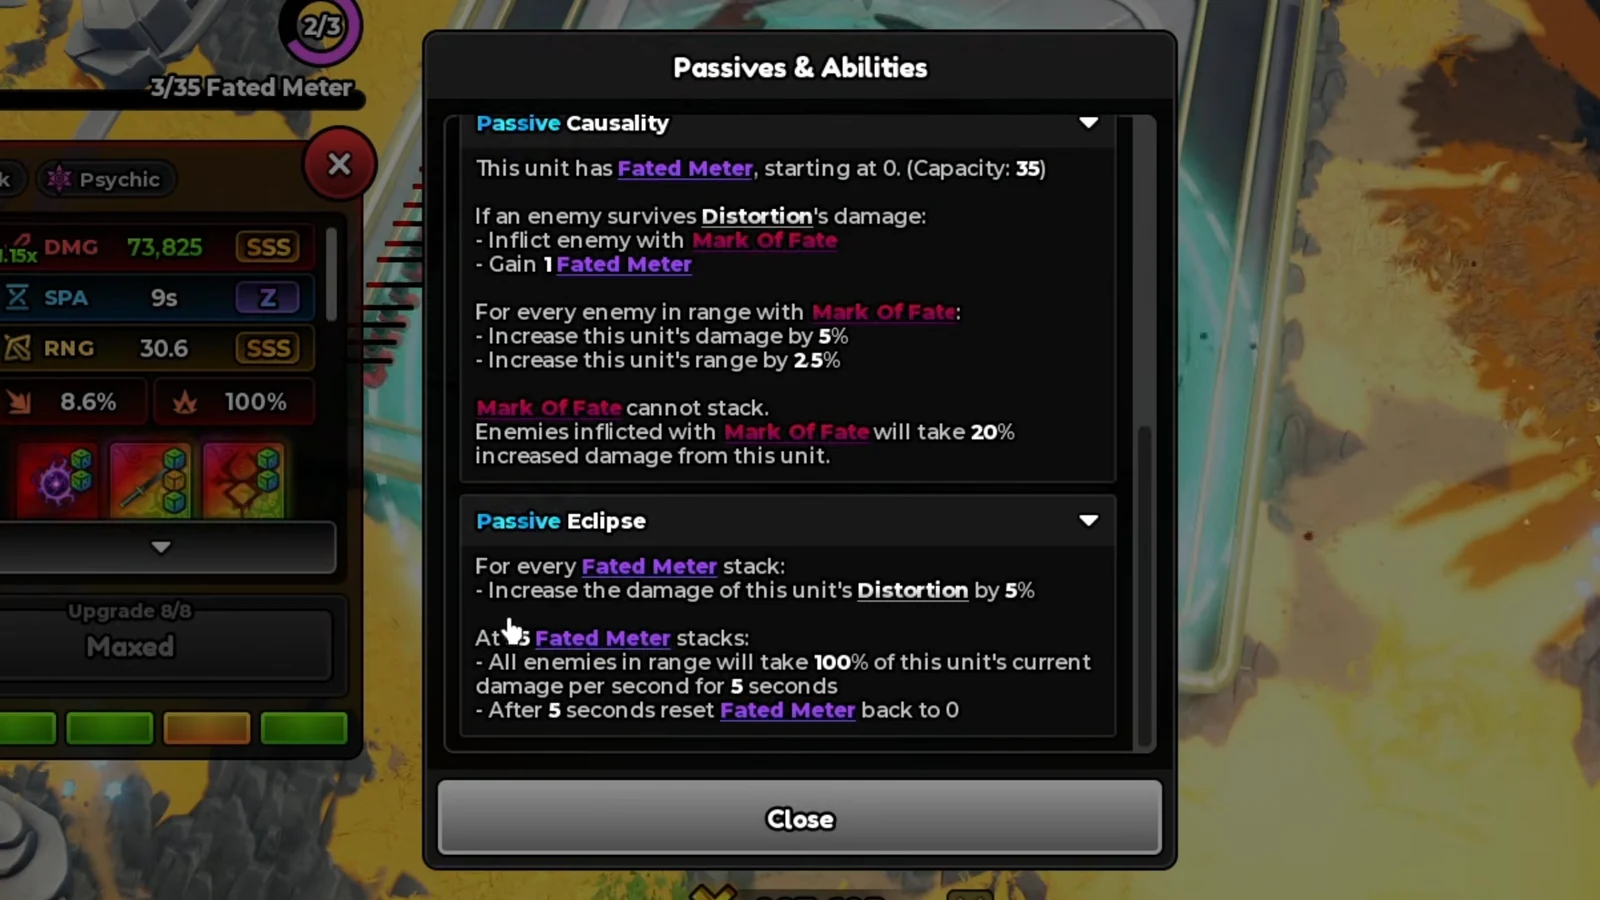
The Orb of Causality adds a Fated Meter that starts at 0 and caps at 35. Any enemy that survives the unit’s Distortion damage gets hit with Mark of Fate, and each of those survivors adds a point to the meter. That marking is the engine of the whole build.
Every enemy in range carrying Mark of Fate gives the unit 5% more damage and 2.5% more range. Because range grows as marks land, the unit keeps pulling more enemies into its circle, which produces more marks, which grows the circle again. On a dense lane this compounds within seconds.
Eclipse is the payoff. Once the Fated Meter fills to 35 stacks, it fires a 100% damage nuke that runs for five seconds. Tough enemies that survive a hit are not a problem for this unit — they are the resource it runs on.
Why the Shinigami Sword and Sacrificial Mark stack so well
Both standard relics count enemies rather than adding a flat bonus, so they read the same battlefield the Fated Meter does. The Shinigami Sword is the safe default damage relic for almost any crit-capable carry, and the Sacrificial Mark specifically rewards status effects the unit applies itself.
| Relic | Passive | Cap |
|---|---|---|
| Shinigami Sword | +0.94% damage per enemy in range | 15% |
| Sacrificial Mark | +1% damage per enemy in range with Bleed or Marks | 24% |
Note: the Sacrificial Mark cap can land at 24% or 25% depending on the roll. The difference is small, so take the roll that gives you the better range value rather than rerolling forever for one extra percent.
How to craft and reroll the Sacrificial Mark
Placement and how to confirm the build is working
Place the unit where enemies bunch up, not where they arrive first. A corner, a chokepoint, or a section of path that doubles back keeps the largest possible number of marked enemies inside the circle at once, and that is what drives every multiplier in the build.
Open the Play menu and take the build into a stage or the testing zone to check it. The confirmation is simple: watch the unit’s damage number climb on its own as the wave thickens. If the value is static while enemies pile up, the Fated Meter is not gaining stacks and one of the three relics is missing.
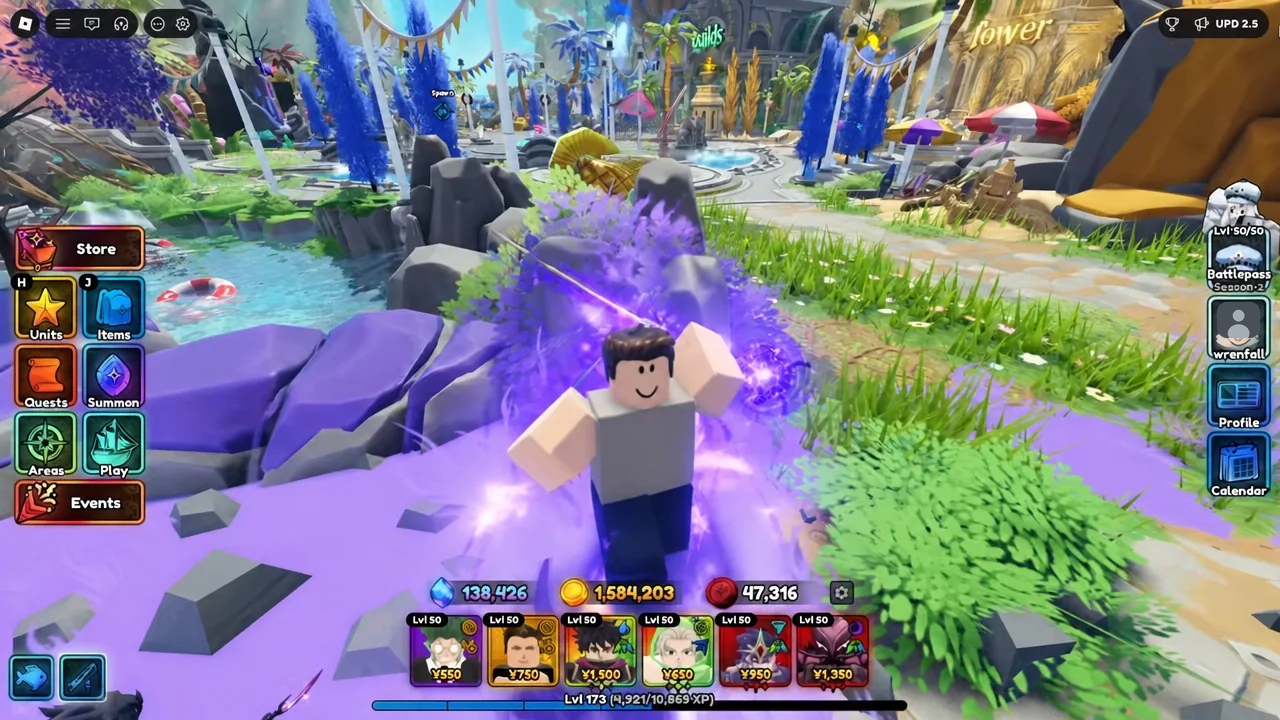
Sandbox is the fastest way to stress-test it, since you can spawn crowds far larger than a normal wave — up to 315 enemies on School Grounds – Sandbox. Start the run, spawn a full crowd, and let the unit attack for a few seconds before reading the numbers.

Damage numbers this build reaches
Base stats look unremarkable on the unit page, which is the point — nearly all of the output is conditional. Fully equipped, the unit starts around 7.34k DMG with a 4.6s SPA and 17.6 range, then climbs from there as marks accumulate.
| Scenario | Peak damage | Peak DPS |
|---|---|---|
| Showcase zone, small group | 73,825 (range 30.6) | 2,498,182/s |
| Sandbox, 315 enemies | 1,109,943 | 16,258,966/s |
Adding a buffer such as Cubert on top pushes those figures higher again, but the scaling gap between the two rows above comes almost entirely from enemy count, not from external buffs. On a sparse map with a handful of enemies, the same build stays modest.
That conditionality is the one thing to keep in mind when slotting 5th God Hand into a team. Against thick, continuous waves it outperforms carries like Iron Wolf (Struggler), while a boss-focused unit such as Sovereign (Djinn) still has the edge in fights where there is only one target to mark. Build it for the crowd, and place it where the crowd stands still.