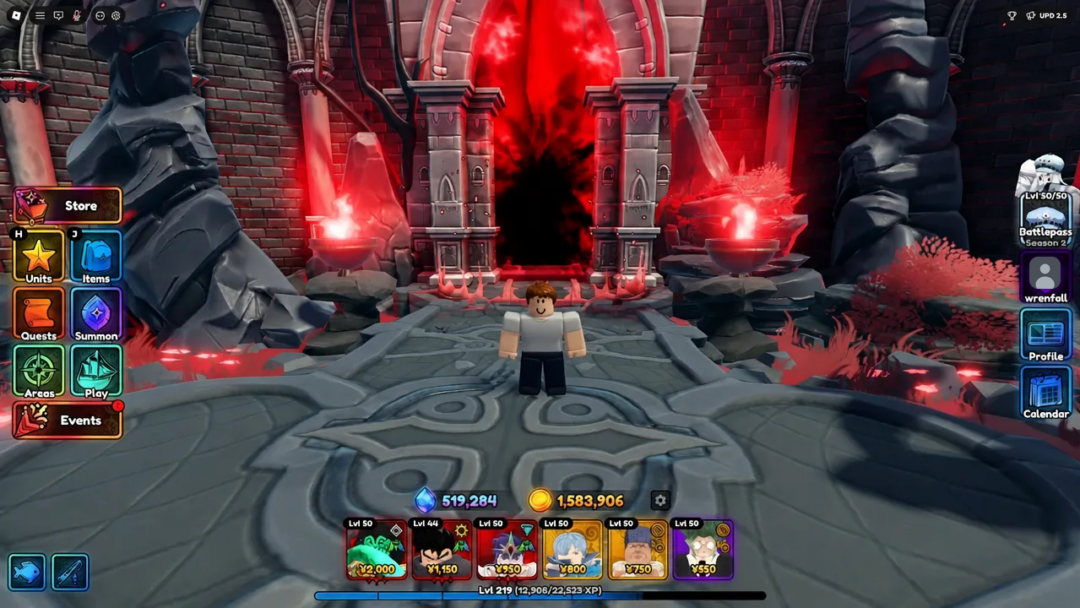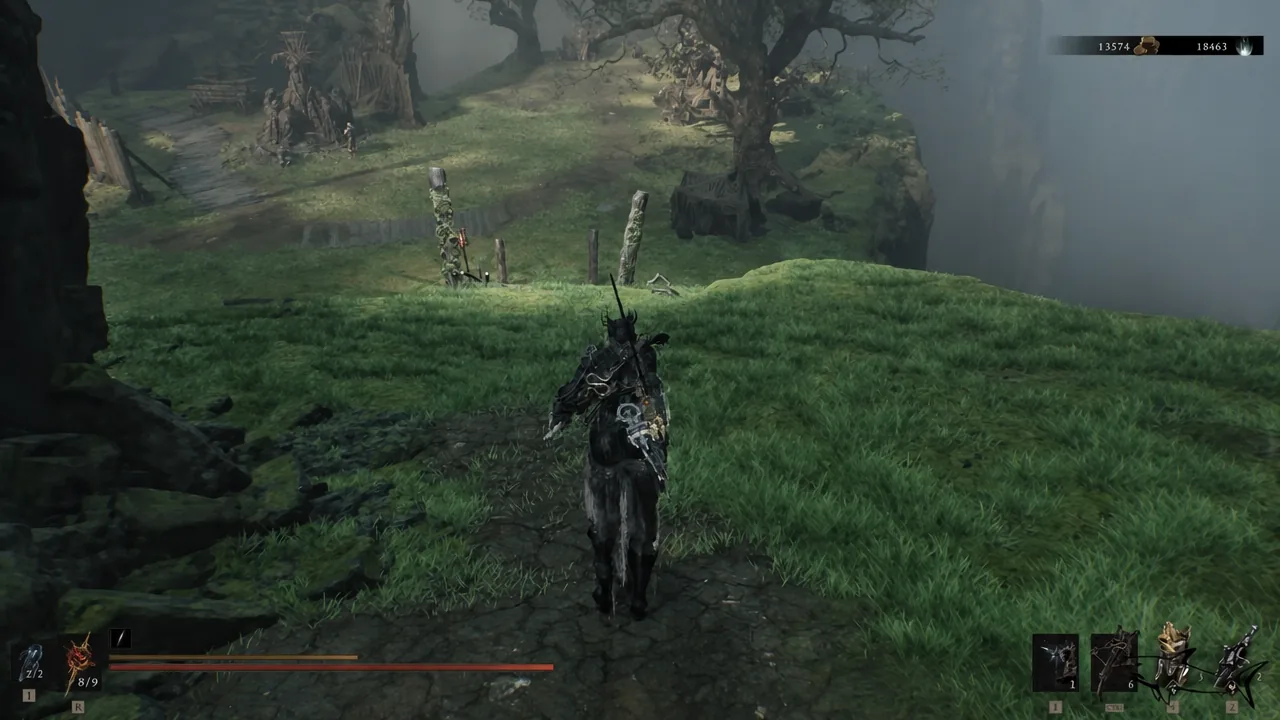
The Lonesome Spire sits directly beside the Gate of Mammon, and it holds the largest Brigand camp in the Ruins of Mammon, two dungeons, a caged NPC and two of the game’s weapons. Clearing it fully is mostly a routing problem, because one action in the camp permanently removes a merchant, and one dungeon hides its best pickup after the boss fight.
Quick answer: Rest at the Gate of Mammon beacon, then run the region as a single loop — Spoiled Mortuary, Sentry’s Grave for the Ballistazooka, the Splitting Stone chest, the Brigand camp at the top of the spire (buy the merchant’s entire stock before touching the Unremarkable Key), then Collapsed Mine and Obsidianite Mines for the Obsidian Hammer. Hand Vlas the key last.
Lonesome Spire route from the Gate of Mammon beacon
Everything in the area hangs off the Gate of Mammon beacon, so fast travel there and spend your materials at the Tarforge first. Turn around from the beacon, take the stairs on the right, and the path climbs straight into the Lonesome Spire. A large group of Brigands greets you at the bottom, including crossbow users on the wooden walkways above, so either clear them or run past to the staircase.
The spire itself is vertical and loops back on itself constantly. Two dungeons branch off the lower level, the castle interior holds a third route, and the mine district sits below the camp. Cleansing the Gate of Mammon beacon is also the flag that advances Vlas out of the region, so save that for the end.
Missable: Buy the Brigand merchant’s stock before you free Vlas
The Brigand merchant standing next to Vlas’s cage at the top of the spire sells Tarspore, Bloodseed, Galvanic Shard, Blunt Energy, Dorsalite and Glimpse. Once Vlas is freed, he kills the camp and the shop is gone for good, with no replacement anywhere else. Buy what you want in one visit and treat the Dorsalite and Glimpse as priority purchases.
Note: talking to Vlas through the bars is safe and does not remove the shop. Only handing over the Unremarkable Key and emptying his dialogue changes the camp state.
All Lonesome Spire items, weapons and dungeon rewards
| Reward | Where to find it |
|---|---|
| Map of Mammon [4] | Stone monument on the approach into the Lonesome Spire area |
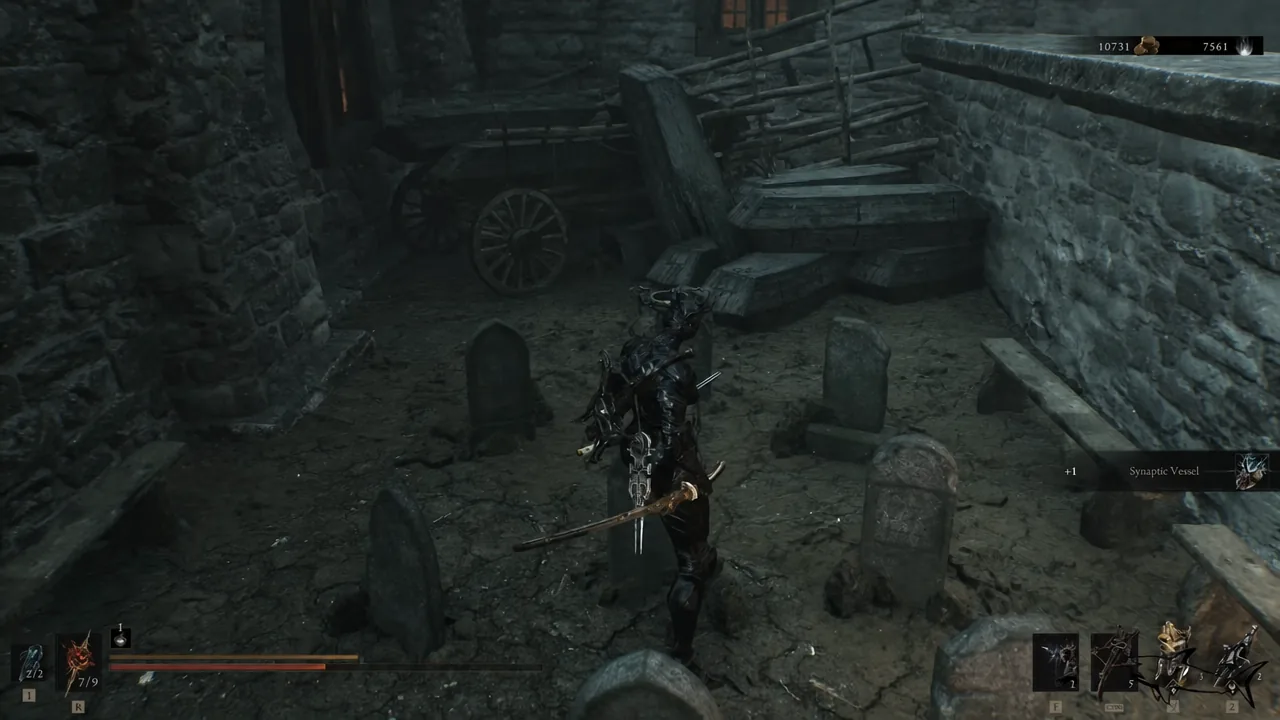
| Synaptic Vessel | Small graveyard in the wooden village below the spire |
| Gloombound Stone | Stone sarcophagus inside Spoiled Mortuary |
| Dorsalite | Secret room behind the breakable wall in Spoiled Mortuary, plus thrones in Sentry’s Grave and at the top of the spire |
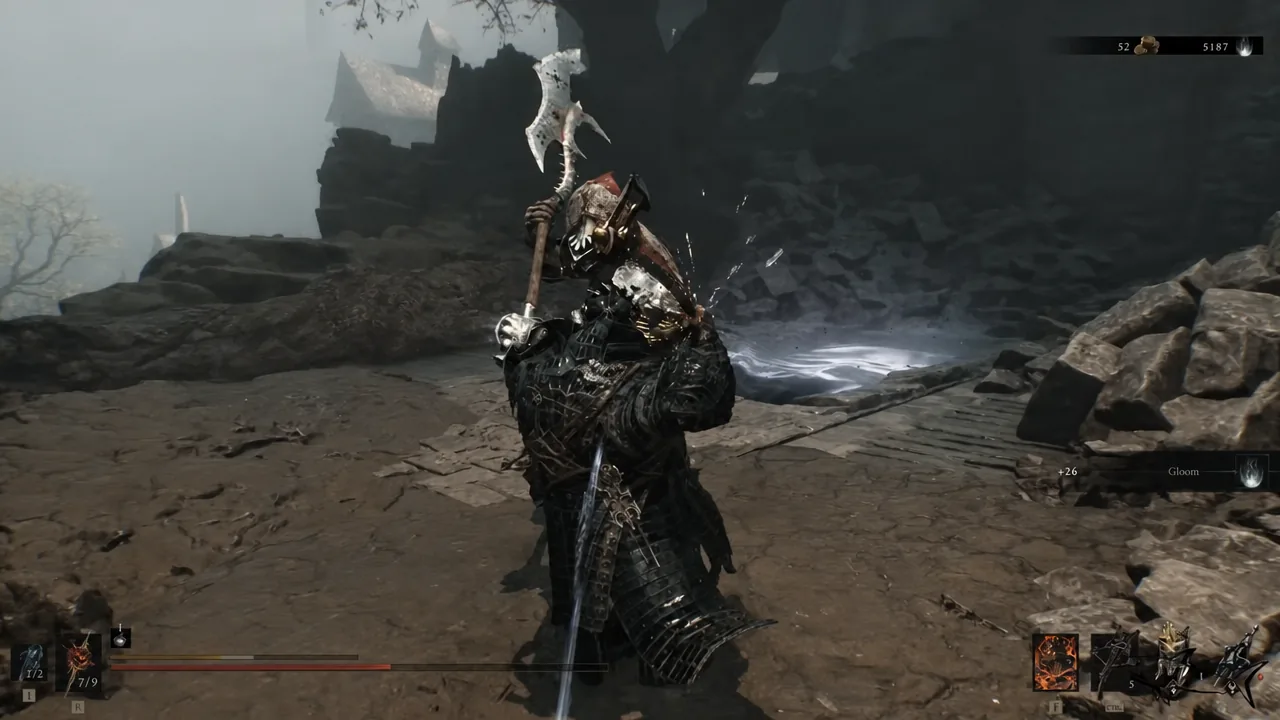
| Ballistazooka | Defeat the Subjugated Guardian in Sentry’s Grave |
| Splitting Stone | Locked chest on the castle balcony, just outside Sentry’s Grave |
| Shattering Stone | Locked chest in Collapsed Mine |
| Unremarkable Key | Behind breakable boards in the wooden structure past the Brigand camp |
| Obsidian Hammer and Paradoxical Scripture | Defeat the Prophet of Profane Infinites in Obsidianite Mines |
| Ventrium | Stands and crates inside Sentry’s Grave and Collapsed Mine |
Map of Mammon [4] and Synaptic Vessel locations
Grab the Map of Mammon [4] from the stone monument on the swampy approach before you start climbing. It fills in the region layout and makes the rest of the loop far easier to follow, since the spire has almost no landmarks once you are inside the wooden scaffolding.
The Synaptic Vessel is in the small graveyard attached to the wooden village at the base of the spire, near the coffin district you pass through on the way down from the camp. Shield-carrying Brigands patrol the platforms above it, so clear them before you go digging around the graves.
Spoiled Mortuary: Gloombound Stone and the hidden room
Spoiled Mortuary sits northwest of the wooden staircase that connects the Gate of Mammon to the spire, guarded by a heavily armored enemy at the door. Head down the stairs and ride the elevator to enter.
Sentry’s Grave: How to beat the Subjugated Guardian and get the Ballistazooka
Sentry’s Grave is tucked inside the giant castle and is easy to walk past. From the wooden stairs, go up, turn left past the knight and the two smaller enemies, take the opening on the left, then turn right in the next room to reach the elevator down.
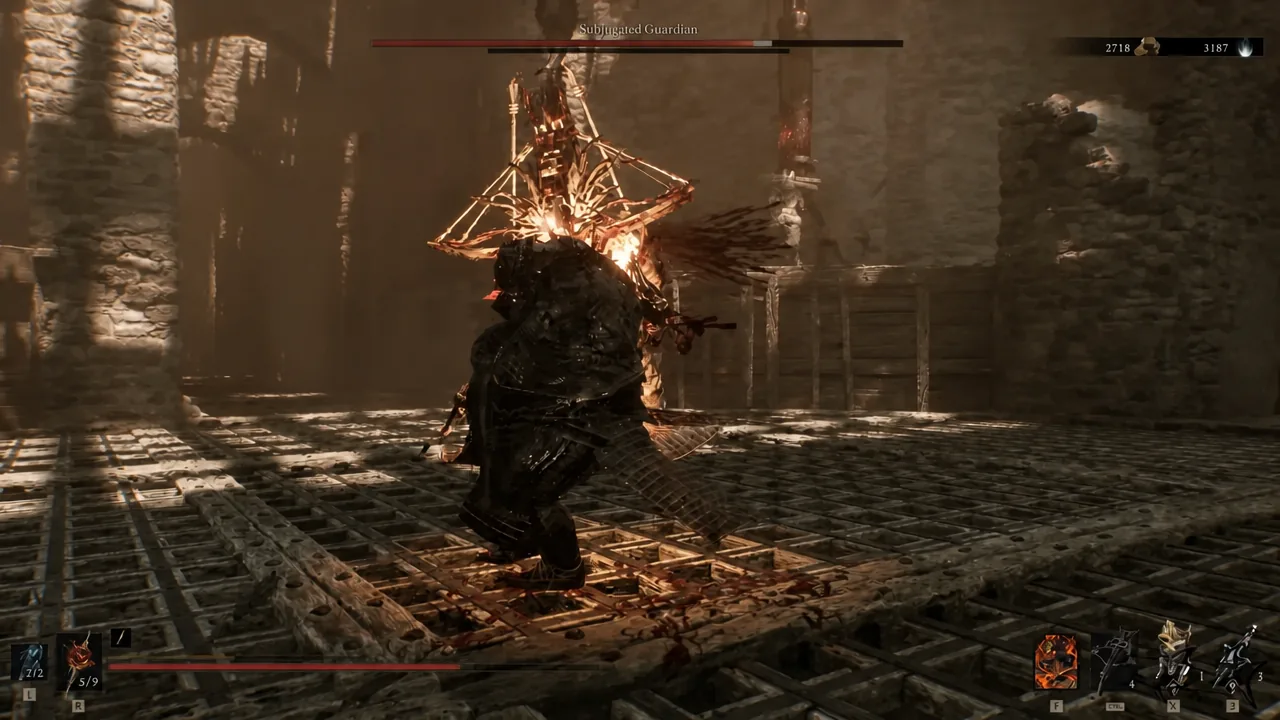
The kill drops the Ballistazooka along with Glimpse and Gloom. Continue past the arena to the elevator rather than backtracking.
Splitting Stone chest location
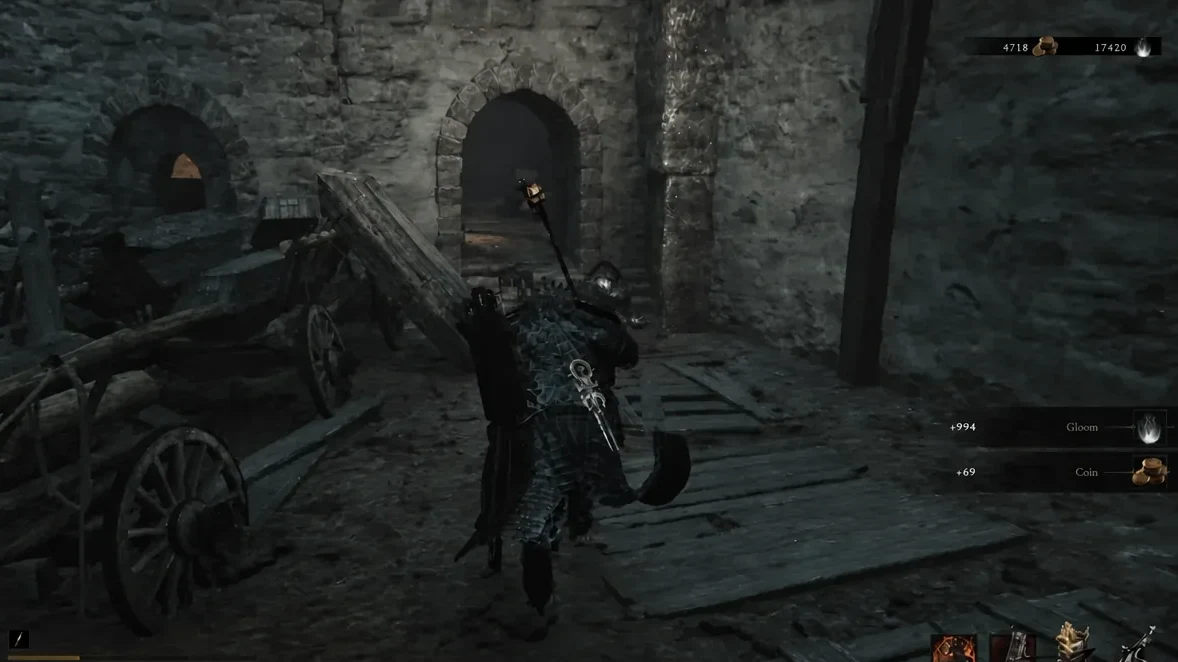
Back outside the dungeon, head right and up the stairs into a mixed group of Brigands and a knight. Thin out the smaller enemies before committing to the knight, since the balcony space is tight.
A few steps further on, go left and kill the enemy standing over the locked chest. Opening it gives the Splitting Stone, which makes your sidearm fire multiple projectiles without spending extra Resolve.
Collapsed Mine and Obsidianite Mines: Obsidian Hammer
From the camp, head left and down through the coffin district into the mine works. Collapsed Mine is reached by dropping down on the left from the wooden pathway and turning around, so it is easy to run straight past the entrance.
Inside, follow the right-hand route through the wooden doorway, clear the enemies at the end, and open the locked chest for the Shattering Stone. The way you came in collapses behind you. Take the left path instead, squeeze through the narrow gap, use the white jump spot to climb, shoot the bats above, and drop down at the far end to reach the exit elevator.
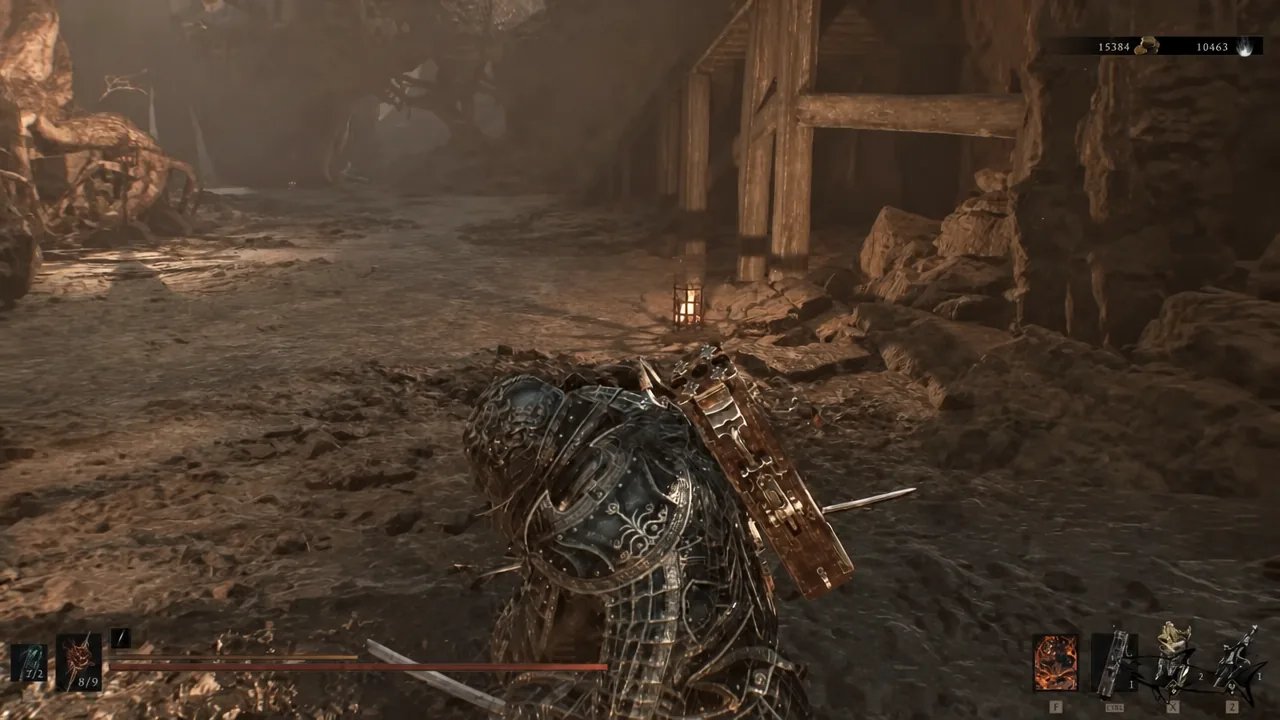
Obsidianite Mines is further along the same district, past the bridge and the rock-throwing enemies. Collect the supplies on the platform quickly, because the floor gives way, then continue down and to the right to trigger the Prophet of Profane Infinites.
The Prophet’s displacement attacks are parryable, and meeting them head on is more reliable than backing off and eating the follow-up. Summons hold its attention well while you punish the recovery windows. Winning awards the Obsidian Hammer and the Paradoxical Scripture.
Tip: do not take the exit as soon as the boss dies. The lower-right section of the arena floor still has pickups, and it seals off once you leave.
Vlas questline: Unremarkable Key to Marrow Keep
How to confirm the quest advanced
Return to the top of the spire after resting. If it worked, the Brigands in the camp are dead, the cage is empty and the merchant is gone. If Vlas is still caged, the usual cause is that his dialogue tree was not emptied, so the key never transferred, or that you never rested at a beacon to reload the area. Reload and talk to him until he repeats himself.
Done in this order, one pass through the region clears both dungeons, the mine district, every stone and material pickup, and closes Vlas out at Marrow Keep with the merchant’s stock already banked. From here the paths continue west into the Deserted Slums and across toward Castigator’s Keep, both of which stay open regardless of how the camp ended.