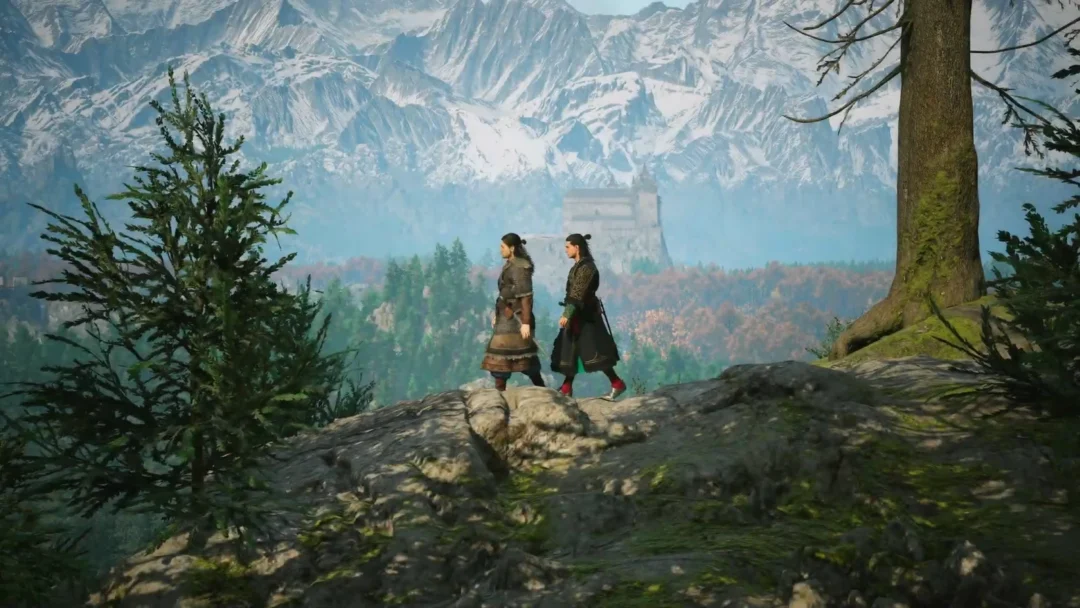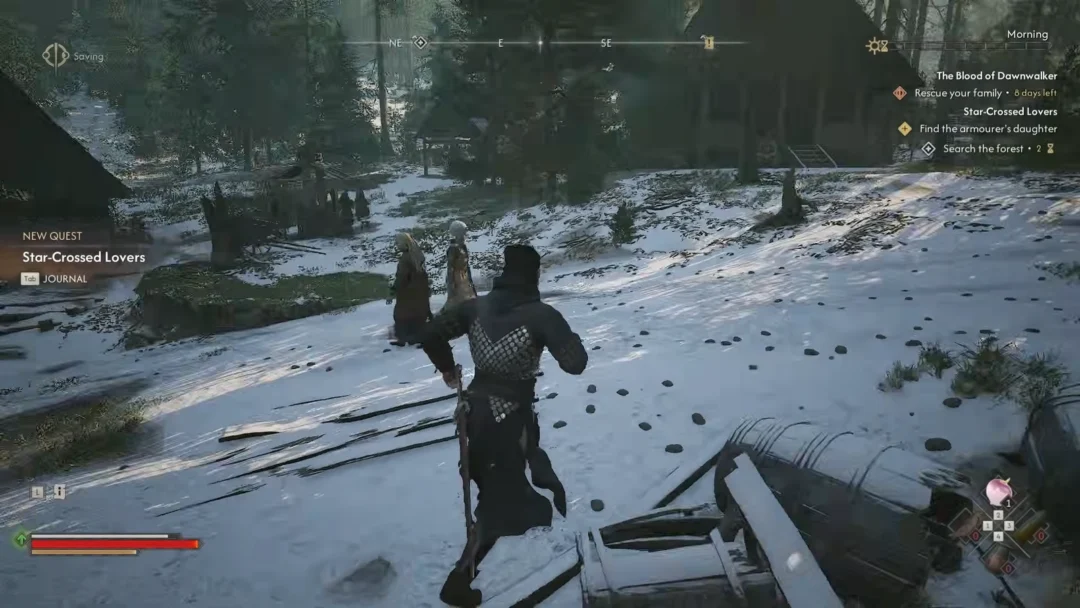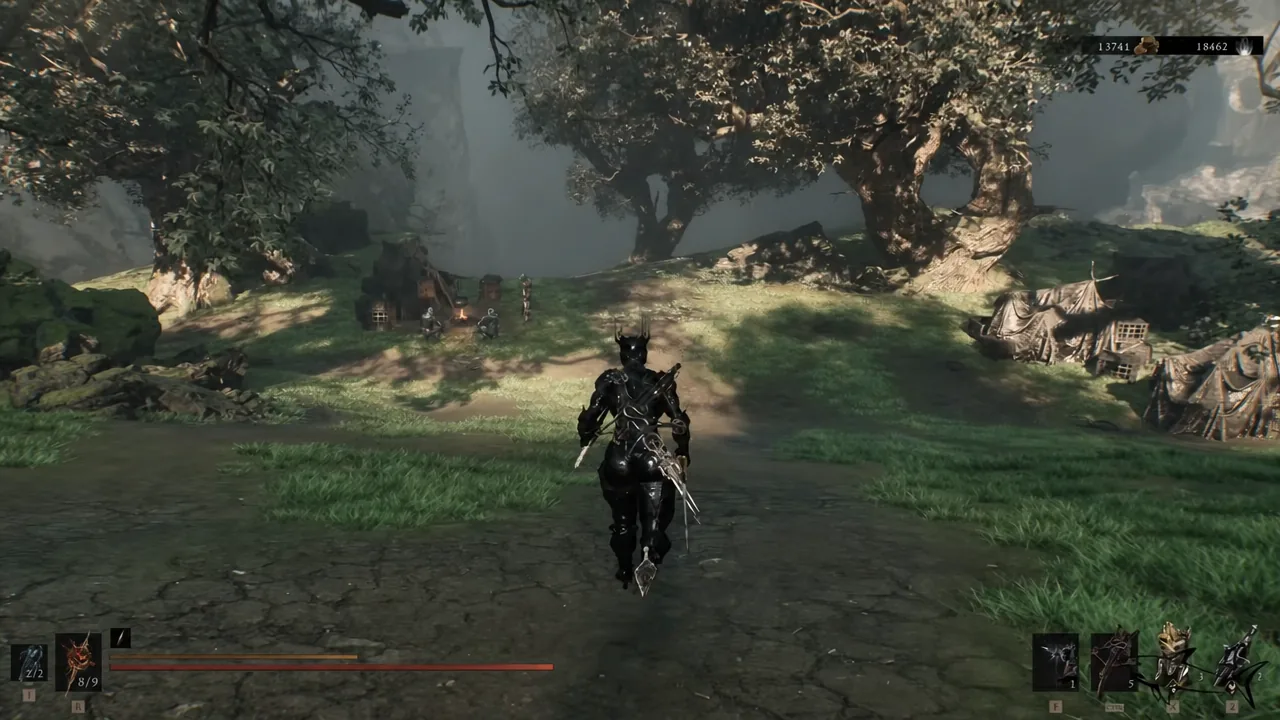
Withered Shoals is the swamp region behind the Gate of Mammon, the western corrupted gate in the Ruins of Mammon. It holds three beacons, two dungeon challenges, two Tarstones sitting in chests, an optional mini-boss, a healing upgrade item, and the Hexapod, the area’s main boss. Clearing all of it in one pass is straightforward once you know the order things appear in.
Quick answer: Cleanse the Gate of Mammon beacon to open the corrupted gate, then work through the Shoals in this order — Ossinite Falls beacon (Broodshell Nest) and the Torpor Stone behind the waterfall, Nameless Pass beacon (Odious Crevice) and the Charged Stone chest, the Depleted Gland in the hollow arm above the arena, then drop into the fog for Hexapod and cleanse Hexapod’s Burrow.
Everything you can collect in Withered Shoals
The unique pickups are what matter for completion. Everything else in the zone is upgrade material — Laterite, Ventrium, Dorsalite, Gloom, plus a Burnt Effigy, a Common Moonshine, and a Coin of Mammon near the entrance stairs.
| Item | Where it comes from |
|---|---|
| Strange Remnant (Sidearm Tarstone) | Defeat the Strange Grisha mini-boss past the Bone Gate |
| Grisha Remnant | Also dropped by the Strange Grisha |
| Torpor Stone | Chest behind the Ossinite Falls waterfall |
| Sheephead Totem | Kill the sheep hidden behind the same waterfall |
| Charged Stone | Chest to the right of the corruption source in Odious Crevice |
| Depleted Gland | Hollow underside of the arm above the boss arena, after speaking to Ruk |
| Hexapod Core (Axatana Tarstone) | Defeat Hexapod |
Opening the corrupted gate
The Shoals sit behind the Gate of Mammon, which is the southwest gate when you look at the map from Marrow Keep. That gate stays sealed until you cleanse its beacon, so if the barrier is still up, the beacon is the reason.
The Strange Grisha and the Strange Remnant
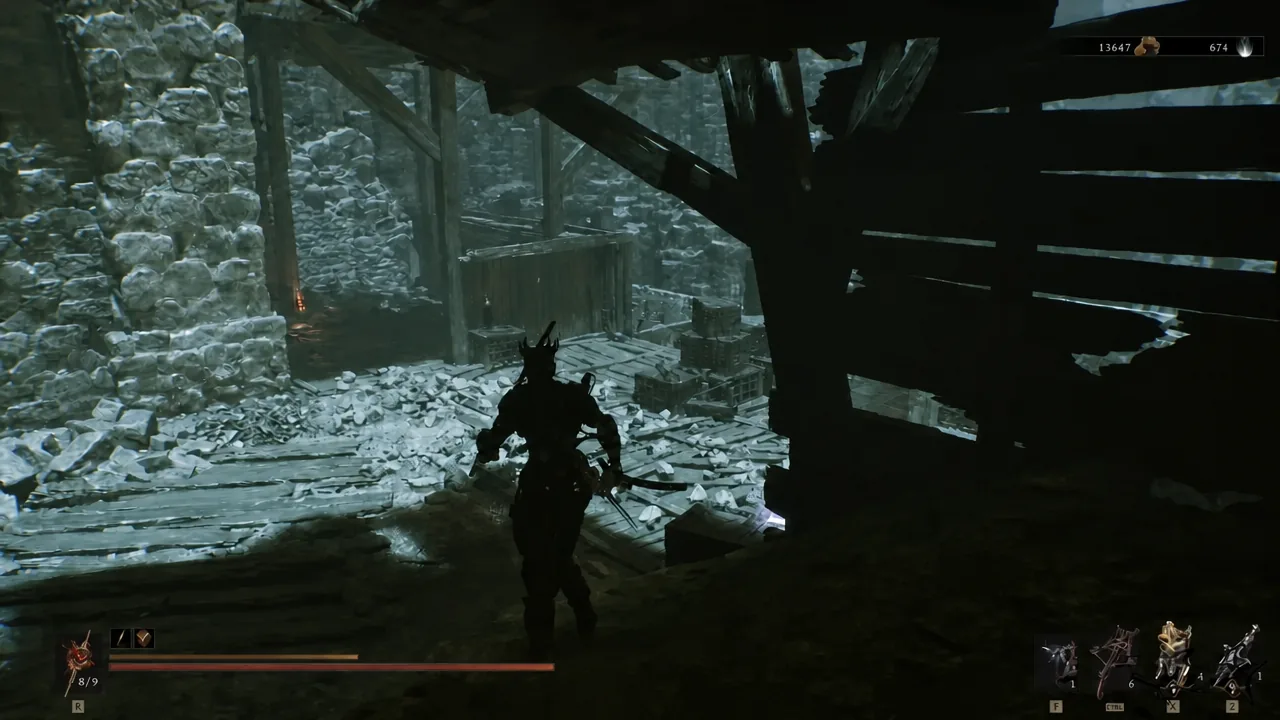
The first open room of the Shoals is crowded — Bell Snails at the gate, Grisha Hunters and Leechtongues brawling in front of a huge crow skull, and more Tiger Leeches. Clear the snails first by blocking or parrying as they open their mouths, staggering them, then punishing. A Dorsalite sits to the left of the room and behind the skull, with a Laterite in the middle.
The Bone Gate on the right side launches you to an island arena holding the Strange Grisha. It is optional and completely off the route to Hexapod, but it is the only source of the Strange Remnant, a Sidearm Tarstone that converts your sidearm into a chaining projectile.
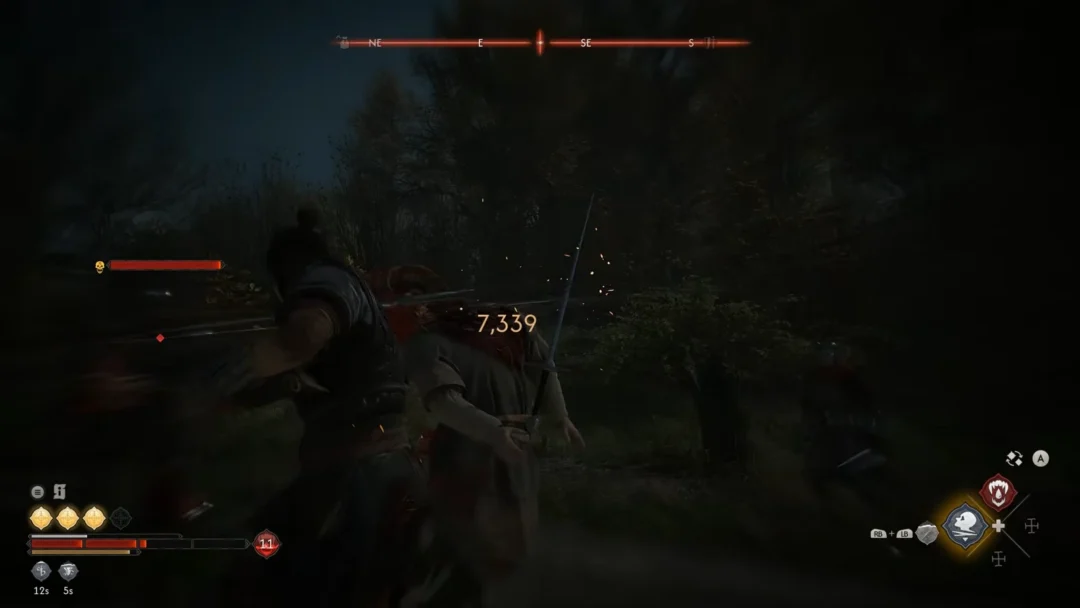
Go in with full health and Resolve. The fight uses the standard Grisha moveset, so parry or Harden through the ordinary slashes and riposte when it staggers, but never try to absorb the red attack — dodge around it instead. Keep your combos short, because the arena is ringed by a chasm and overcommitting near the edge ends badly. Take the Bone Gate back when you are done.
Ossinite Falls beacon and the Torpor Stone
Head east from the Bone Gate and up the slope. This stretch is full of Roaming Heads and Infested Stalkers, and spiders drop in while you are busy with them, so keep your spacing and open with ranged attacks where you can. There are bear traps scattered through the brigand camps here too. A Laterite sits inside a large ribcage and another Dorsalite waits on the far right.
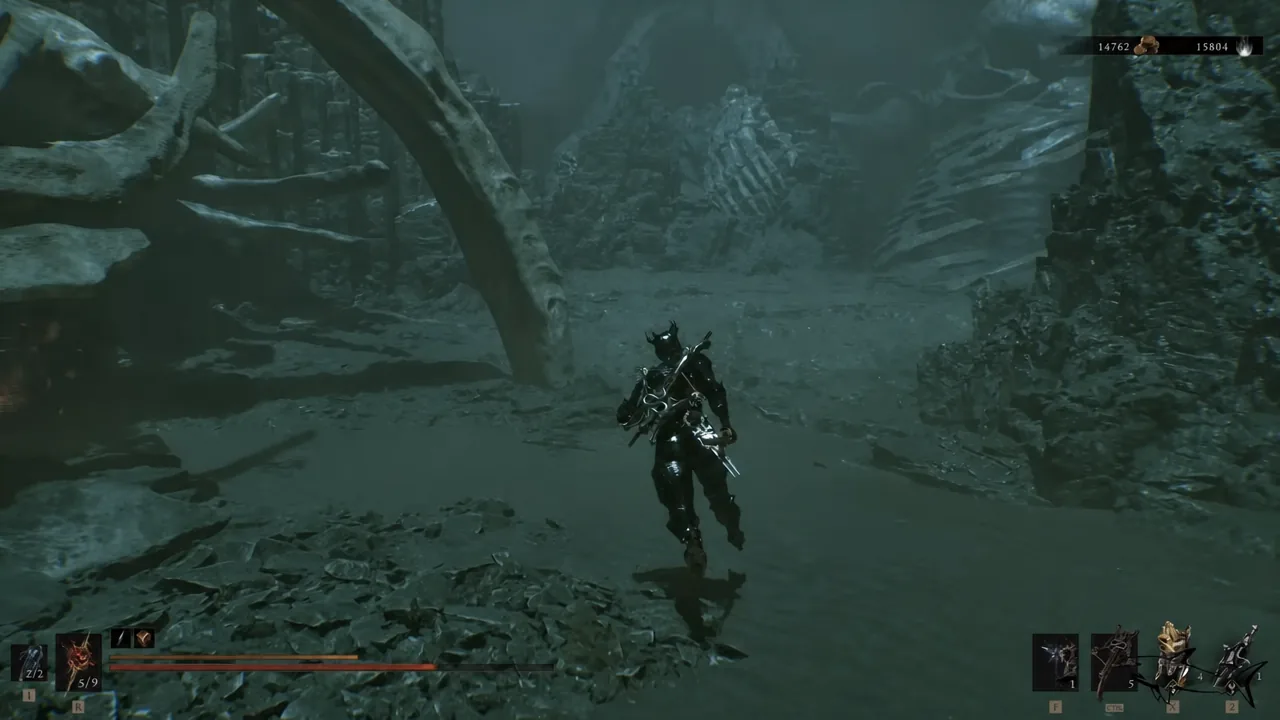
Keep going until the waterfall comes into view. The beacon sits beside it, but do the waterfall first.
Nameless Pass beacon and the Charged Stone
From the Ossinite Falls beacon, clamber up the fallen stone and take the slope. Both directions pay off. Left leads to a Bell Snail guarding two hidden Ventrium. Right takes you toward the Pass, past Leechtongues, an Infested Stalker, and worms holding the path.
At the far end, a spider blocks a narrow crack in the rock. Kill it and squeeze through. On the other side, climb the giant arm for two Dorsalite, then walk out to the wrist and drop down to pick up an extra Ventrium. Follow the path down past the tent — there is more Ventrium on the structure beside it — and into the open area where big-headed enemies and another snail wait.
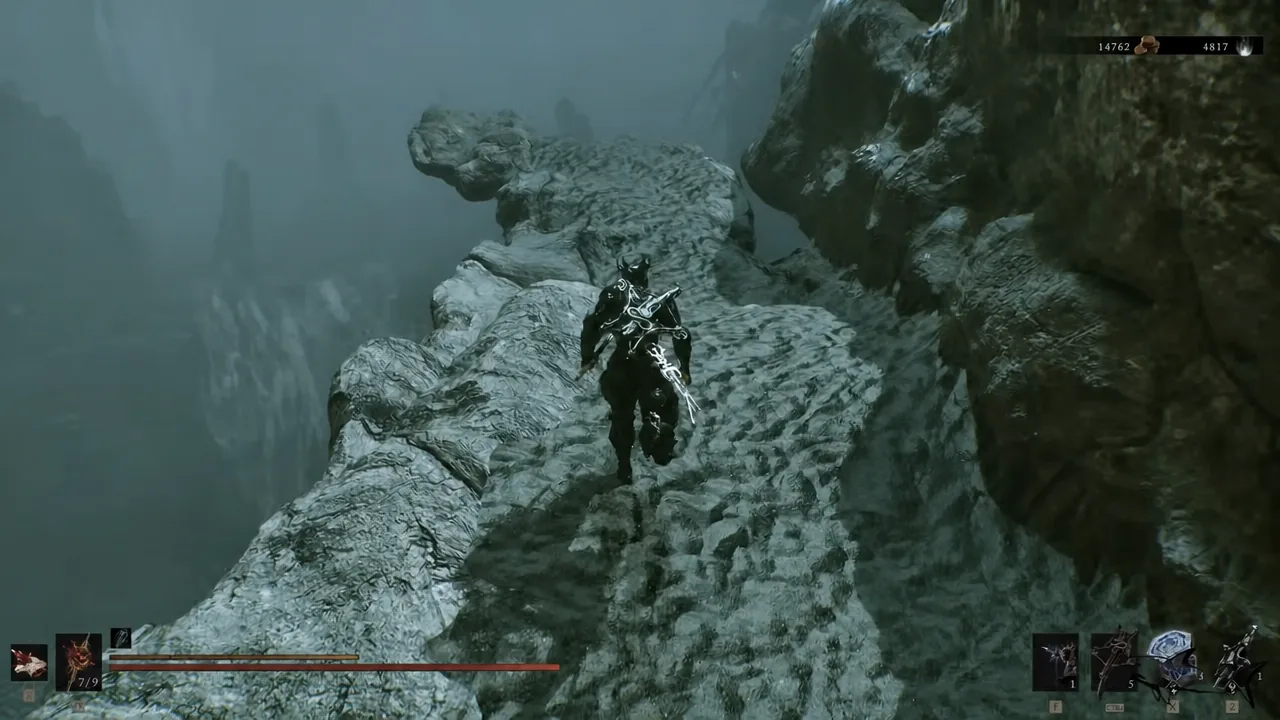
A bone structure in the middle of that clearing holds three Laterite. Turn from it and the Nameless Pass beacon is a short walk ahead. Look carefully — a large snail’s shell reads almost identically to a beacon from a distance.
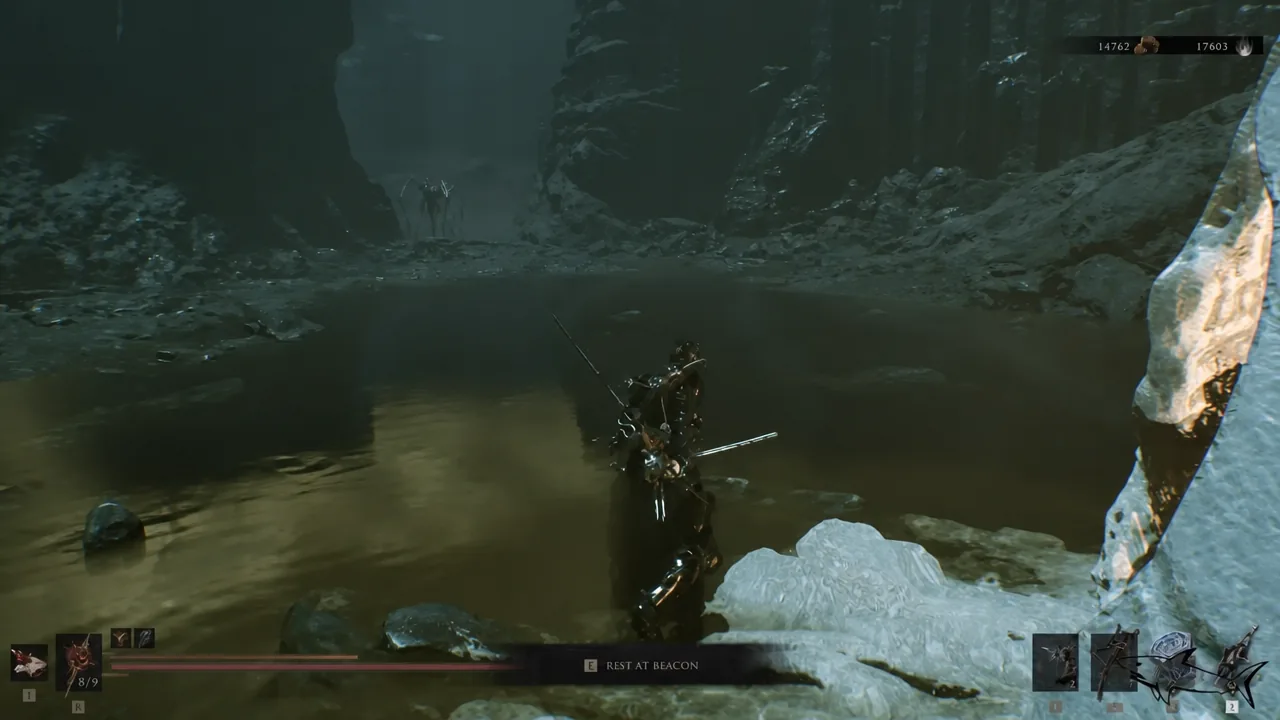
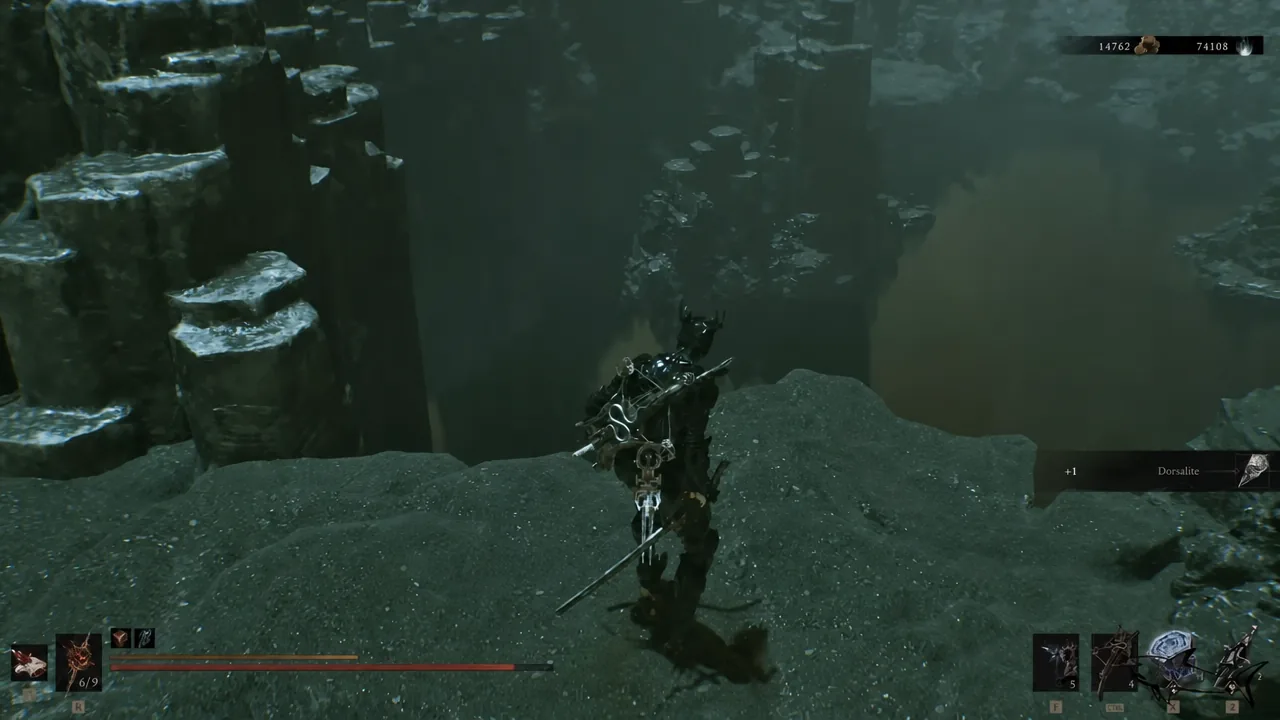
Note: leaving the Odious Crevice without the chest is the single most common miss in the Shoals, because the Ovum is in plain sight and the chest is not.
Ruk and the Depleted Gland before the boss drop
Head left from the Nameless Pass beacon and keep climbing along the arm. Ruk, the giant raven, waits at the end of the path — speak to him before continuing.
The gland is easy to walk past. Drop down to the lower lip of the hollow arm rather than falling straight into the fog, then turn around and walk a few steps into the hollow underside. The Depleted Gland is sitting there, and it feeds into a healing upgrade later. Once it is in your inventory, drop from the end into the fog to start the fight. There is no way back up mid-arena, so do not jump early.
How to beat Hexapod
Hexapod is a giant spider-like creature that fights almost entirely with multi-hit swings, so upgrades to your Harbinger, Shell, weapon, and Tarstones pay off more here than raw dodging skill. Summon Proxima before the fight if you have the Glimpse — she holds its attention with the Triarch Repeater while you land damage or infuse.
The core loop is flanking. Get behind it, hit it, let it turn, repeat. Parrying and blocking are unreliable against it because its most dangerous moves are unblockable, so read the tells instead.
| Tell | What to do |
|---|---|
| Raises and spreads its appendages | Get out from directly underneath; dodge backward or away |
| Tentacles fully unfurled, insides visible | Stop attacking and reposition — a heavy attack is coming |
| Jumps back and flashes red (charge/ram) | Dodge sideways, not backward, then punish the recovery |
| Red indicator with no visible body | It is burrowing and will erupt beneath you; dodge sideways as it lands |
| Retreats and gathers energy in its mouth (around 60% HP lost) | Projectiles rain down on a delay; keep moving and watch the ground |
| Just staggered | Do not stay in front of it — the unblockable grab comes out of the recovery |
Never commit to a long attack animation once a warning appears. Harden is the safety net when you have already started a swing and cannot cancel it.
The kill drops the Hexapod Core, a Tarstone exclusive to the Axatana that spends 60 Resolve on a rapid string of strikes, plus Ova to siphon.
Finding the Hexapod’s Burrow beacon in the fog
A third beacon appears in the arena after the boss dies, but the mist makes it genuinely hard to spot. If you cannot see it, there is a reliable way to line it up.
With all three beacons cleansed and the Torpor Stone, Charged Stone, Hexapod Core, and Depleted Gland banked, Withered Shoals is done and the route opens toward Silent Steps. If you skipped the Strange Grisha on the way in, the Bone Gate near the first open room is still there — the Strange Remnant is the only piece of the zone you cannot pick up again by any other route.