

Mortal Shell 2 hands you ten major bosses and almost no order to fight them in. That freedom cuts both ways. Some of these fights fold the moment you learn one dodge direction, while others punish a single mistimed parry with half your health bar. Sorting them by actual difficulty — not by where they sit on the map — is the fastest way to figure out what you can clear now and what you should come back to with a maxed shell.
Quick answer: Zmey, the Unbidden and The Monolith are the two hardest fights in the game; Orrem, the Discarded Golem is the easiest and can be beaten with slow, patient dodging alone.
Mortal Shell 2 boss tier list (September 2026)
| Tier | Bosses |
|---|---|
| S | Zmey, the Unbidden; The Monolith |
| A | Sir Isaac, the Scholar-Prince; The Nameless Captive; Malborn Offspring; Hexapod |
| B | Magdalena, the Lady of the Woods; The Lost Child |
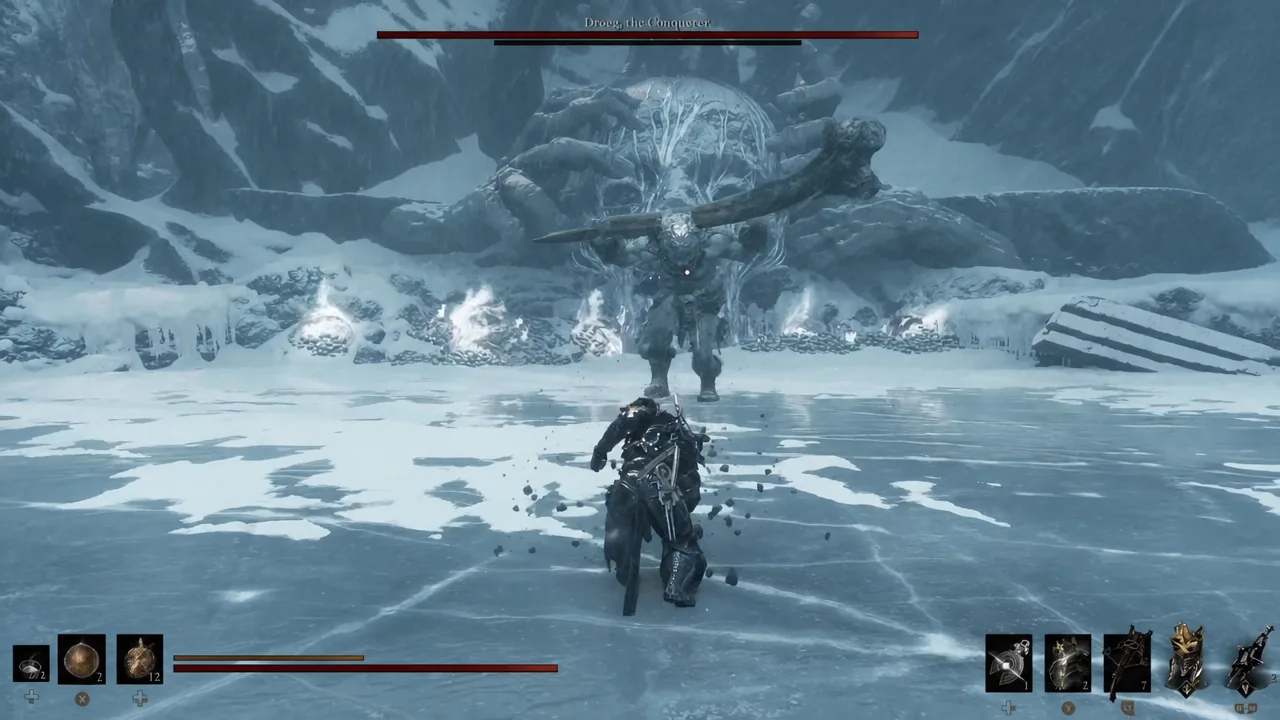
| C | Droog, the Conqueror |
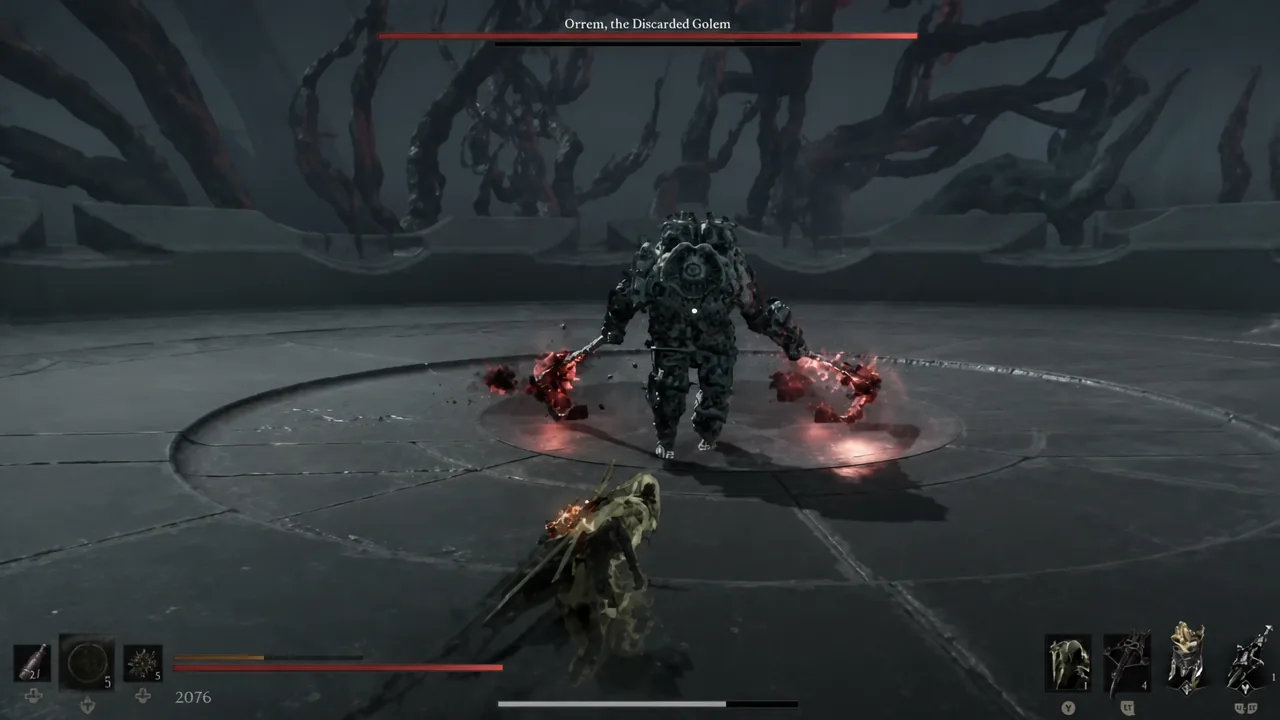
| D | Orrem, the Discarded Golem |
Placements weigh four things: how much health the boss carries, how readable its attacks are, whether a single repeatable movement pattern solves the fight, and how hard the second phase escalates. Shell and item counterplay matters too, because a fight that collapses the moment you equip the right passive is not an S-tier fight. This ranking reflects the game as it plays in September 2026, after the post-launch balance changes.
S-tier: the endgame wall
Zmey, the Unbidden closes out the main story, and it earns the top spot on raw stat inflation as much as mechanics. The health pool is enormous, and Zmey layers status effects on top of it. The fire attacks are the ones to fear: they apply a flame curse that locks you out of your weapon for a stretch, which turns a routine damage window into a scramble for space.
The Monolith is barely a step below. It also has a huge health bar, and its beam attacks will erase you if you are caught in the open. Tiel is the strongest answer here, because attacking the boss’s backside during those beams grants a damage boost — the fight rewards you for repositioning behind it rather than waiting the beam out at range.
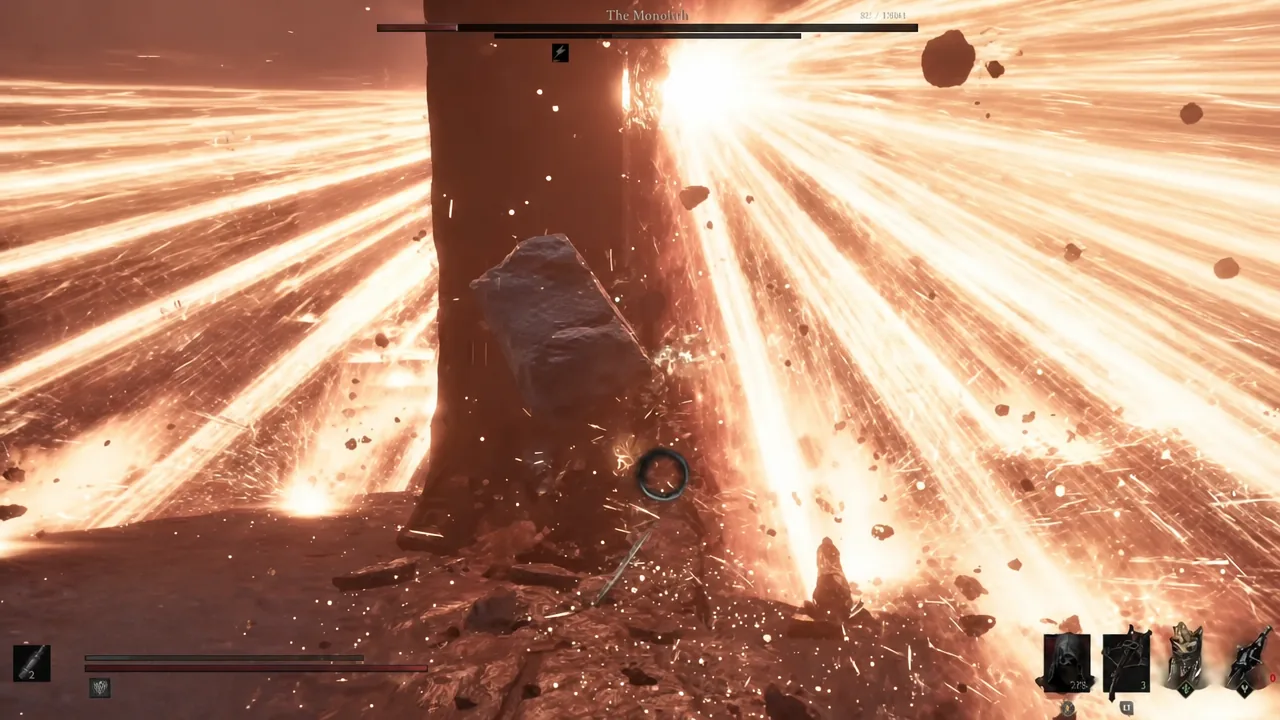
Note: The Monolith sits inside the endgame gauntlet alongside Malborn Offspring and Orrem, and all three have to fall before Zmey opens up. If you are stalling out on the last stretch, that is why the difficulty curve suddenly feels vertical.
A-tier: fights decided by one system
Everything in A-tier is beatable once you commit to a specific mechanic, but each one punishes you hard for playing it the way you played the last boss.
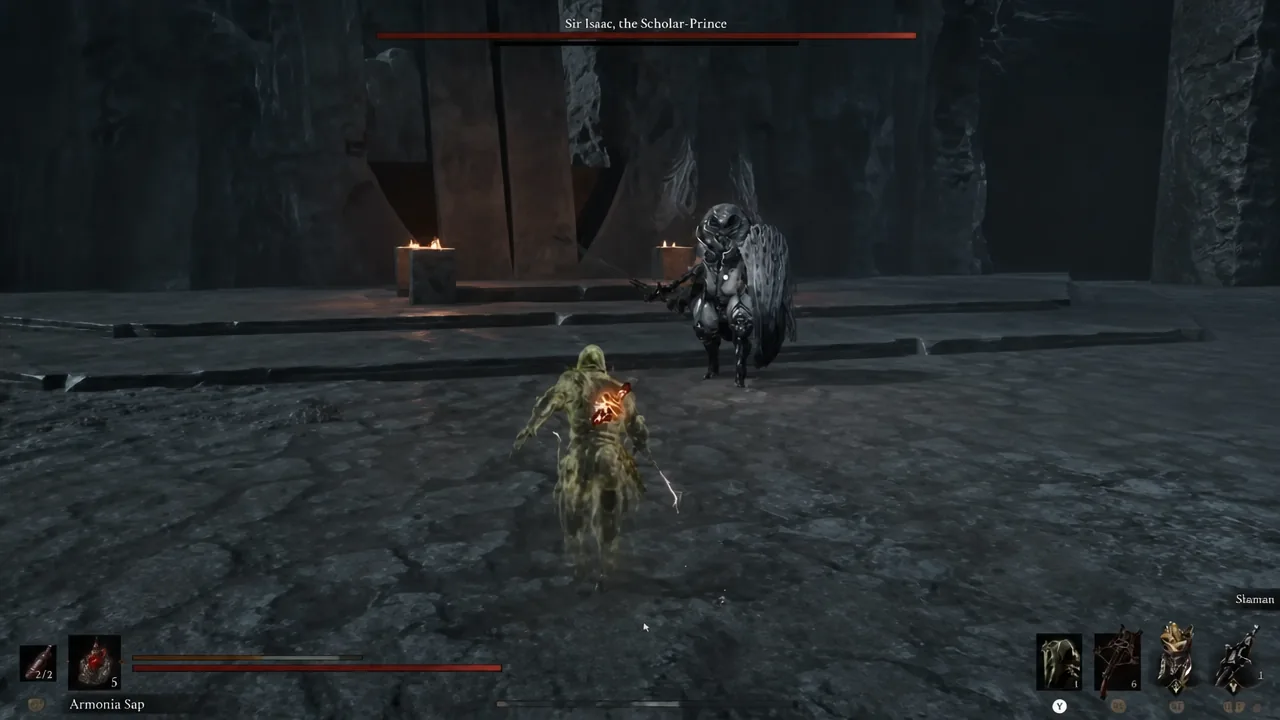
Sir Isaac, the Scholar-Prince is the clearest example of a difficulty spike between phases. The opening phase is a parry showcase — his sword combos are slow enough to read and stagger. Then he drops the shield, picks up extra swords, and speeds up dramatically. Phase two is an active dodging fight, and players who try to parry their way through it get shredded.
The Nameless Captive is the opposite: it is a pure parry check from start to finish. Bring a shell built for it. Eredrim or Tiel handle the fight far more comfortably than Harros, and trying to muscle through with dodges alone drags it out longer than it needs to be.
Hexapod and Malborn Offspring both live and die by one item. Shrikestone chews through Hexapod’s posture, opening up critical hits that shorten the fight considerably. Malborn Offspring becomes noticeably easier with Grisha remnants slotted into your passive, which lets you stagger it repeatedly across the whole encounter. Skip those and both fights climb closer to S-tier in practice.
B and C-tier: bosses solved by footwork
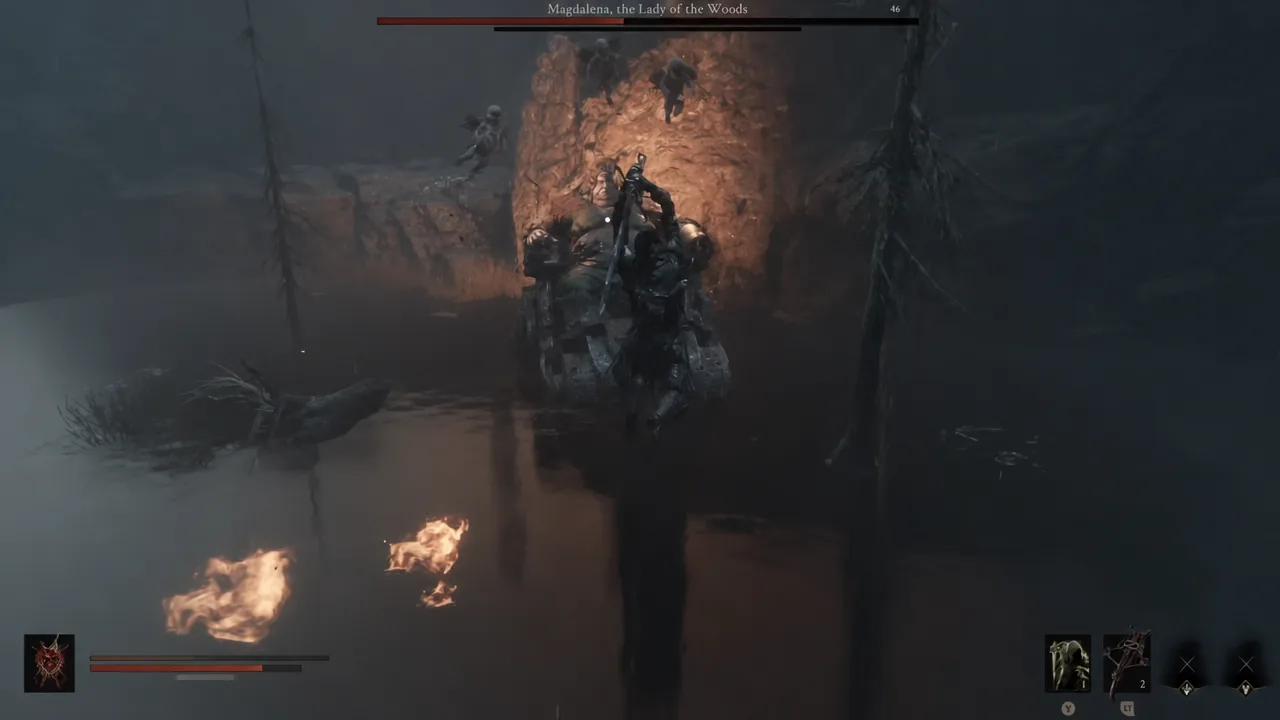
Magdalena, the Lady of the Woods is the toughest of the readable fights, mostly because standing still is fatal. Keep moving, and when she spits flies, run — that area-of-effect attack covers enough ground that trying to weave through it rarely works. Her projectiles are the other test, and they are all avoidable if you keep your distance honest.
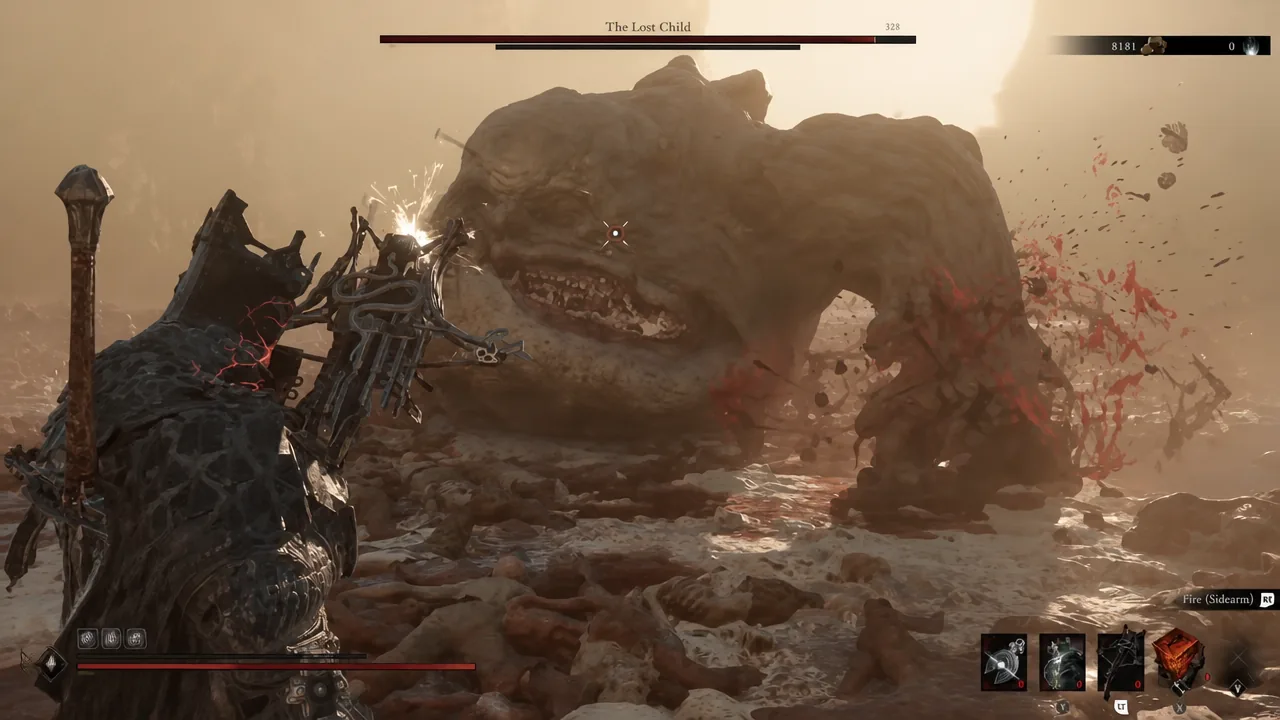
The Lost Child lands just under her. Its giant right arm does most of the work, and its grabs come from the same side, so consistently dodging left removes the bulk of its offense. Once that clicks, the fight becomes a patience exercise.
Droog, the Conqueror drops to C-tier for the same reason, only more so. His club swings are heavily telegraphed, and rolling right — his left — sidesteps nearly all of them. There is very little the fight asks of you beyond committing to that one direction.
D-tier: Orrem, the Discarded Golem
Orrem is the easiest major boss in the game, and it is not close. Its attacks are slow and telegraphed so far in advance that you can react to almost anything on sight. That it sits in the endgame gauntlet alongside The Monolith and Malborn Offspring makes the gap even stranger — if you are working through that final stretch, Orrem is the one to open with.
Counterplay cheat sheet for every major boss
| Boss | Tier | What decides the fight |
|---|---|---|
| Zmey, the Unbidden | S | Avoid the fire attacks — the flame curse locks your weapon |
| The Monolith | S | Tiel, hitting its backside during beam attacks for bonus damage |
| Sir Isaac, the Scholar-Prince | A | Parry phase one, switch to active dodging in phase two |
| The Nameless Captive | A | Parry-focused shells such as Eredrim or Tiel |
| Malborn Offspring | A | Grisha remnants in the passive slot for repeat staggers |
| Hexapod | A | Shrikestone for posture break damage and criticals |
| Magdalena, the Lady of the Woods | B | Stay mobile; run when she spits flies |
| The Lost Child | B | Dodge left to dodge the right-arm swings and grabs |
| Droog, the Conqueror | C | Dodge right, into his left, to clear the club swings |
| Orrem, the Discarded Golem | D | React on sight; every wind-up is long |
The pattern across the whole list is that difficulty in Mortal Shell 2 tracks health pools and status pressure far more than raw aggression. Bosses with clean, one-direction solutions sit at the bottom regardless of how intimidating they look, and the fights that top the list are the ones where no single item or dodge bails you out. Slot the right passive before you walk into the A-tier encounters, and save the two endgame giants for a shell you have actually invested in.





