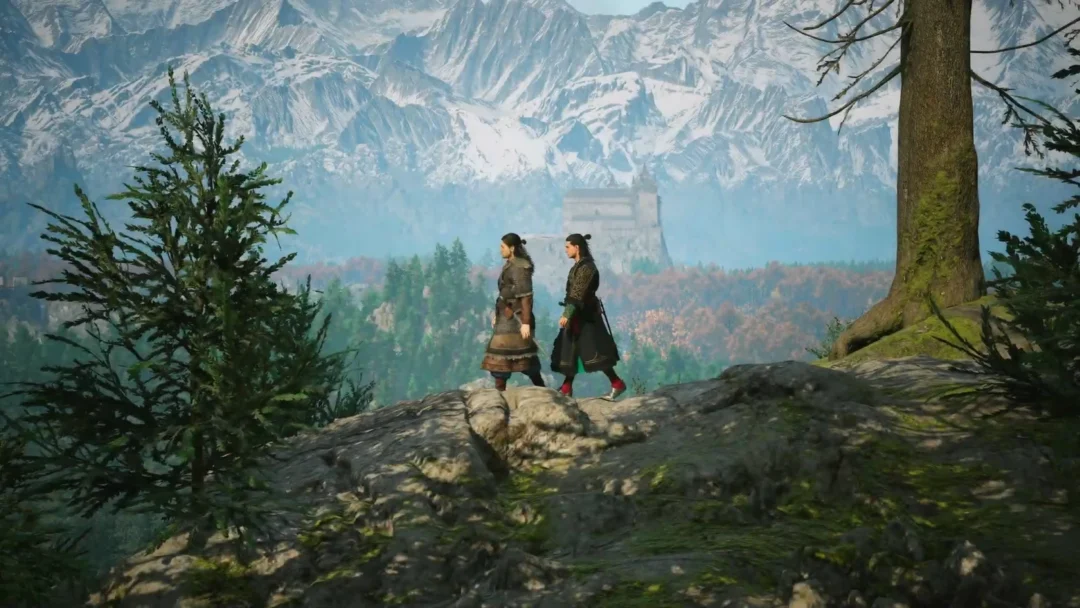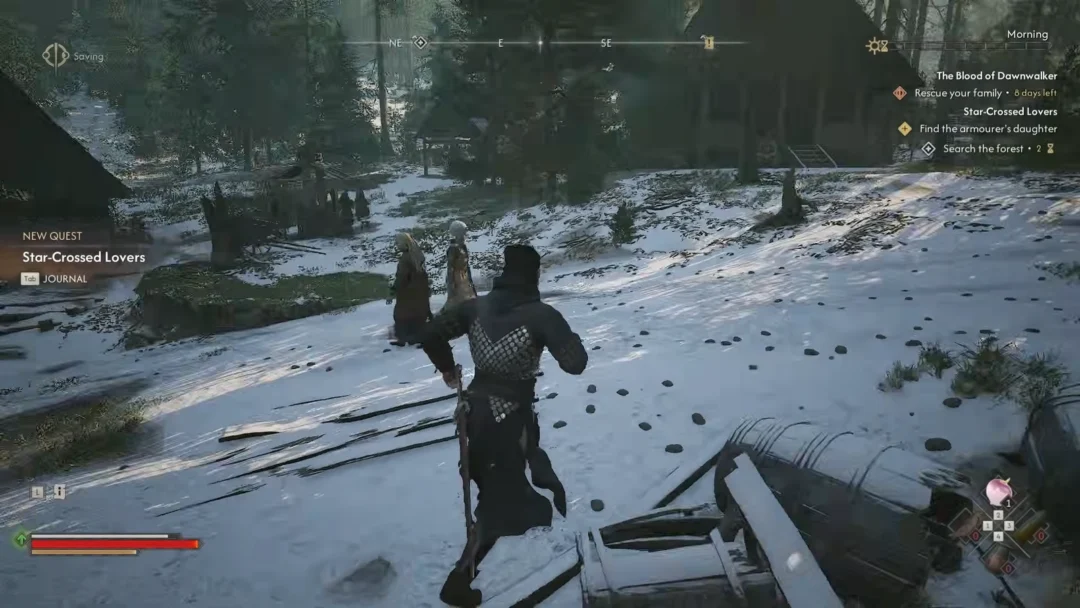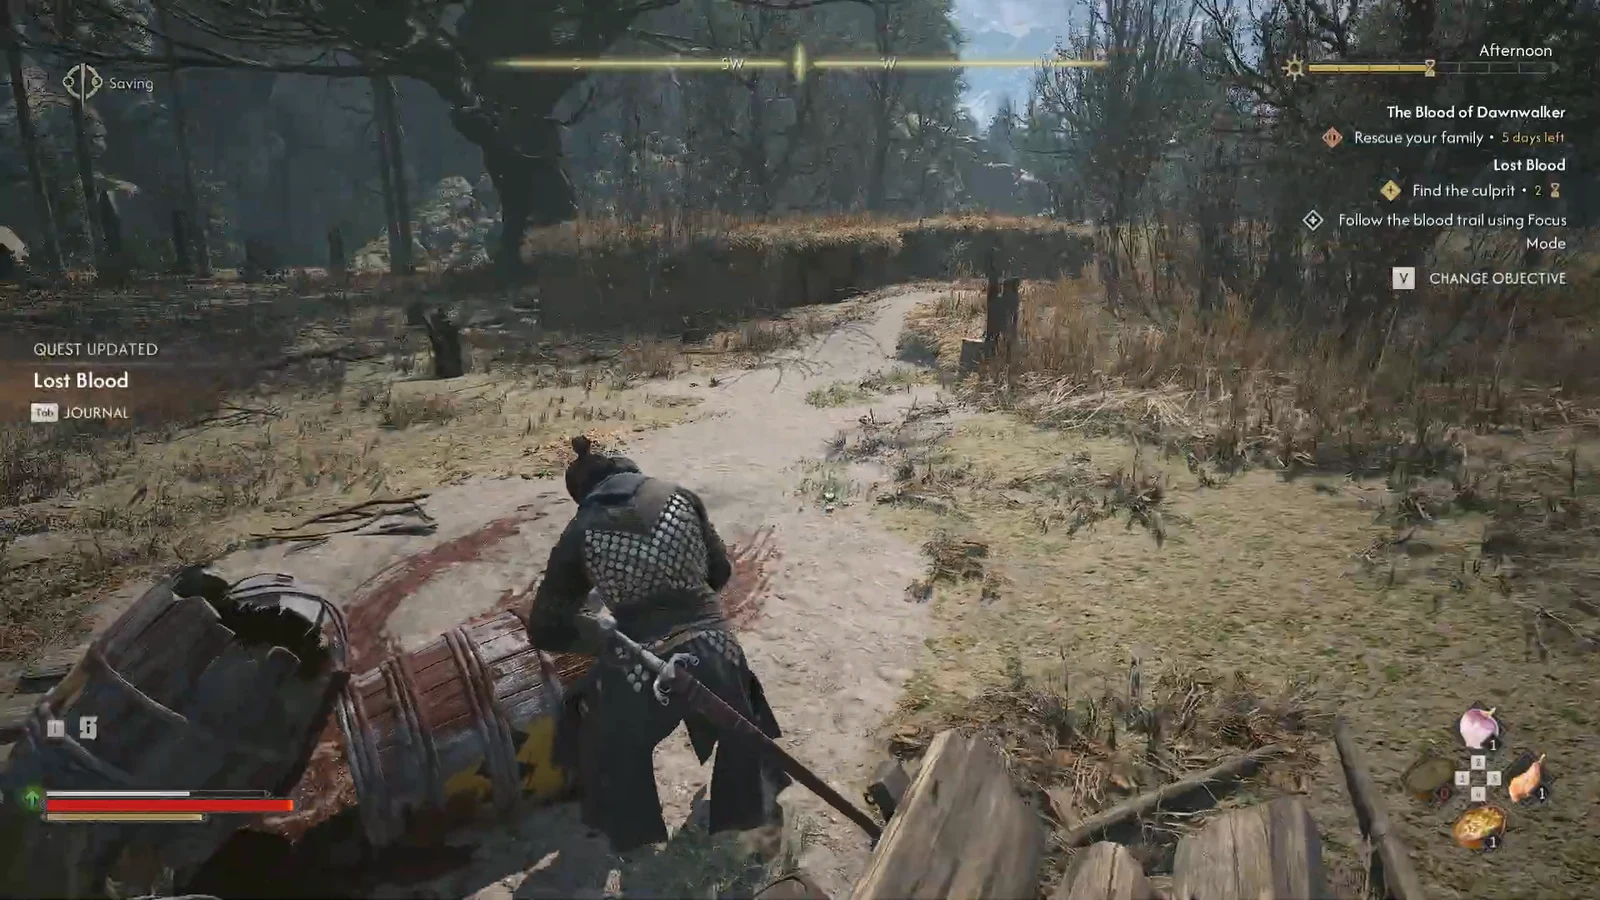
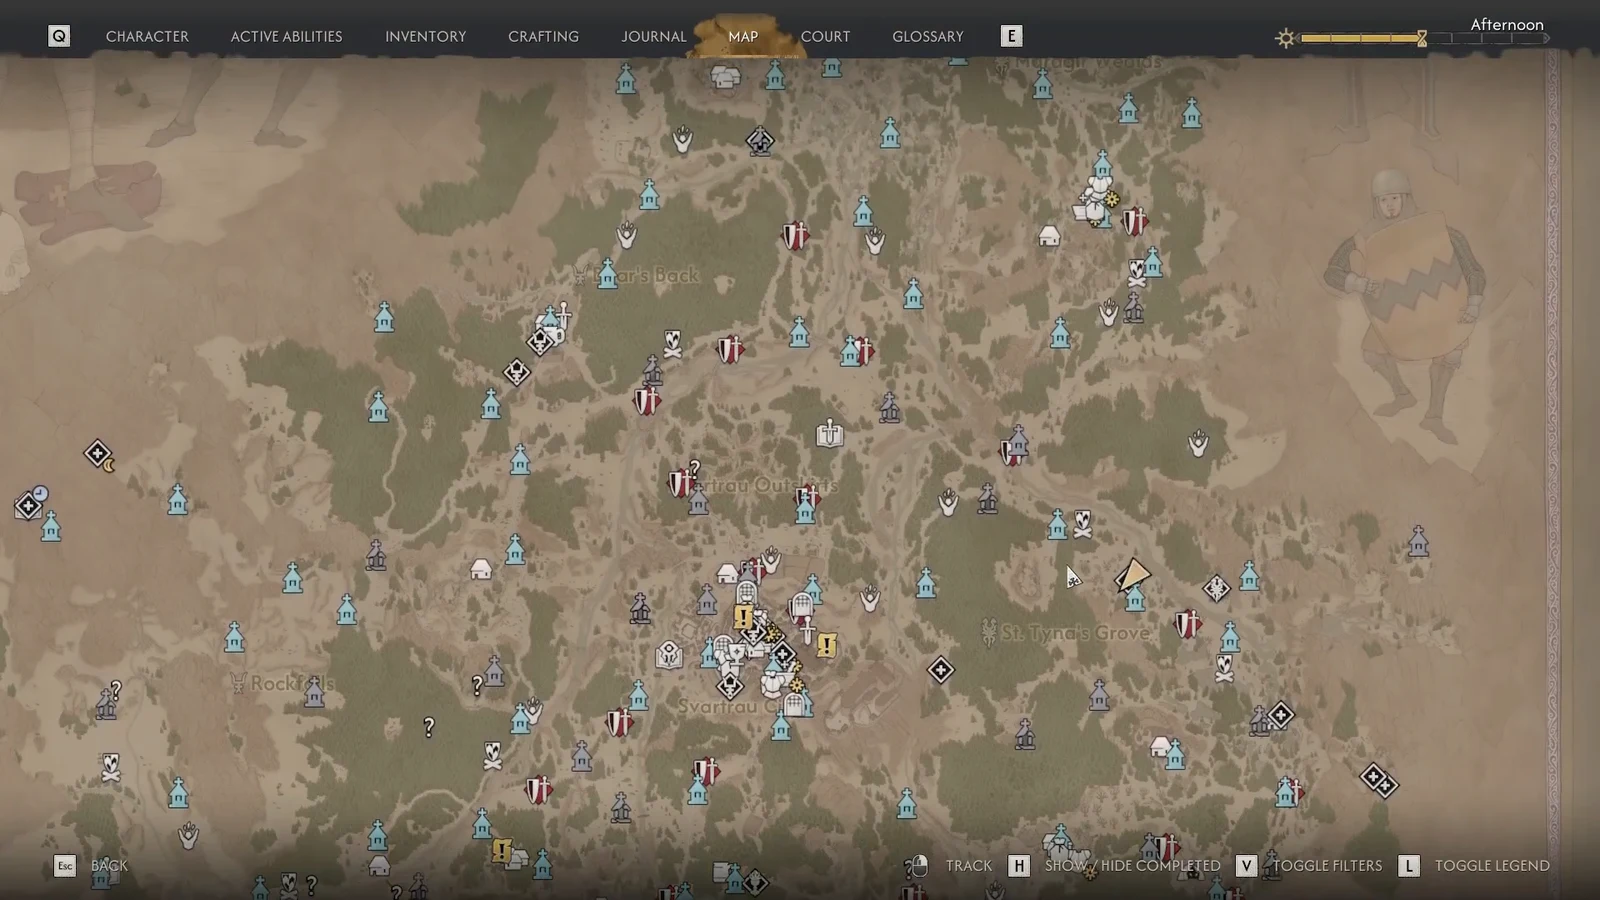
An abandoned blood transport, a smashed cart, and no soldiers anywhere. That wreck in the northern part of St. Tyna’s Grove is the whole hook for Lost Blood, a short side quest in The Blood of Dawnwalker that ends with a grieving merchant, a ring, and one of the better skill manuals you can pick up early.
Quick answer: Investigate the wrecked cart near the Pilgrim’s Trail Shrine with Focus Mode, follow the blood trail west into the cave, kill Murohn, loot the Mysterious Ring and the Letter from Father, then take both to the Silberstein General Trader in Svartrau City and speak to him again after his shop reopens the next day.
Lost Blood quest start location and rewards
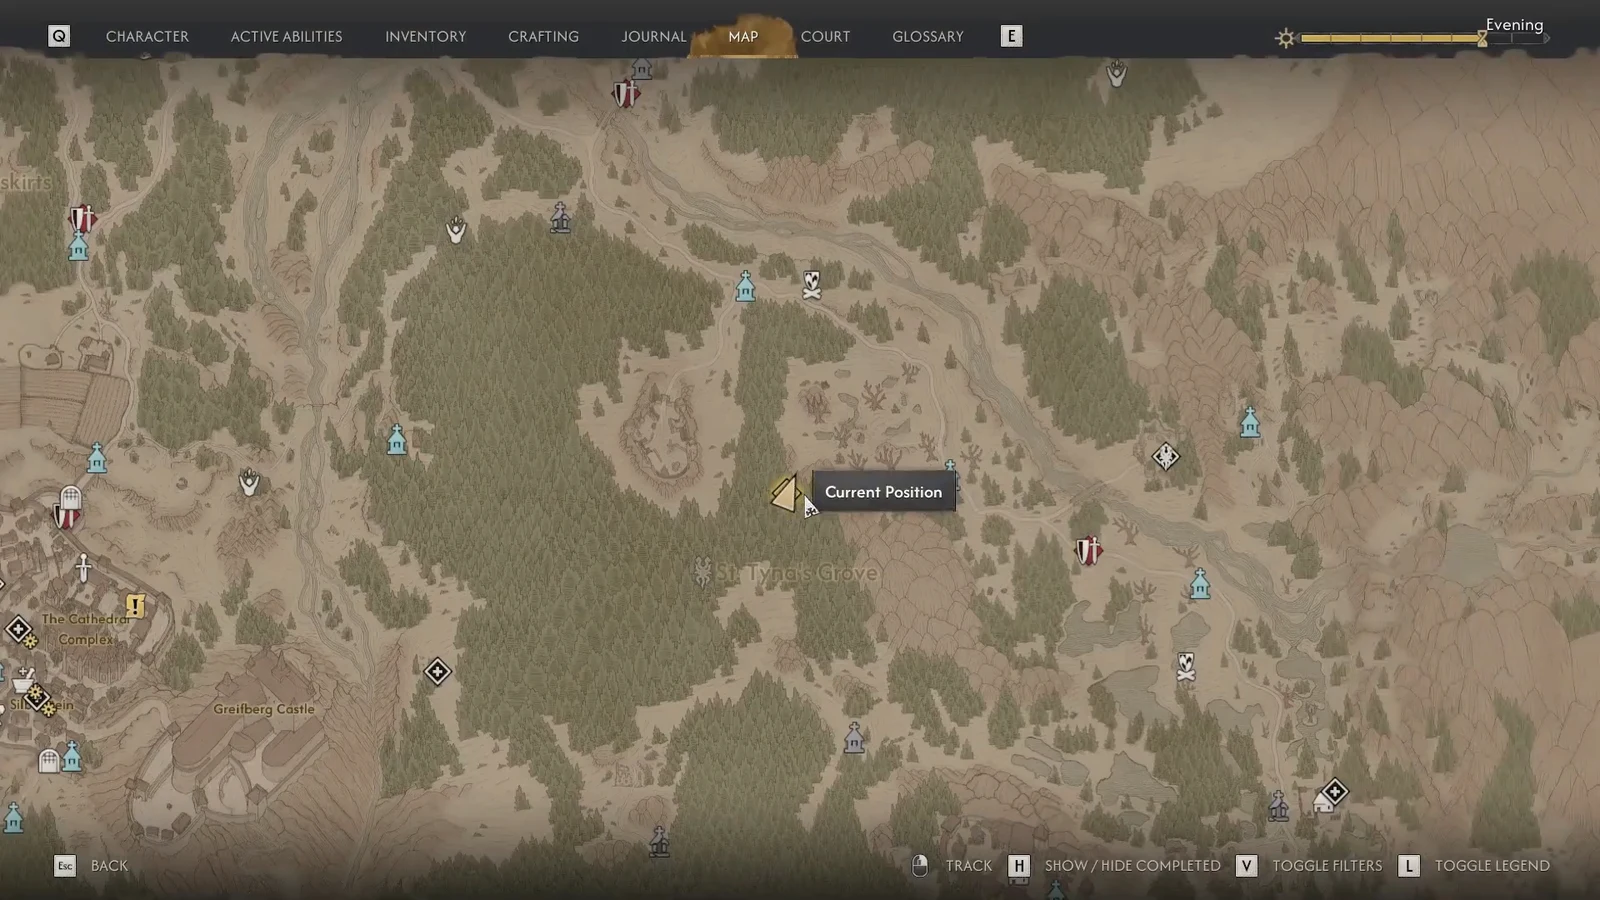
Lost Blood triggers on its own. Walk toward the destroyed blood transport north of the Pilgrim’s Trail Shrine in St. Tyna’s Grove, or approach the cave entrance to the west, and the journal entry opens automatically. It is not missable, and it is available during both day and night, so you can pick it up on the way through the area rather than making a dedicated trip.
| Detail | Value |
|---|---|
| Type | Side quest (St. Tyna’s Grove) |
| Starting location | North of the Pilgrim’s Trail Shrine |
| How to start | Approach the wrecked cart or the cave to the west |
| Available | Day and night |
| Missable | No |
| Rewards | Medicus II Manual, Mysterious Ring, Phial of Ambrus’ Blood, XP |
The Medicus II Manual is the reason to bother. It unlocks a master-tier character development perk, which is a real payoff for a quest this short.
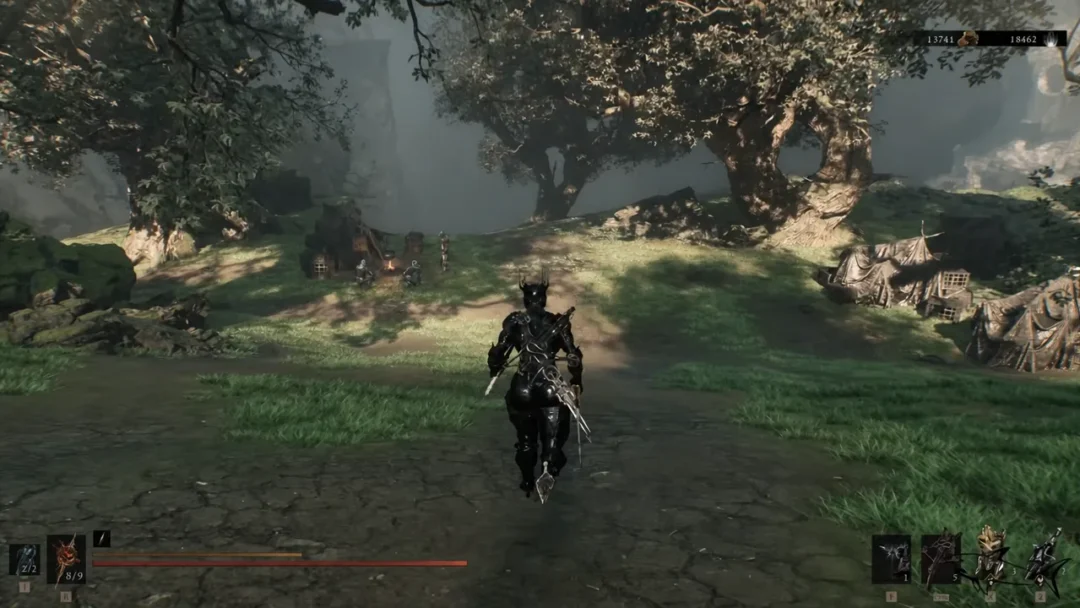
Follow the blood trail to the cave
How to beat Murohn, Malformed Monstrosity
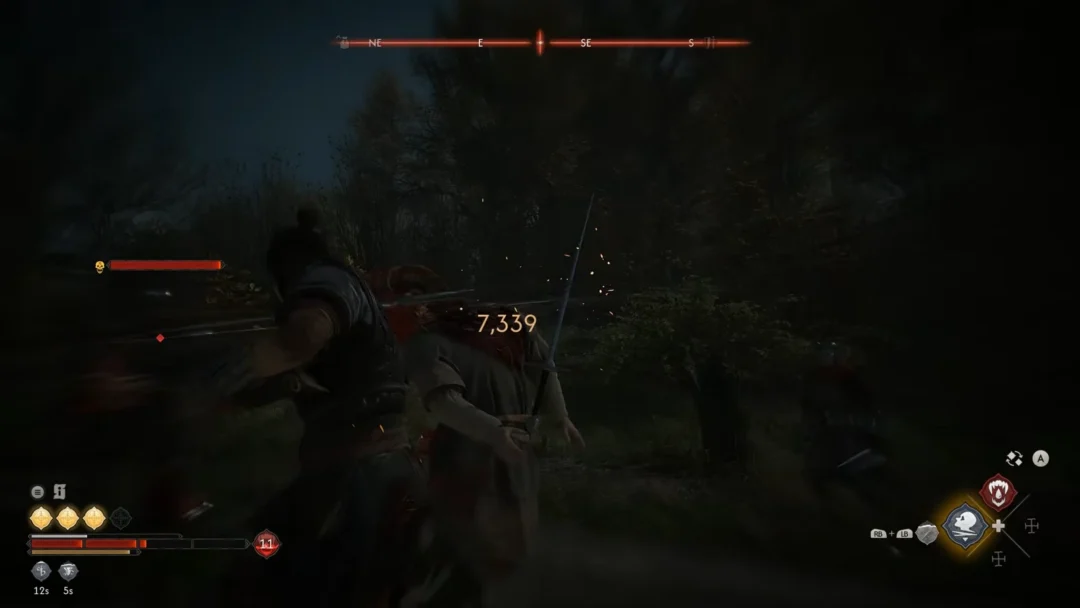
Murohn is not a wall. The only thing that makes the fight awkward is its habit of vanishing mid-exchange and reappearing somewhere else in the cave. Track where it lands instead of swinging at empty air, close the gap, and punish it during the short window after it materializes. Repeat that loop and its health bar drains quickly.
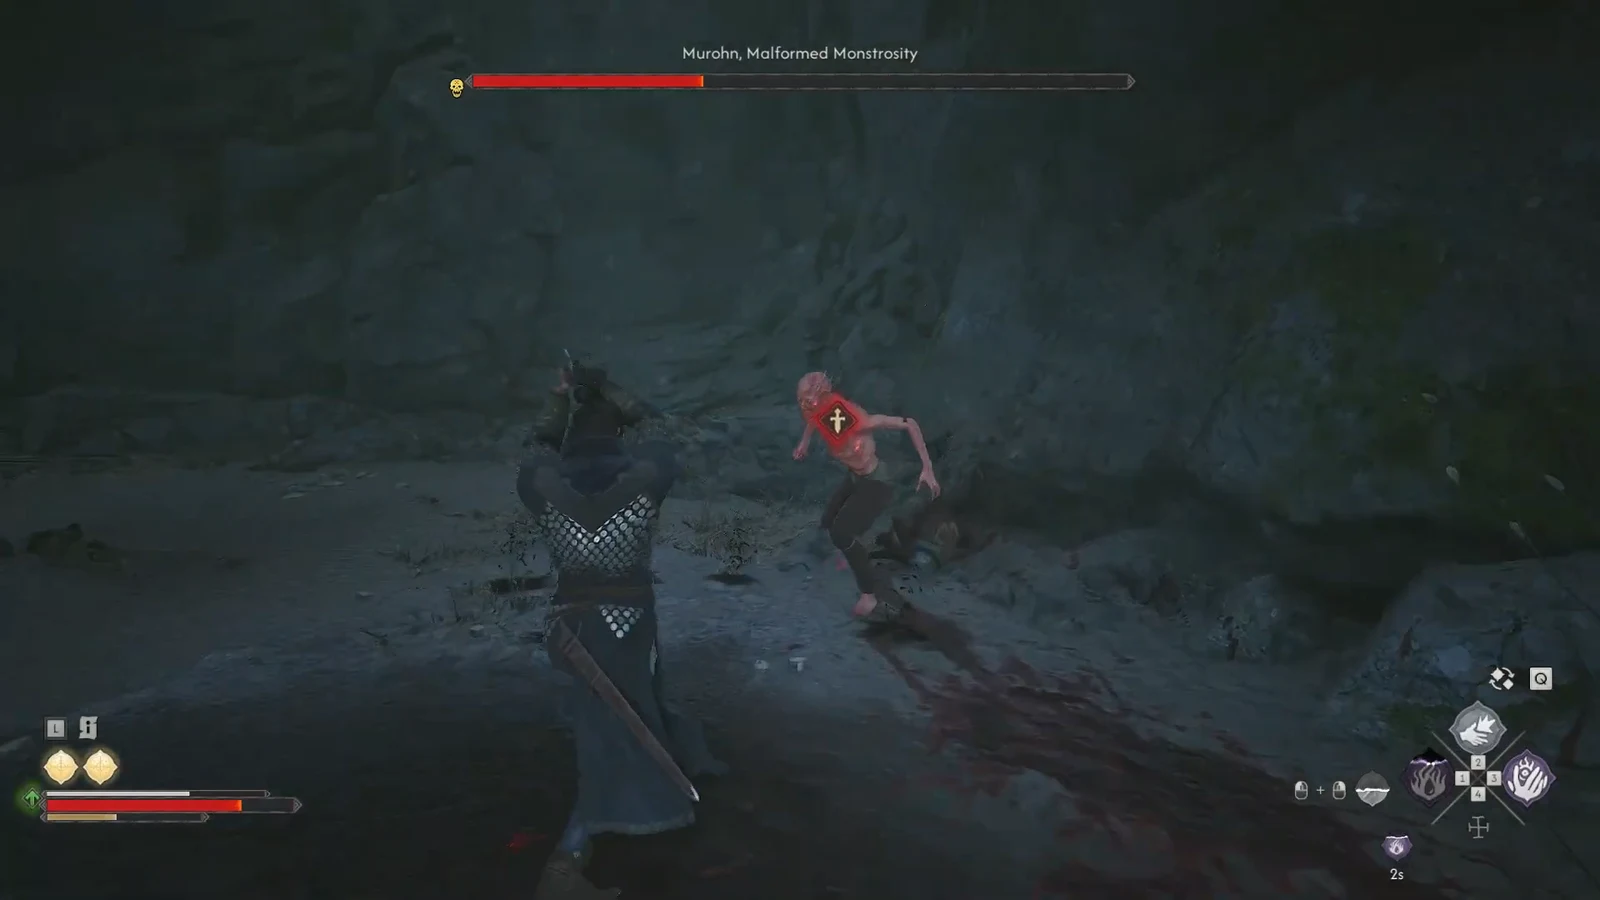
Do not leave the cave once it dies. Search the monster’s corpse for the Mysterious Ring and the phials of blood it was carrying, including the Phial of Ambrus’ Blood. Then sweep the area with Focus Mode again and grab the Letter from Father off the ground beside the remains. The ring and the letter together point you at Svartrau City.
Where to find the letter’s author in Silberstein
The author is the Silberstein General Trader, who runs a general goods shop in the Silberstein district of Svartrau City. Fast travel to the Silberstein Shrine and head south into the merchant’s store. His shop keeps normal daytime hours, so arrive while he is open.
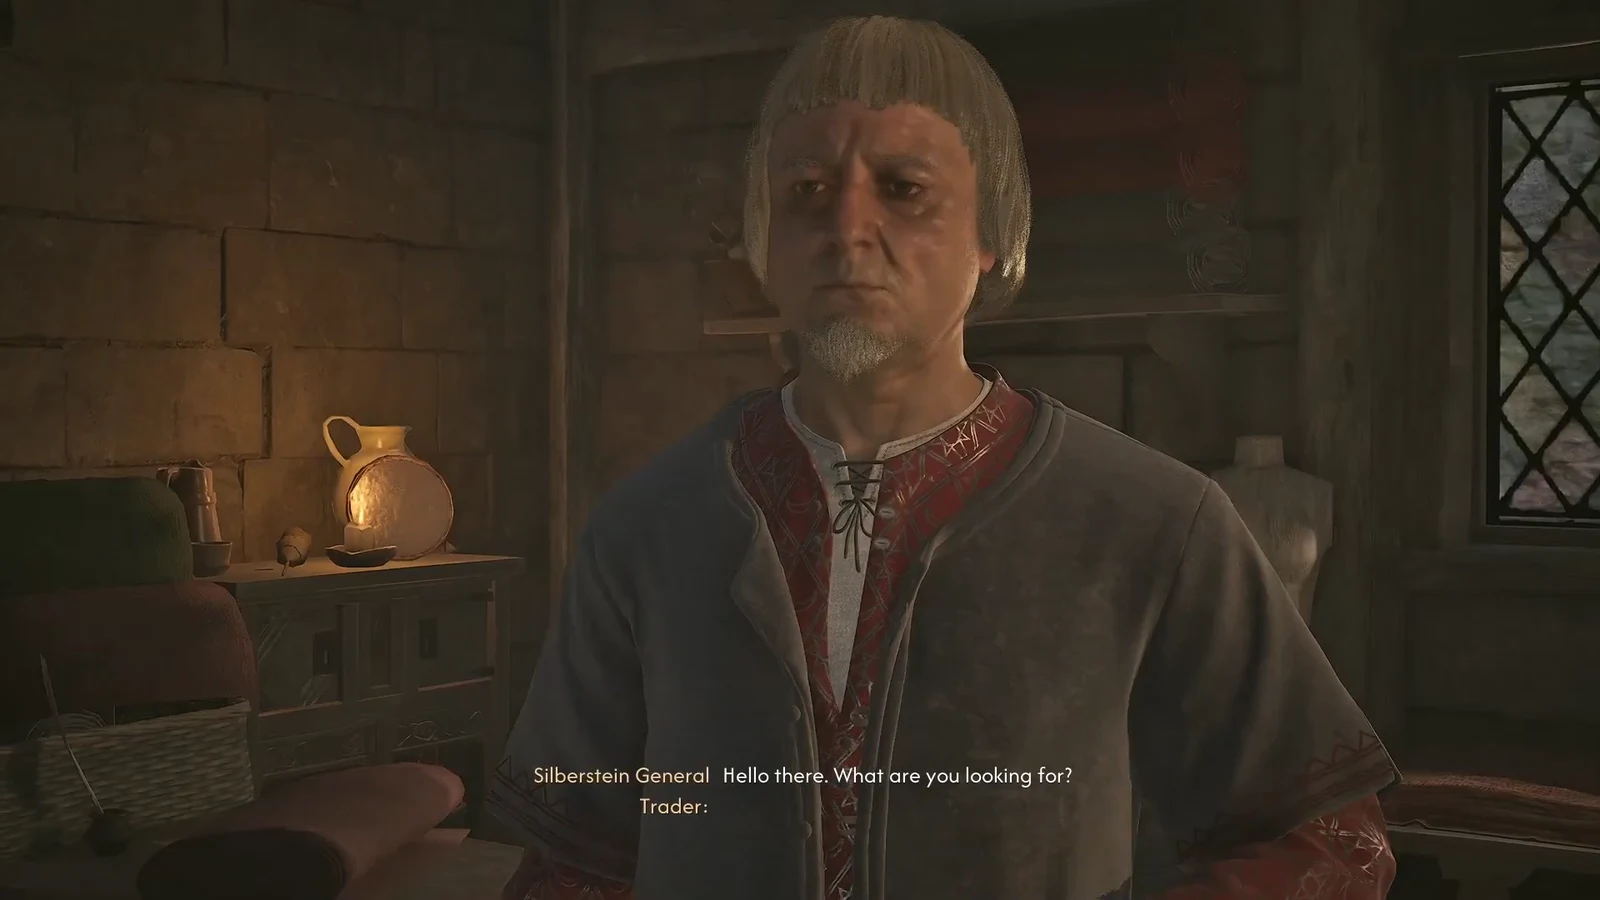
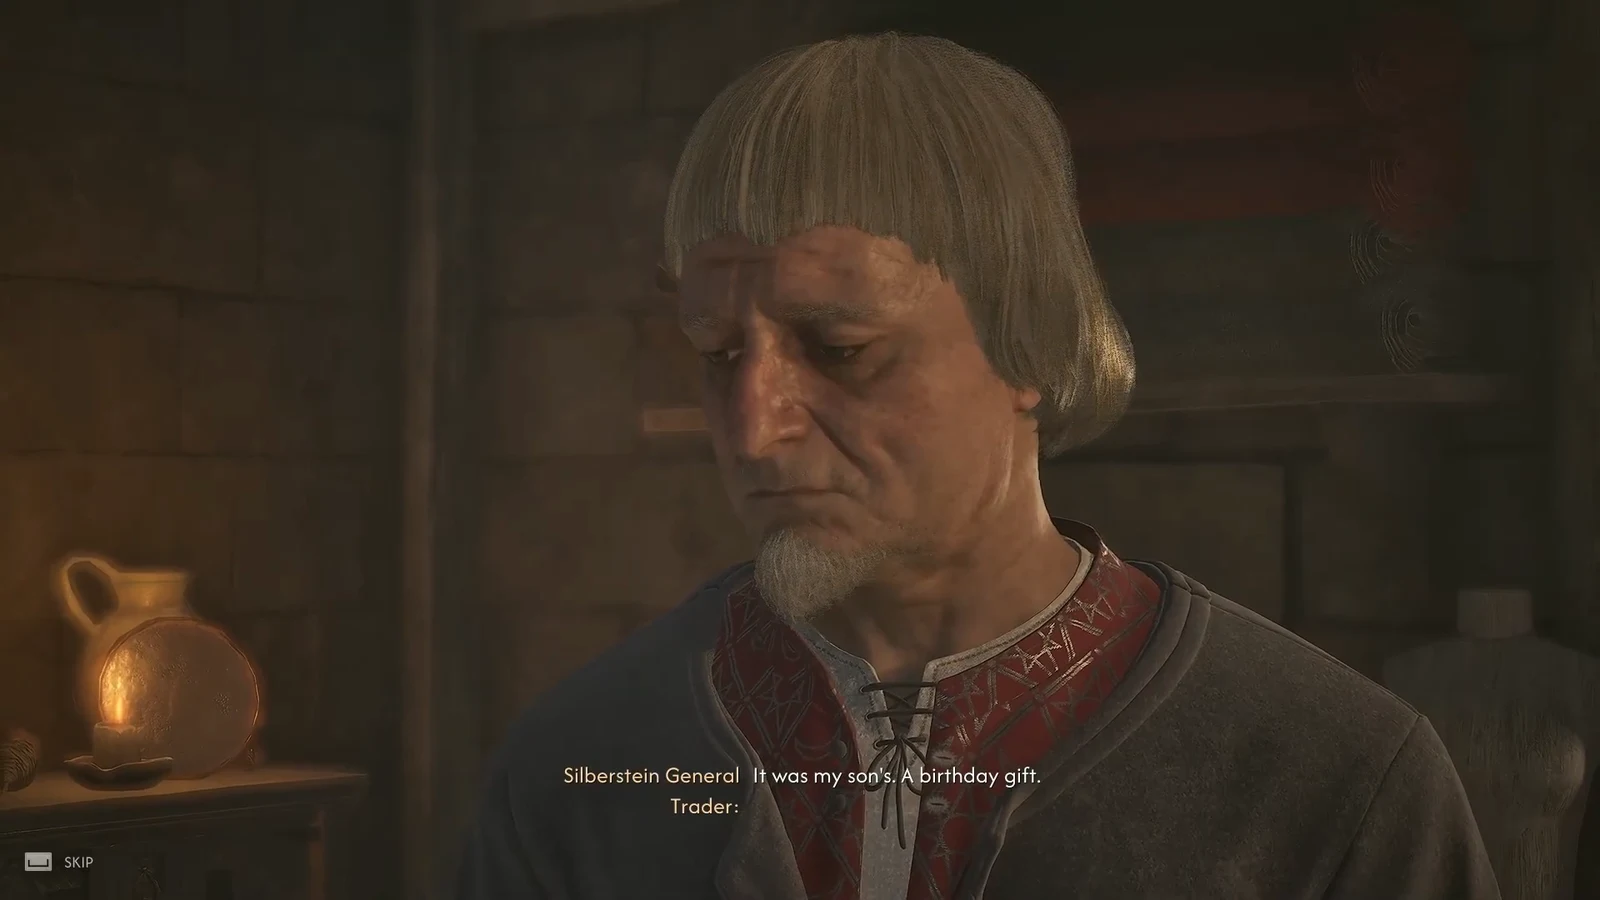
He lashes out, then shuts the shop to grieve. That conversation costs a time segment, so factor it into your schedule if the main quest clock is tight.
Wait one day, then decide what to do with the Mysterious Ring
You cannot rush this part. The merchant needs a full in-game day, which is 16 time segments across the night and the following morning, before he opens up again. Spend that time on other business nearby and come back to the shop around midday.
When you return he apologizes for blaming you, and once you accept it he asks whether you still have the ring. Both answers end the quest identically apart from the ring itself.
| Choice | Result |
|---|---|
| “I do.” | He offers to buy the Mysterious Ring back. You get coin and lose the ring. |
| “I don’t, sorry.” | He thanks you anyway but is upset it was not recovered. You keep the ring. |
The sale is straight coin with no other benefit, so keep the ring if you want it. And if you change your mind after selling, he stocks it, so you can buy it back off him later.
Confirming the quest completed, and what can block it
Lost Blood closes out the moment that second conversation ends. The journal entry resolves with Coen noting that the merchant came to understand he had no choice, and the Medicus II Manual plus the XP land in your inventory right there. If the manual is not in your bag, the second conversation did not finish.
Two things leave the quest unresolved. Walking away mid-investigation logs it as abandoned, since Coen decides the time is better spent elsewhere. And if you have already crossed the manumits, the merchant refuses to talk to you at all, which locks the ring’s story behind a closed door for good.
Note: because the trail, the fight, and the shop all sit within easy reach of shrines, this is one of the cheaper detours to slot in between main quest beats, especially if you were already heading into Svartrau City.