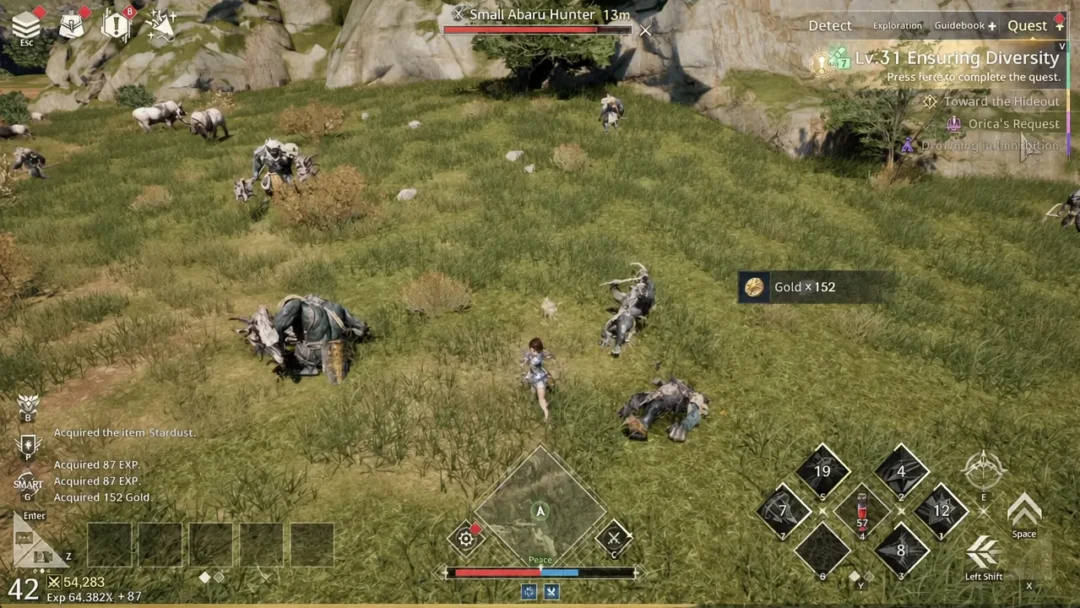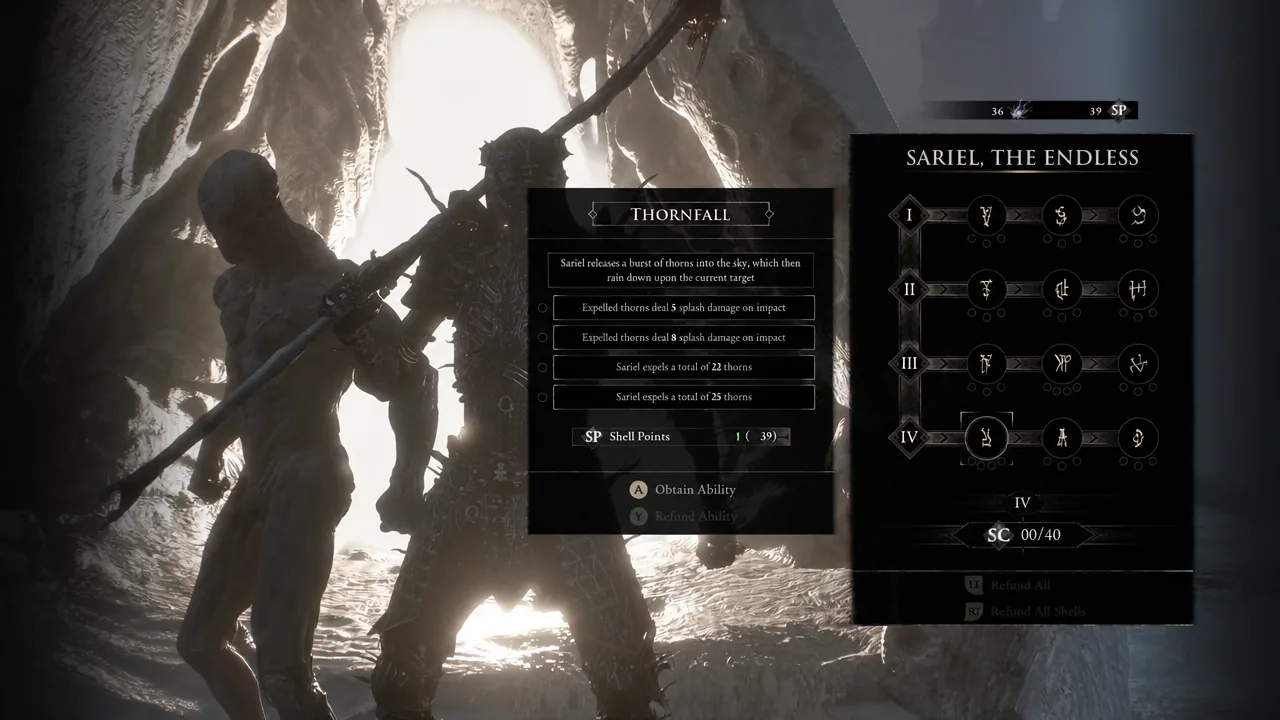
Sariel the Endless is the one Shell in Mortal Shell 2 that wants to get hit. His entire kit is built around Pain, a grey health system that marks lost health as recoverable instead of gone, and melee strikes are what pull that health back. Push the right skills and the conversion rate hits 100 percent, which means almost nothing an enemy does to you is permanent as long as you keep swinging.
Quick answer: Max Frailty and Reaper first, infuse the Clockwork Scythe with Bloodcurse using Arbiter’s Prize, slot Scholar’s Wormstone for the spinning attack, and keep hitting enemies — every melee hit cures Pain, and a full recovery fires an Entitlement shockwave that stacks Trauma.
How Pain, Curse, and Trauma feed each other
Pain marks a portion of your health bar as grey health. It is lost in a single hit if an enemy connects while it is still on the bar, but melee attacks cure it back into real health. At maximum Pain, your dodges get noticeably faster. The passive Purge starts by converting 50 percent of incoming damage into Pain when you have none; skill investment raises that figure.
Curse comes from Exodus of Thorns, the active ability that fires tracking parasitic projectiles. Applying Curse also generates Pain on yourself, which is the point — you need Pain on the bar for the healing loop to have anything to work with. A fully Cursed enemy has its next melee attack against you nullified and reflected.
Trauma is the payoff. When you fully cure your Pain, Entitlement releases a shockwave that applies Trauma stacks, and those stacks chip away at enemy posture until a Riposte opens up. So the rhythm is take damage, apply Curse, swing to heal, and let the recovery itself become break damage.
Before you can run the build
Sariel unlocks late in the Ruins of Mammon. Travel to the Silent Steps beacon in the southeast, fight him in the open, then follow him into the Chamber of Becoming. Destroy the glowing stone plates ringing the arena or he simply resurrects. Finishing the fight awards the Clockwork Scythe and the Caged Hystrix sidearm alongside the Shell itself.
From there, the limiting factor is Bond Tier. Glimpses raise it, and higher tiers are what let you spend enough Shell Points to close the loop. Until Frailty and Reaper are invested, Sariel feels fragile rather than unkillable, so treat that early grind as mandatory.
Shell Point allocation (30 points)
Frailty and Reaper come first, always. Frailty at rank 3 pushes 100 percent of incoming damage into Pain, and Reaper controls how much of it you claw back per hit. Everything else is scaling on top of a loop that already works.
| Skill | Level | Points | What it does |
|---|---|---|---|
| Frailty | 3 | 6 | 100% of incoming damage is applied as Pain |
| Reaper | 2–3 | 3–6 | Cures 50% more Pain on hit; rank 3 lets ranged damage cure Pain too |
| Entitlement | 2–3 | 3–6 | Full Pain recovery fires a shockwave inflicting 10 Trauma stacks |
| Scourge | 3 | 6 | Curse immunity for you; enemies stay Cursed for 30s |
| Thornfall | 3 | 6 | More thorn projectiles, splash damage, better tracking |
| Growth | 2 | 3 | Raises Exodus of Thorns damage and adds Perforation |
| Torment | 2 | 3 | Thorns deal up to 200% damage scaled off your Pain |
Several skills are worth knowing but sit outside the core 30. Affliction at rank 3 makes every other Cursed enemy take up to 50 percent of the damage dealt to your target and gain 2 Curse stacks, which is the single best group-clearing effect Sariel has. Restoration at rank 3 cures 70 percent of Pain when you heal with Mother’s Pulse. Reversal at rank 3 adds 15 Break Damage whenever a Cursed enemy hurts itself. Synthesis speeds up thorn regrowth by up to 40 percent. Agonize refills Resolve over time up to 80 percent, but it competes badly with the break-focused nodes.
Note: if you run the group-focused variant, drop points from Thornfall and Growth to max Affliction and Restoration instead. The healing loop stays identical either way.
Best weapon for Sariel: Clockwork Scythe with Bloodcurse
The Clockwork Scythe is the pick, and not just for the reach. Infused with Bloodcurse through the Arbiter’s Prize Tarstone, it stacks a damage-over-time effect on top of the Curse you are already spreading, and it pairs with Scholar’s Wormstone to produce a sustained spinning attack players have nicknamed the pizza cutter. That spin lands hits fast enough to cure Pain almost as quickly as enemies inflict it.
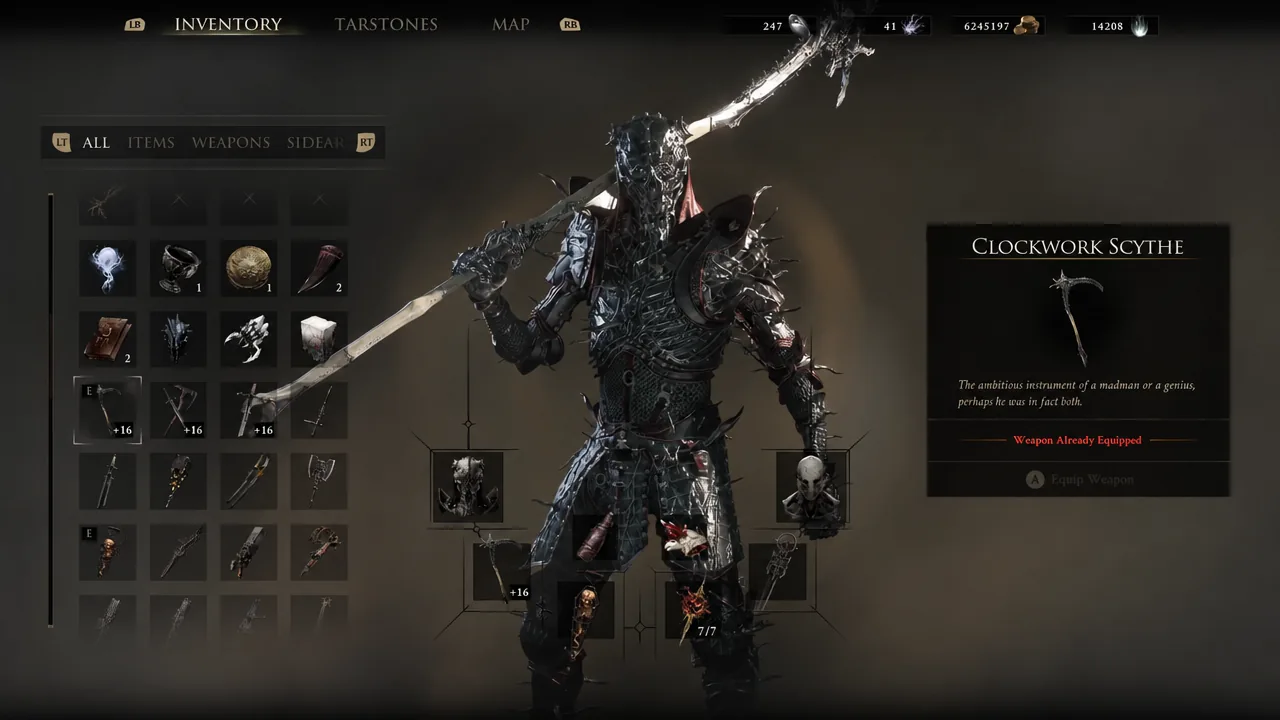
The scythe swings slowly on paper, which is why Thief’s Stone matters as the combat slot — it grants Warp stacks per strike and effectively speeds up your attacks. If you want a different feel, The Iconoclast stacks Curse faster, the Veteran’s Battle Axe trades speed for stagger, and the Axatana works for players who prefer dual-blade combos. None of them replicate the Wormstone spin, though.
Sidearm options: Cursed Child or Caged Hystrix
Cursed Child is the aggressive choice. Slotted with the Summoning Stone, it calls up two spectral copies of enemies you have recently killed, and they pull aggro while you rebuild Pain and swing freely. Against a crowded room, that distraction is worth more than raw sidearm damage.
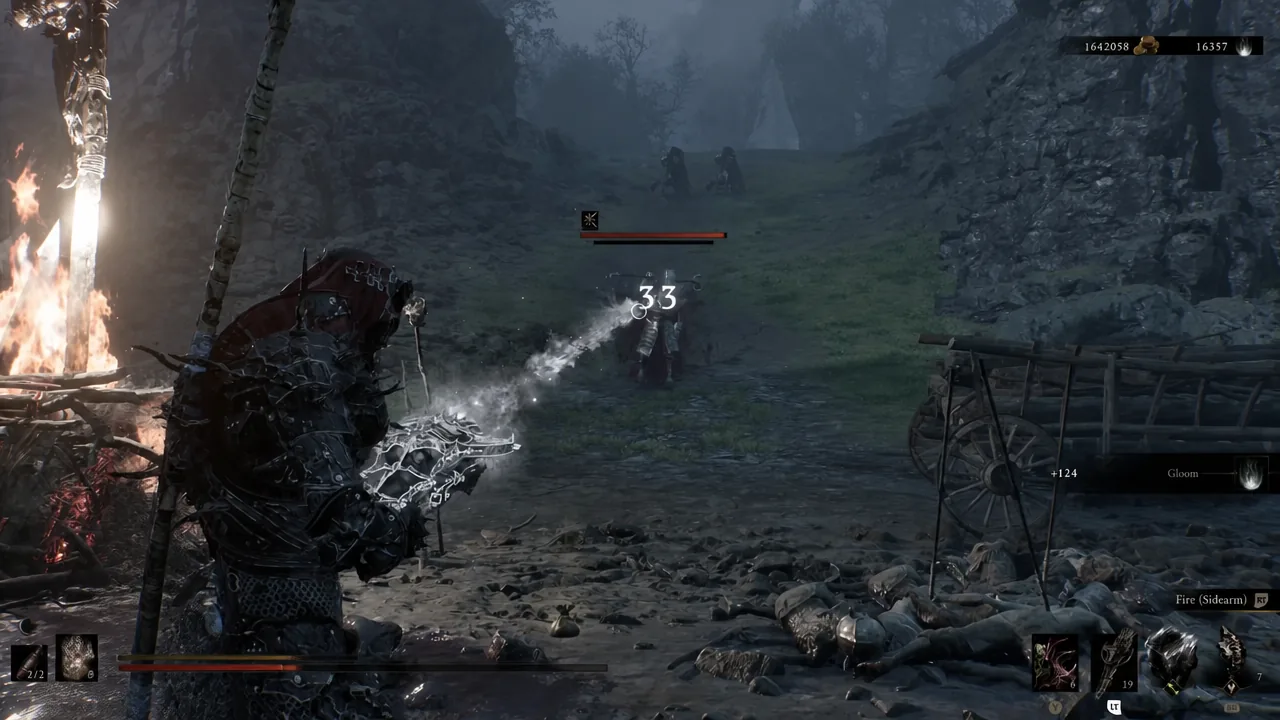
Caged Hystrix is the steadier option, with a fast fire rate and a generous ammo pool that carries exploration. Pair it with Accursed Stone to infuse Curse, Splitting Stone for extra damage, and Strange Remnant for clearing packs. With Reaper at rank 3, ranged damage cures Pain too, so the sidearm stops being a break from the loop and becomes part of it.
Tarstone loadout
The support slots exist to make each spin tick hit harder, since the build lands a huge number of small hits rather than a few big ones. Critical chance and critical damage scale that far better than flat attack bonuses.
| Slot | Tarstone | Effect |
|---|---|---|
| Support | Auspicious Stone | +18% critical chance |
| Support | Headsman’s Stone | +100% critical damage |
| Weapon combat | Thief’s Stone | Warp stacks per strike, raising attack speed |
| Weapon combat (alt) | Enfeebling Stone | Applies Fragile stacks per strike |
| Weapon infusion | Arbiter’s Prize | Permanent Bloodcurse infusion |
| Weapon ability | Scholar’s Wormstone | Enables the sustained spinning attack |
| Sidearm | Summoning Stone | Summons spectral copies of defeated enemies |
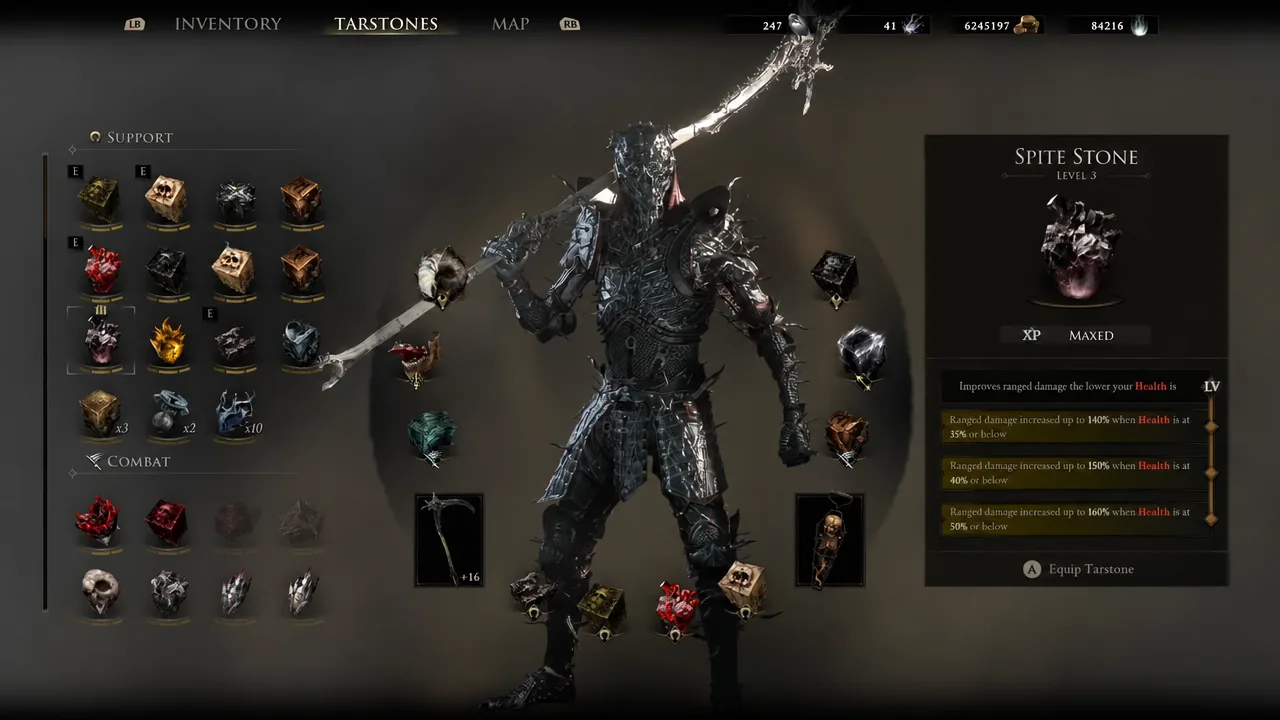
For a Seal, Vatra’s Seal fits best. Hardening mid-swing holds the spinning attack in place, so you keep dealing damage and curing Pain while absorbing the next hit rather than dropping your combo to dodge.
Items to keep equipped
Common Moonshine is the active item of choice because Resolve, not health, is what actually runs out during long fights. For the passive slot, Grisha Remnant gives your attacks a chance to summon a Grisha that staggers bosses and opens a window. Mango is worth carrying as an emergency full heal, and Sheephead Totem is an option if you want to lean further into low-health scaling.
The combat rotation
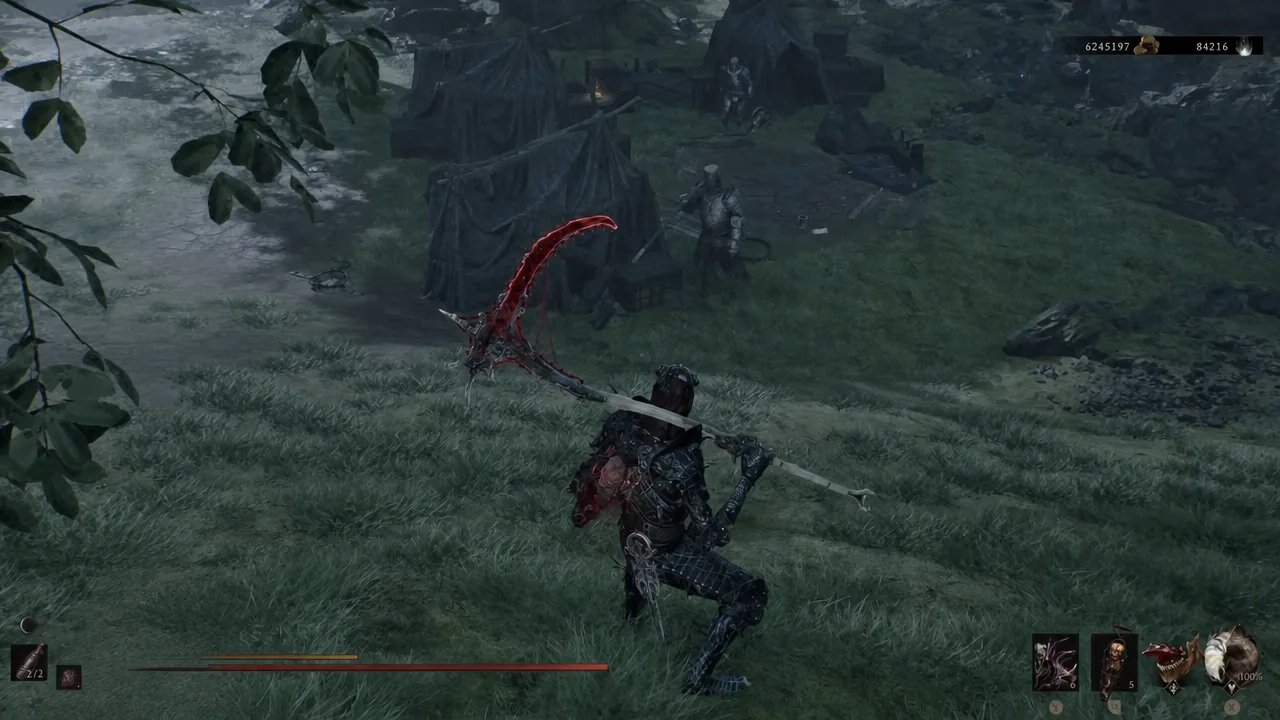
Against groups, throw thorns at the biggest threat first so its attacks reflect back while you recover. Against bosses, the loop is the same but the margin is thinner, because one unblocked hit while grey health is on the bar erases all of it.
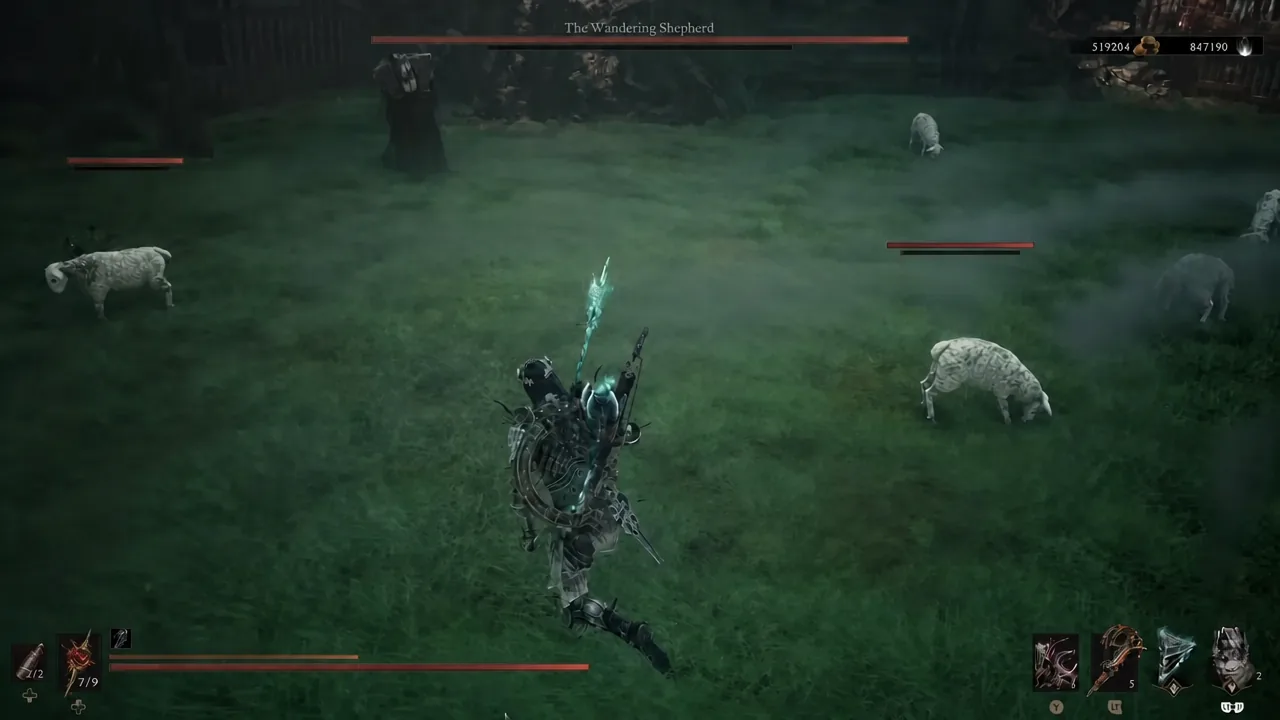
How to confirm the loop is working
Three visual cues tell you the build is set up correctly. Damage you take should appear as grey health rather than shrinking your maximum bar, melee hits should visibly refill that grey portion, and a shockwave should burst out of Sariel the instant the grey section fully clears. If the shockwave never appears, Entitlement is not high enough or you are being interrupted before the recovery finishes.
When the loop breaks, it is usually one of a handful of reasons. Casting Exodus of Thorns and then backing off leaves you with Pain you never recover. Getting hit while grey health is still on the bar wipes it entirely, so you have to keep attacking rather than retreating. Skipping Frailty means a large share of damage stays permanent. And spending early points on damage nodes before Reaper and Frailty leaves you too brittle to farm the Glimpses you need for the rest of the tree.
Sariel rewards a specific kind of nerve. The instinct in a Souls-like is to disengage when your health bar drops, and here that instinct is exactly what kills you — the health is still there, sitting in grey, waiting for you to swing at something. Once that clicks, the Shell stops feeling like a gimmick and starts carrying entire regions.