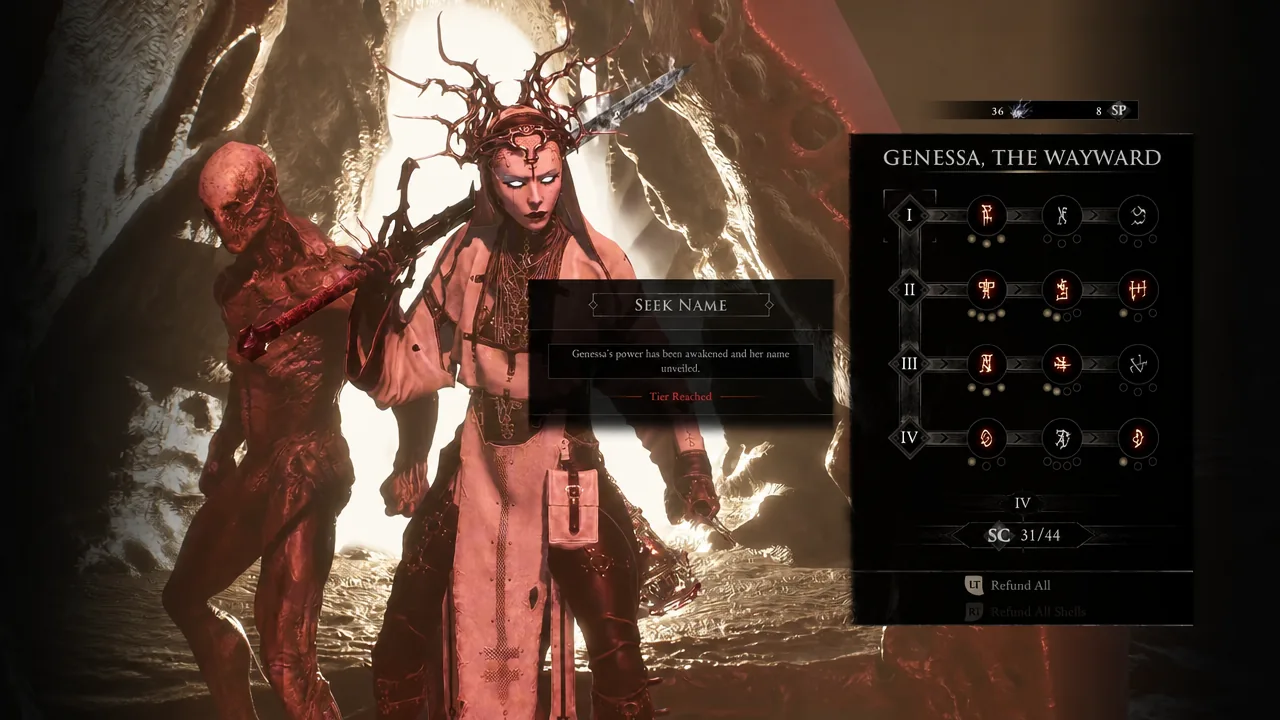
The Iconoclast is one of the few weapons in Mortal Shell 2 that applies both regular Curse and Blood Curse, which makes it the anchor for several strong Shell setups. Three shells in particular turn those effects into full builds: Sariel the Endless for curse-spread damage and self-healing, Genessa the Wayward for stasis clones, and Gragu the Insatiable for critical-heavy punches. Each one leans on the weapon’s curse application while stacking different Shell abilities and Tarstones.
Quick answer: Run the Iconoclast with the Shrike Stone weapon ability, Headsman’s Stone for +100% critical damage, and Thief’s Stone for attack speed. Then pick Sariel for curse-spread tanking, Genessa for stasis clone damage, or Gragu for high critical-chance punches.
Why the Iconoclast anchors these builds
The Iconoclast is the starting two-handed sword, given during the Prologue after equipping the Harros the Vassal shell. It keeps long-term value because it can apply Blood Curse, and its light and heavy attacks stay reliable through the whole game. Upgrading it costs Ventrium and Coin through Level 6, then shifts to Laterite at Level 7, reaching a 150% damage increase at Level 10.
The Shrike Stone is the preferred weapon ability across all three setups. It provides generous invincibility frames, hits multiple times, and adds splash damage, which pairs well with abilities that generate resolve from multi-hit attacks. Common Moonshine is the recommended quick-slot item to refill resolve so you can keep using weapon abilities.
Choosing between Sariel, Genessa, and Gragu
Each shell changes how the Iconoclast plays. The table below shows the core mechanic and gear focus for each one, so you can pick based on how you want to fight.
| Shell | Core mechanic | Sidearm |
|---|---|---|
| Sariel the Endless | Curse spread and pain-to-health tanking | Cursed Child |
| Genessa the Wayward | Stasis clones and Stray Form damage | Naylshotte |
| Gragu the Insatiable | Blood curse healing and critical punches | Recommended gear for high crits |
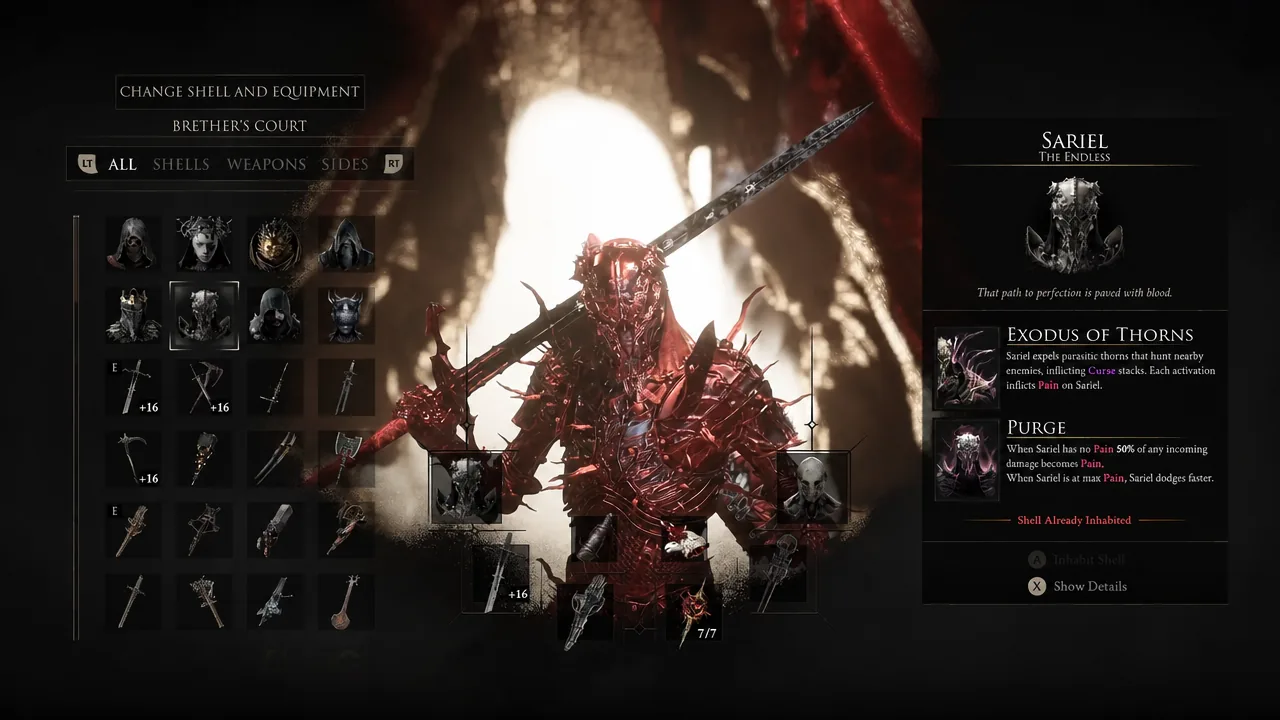
Sariel the Endless: curse spread and self-healing
This setup turns Sariel into a tanky necromancer. The key skill is Affliction, which makes every cursed enemy take up to 50% of the damage you deal to any single cursed target. Curse the whole room, then focus one enemy and watch the rest lose health at the same time.
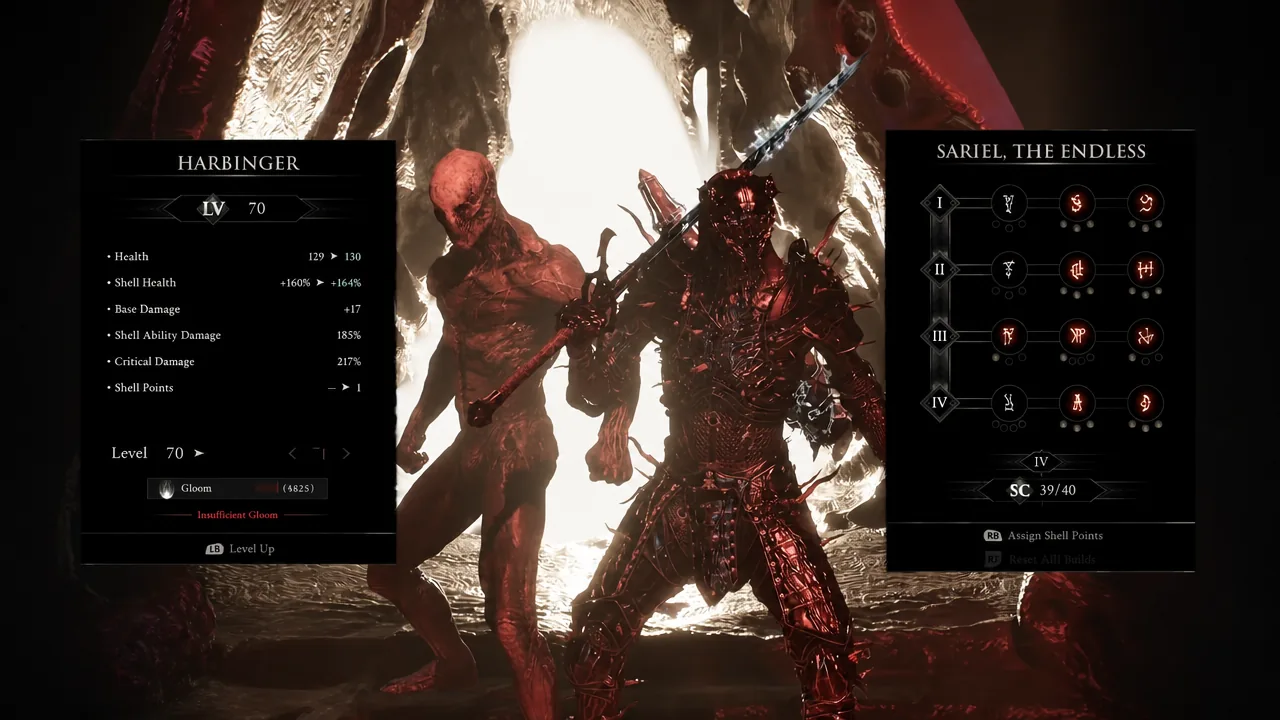
The survivability comes from two skills working together. Frailty converts 100% of incoming damage into Pain instead of straight health loss, and Reaper heals 50% of that Pain whenever you hit an enemy. Sariel further cures 70% of Pain, so aggressive play keeps you alive. Curses last 30 seconds, which gives you plenty of time to spread them across a fight.
For gear, pair the Cursed Child sidearm with the Summoning Stone so defeated enemies rise to fight alongside you. Recommended ranged options also include the Caged Hystrix. The result is a build that heals through damage while an army of summoned allies and curse spread wears everything down.
Genessa the Wayward: stasis clones and Stray Form
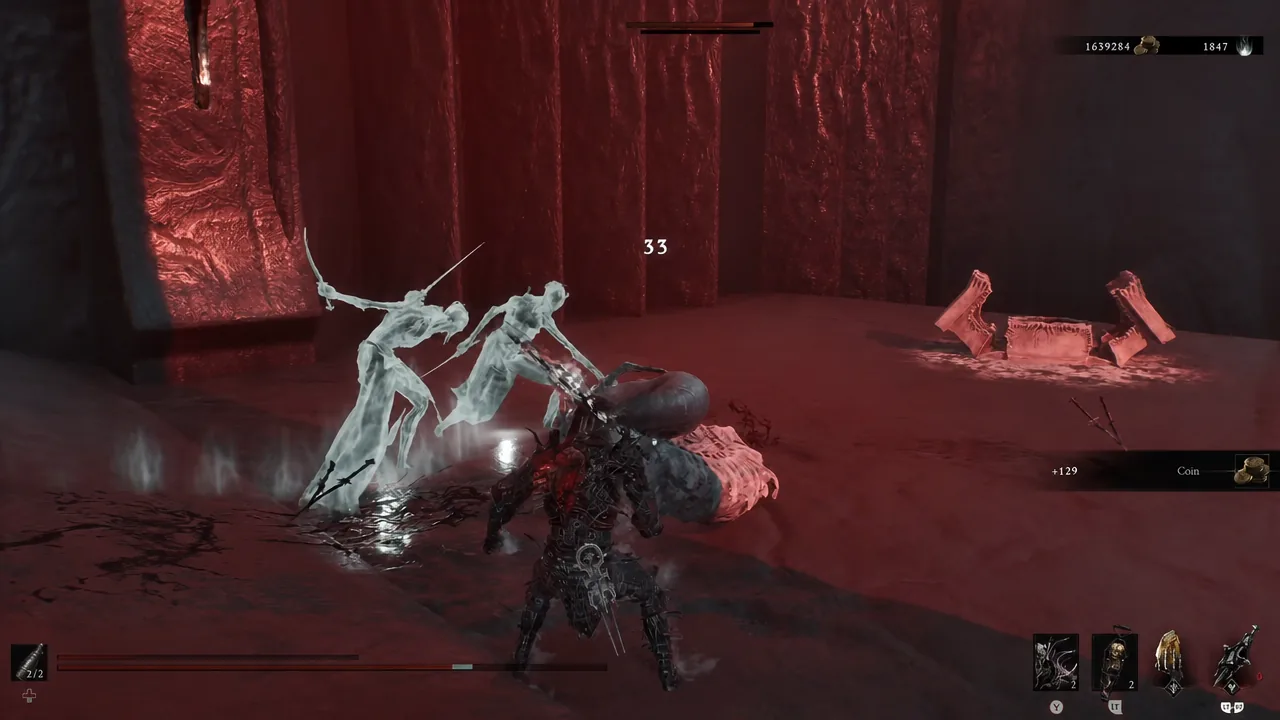
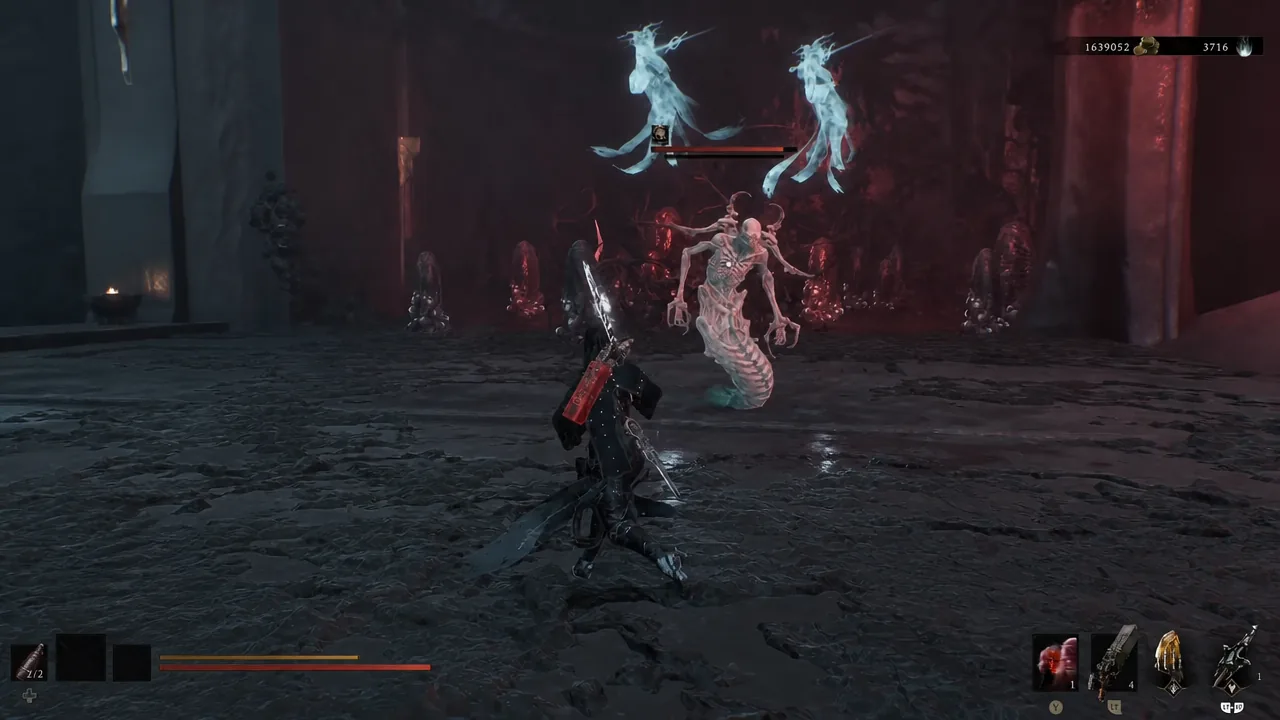
Genessa builds around Faithful Doubles, summoned clones that track enemies and apply Stasis stacks to slow them down. Stasis acts as a defensive layer while your clones and light attacks pile on hits. This is a damage-and-control setup rather than a tank.
Augmentation is the engine here. It rapidly generates resolve when you land multi-hit attacks, and the Shrike Stone’s multiple hits feed it well. That resolve keeps clones and abilities running. To maximize burst, use Intangible and Mirage in Stray Form, which summons extra clones and pushes damage up by as much as 500%.
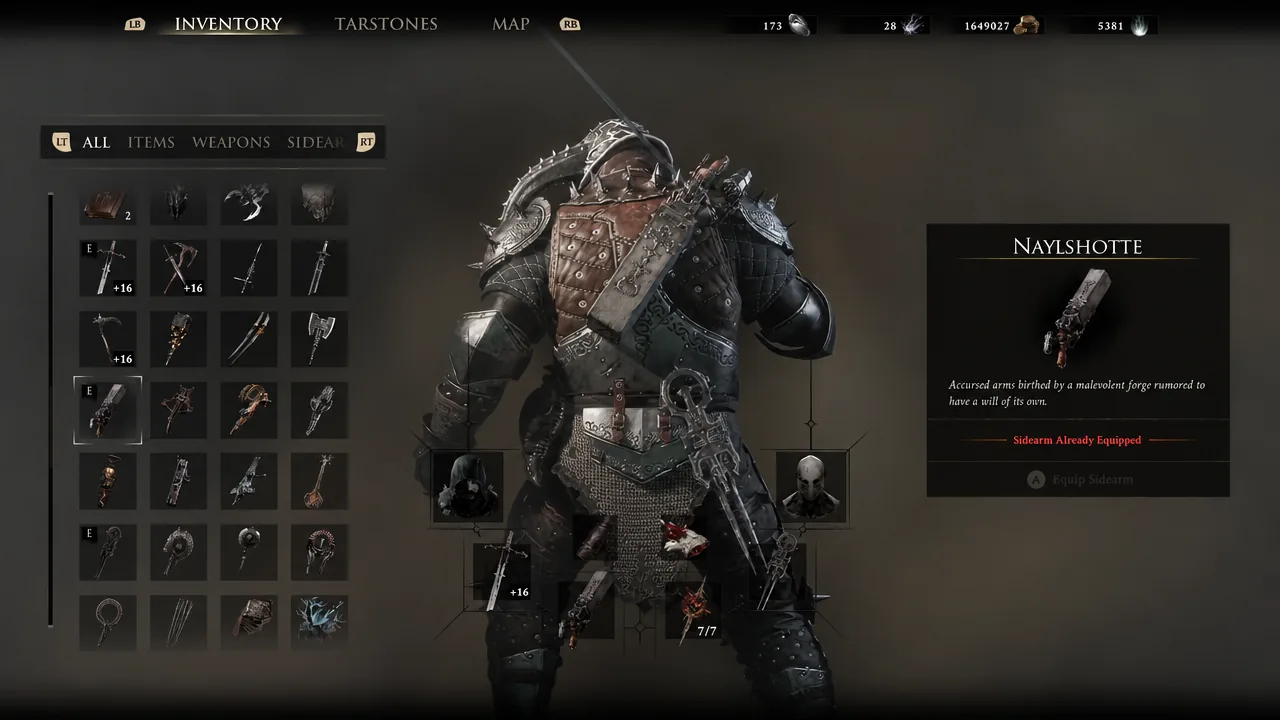
Equip the Naylshotte shotgun for reliable close-range shots and add the Viletongue Hedron Tarstone. Spamming light attacks with your Faithful Doubles is the main loop, and the Duality and stasis effects double up damage while keeping enemies slowed.
Gragu the Insatiable: blood curse healing and critical punches
Gragu is the aggressive brawler of the three, built around melee power and critical hits. Heartwork gives a 3% chance to fully replenish your health-restoring Revered Hearts each time you apply a Blood Curse, which keeps your sustain topped up during long fights.
Attunement reduces the resolve cost of Staggering Blow by 50%, so you can throw out staggers repeatedly. The critical spike comes from Hunger, which grants +60% critical hit chance when you are out of Revered Hearts. With supporting stones, this build can reliably reach 75% or higher critical hit chance, which is strong against bosses. Gragu’s melee attacks also hit hard, scaling up to 200% damage.
Universal Tarstones and infusions for all three
A small set of passive and combat stones improves every one of these setups. The values below stack into large boosts to critical damage, critical chance, and low-health damage.
| Tarstone | Effect | Role |
|---|---|---|
| Headsman’s Stone | +100% critical hit damage | Passive, all builds |
| Thief’s Stone | Attack speed via warp stacks | Best combat stone |
| Shrike Stone | Multi-hit, splash, i-frames | Weapon ability |
| Berserker’s Stone / low-health stones | +165% damage when below 50% health | Passive damage |
For weapon infusions, bleed and curse options fit the Iconoclast’s identity, and the Curseblood Stone and Arbiter’s Prize are strong picks for applying Blood Curse. If you prefer a different weapon ability, the Acolyte’s Stone is an alternative to the Shrike Stone, though the Shrike Stone’s i-frames and multi-hits make it the safer default.
Note: Common Moonshine and the Sheephead Totem are useful quick-slot items. Moonshine restores resolve quickly for weapon abilities, which matters most for Genessa’s resolve-hungry clone loop.
Which build to pick
Pick Sariel if you want to survive long fights while curse spread and summons do the work. Choose Genessa if you like fast, clone-driven damage with stasis control that keeps enemies slow. Go with Gragu if you want raw critical punches backed by blood curse healing. All three keep the Iconoclast relevant well past the point where most players swap it out, and the shared Shrike Stone, Headsman’s Stone, and Thief’s Stone core carries across each one.