The 3.2 main story chapter in Zenless Zone Zero runs as a short, tightly packed sequence. A comedy bit at Amber Hall leads into a stolen-property reveal, that reveal pulls the villain Youkai out of hiding, and Youkai answers by dropping a giant boss called Kusarikku on the party. The whole thing takes under ten minutes of story time, and almost all of the plot movement happens on either side of the fight.
Quick answer: Kusarikku is the boss of the 3.2 main story chapter. Youkai summons it after Claret destroys a mech built from her stolen Porcelloy, you fight it with Claret, Lindverne, and Belle, and the chapter ends with a cutscene where Lindverne and Belle sync their powers for the killing blow before Youkai escapes to Boeastrum.
Who appears in the 3.2 main story chapter
Six named characters carry the chapter, and only three of them are playable during the boss encounter. Knowing which is which helps if you are jumping in mid-season.
| Character | Role in the chapter |
|---|---|
| Claret | Destroys the counterfeit mech built from her stolen Porcelloy; playable in the boss fight |
| Lindverne | Senses something the others cannot before Youkai appears; playable in the boss fight |
| Belle | Questions Youkai directly after the fight; playable in the boss fight |
| Roxy | Found in the room with a girl who has fainted, and insists she was only helping |
| Cissia | Knocks over the visitor arriving at Amber Hall in the opening scene |
| Youkai | The antagonist who summons Kusarikku and demands the Karma Core |
Cutscene order before the boss fight
The chapter opens on a blonde visitor hauling a box toward Amber Hall, narrating her own navigation the entire way. She makes it to the door, gets excited about seeing Lady Sunbringer, and is immediately flattened by Cissia sprinting past. The panic that follows is played for laughs, with Cissia convinced she has killed someone.
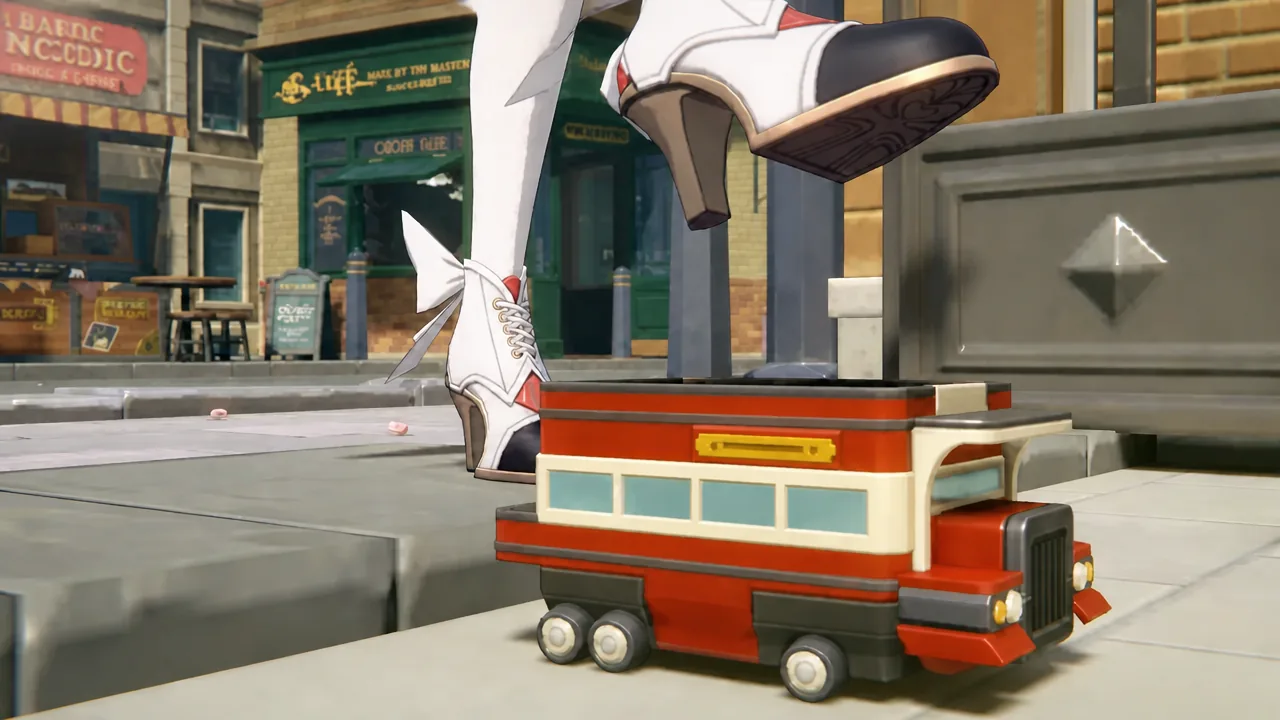
Claret’s group then finds Roxy in a room with a green-haired girl who has passed out from dizziness. The mood turns when Claret spots what her Porcelloy was used for. Someone had taken it to build a mech and pointed it back at her, and she wrecks the machine on the spot.
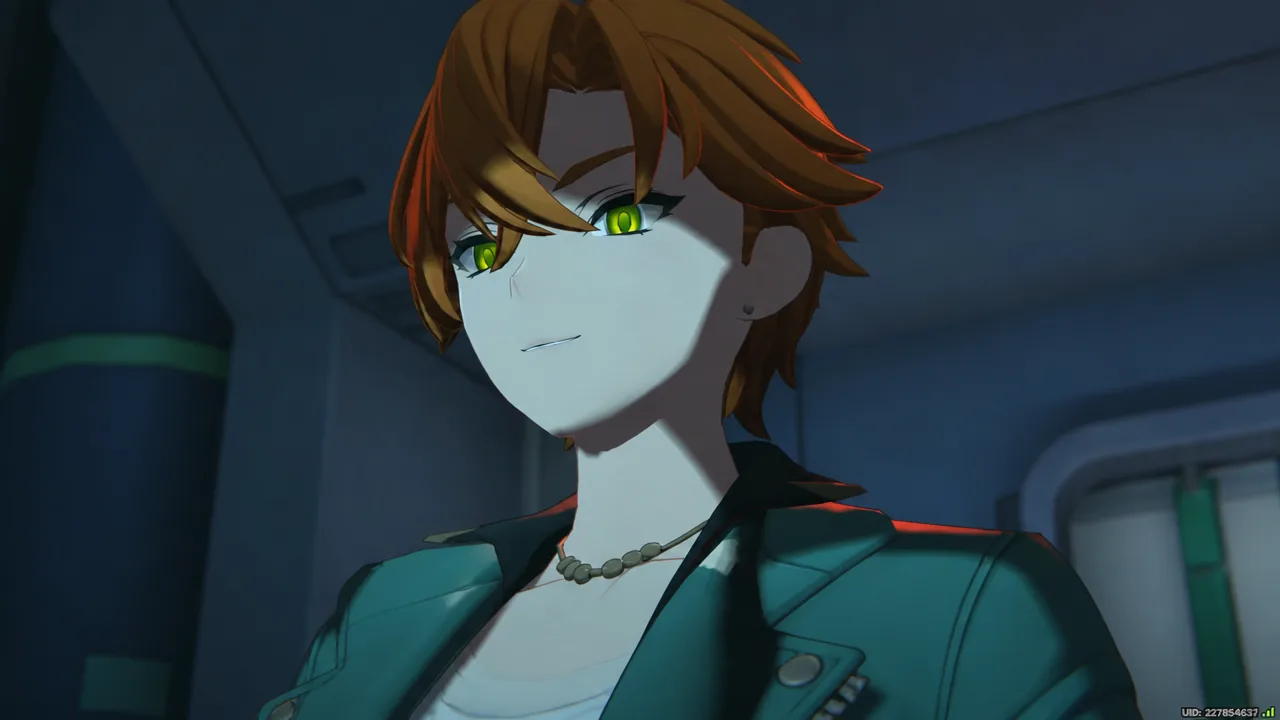
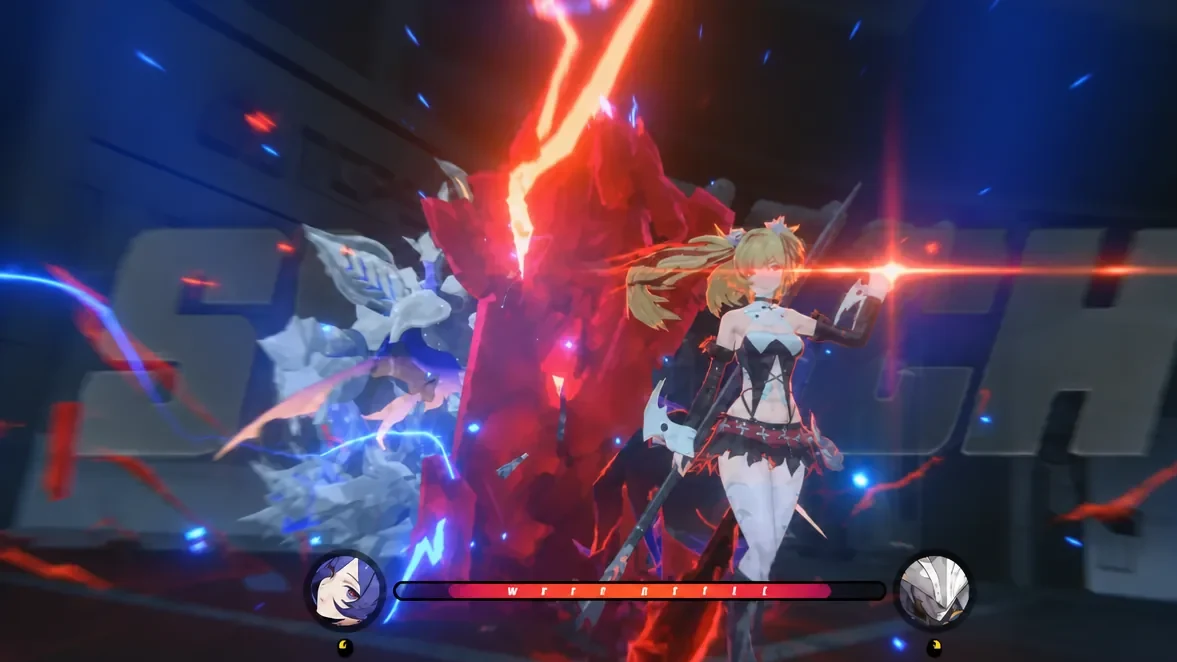
Lindverne stalls on the way out, seeing something nobody else can. Youkai steps in, calls her special, tells the group it ends there, and shows off what he calls his replacement for Sunbringer. He then demands the Karma Core and summons Kusarikku, and Claret’s reply doubles as the transition into combat.
Kusarikku boss fight and the Counter Assist tutorial
The Kusarikku encounter is a standard story boss fight fought with the three-agent team the chapter hands you. It is reached through the main commission flow rather than a side activity, so you do not need to unlock anything separately to trigger it.
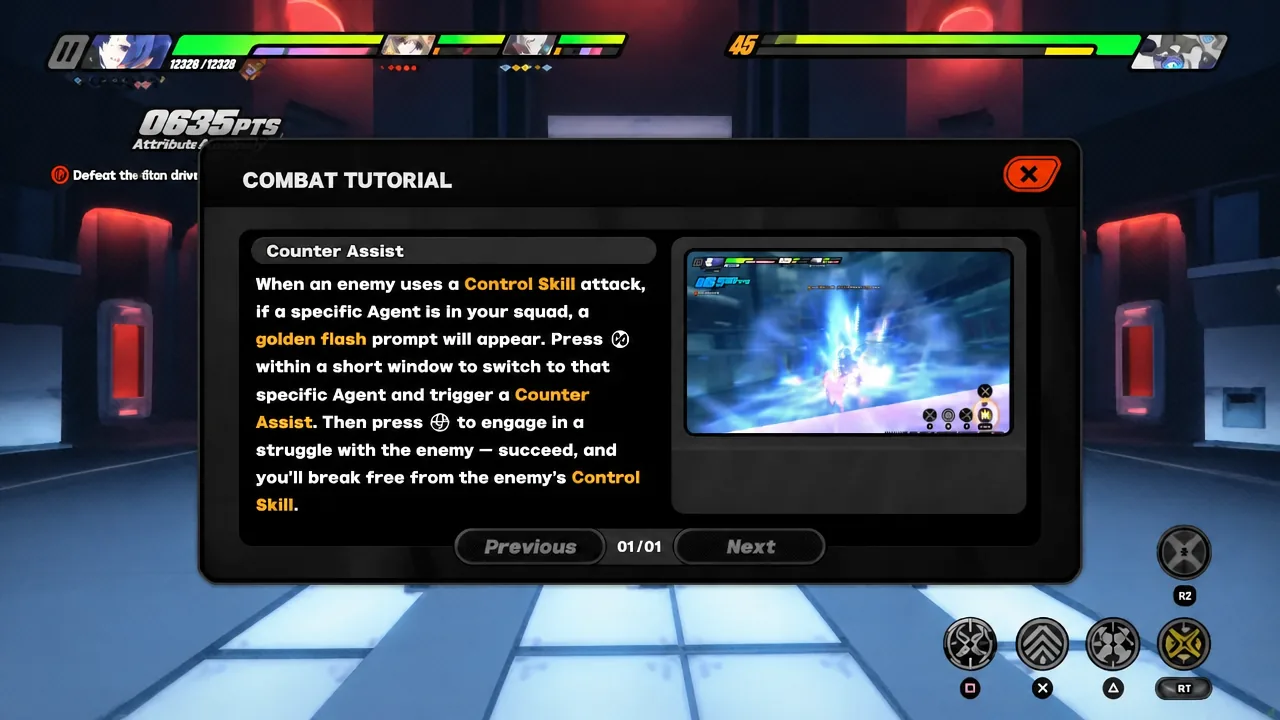
Early in the fight the action pauses for a Combat Tutorial screen covering Counter Assist. The prompt asks you to hit the on-screen input to swap Agents and fire off the counter, which is the mechanic the encounter wants you to lean on. Read it once and the fight goes back to normal.
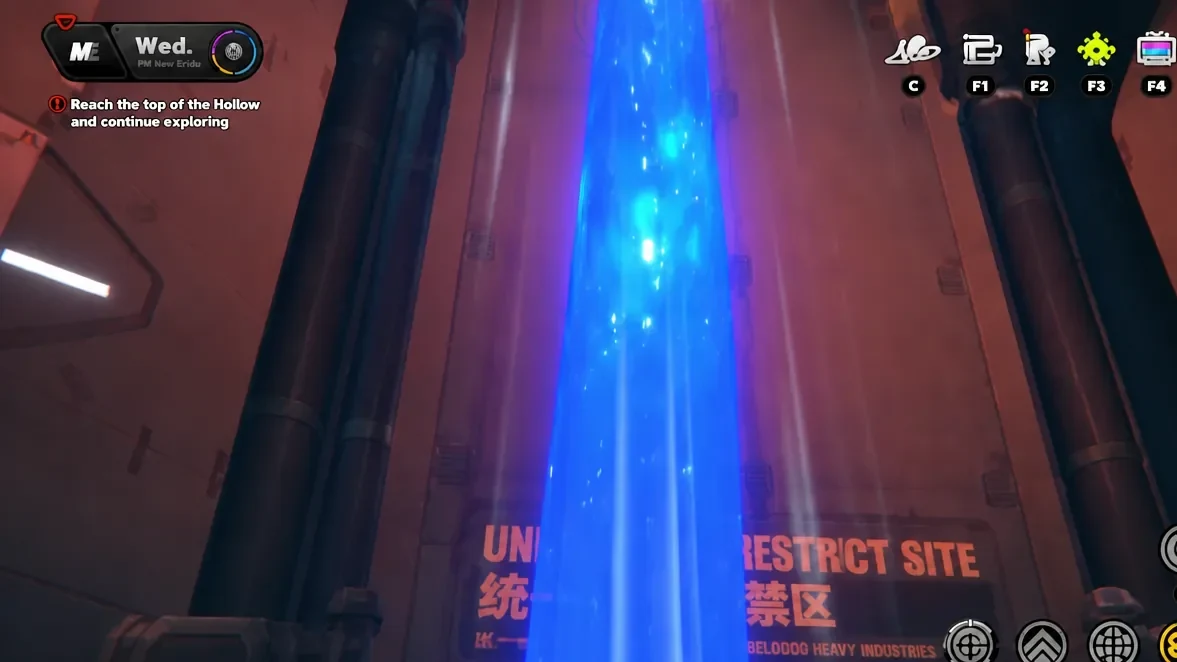
Note: the chapter alternates between these scripted beats and ordinary Hollow traversal, so between scenes you are back on the HUD following objective markers toward the next area.
How the fight ends and how you know it worked
There is no ambiguity at the end. Once Kusarikku’s health is gone, control is taken away and a victory cutscene plays in which Lindverne and Belle resonate their powers into a single finishing strike that destroys the boss. If that cutscene has not triggered, the fight is still running.
The scene rolls straight into a comic-style dialogue sequence, which is the chapter’s real payoff rather than the combat itself.
Youkai’s reveal, Roscaelifer, and Boeastrum
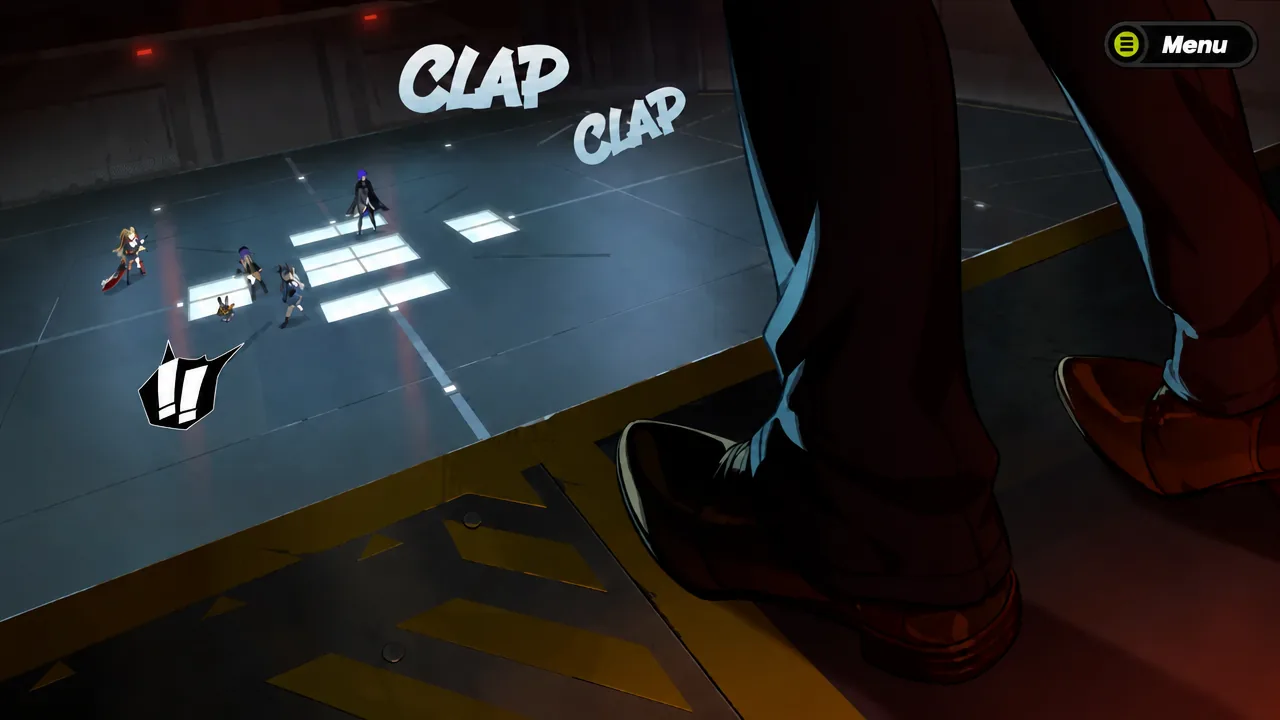
Youkai applauds the group for clearing the challenge so quickly, then makes it clear the fight was never the point. He needles Belle about no longer being the top student and tells the group that while they were busy with Kusarikku, he finished what he actually came for. The name he drops is Roscaelifer.
While you’ve all had your eyes glued over here, Boeastrum has already undergone some earth-shattering changes.
He ends the “old classmates” act, confirms his identity when Belle names him, says he needs to catch the last train back to Boeastrum, and leaves with a promise about their next meeting. The chapter closes on narration looking back at the moment, describing the counterfeit body wearing the face of someone long gone as a warning sign of what was coming.
Where this chapter sits in version 3.2
Version 3.2 splits its banners across two phases, with Claret and Nangong Yu in the first and Roxy and Promeia in the second, so the cast of this chapter overlaps heavily with what is currently available to pull. The update’s most recent livestream, held on August 28th, showed two new bosses alongside a new variant of Phaethon of the Scorched Horizon, one of them an Ether-powered mech and the other another Enchainer larva.
If you are only here for the story, the whole chapter can be watched end to end without any prep beyond having reached it in the Story Commission list. The Kusarikku fight is short, the Counter Assist tutorial does most of the mechanical teaching for you, and the material that matters for the next chapter is entirely in the dialogue after the boss goes down.