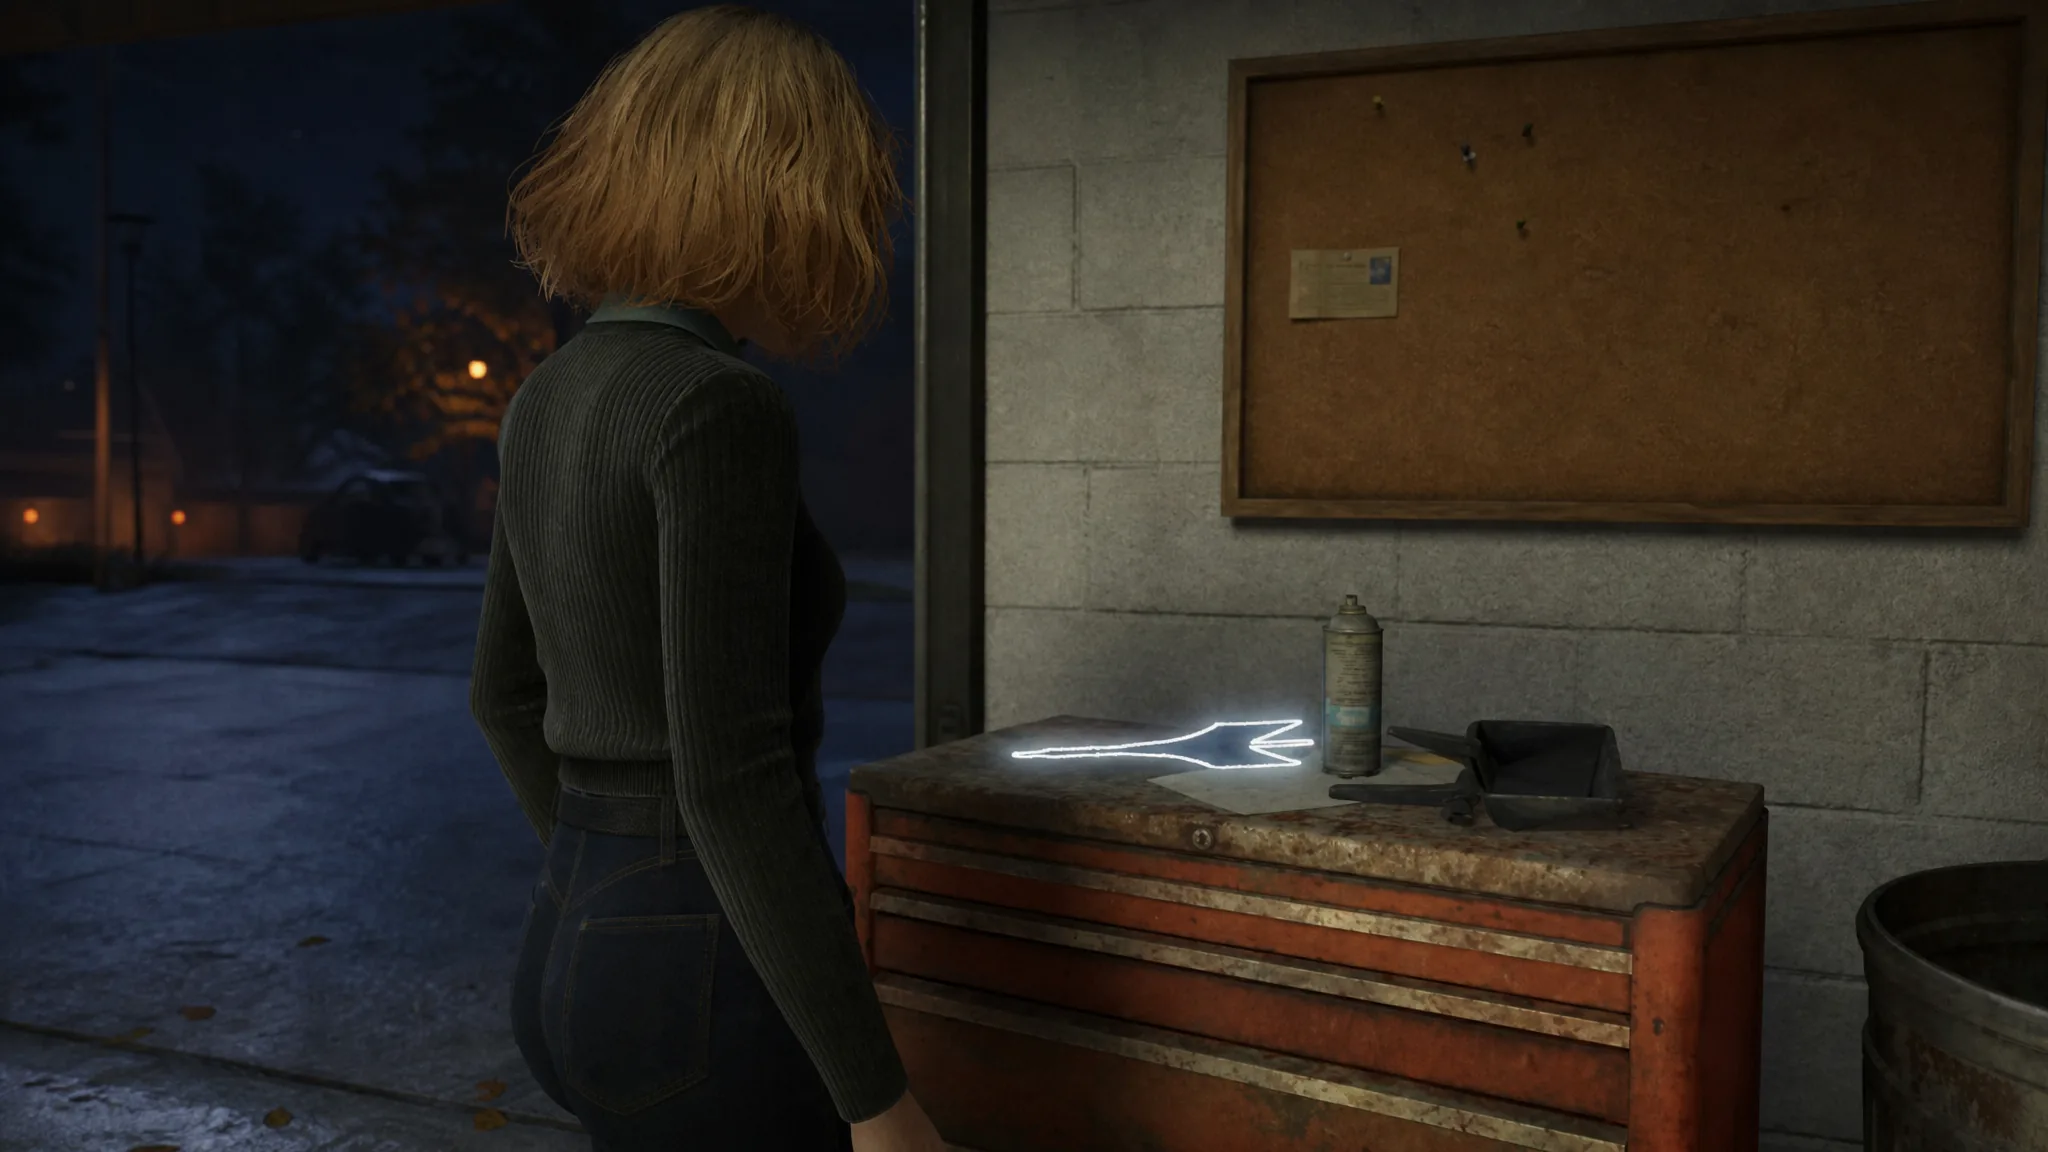
Surviving a night in Haddonfield comes down to what you are holding when Michael Myers steps into the room. In Halloween: The Game, you scavenge houses, garages, and sheds for objects that fall into a few clear jobs, from managing your Fear meter to unlocking an escape vehicle. Knowing what each pickup actually does saves you from staring at a full inventory while the Shape closes in.
Quick answer: No item kills Michael. Weapons and thrown objects stun or stagger him to buy time, keys and repair tools open escape routes, and consumables like Health Spray and Beer manage your health and Fear. Prioritize keys and escape gear, then keep a stun tool ready for grabs.
Health and Fear consumables
These items keep you alive and keep your Fear under control. Beer trades vision and control for a lower Fear meter, so use it somewhere safe. The Joint is an information tool rather than a defensive one.
| Item | What it does |
|---|---|
| Beer | Lowers Fear, but temporarily distorts your vision and controls. Best used in a safe spot. |
| Joint | Lets you see what Michael sees, along with survivor and noise pings across the map. |
| Health Spray | Restores health quickly. Works on yourself or a teammate. |
| Health Kit | Full heal with three uses. Healing takes time and you must stay still while using it. |
Defensive tools and rare relics
This group is built to break Michael’s momentum. The Amulet is the standout because it defends you automatically when grabbed, with no button press needed. The Lantern and Hourglass double as both tracking tools and thrown stuns.
| Item | What it does |
|---|---|
| Amulet | Works like a pocketknife without an input, giving you an automatic defense when Michael grabs you. |
| Lantern | Highlights Michael’s position when activated. Can be thrown afterward. |
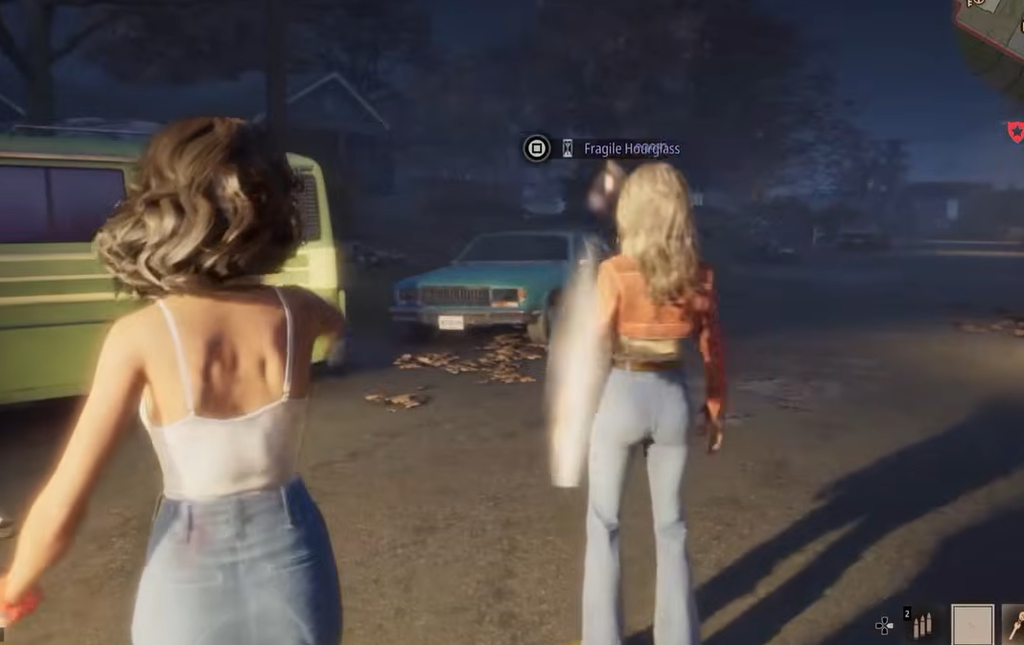
| Hourglass | Thrown to slow or stun Michael. Kept in your inventory, it highlights escape items within a ten-meter radius. |
| Butterfly Knife | Thrown at Michael, or used defensively when he grabs you. |
| Icepick | Thrown at range, or used when grabbed. |
| Lawn Dart | A throwable weapon for hitting threats from a distance. |
| Firecracker | Disorients Michael and creates a distraction so you can reposition. |
| Road Flare | Provides light when thrown and stuns Michael, opening an escape window. |
| Flare Gun | Acts as a thrown light source or distraction and can stun Michael. |
Keys, repair tools, and escape gear
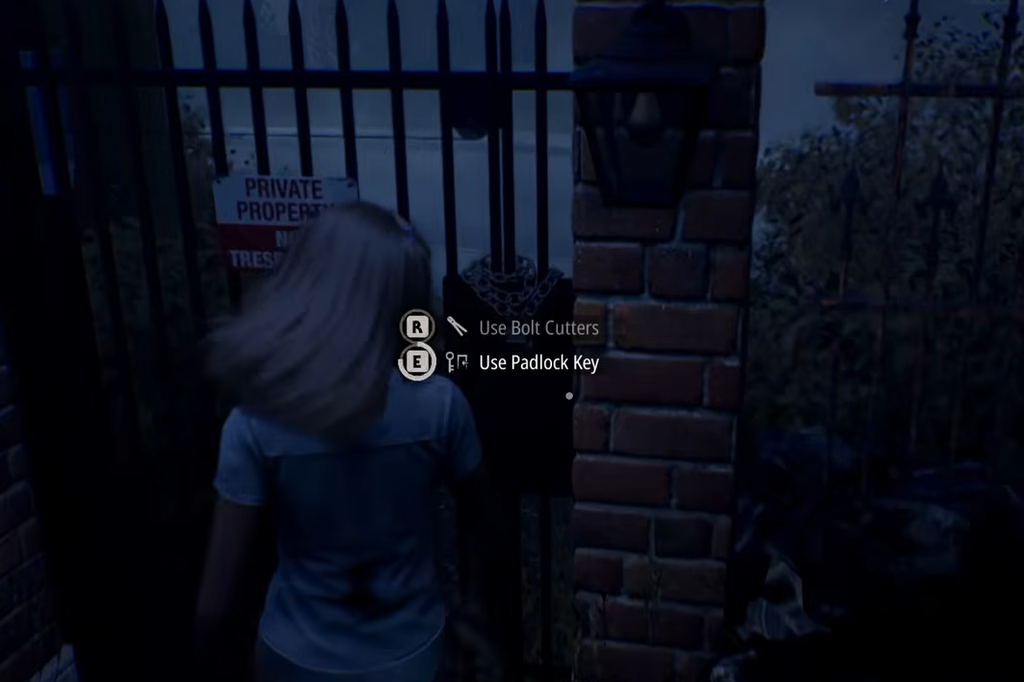
Escapes are the reason to loot at all, and most of them are gated behind a specific key or tool. Assign one squadmate to hunt these down early. The Police Car Keys are the odd one out, since they only drop after Michael kills a cop.
| Item | What it does |
|---|---|
| Fuse | Opens gates and lets you progress through certain areas. |
| Boltcutters | Cut locks and open certain chests. |
| Repair Kit | Repairs damaged cars, power boxes, CB radios, phones, and similar objects. |
| Wrench | Repairs machinery and interacts with certain mechanical objects. |
| Padlock Key | Opens padlocked chests. |
| Gate Key | Opens gates. |
| Cellar Key | Unlocks and enters the cellar. |
| Sedan Key | Unlocks and starts the sedan for a vehicle escape. |
| Police Car Keys | Unlocks and starts the police car. Drops after Michael kills a cop. |
| Gas Can | Refuels a vehicle so it can be used to escape. |
Note: A vehicle escape usually needs more than one piece. A Sedan run, for example, can require the Sedan Key, a Repair Kit, and a Gas Can before it will start.
Distraction throwables
Small objects that make noise where you throw them. They pull Michael’s attention toward the sound and away from your position, which only helps if he is looking and your squad is actually using the opening.
| Item | What it does |
|---|---|
| Baseball | Thrown to create a distraction or interact with the environment. |
| Brick | Thrown to draw attention away from your position. |
| Pop | Thrown to create a distraction and pull attention off you. |
Melee weapons
Melee weapons are close-range defense, not a kill plan. Each one stays in your hands and can be swung multiple times before it breaks, so treat every hit as a way to create distance rather than to take Michael down. The Axe and Pickaxe carry extra utility for certain interactions and heavy strikes.
| Weapon | What it does |
|---|---|
| Kitchen Knife | Close-range melee to defend against Michael. |
| Pitchfork | Melee weapon for fighting Michael at close range. |
| Pickaxe | Melee weapon used to defend yourself against Michael. |
| Cleaver | Close-range melee weapon. |
| Axe | Melee weapon that can also handle certain environmental interactions. |
| Hatchet | Melee weapon for self-defense against Michael. |
| Baseball Bat | Close-range melee for fending off Michael. |
Firearms
Guns let you hit Michael from a distance, which is safer than gambling on a melee swing inside his grab range. They still do not kill him, but they add pressure and can set up a detention play with police support.
| Firearm | What it does |
|---|---|
| Revolver | Attacks Michael from a distance. |
| Shotgun | Powerful close-range firearm against Michael. |
| Hunting Rifle | Long-range firearm for hitting Michael from farther away. |
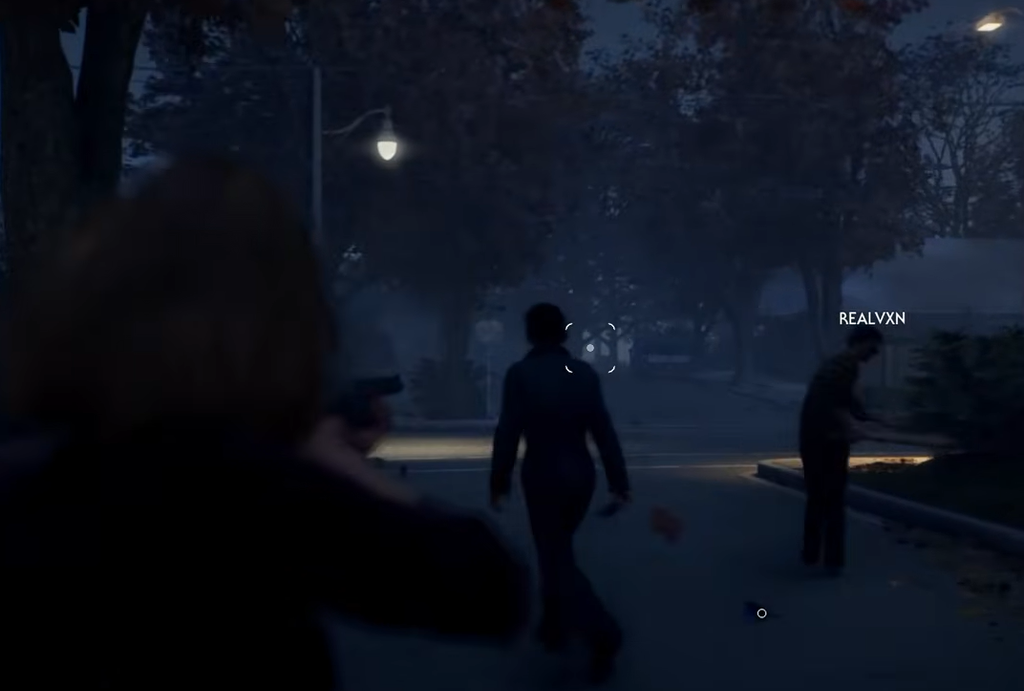
How to use items effectively
Grabbing loot is only half the job. The way you distribute and spend it decides whether the night ends in an escape.
Michael is designed to be unkillable, so the whole item system points in one direction. Every weapon buys seconds, every key opens a way out, and every distraction moves his attention somewhere you are not. Pocket the key before the souvenir, keep a defensive tool in hand, and spend the time your weapons earn on the escape rather than the fight.