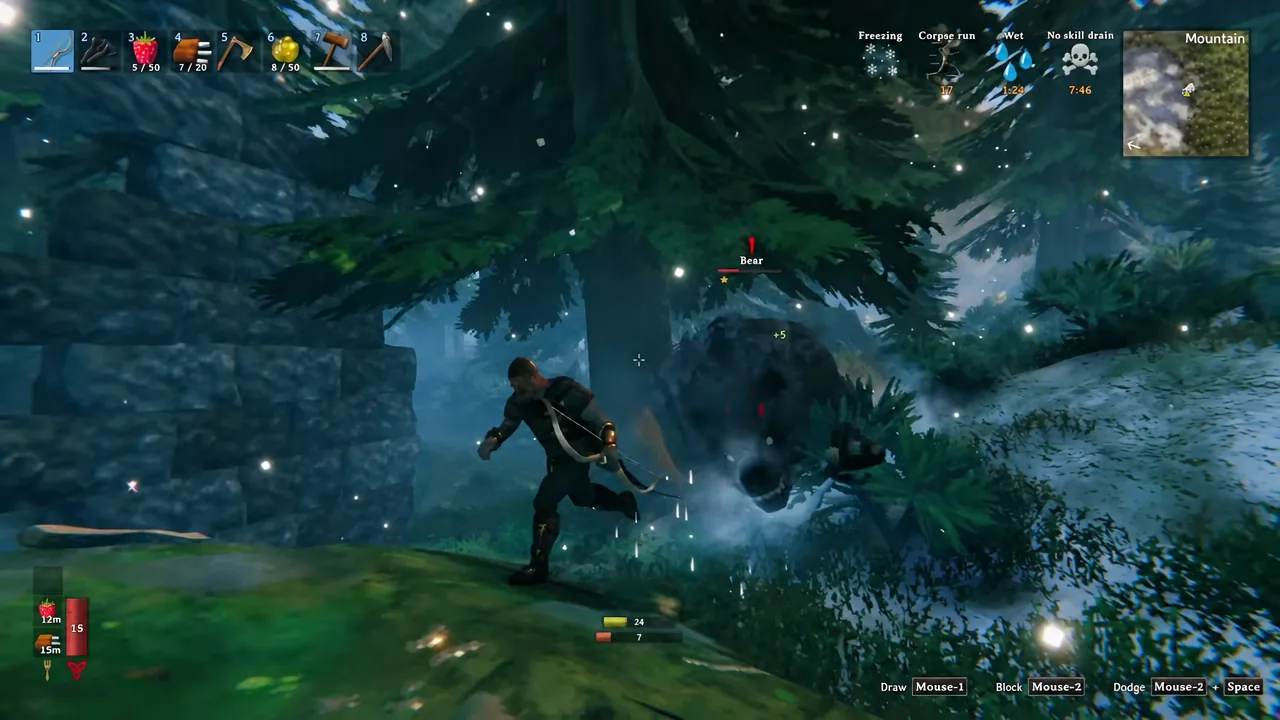
Bears turned the Black Forest from a manageable second biome into something you have to scout properly. They hit for more than a Troll’s club in some cases, they shrug off the exact damage types most players are carrying at that point in a run, and they will happily chase you across a hillside while Greydwarves pile in behind them. The fight is winnable early, but only if you bring the right damage type and the right terrain.
Quick answer: Bears roam the Black Forest, day or night, one per biome area. Lead with slash damage, parry or dodge their wind-up, and keep a torch equipped — a bear will not close inside three meters of an open flame.
Where bears spawn in the Black Forest
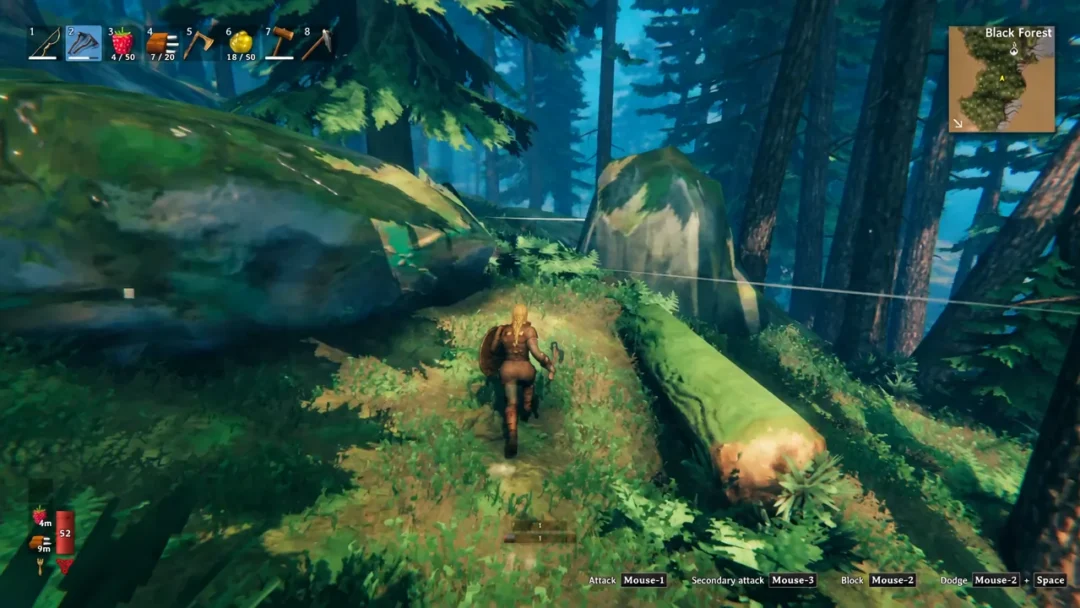
Bears only appear in the Black Forest, and they are active around the clock — there is no safe time of day to cross. Spawns are rare and capped at one bear at a time in a Black Forest area, so you will never be swarmed by a pack the way you can be by Necks or Greydwarves. Star variants exist, though daytime spawns top out at one star.
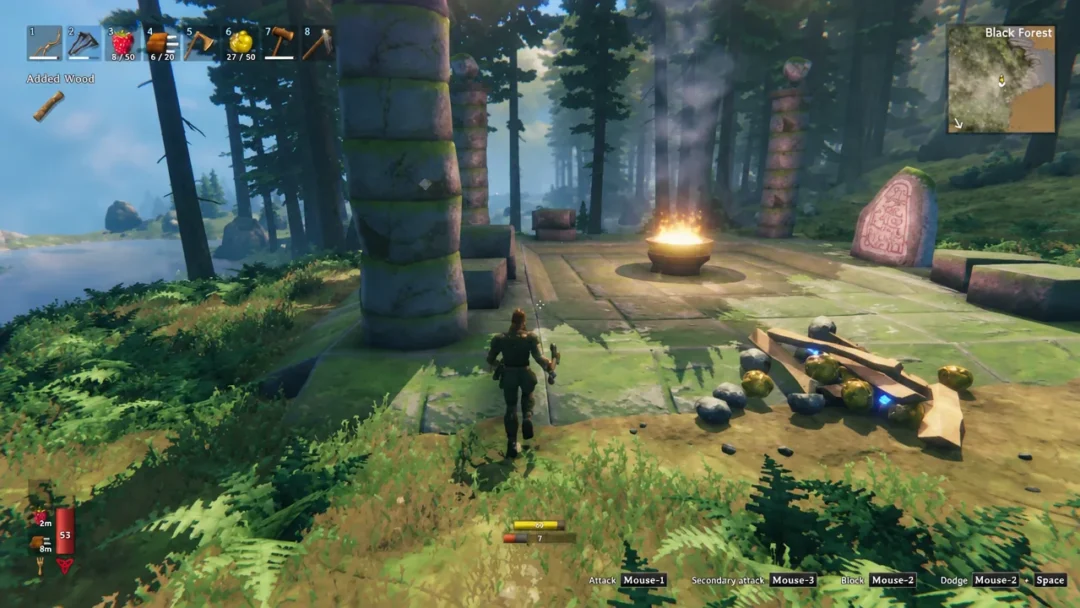
In practice, they tend to turn up around points of interest rather than in empty woodland. Stone ruins, clearings, and the areas near copper deposits are all common encounter spots, which is exactly where you were headed anyway. Because the spawn cap is per area, the fastest way to farm them is to kill one, then travel to a different stretch of Black Forest instead of camping the same spot waiting for a respawn.
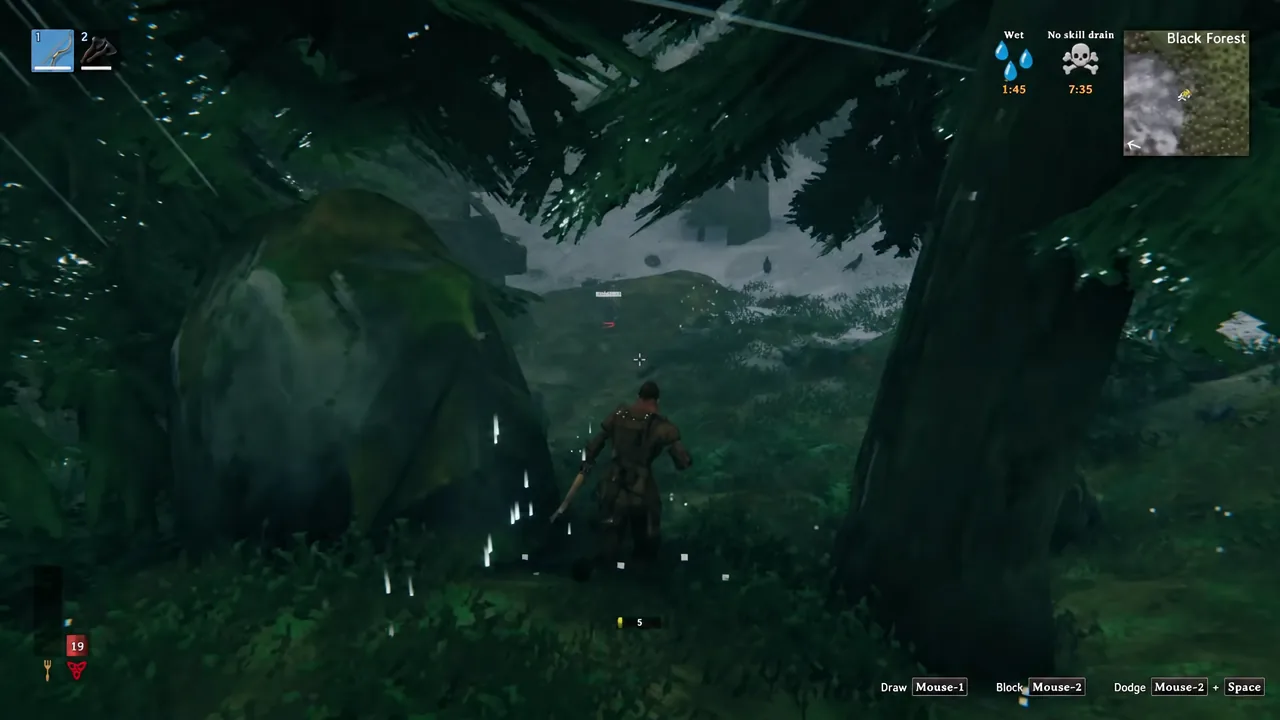
Mark every sighting on your map even if you are not ready to fight. Bears wander, they lose interest reasonably quickly compared to Trolls, and a pin lets you come back with better food and a full quiver instead of dying on the spot.
Bear health and damage by star level
A base bear has 800 health, which is more than a Troll, and starred versions scale hard. The numbers below are why a one-star bear can two-shot a player in leather armor.
| Star | Health | Bite | Claws | Slam |
|---|---|---|---|---|
| 0★ | 800 | 55 | 50 | 50 |
| 1★ | 1,600 | 82.5 | 75 | 75 |
| 2★ | 2,400 | 110 | 100 | 100 |
Bears also recover faster than most creatures, healing back to full over roughly 50 minutes instead of the usual 60. That matters if you plan to chip a bear down over several trips — leave it too long and you start over.
Damage types: what works and what bears ignore
This is the part that catches people out. Most early-game loadouts lean on a club or a crude bow, and bears resist both of those damage types. Slash is your reliable option, which makes a flint axe workable and a bronze sword much better.
| Damage type | Effect on bears |
|---|---|
| Slash | Neutral — the most dependable early damage |
| Fire | Listed as a weakness; also drives bears away |
| Lightning, Poison | Neutral |
| Blunt, Pierce, Frost | Resistant |
| Spirit, Chop, Pickaxe | Immune |
Pierce resistance is why a plain wood arrow feels like it is doing nothing. Fire arrows perform better because the burn keeps ticking after the hit lands, and because bears are flagged as fire-weak. Some player testing disputes how large that fire bonus actually is, so treat fire as useful rather than a one-shot answer — the behavior of fleeing from flame, however, is consistent and exploitable.
Stagger is worth knowing too. Bears have a 30 percent stagger limit and take normal stagger damage, so a clean shield parry opens them up for punishment.
Bear attack patterns and openings
Bears telegraph everything. They wind up, commit, then need a moment to reset — and that recovery window is where the whole fight is decided. Learn these four moves and the encounter becomes a rhythm rather than a panic.
| Attack | Reach and cooldown | Response |
|---|---|---|
| Bite | 4m cone, every 4s inside 3m | Parry or roll through it, then land one hit |
| Claws | 5.5m arc, every 4s inside 5m; bear hops forward | Back off — the lunge covers ground |
| Swipe | 5.5m arc, three variants, 4s each | Block or strafe; the double swipe punishes greed |
| Slam | 2.5m circle, every 12s inside 5m | Get outside the ring; blocking still hurts |
The Slam is the one to respect. It is a circular hit rather than a cone, so sidestepping is not enough — you have to leave the radius. Its 12-second cooldown means you will only see it a few times per fight.
Method 1: Parry and punish with a shield
The fastest kill is a straight fight with a shield and a slashing weapon. It asks for timing, but it ends the bear in a fraction of the arrows a ranged fight burns through.
Method 2: Shoot it from stone ruins
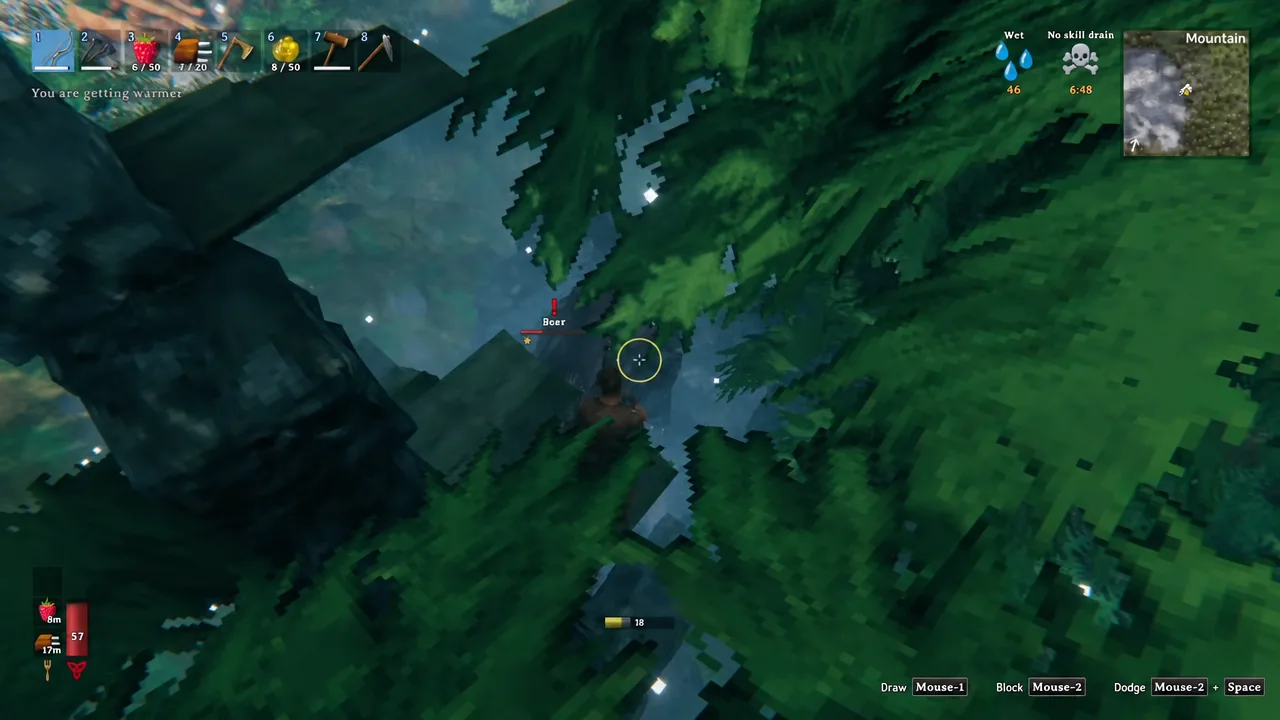
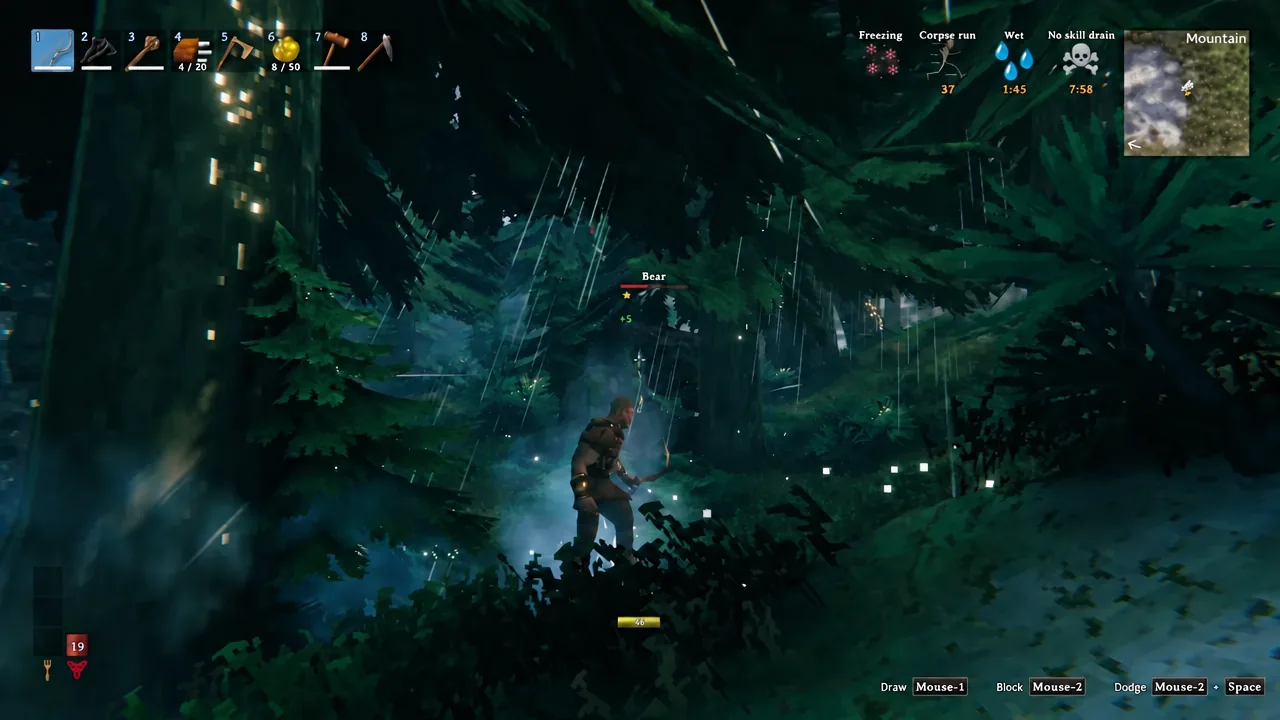
If you are still in leather armor with a crude bow, terrain beats stats. Bears cannot reach a player standing on top of a stone ruin, and the Black Forest is full of them.
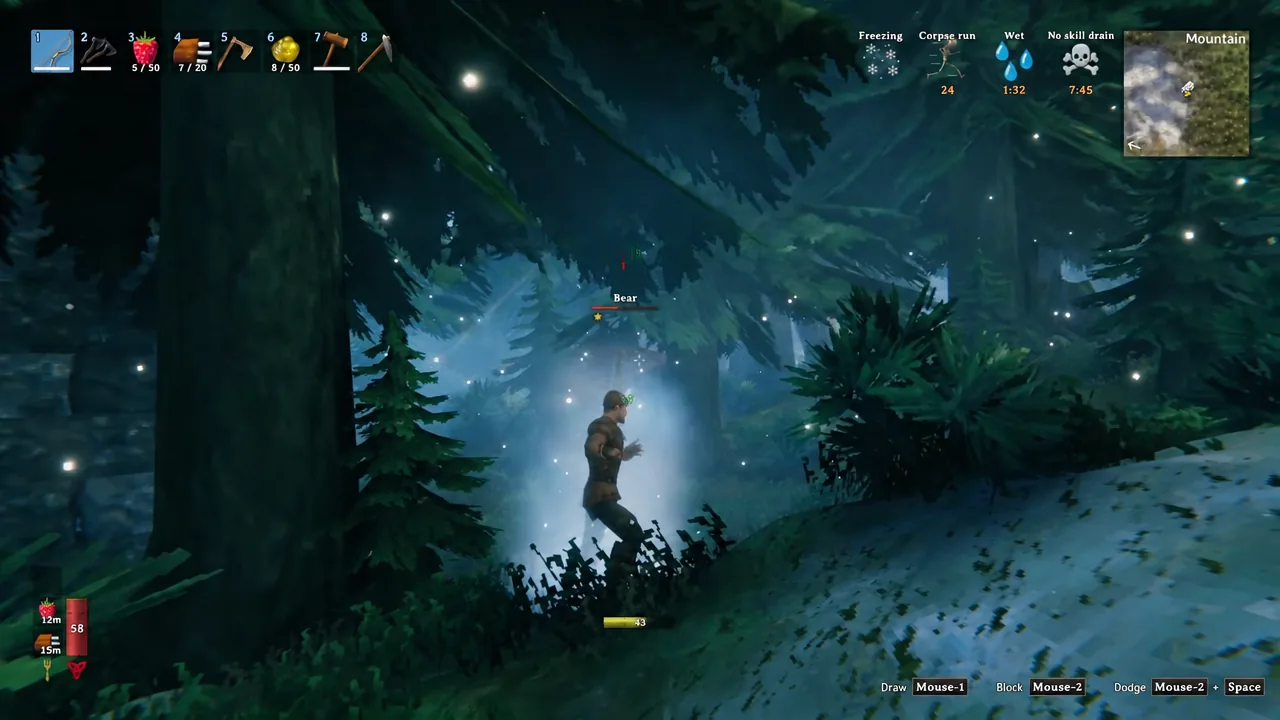
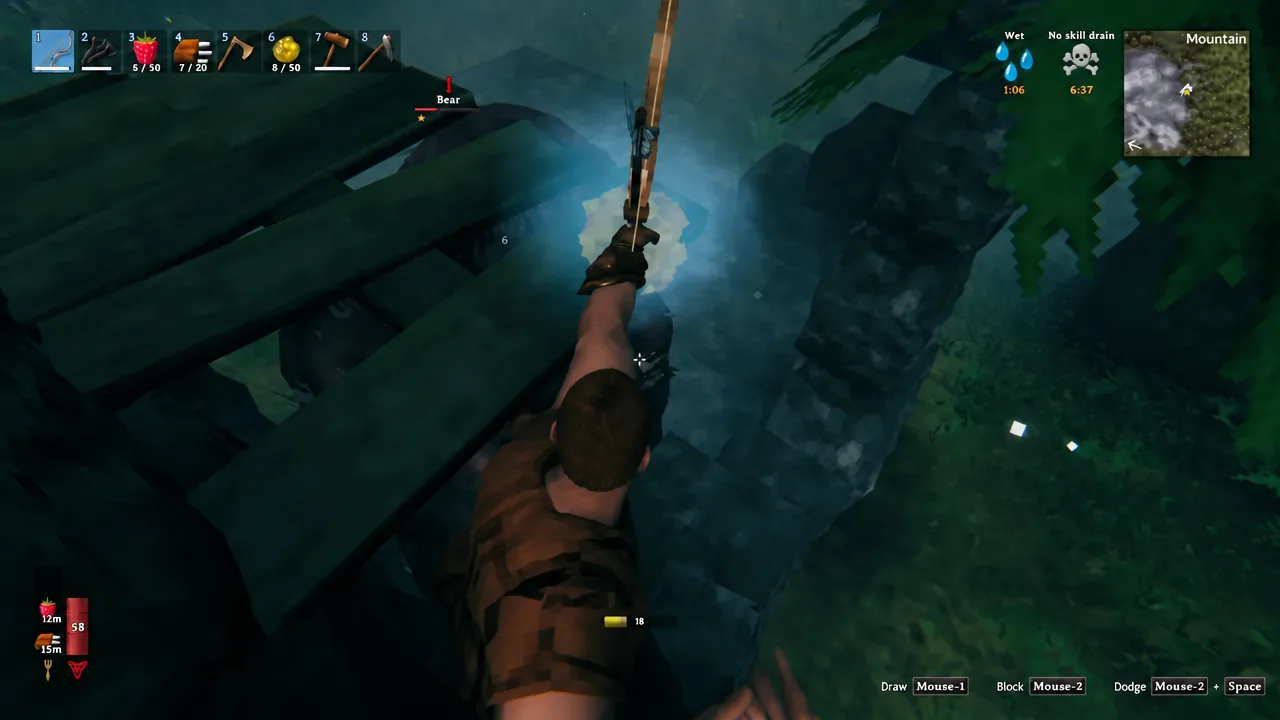
Note: Use stone, not wood. A bear’s attacks will chew through wooden platforms and weak structures underneath you, so a hastily built dirt-and-timber tower is a timer, not a safe spot.
The torch trick for keeping bears away
Bears will not come within three meters of a fire source and will actively back off if they do. Hold a lit torch and a bear stops committing properly — it still throws attacks from outside the flame’s radius, but it alters its swing at the last moment and frequently whiffs.
The radius is measured from the torch flame itself, not from your character, so face the bear directly to get the full effect. A dropped campfire works the same way and can shape the whole fight, letting you shoot fire arrows from behind it.
You can beat a bear to death with the torch alone, but it is slow — expect to burn through roughly four torches on an unstarred bear and considerably more on a one-star. Most players carry a single torch as an escape tool: light it, push the bear back, eat, recover stamina, and then re-engage with a proper weapon.
Bear drops and what they are used for
You will know the kill registered when the loot drops on the spot and the nameplate disappears. Drop counts scale with star level, which is the main argument for hunting a starred bear once your gear can handle it.
| Item | 0★ | 1★ | 2★ |
|---|---|---|---|
| Bear Hide | 4 | 8 | 16 |
| Bear Meat | 2 | 4 | 8 |
| Bear Paw | 1 | 2 | 4 |
| Bear Trophy | 10% | 10% | 10% |
Hides, paws, and the trophy feed into the bear armor set — Headdress of the Bear, Patterns of the Bear, and Loincloth of the Bear — along with weapons and decorative furniture. Bear meat is a food item that restores a large chunk of health, so it partly pays for the fight that produced it. Gathering enough hide for a full set means several kills, which is where the one-bear-per-area rule starts to dictate your route.
Why bear fights go wrong
Almost every failed attempt comes down to one of a handful of causes. Carrying only blunt or pierce weapons means your damage is being cut before it lands. Building your perch out of wood gives the bear something it can destroy while you stand on it. Chipping away and then leaving for too long hands the bear its health back through its faster-than-normal regeneration. And fighting near a Greydwarf nest turns a solo duel into a running battle you did not plan for.
Bears also eat blueberries off the ground and cannot be tamed, so there is no pacifist route around them. Once you have a slashing weapon, a shield you can parry with, three foods running, and a torch in reserve, they stop being the wall that blocks off copper and start being a resource node with claws.