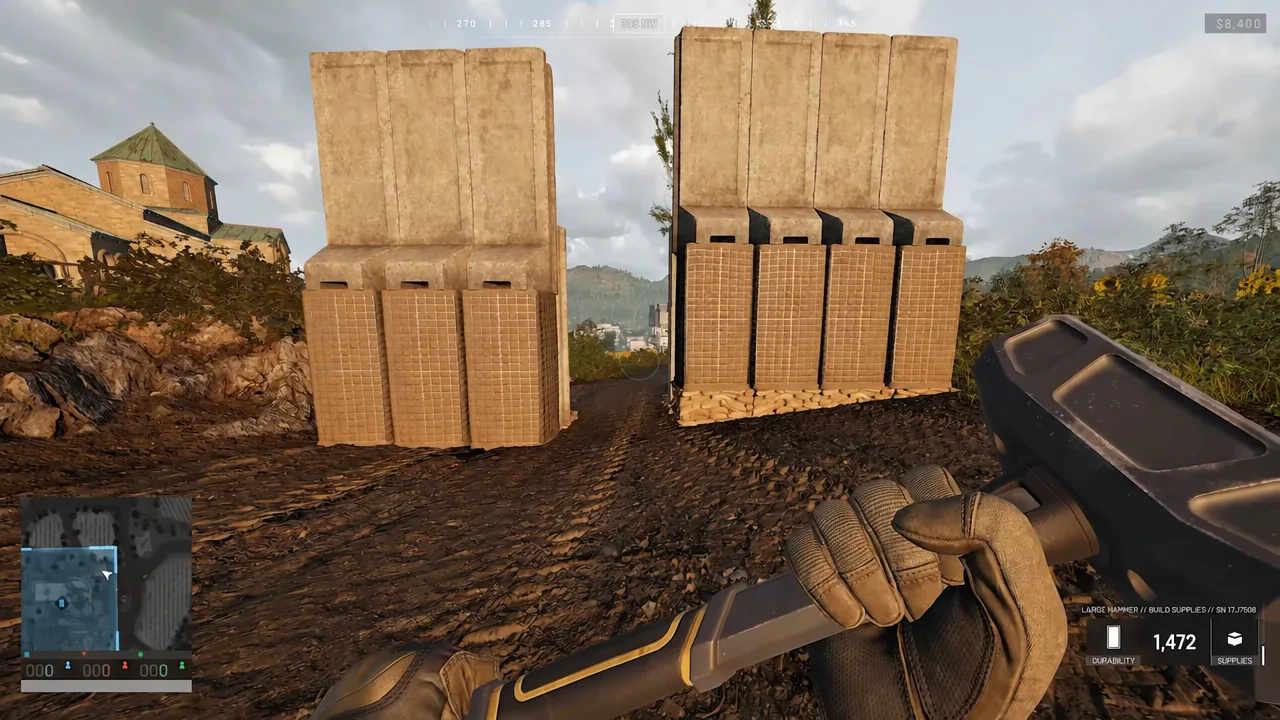
A single row of Bremer walls will not hold a Forward Operating Base in WARDOGS. Thin perimeters leave your interior exposed to snipers shooting over the top, and any squad with a vehicle can boost a player straight across a low Hesco line. The fix is a layered wall built in three passes, and it costs less than most players expect.
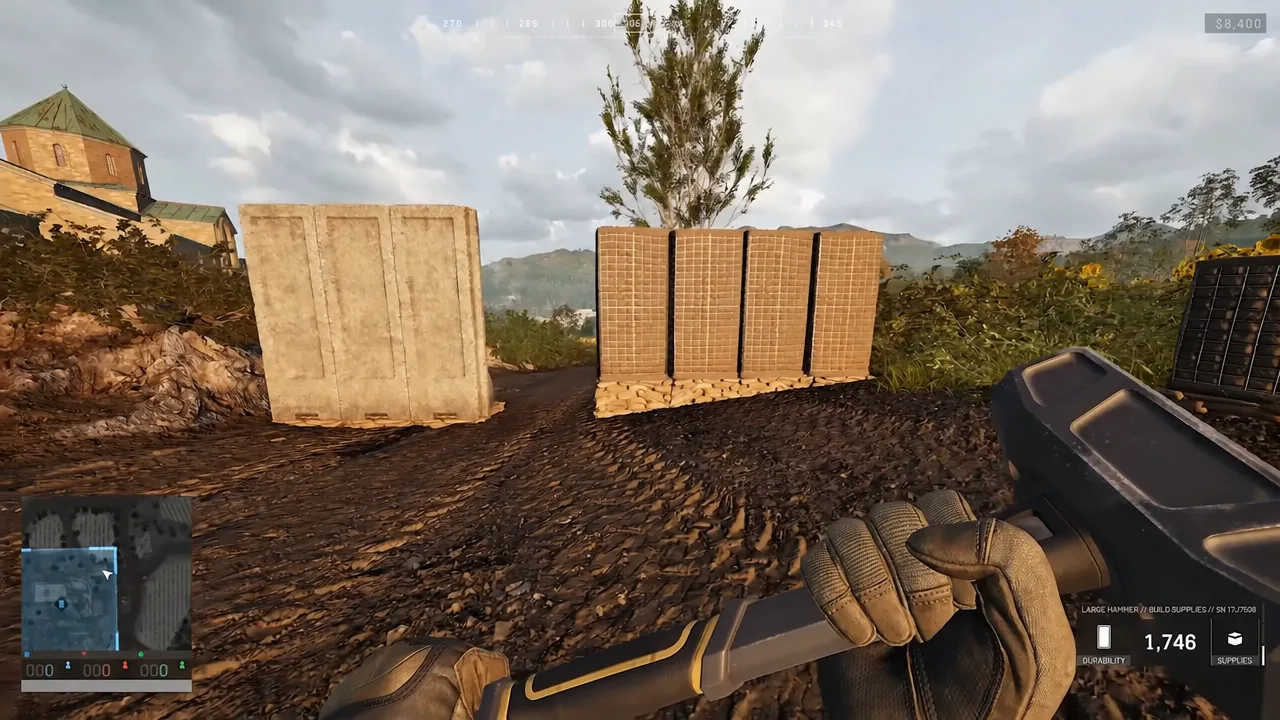
Quick answer: Ring the perimeter with Bremer walls, place large Hesco blocks directly behind that ring, then stack a second row of Bremer walls on top of the Hesco layer. Finish with barbed wire along the outside base to block vehicle boosting.
What you need before placing a single wall
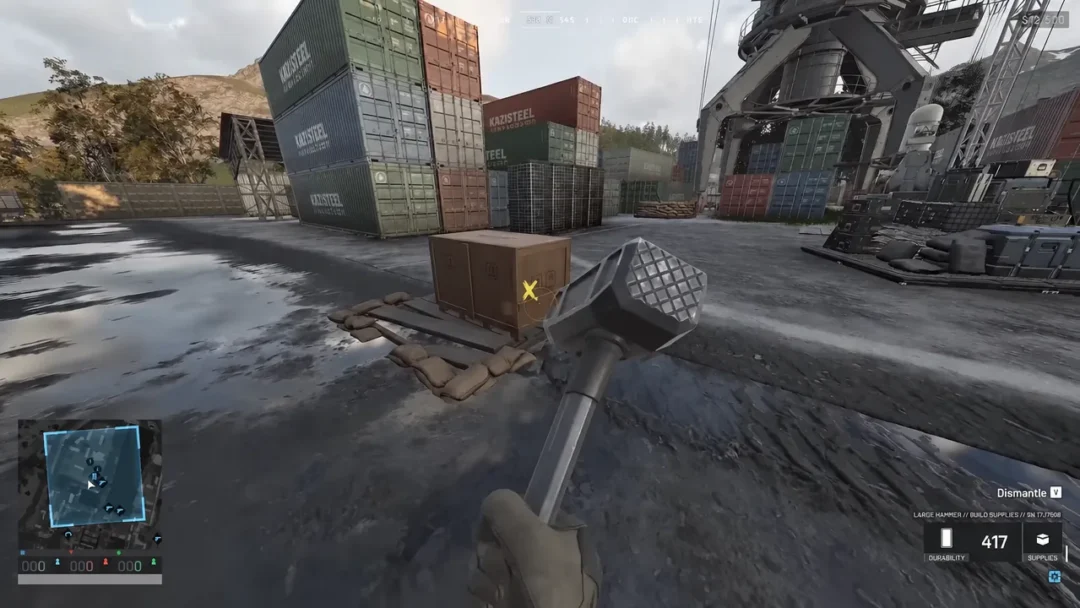
Bremer walls, Hesco blocks, gates, and doors all require a deployed FOB and Build Supplies stored inside it. A Small Hammer will not place them. The Medium Hammer covers gates, doors, and larger walls, while the Large Hammer unlocks everything and builds fastest, which matters when you are racing a match timer instead of playing a survival game with unlimited daylight.
| Piece | Build Supplies | Role in the wall |
|---|---|---|
| Bremer Wall | 10 | Tall narrow wall with barbed wire on top; front row and top row |
| HESCO Block (Large) | 14 | Inner mass layer and the platform for the top row |
| HESCO Block (Small) | 10 | Plugs misalignment gaps between layers |
| Sandbags | 10 | Fills ground gaps and vaulting holes; no FOB required |
| Barbed Wire | 5 | Anti-boost strip along the outer base; no FOB required |
| Gate | 52 | Vehicle access; two are needed for an airlock |
| Door | 14 | Infantry access; two are needed for an airlock |
| Recon Tower | 61 | Corner overwatch and elevated firing position |
Count your total before you start. A medium compound eats supplies quickly, and burning the whole stockpile on walls leaves nothing for a mortar, a repair station, or emergency repairs when the wall takes C4.
Why single-layer walls fail
Two failure patterns show up constantly. The first is a lone ring of Bremer walls with nothing behind it, which gives cover but no height advantage and no depth against explosives. The second is a perimeter of low Hesco blocks, which a sniper can shoot over and an attacker can clear by parking a vehicle against the outside and jumping.
Height is the actual defensive asset. A wall that puts your defenders above the surrounding ground changes the angles for snipers, ground vehicles, and helicopter gunners at the same time, and it forces C4 carriers to expose themselves at the base of the wall instead of tossing charges from cover.
Building the three-layer wall
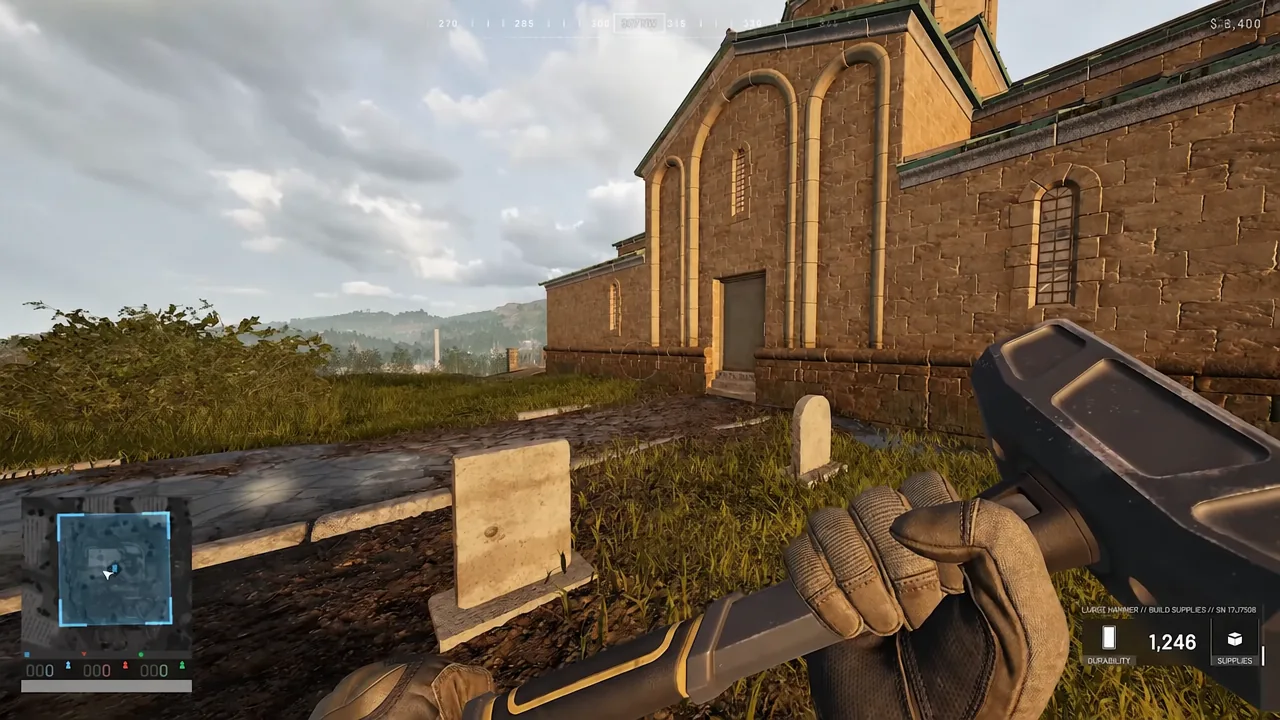
A church compound is a good template for this. The building itself becomes the core, and the wall only needs to close the ground around it. Work in complete passes rather than finishing one section to perfection, because an unfinished ring is worse than a rough one.
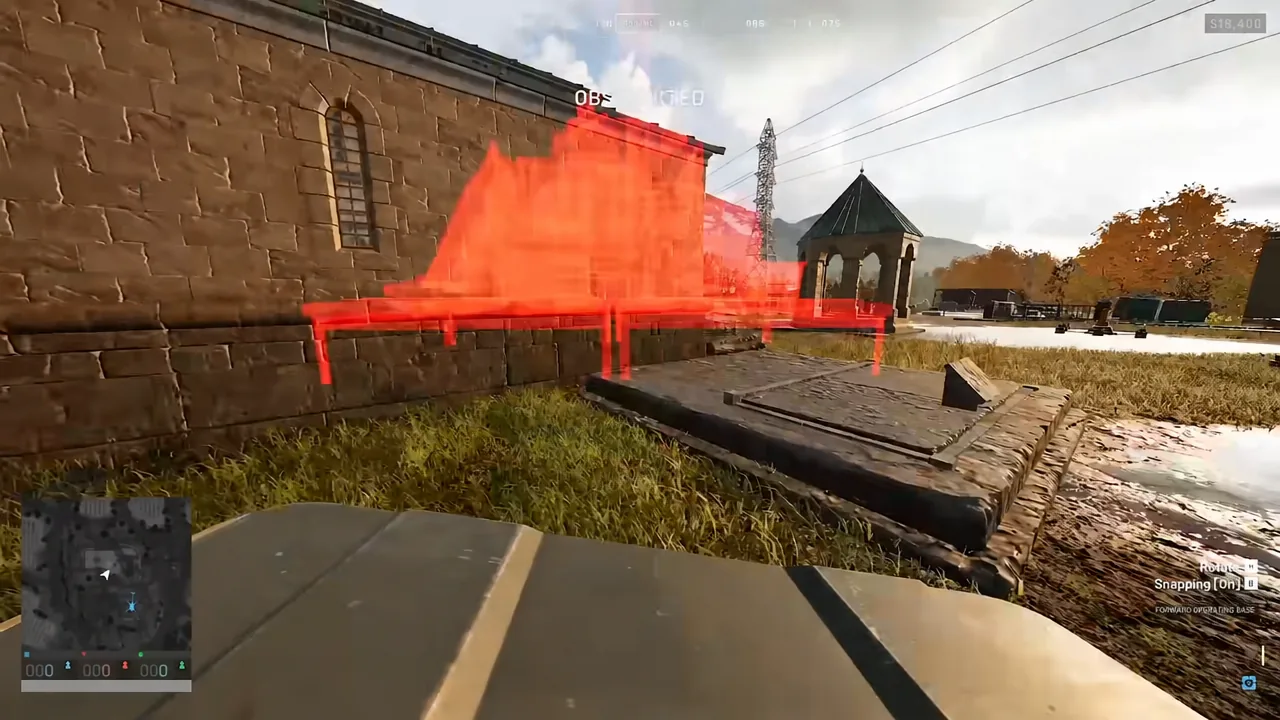
B to unsnap placement when slopes, tombstones, or rubble block a clean fit, and the sandbag base under the piece will fill the gap at ground level so nothing can be crawled through.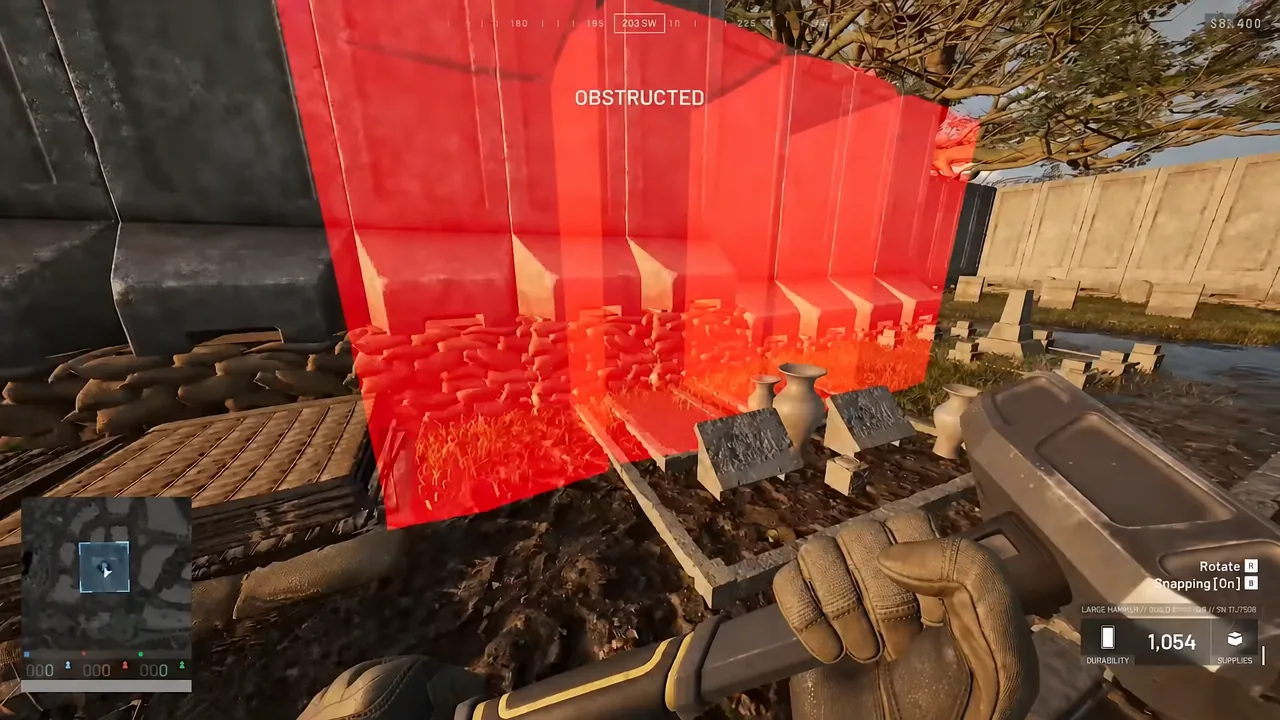
Tip: hit the yellow X markers that appear on a placed blueprint. They add far more construction progress per swing than random hammer hits, and on a perimeter this size the difference is measured in minutes.
Corners: Use Recon Towers instead of plain wall
Corners are where a straight wall gives you the least. Building a Recon Tower into a corner instead turns it into an elevated post with visibility along both adjacent wall faces, so defenders can cover the perimeter through a full circle rather than staring straight ahead at one approach.
Two towers on opposite corners is usually enough for a medium compound. That gives you crossing fire along every wall face without spending 61 Build Supplies on each corner.
Gates and doors: Build airlocks, not single entrances
A single gate is a single point of failure. When it blows, the raiders are inside the compound. An airlock solves that by pairing two gates with a short corridor between them, so a breach of the outer gate only puts attackers into a sealed box that your defenders can shoot into.
The main vehicle entrance should sit on the road supply trucks and logistics vehicles will actually use, built as a tall reinforced gate with barbed wire on top. Behind it, a second gate closes the corridor. The same principle applies to infantry access, where two doors in sequence give players a controlled entry that does not open the interior to whoever is chasing them.
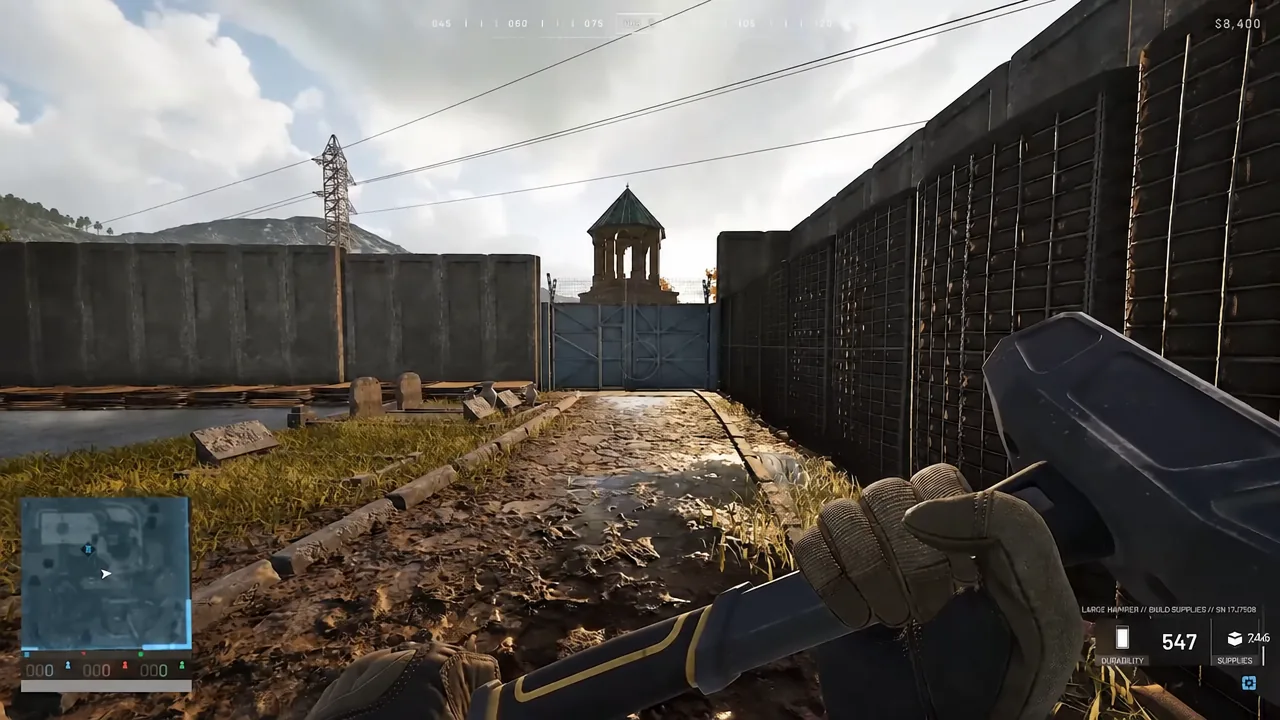
Check the corners around every gate and door frame after building. Small openings next to the hinges are wide enough to vault through, and they are quickly closed with a small Hesco block or a stack of sandbags.
How to check the wall is finished correctly
Walk the outside of the compound and look at the wall from an attacker’s eye level. You should not be able to see interior floor, the FOB radio, or a parked spawn vehicle through any seam, and there should be no flat strip of ground against the wall clear of barbed wire.
Then walk the inside. Every gate and door should open into a corridor rather than straight into open ground, and the interior should still have room for vehicles to turn, for pallets to be unloaded, and for the FOB itself to sit away from direct sightlines through an entrance.
The most common reasons a finished-looking wall still gets breached are narrow. Gaps at the seam between the Hesco layer and the top Bremer row let rounds through. Unwired ground at the wall base allows a vehicle boost. Diagonal joins against a building leave a vaultable step. And a single gate with no second barrier behind it means one satchel ends the defense.
Structures in WARDOGS are destructible, and rockets and tanks will eventually take pieces of any wall apart. The point of the layered build is not permanence. It is buying your squad enough time and enough height to fight back, and keeping the FOB, its stored supplies, and your spawn vehicle behind more than one barrier when the first one comes down.