A forward operating base in WARDOGS is the most valuable thing a single player can buy, and it is also the easiest thing to waste. The map is 16×16 km with a 2×2 km Control Zone somewhere inside it, so scoring comes down to how quickly dead players get back into the fight. A FOB that shortens that trip is worth more than most vehicles. A FOB that gets hacked, driven into, or shelled off the map in the first five minutes is just money handed to the enemy team.
Quick answer: Before you walk away from a FOB, close every door and gate, deposit loose pallets into the core, and walk a full lap of the perimeter. If you can vault, climb, or drive inside, so can the enemy — and the console they reach is a console they can hack.
The five FOB mistakes and what each one costs
| Mistake | What happens | Fix |
|---|---|---|
| Gate or door left open | Infantry and vehicles walk or drive straight in | Close and re-check every access point before leaving |
| Four walls and nothing inside | One breach exposes the console, supplies, and spawn at once | Add inner doors and compartments; keep a second exit |
| Tower or bunker flush against an outer wall | Dead zones directly below the position nobody can cover | Place fighting positions first, then wall around them |
| FOB visible from the Control Zone | Found in minutes, then mortared and shelled | Build behind terrain, on the approach your team holds |
| Wrong hammer or wrong pallet | The structure you drove across the map for is not buildable | Check the hammer tier and resource type before departure |
Mistake 1: Leaving gates and doors open
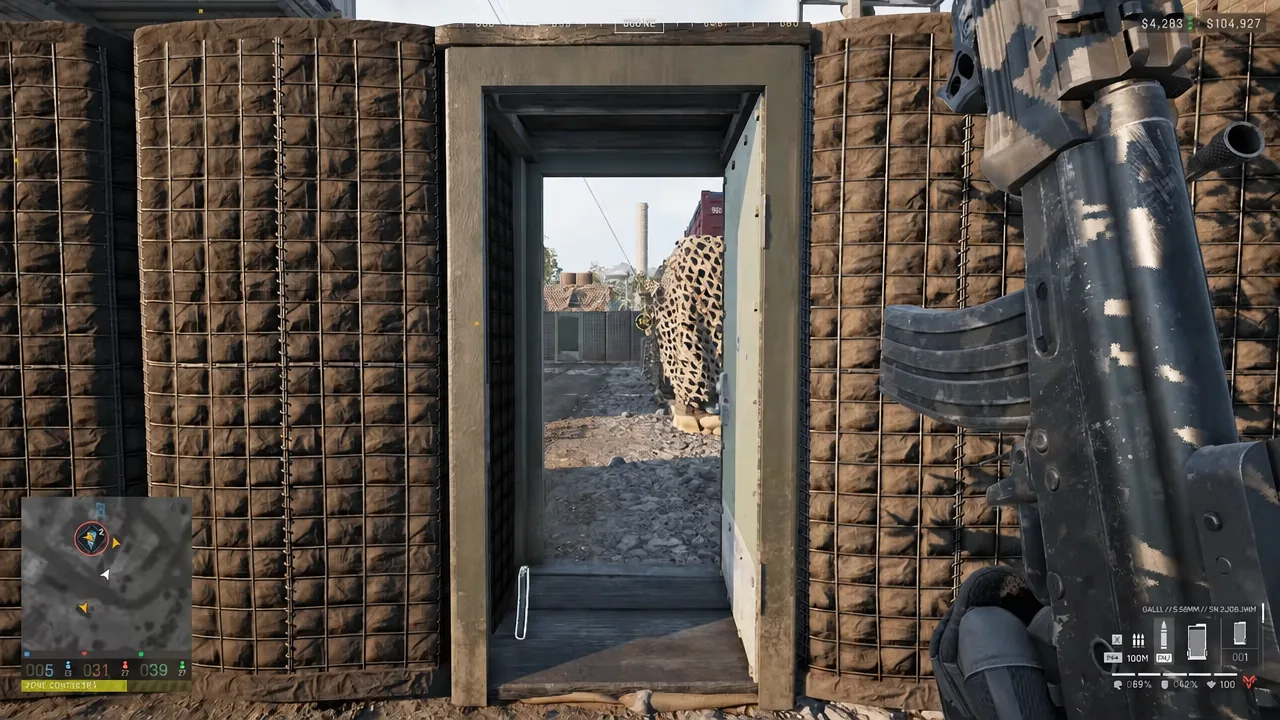
This is the cheapest mistake to fix and the most common one to make. A Door costs 14 supplies and only your infantry can use it. A Gate costs 52 and does the same job for your team’s vehicles. Both are worthless the moment somebody leaves them swinging.
Enemies do have ways in regardless. Halligan Bars from Specialist Equipment pry doors open, and explosives take out doors and gates outright. The point of access control is not to be unbreakable — it is to make the enemy spend time and equipment while your team hears it happening. An open gate skips that entire cost for them.
Mistake 2: Building a hollow box around the console
A single ring of HESCO with everything stacked in the middle looks finished and defends nothing. Enemies can hack the FOB console by standing at it and following the button prompt, which sets off a loud siren, but the siren only helps if somebody can respond before the hack completes. If your outer wall is the only thing between the console and an attacker, that response window is a few seconds long.
Compartmentalize instead. Put the console, the supplies, and any specialist emplacement behind an inner door or a short airlock so a breach in the perimeter does not hand over the whole position. A HESCO Wall runs 46 supplies for four tall blocks, which is cheaper than a single large HESCO Block at 14 each, so interior structure is not expensive — it is mostly a planning problem.
Watch what your interior pieces do to your own gates. A HESCO Block placed next to an inner gate becomes a step, and an attacker who climbs it skips the door you paid for. If you spot one of these accidental staircases, dismantle it and rebuild a block away from the wall line.
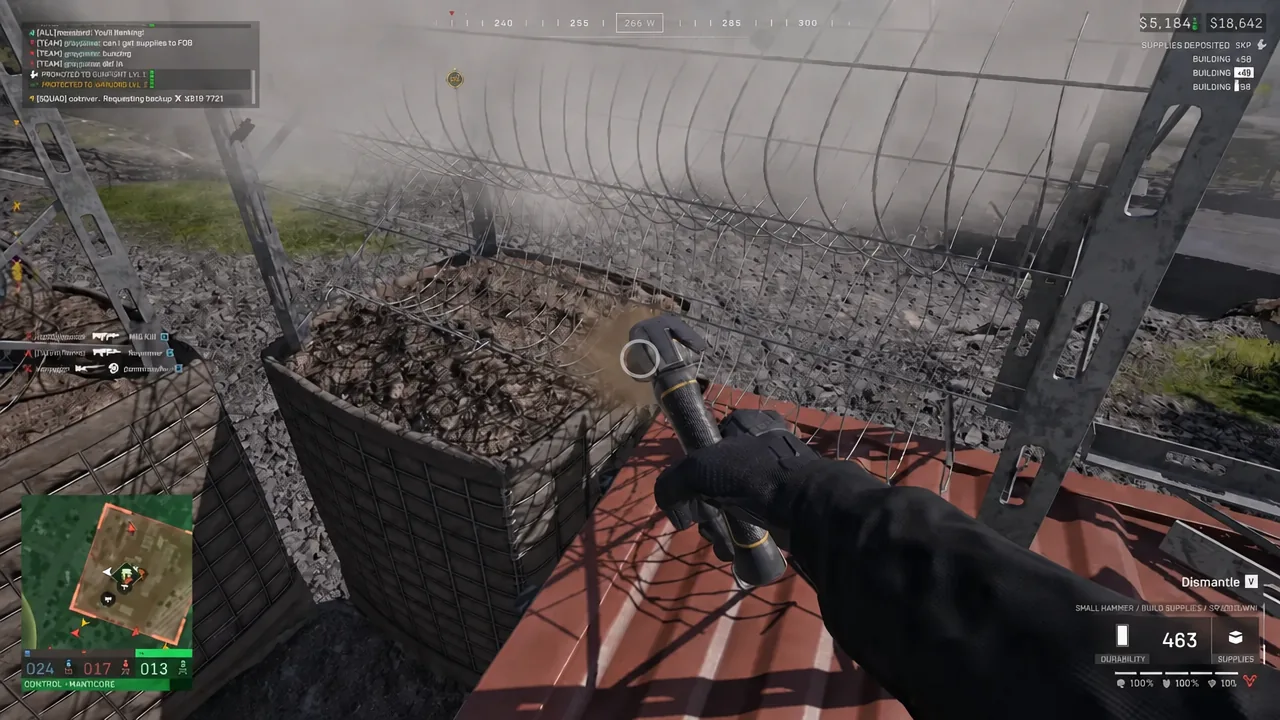
One more thing a sealed box gets wrong: exits. Against armor, a compound with a single gate is a trap. Keep an alternate way out, keep enough internal room that defenders are not bunched behind one entrance, and remember that walls shape an infantry fight rather than answer a tank.
Mistake 3: Towers and bunkers jammed against the outer wall
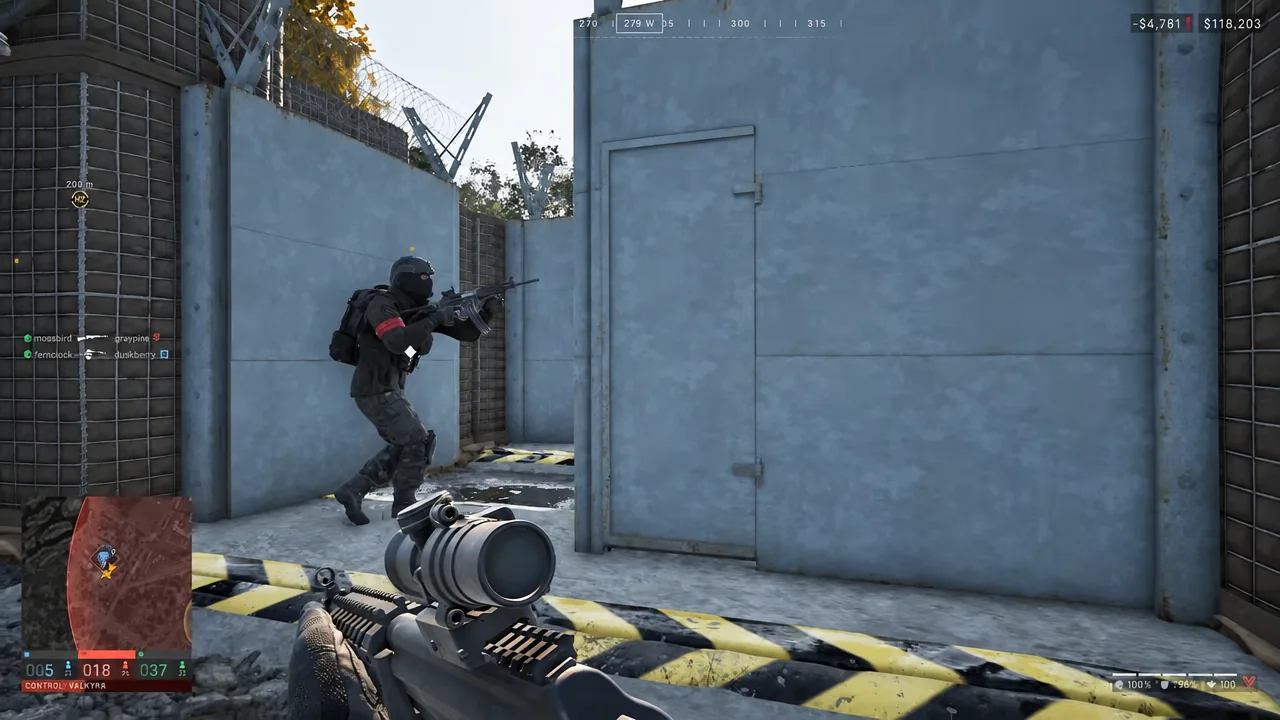
A Recon Tower costs 61 supplies and buys an elevated firing position. Push it flush against an exterior wall and you create a dead zone at the base of that wall that nobody in the tower can see or shoot into. Attackers learn to hug exactly that line.
The fix is sequencing. Place towers, bunkers, and Indirect Fire Shelters first, stand in each one, and check what they can actually cover. Then wall around them. Doing it the other way round means the wall dictates the firing arcs, and the red obstruction warning tells you far too late.
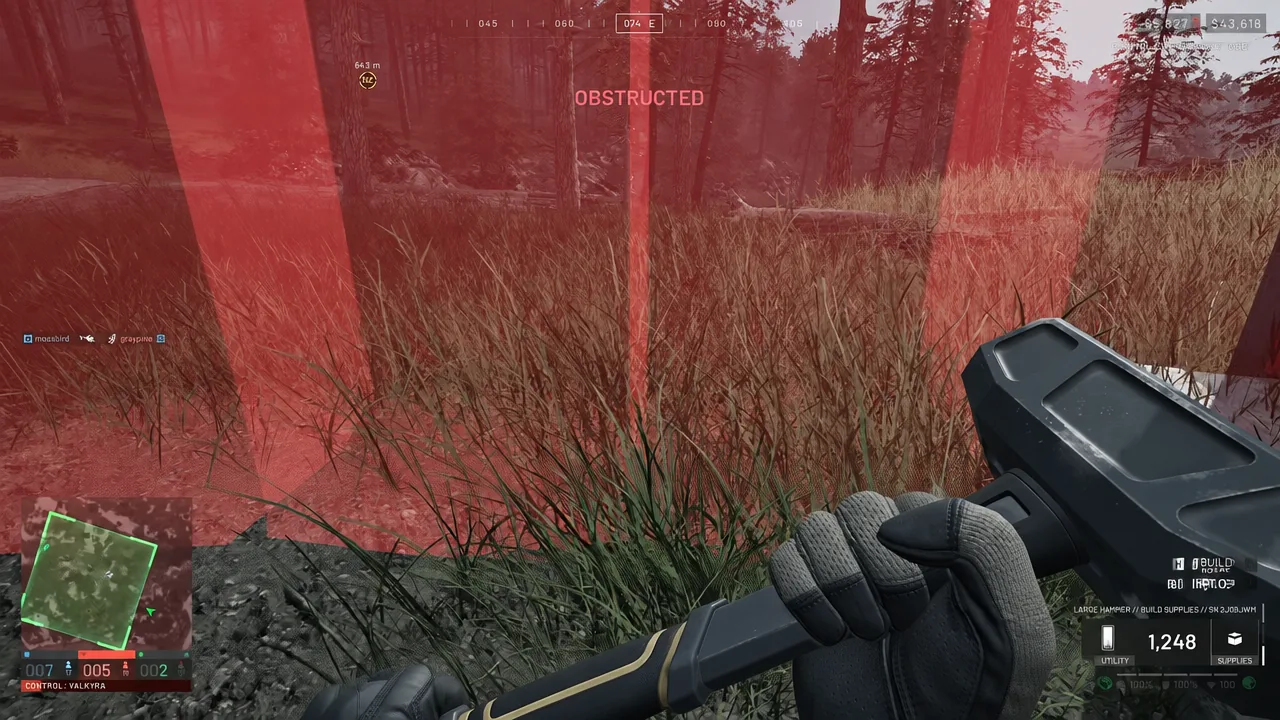
Barbed Wire at 5 supplies is the cheapest answer to the gaps you cannot cover with a weapon. Run it along the dead ground beside walls so anyone hugging the structure is slowed and hurt while your team reacts. Toggle snapping on and off with B while placing so the wire follows the wall line instead of fighting it.
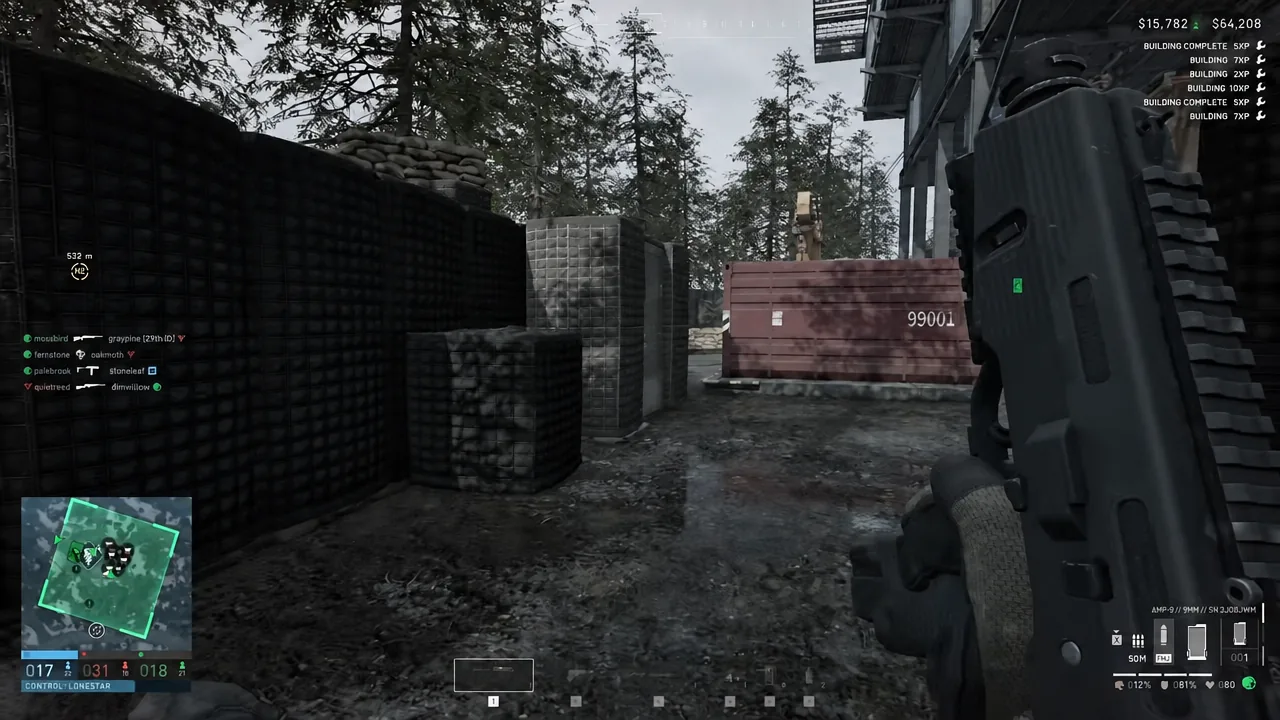
You do not need a Large Hammer to get height, either. Two HESCO Blocks side by side with a layer of Sandbags on top makes a serviceable elevated firing step out of basic buildables, which is useful while your Support level is still low.
Mistake 4: Placing the FOB where the Control Zone can see it
Anything you build is destructible. Artillery vehicles exist specifically to level fortifications from outside the zone, and rocket launchers work on structures just as well as on tanks. A base in line of sight of the Control Zone gets located early and then attracts every mortar and shell on the map.
Use reverse slopes, treelines, and the far side of industrial structures. Stay close enough that the run to the zone is genuinely shorter than the run from default deployment, otherwise the FOB has achieved nothing. Build on the approach your team already controls rather than on the flank between two enemy factions, and remember there is a third team whose rotation may cross ground you think of as safe.
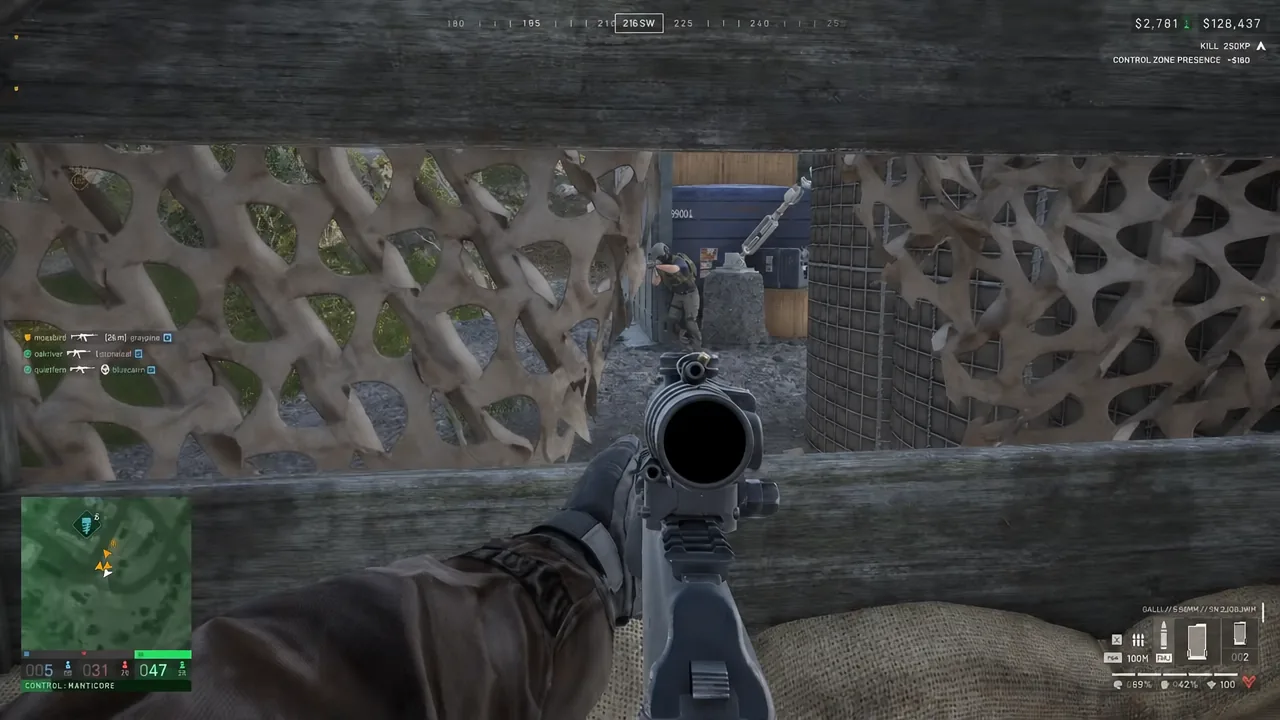
Placement is also a logistics question. Trucks need a route in, room to turn, and clear ground to unload on. A perfect infantry position with a miserable approach for the Ural will starve, and a FOB that cannot be resupplied stops mattering as soon as the Hot Zone moves.
Note: a constructible Drill Rig is the one build with a hard location rule. It has to sit inside the Combat Zone because it pulls the Hot Zone within that battle area. If the plan revolves around the Drill, pick the Drill’s legal spot first and let the FOB support it.
Mistake 5: Wrong hammer, wrong pallet, wrong drop point
Supply cannot fix the wrong tool. There are three hammer tiers, and each one gates a different set of structures while also building at a different speed. A Small Hammer only handles basic items like Sandbags, Barbed Wire, and Hedgehogs that mostly do not need a FOB at all. A Medium Hammer covers basic and large buildables. The Large Hammer builds everything and works fastest, and it is the tier tied to the advanced structures such as the Drill Rig and the Talon launcher — in beta it sat behind Support level 7. Any hammer can help finish a structure once it is placed, but only the correct tier can start it.
The second half of this mistake is cargo. A freshly deployed FOB starts with a usable but small pool, which is why the first delivery has to match the job rather than the wishlist.
| Resource | Starting stock in a fresh FOB | What it pays for |
|---|---|---|
| Supply | 1,250 | Construction costs for nearly every structure |
| Fuel | 100 | Refuelling vehicles and running the Drill Rig |
| Ammo | 100 | Reloads for Mortar, Talon, CIWS and similar |
| Parts | 100 | Vehicle repair and Stingray ammunition |
Compare that to what the big builds want. A Drill Rig is 1,351 supplies and needs at least 1,200 Fuel before it activates, and one full Fuel pallet of 1,800 buys roughly 220 seconds of run time. A CIWS is 901 supplies, a Talon 601, a Refuel or Repair Station 121 each. A Ural carries two pallets at 1,800 units apiece, so decide the site’s first job before loading — a Drill site is a Supply plus Fuel run, an anti-air site is an Ammo problem once the FOB’s own stock has covered construction.
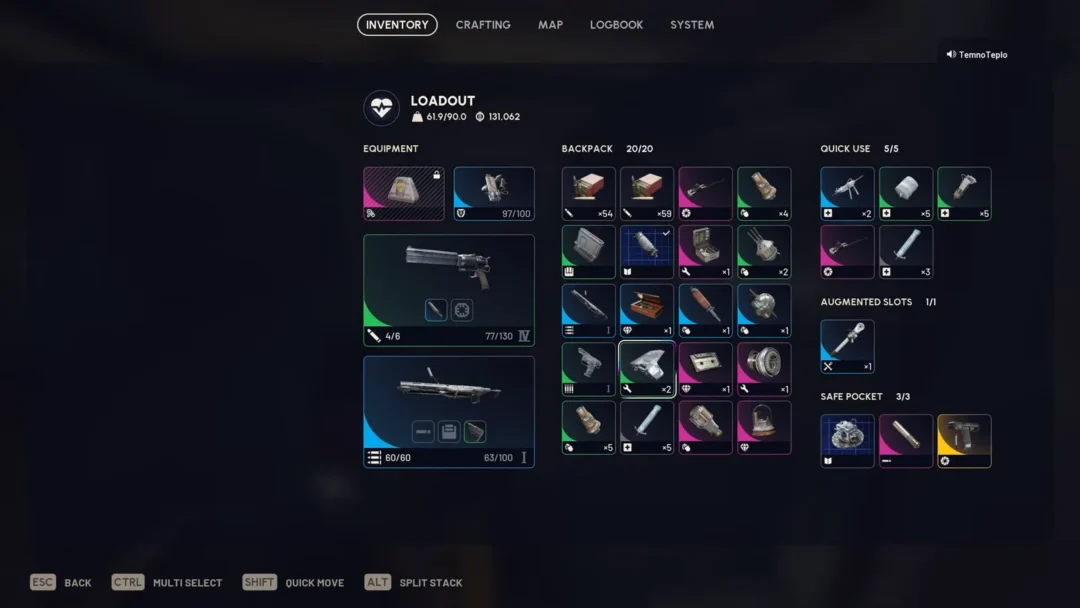
Then drop it in the right place. Deploy the FOB, confirm its build radius, and only then park the truck so the pallet itself lands inside that area. A pallet sitting a few metres outside the radius is not resources you own, and you cannot simply load it back onto the vehicle to try again. Once it is down, interact with it to deposit the contents into the core.
How to confirm the FOB is actually working
Walk the perimeter and try to break in yourself. Climb the walls, vault the crates, drive a vehicle at the gate line. Anything you can do, an attacker can do faster. Then open the console and check that the pallets registered — the stock listed in the FOB inventory is the only supply your hammers can draw from, and crates and pallets left loose outside can be destroyed.
Two habits save the most bases. Speed up construction by hitting the yellow X markers on an unfinished structure, and use the two Signal Grenades that come with a FOB to mark your position when you need resupply, backed by a team chat message naming the exact resource. And do not treat the FOB core as a spawn point. Forward spawning runs off a separate deployed vehicle, so park it offset from the obvious footprint, out of view of the first enemy approach, and move it when the front shifts.
Costs, unlock levels, and placement rules have moved between test builds, so treat the numbers above as a planning baseline and trust the live build menu when it disagrees. The habits underneath them hold either way — close the gate, keep the interior compartmented, give every fighting position a clean arc, hide the base from the zone it supports, and bring the tool that matches the job.