Water Breathing is the entry-level sword style most new players in Project Slayers 2 chase first, mostly because it is the style Tanjiro Kamado uses. Getting it is not complicated, but it is gated behind a level requirement, a currency cost, a material cost, and six separate training tasks handed out by one hidden NPC.
Quick answer: Reach Level 25, bring 5,000 Wen and 30 Demon Horns to Water Trainer Urokodaki in the underwater cave, finish all six training tasks, then defeat Water Trainee Sabito to learn the style.
Water Breathing requirements in Project Slayers 2
Urokodaki will not even open the training menu until all three entry conditions are met at once. Farming the horns early while you level is the fastest route, since both come from the same demon kills.
| Requirement | Detail |
|---|---|
| Level | Level 25 minimum |
| Wen | 5,000 paid to Urokodaki |
| Materials | 30 Demon Horns |
| Weapon | A katana — the Regular Katana costs 500 Wen from Raze |
| Trainer | Water Trainer Urokodaki |
Raze also sells the Fancy Katana for 1,500 Wen. Either blade works for the training, so there is no reason to delay the Wen you need for Urokodaki.
Leveling to 25 and farming Demon Horns
Where to find Water Trainer Urokodaki
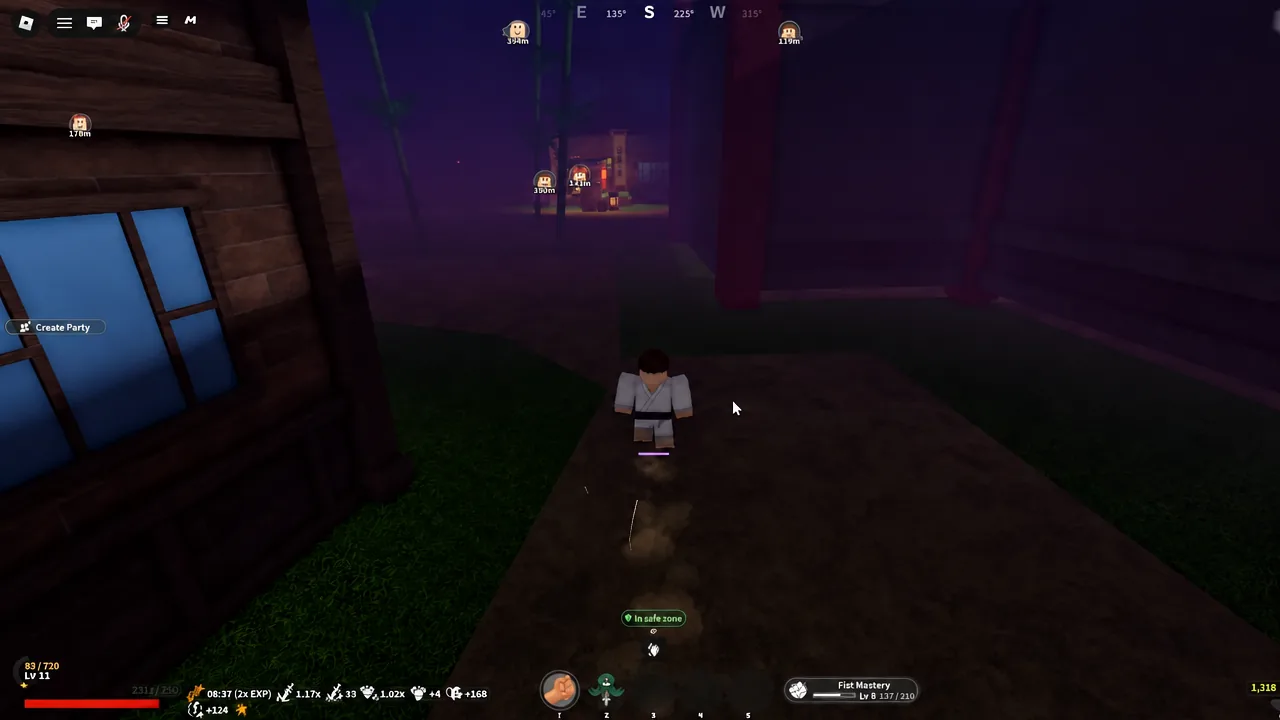
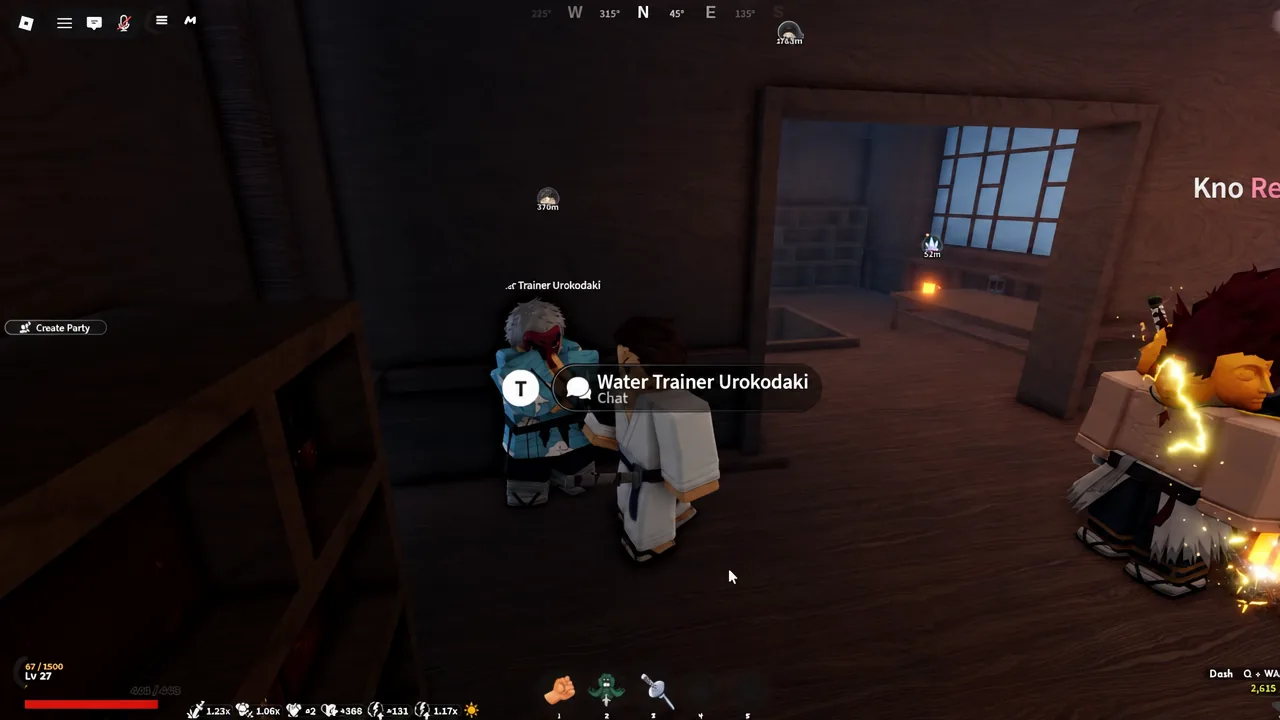
Urokodaki is not standing out in the open. He sits inside a hidden cave that you can only reach by diving into the pond in the Bamboo Grove and swimming through an underwater tunnel. There is no quest marker pointing you into the water, which is why most players walk past it.
Swim down, follow the tunnel through to the air pocket on the other side, and Urokodaki will be waiting. Walk up to him and the interaction prompt appears above his head.
The six Water Breathing training tasks
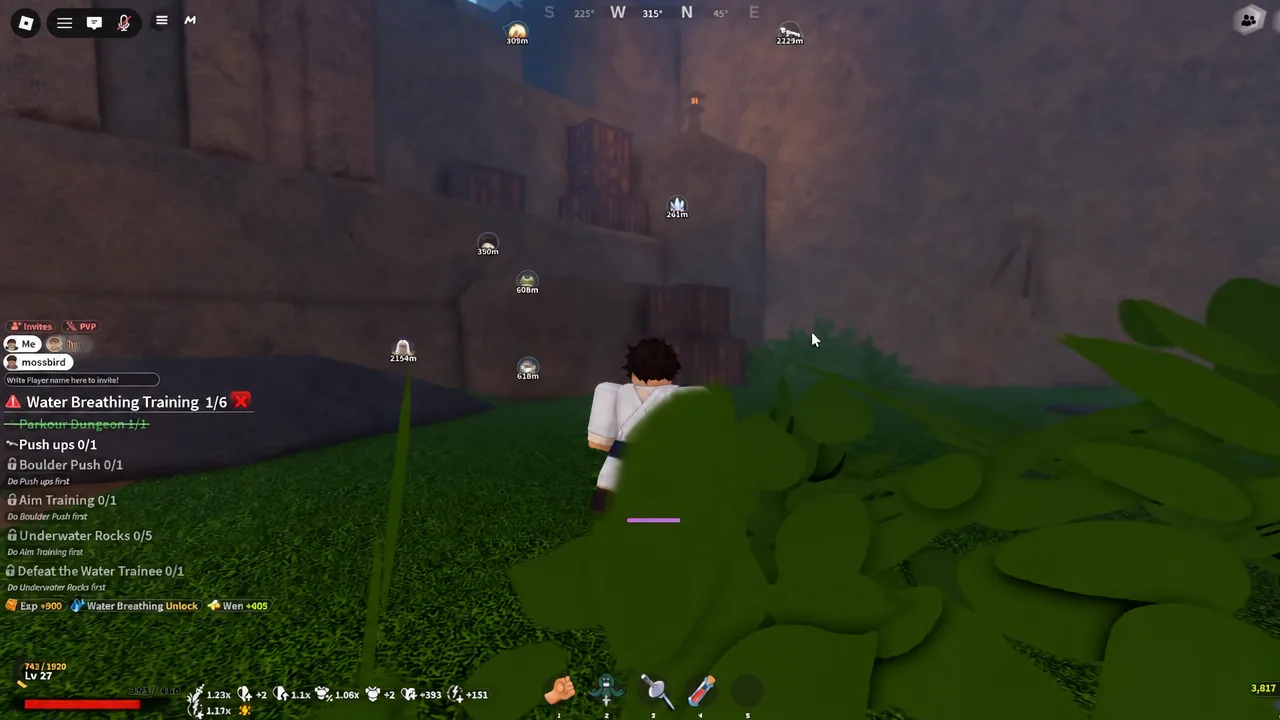
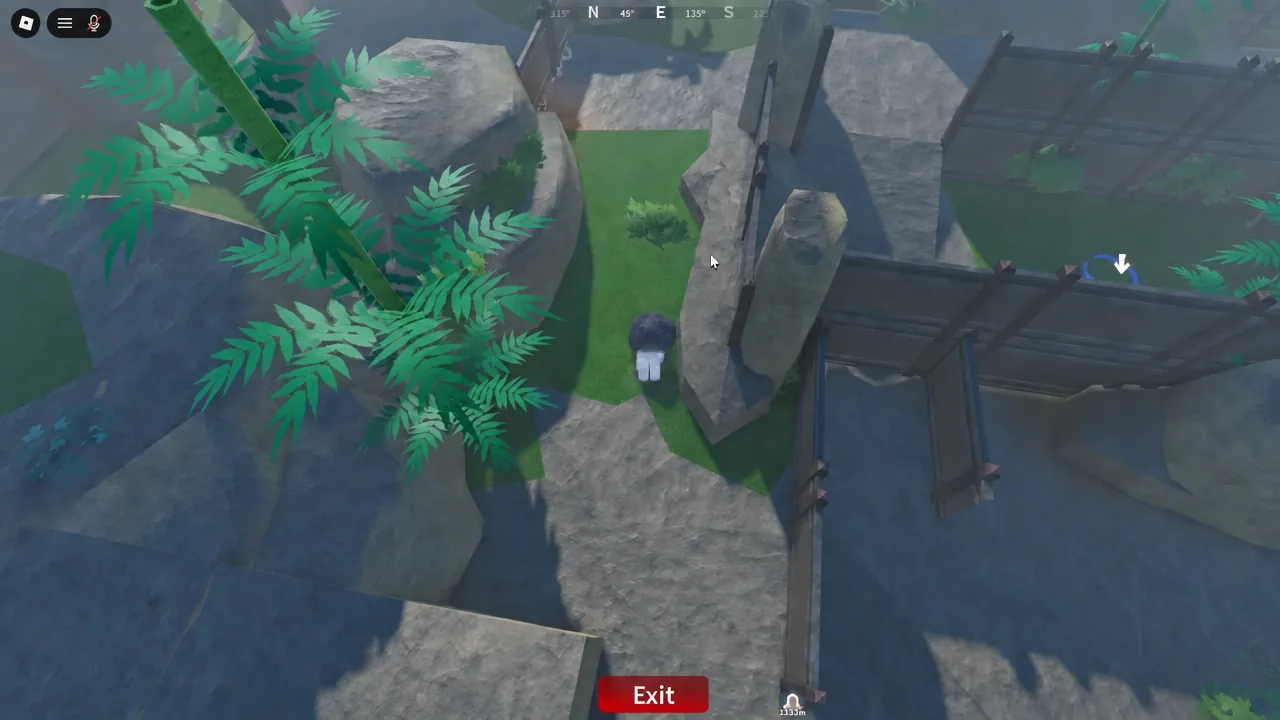
Paying the 5,000 Wen and handing over the horns opens a tracker with six objectives. They can be completed in any order, and failing one does not reset the others — you simply retry the task that failed.
| Task | What it asks for |
|---|---|
| Parkour Dungeon 0/1 | Clear a timed platforming course without falling out of the run |
| Push ups 0/1 | Hit the quick-time key prompts as they appear |
| Boulder Push 0/1 | Shove a boulder through a maze before the timer runs out |
| Aim Training 0/1 | Hit the targets in the shooting drill |
| Underwater Rocks 0/5 | Collect five rocks from the riverbed while managing oxygen |
| Defeat the Water Trainee 0/1 | Beat Water Trainee Sabito in a duel |
The Underwater Rocks objective is where most attempts end badly. Your oxygen drains the whole time you are submerged, so surface between grabs instead of trying to sweep the riverbed in one dive. Drowning costs you the run, not the progress you already banked on other tasks.
The Parkour Dungeon and Boulder Push are both on strict timers. Learn the route on a failed attempt rather than rushing blindly, since a single missed jump or a boulder wedged on a corner usually burns the clock outright.
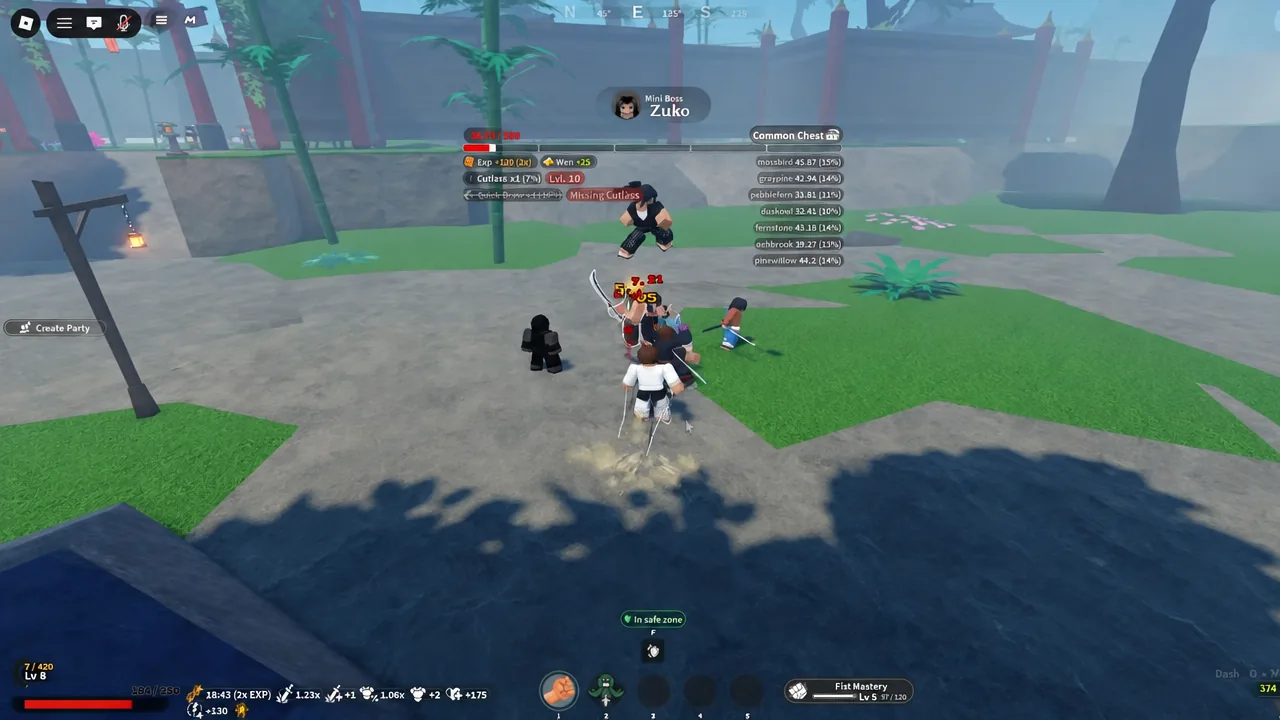
Sabito is the last gate. He fights like a proper boss rather than a training dummy, so bring a repaired katana and healing items in before you start the duel.
How to confirm Water Breathing unlocked
Beating Sabito completes the tracker and the style is applied immediately. The confirmation is in your skill tree, where the Water Breathing branch becomes selectable and Water Surface Slash appears as the first purchasable move. If the branch still looks locked, one of the six tasks is sitting unfinished — check the tracker rather than re-paying Urokodaki.
Water Breathing skill point and mastery costs
Unlocking the style does not hand you the moveset. Each technique costs skill points, and everything past the first move also requires a mastery threshold you build by using the style in combat.
| Move | Skill Points | Mastery |
|---|---|---|
| Water Surface Slash | 3 | — |
| Whirl Pool | 6 | 14 |
| Water Wheel | 9 | 27 |
| Constant Flux | 12 | 40 |
| Dead Calm | 15 | 53 |
Note: resets are sold separately in the shop. Reset Breathing costs 80 Robux and Reset Skill Points costs 150 Robux, so spend points deliberately instead of testing branches at random.
Rolling the Kamado clan for a Tanjiro build
The clan roll is separate from Water Breathing and is not required to learn the style. It matters only if you want the full Tanjiro identity, since Kamado sits in the Supreme tier at a 0.1% roll rate — the rarest bracket in the game alongside clans like Rengoku, Uzui, and Agatsuma.
| Tier | Chance |
|---|---|
| Common | 50% |
| Uncommon | 23% |
| Rare | 12% |
| Legendary | 4% |
| Mythic | 0.9% |
| Supreme | 0.1% |
Free spins refresh over time, and paid bundles run from 4 Robux for a single spin up to 480 Robux for 250 spins, with 50 spins at 120 Robux and 100 spins at 216 Robux in between. At a 0.1% rate, plan on a long session regardless of which bundle you pick.
The look itself is free. Spiky brown-red hair, red eyes, a black kimono top, and black pants in the customization menu get you close enough without touching the clan system at all.
Final Selection and the Demon Slayer uniform
Water Breathing makes you a swordsman, not a Demon Slayer. That title comes from Final Selection, a timed survival event held on the mountain where you take quests from NPCs while demons hunt you between objectives.
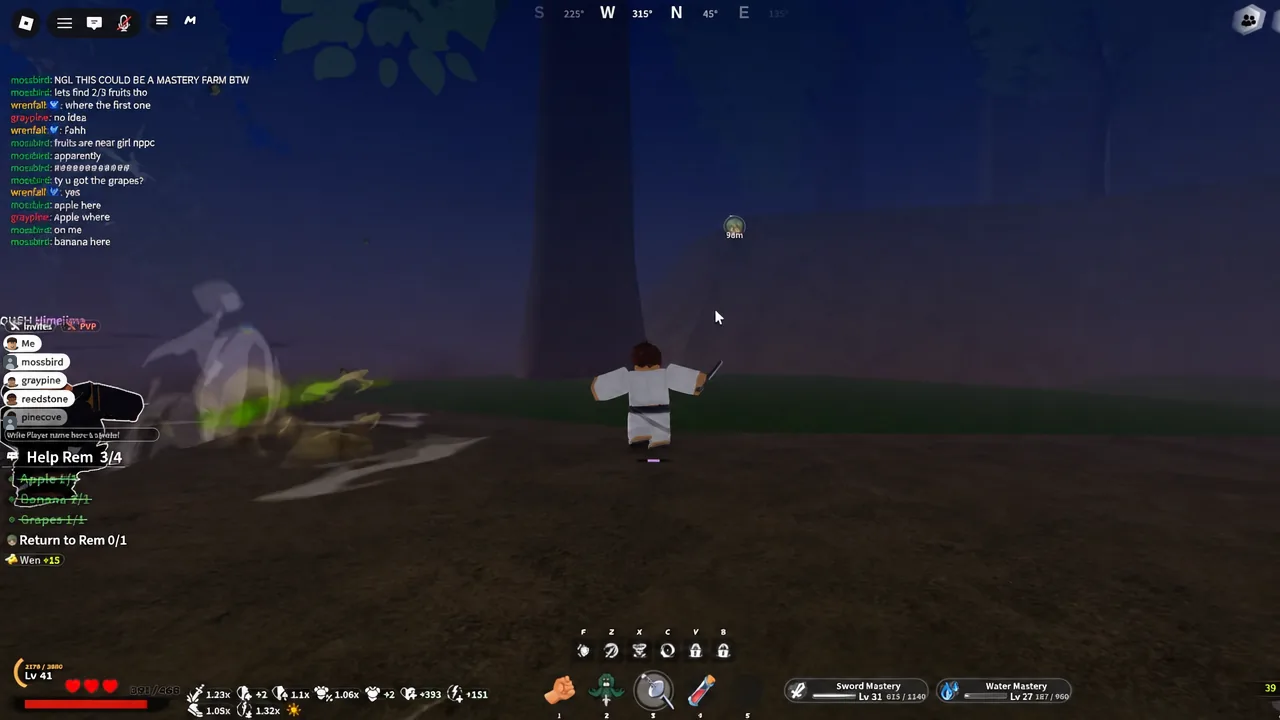
The survival quests are straightforward busywork — gathering fruits like apples, bananas, and grapes, then clearing out lesser demons scattered across the area. Handle them early while the map is still calm.
The exam ends with the Hand Demon, a boss you have to track down and kill to pass. Finishing the fight completes Final Selection and awards the Slayer Uniform along with a Kasugai Crow that perches on your character.
From there the build is a mastery grind. Keep using Water Breathing in combat until you clear the thresholds for Water Wheel and Constant Flux, and the Tanjiro kit is effectively complete.