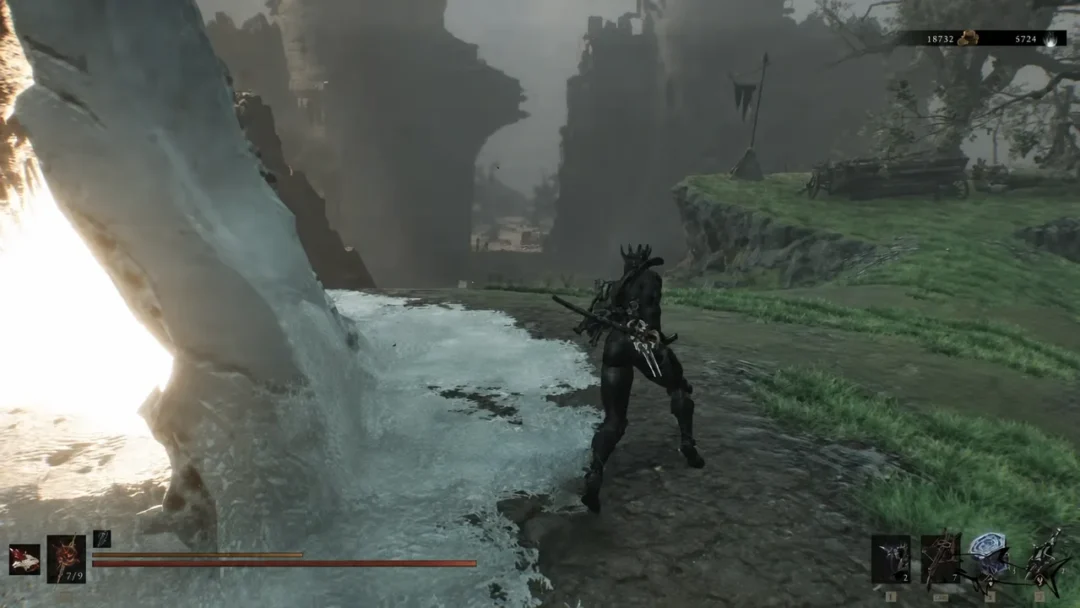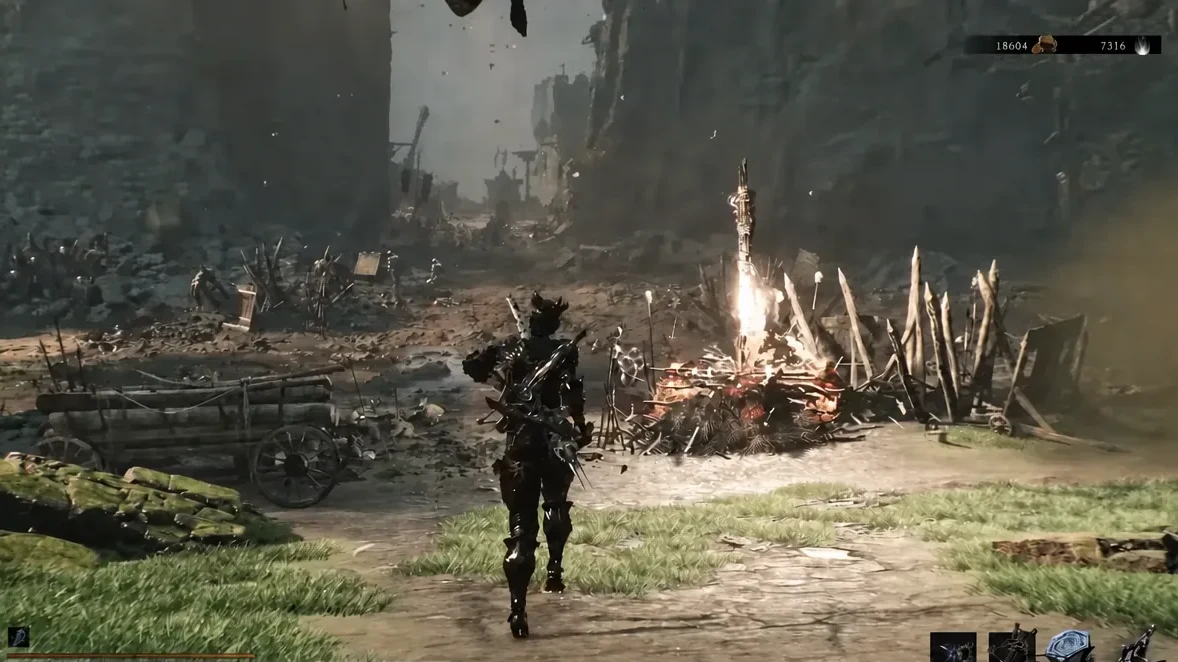
The Thief’s Stone is one of the few Tarstones in Mortal Shell 2 that changes how fast you swing rather than how hard you hit. Every melee strike you land feeds it, and the payoff is Warp, a buff that pushes your weapon attack speed up the longer you stay glued to a target. It is not sitting in a chest, though. You have to earn it in a trial arena tucked away in the cold northern stretch of the map.
Quick answer: Travel to the Vestige of Infinity, northeast of the Gate of Infinity beacon, activate the Corrupted Statue at the center of the flooded platform, clear both waves of enemies, then interact with the cleansed monolith to receive the Thief’s Stone.
Thief’s Stone location: Vestige of Infinity
The stone sits on a circular arena labeled Vestige of Infinity. On the map it reads as the platform opposite the statue where Ruk stands with the Map Fragment, northeast of the Gate of Infinity beacon. A central monolith rises out of a shallow pool in the middle of the ring, and that monolith is the Corrupted Statue you need to cleanse.
The closest fast travel point is The Silent Steps beacon. If you have already lit it, you can be standing at the trial in under a minute. If you have not, you will need to walk the beacon chain up from the south first.
| Beacon | Role in the route |
|---|---|
| Outskirts of Mammon | Southern starting point if you are opening the path for the first time |
| Castigator’s Keep | First checkpoint along the way north |
| Barren Crest | Snowy cliff section, second checkpoint |
| The Silent Steps | Final beacon; the trial is a short run from here |
| Gate of Infinity | Map anchor for the Vestige of Infinity platform to the northeast |
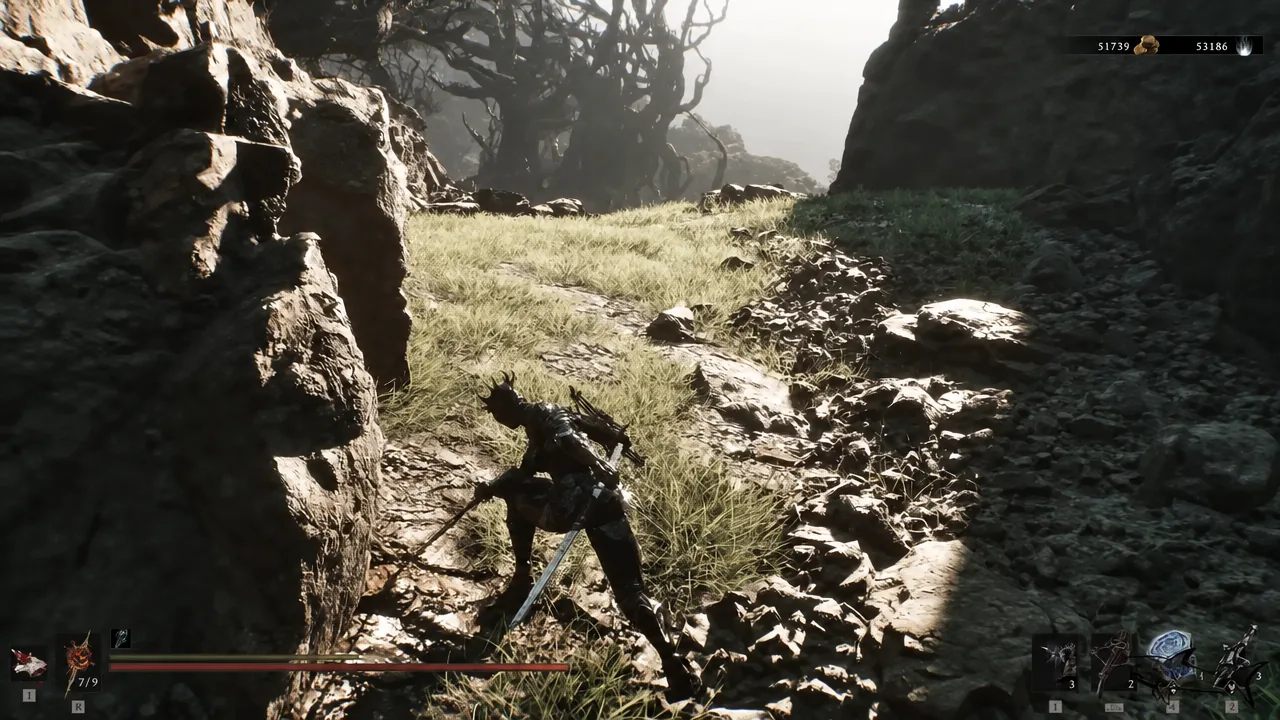
Route to the trial from The Silent Steps beacon
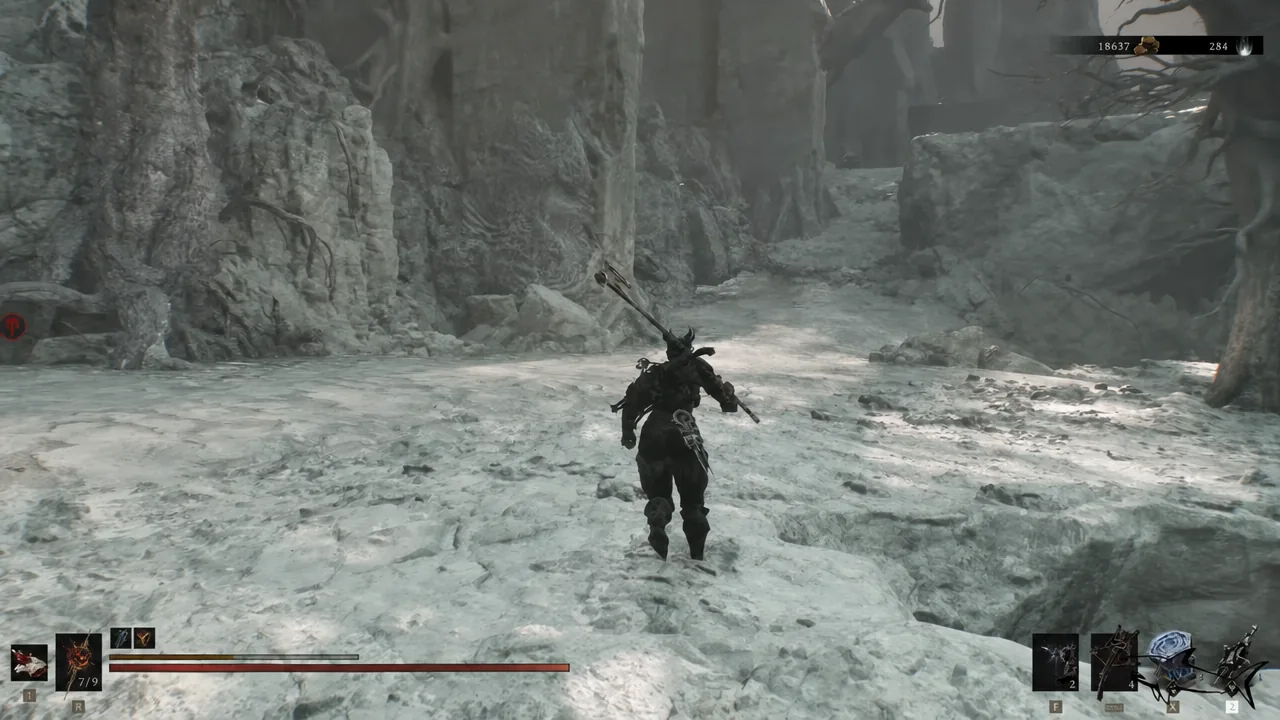
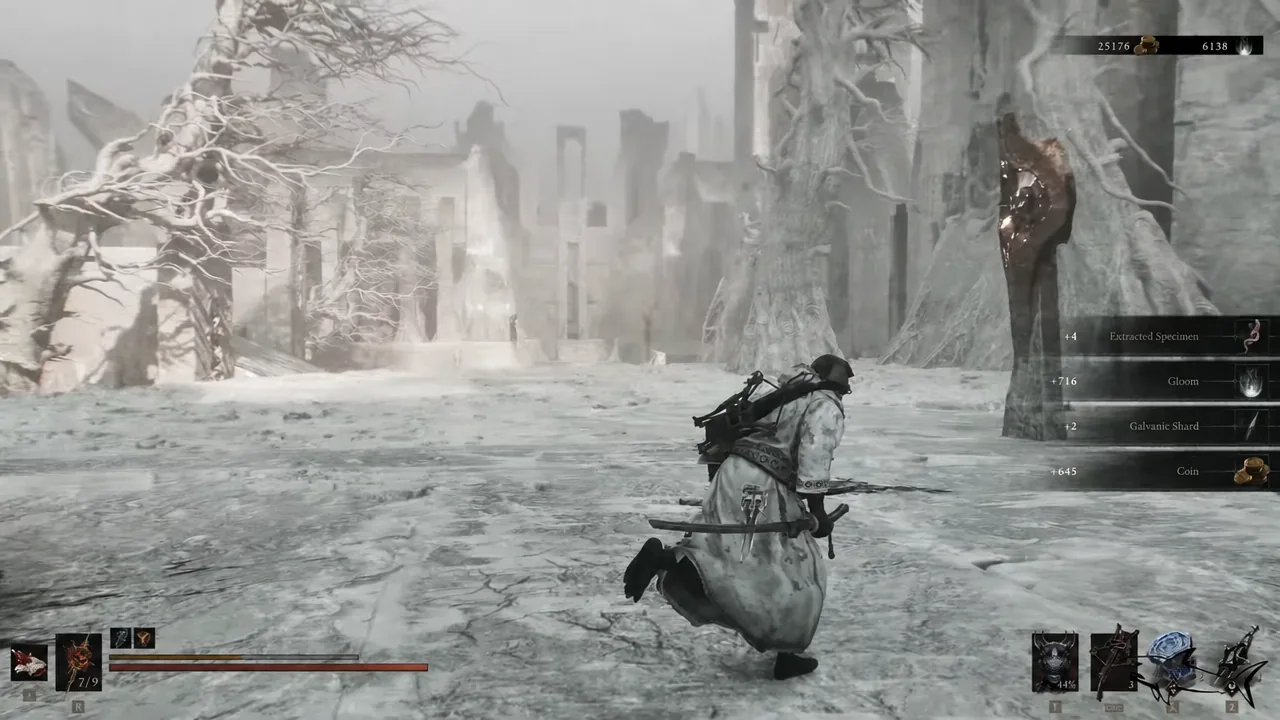
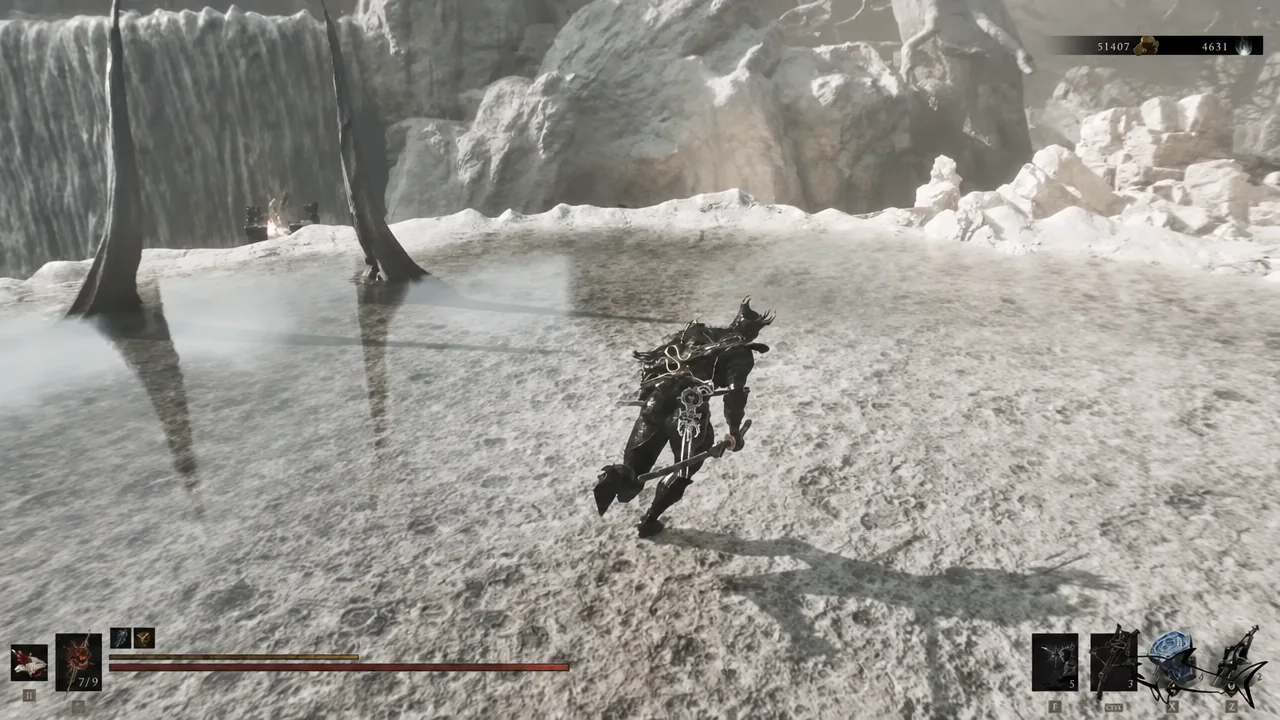
Clear the Corrupted Statue trial and claim the reward
To confirm it worked, open the Tarstones menu. The Thief’s Stone should be listed as a Combat Tarstone at Level 1 with the description “Striking foes grants you Warp.” If the notification did not fire, the statue was not cleansed, which almost always means one enemy from the second wave is still alive somewhere on the platform.
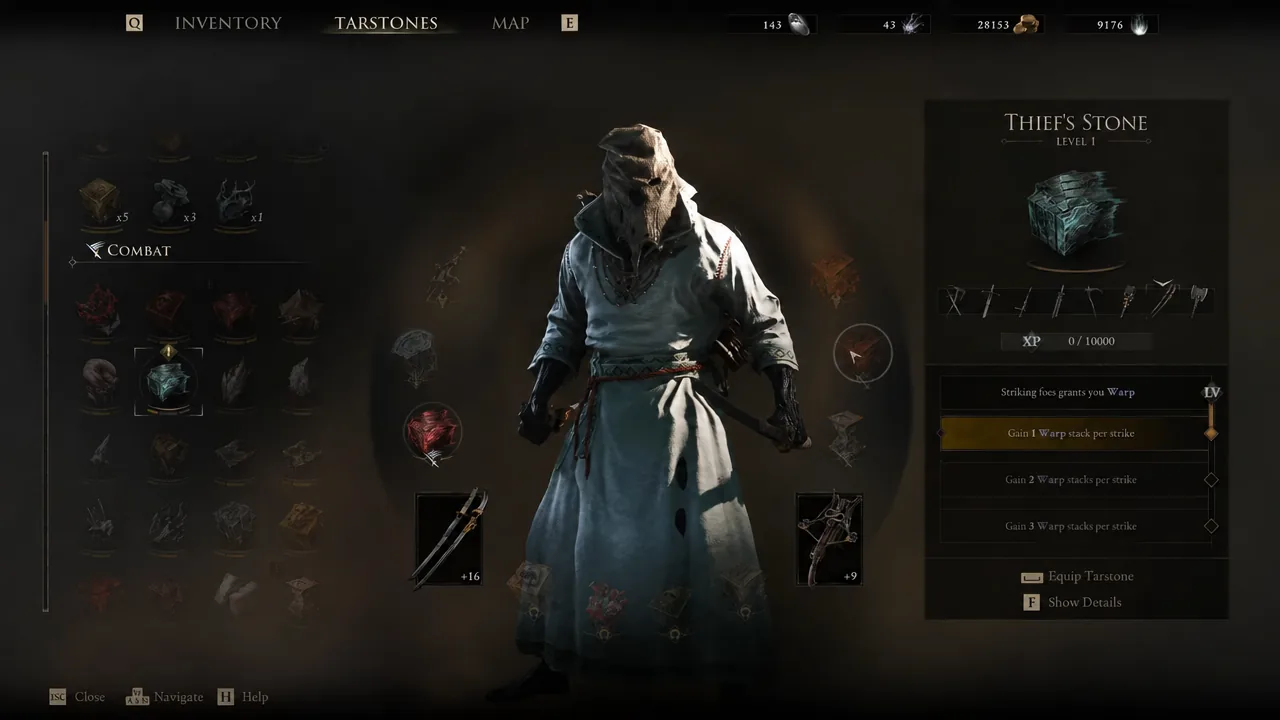
What Warp does and which weapons accept the stone
Warp is a stacking buff that slightly increases weapon attack speed. Each melee strike you land adds stacks, so the buff builds while you are pressuring a target and falls off when you disengage. That makes the Thief’s Stone strongest on fast, multi-hit weapons and on drawn-out boss fights where you can sustain a chain of hits.
It slots into your primary weapon, and it is only compatible with eight of them. You can have two Combat Tarstones equipped at once, so it pairs with a second combat effect rather than replacing one.
| Compatible weapons |
|---|
| Axatana |
| Axe and Dagger |
| Black Needle |
| Clockwork Scythe |
| Great Martyr’s Blade |
| Obsidian Hammer |
| The Iconoclast |
| Veteran’s Battle Axe |
Thief’s Stone upgrade levels and Warp stacks
Leveling the stone raises how many Warp stacks each strike grants, which is what actually pushes your attack speed toward its ceiling. The top level grants 3 Warp stacks per strike.
| Level | Effect |
|---|---|
| Level 1 | Striking foes grants you Warp |
| Level 2 | Gain 1 Warp stack per strike |
| Level 3 | Gain 2 Warp stacks per strike |
| Level 4 | Gain 3 Warp stacks per strike |
Upgrades happen at the Tarforge in Marrow Keep, but Franz cannot perform them until you hand him the Etching Needle. That quest item is in a chest just before the Magdalena, the Lady of the Woods boss fight. When you spot Ruk past the bridge, drop down through the opening and turn right before the tunnel to find a small alcove with a bone chest.
After Franz has the needle, the Thief’s Stone still has to earn it. Equip it and kill enemies to fill its XP bar, then return to Franz and pay Coin for each level. Note that the Tarstone’s description text updates as it levels, so check the stack count in the Tarforge screen before you spend.
Because the trial is repeatable content only in the sense that it stays available in free roam, there is no rush to grab it early. The stone is not missable, and you can pick it up after the final boss before rolling into New Game+ if the northern route is too rough on your current build.