Wardogs looks like a shooter, but matches are won by whoever manages the objective, not whoever tops the kill feed. Three factions fight over one moving Control Zone on a huge map, and the team that keeps the most players inside it banks points until someone hits 100. Once you build your plan around that single fact, wins come far more consistently.
Quick answer: Keep more of your faction inside the active Control Zone than either enemy team to earn points, stack the smaller Hot Zone where each player counts double, and rotate with it instead of holding one spot. First faction to 100 points wins.
How scoring actually works in Wardogs
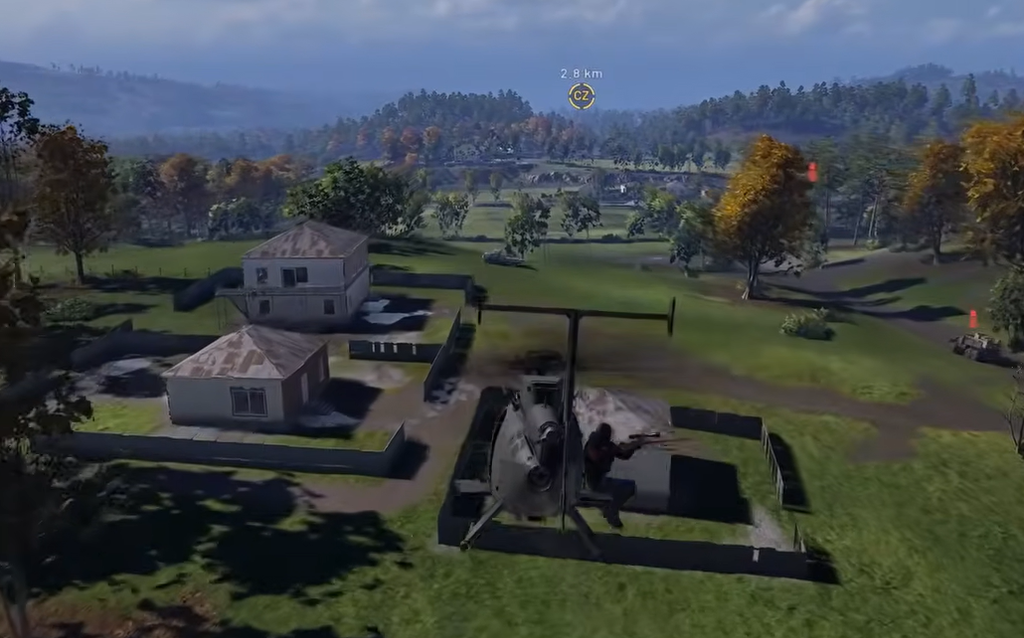
The Control Zone is the scoring area. Whichever faction has the most players standing inside it takes control and earns one point every 30 seconds. The scores and each team’s live player count sit next to the mini-map, along with a bar that shows the next tick filling up. If you pull people out just before that bar completes, another team can steal the point.
Inside that larger area sits the Hot Zone, a smaller circle that constantly moves. Every player standing in the Hot Zone counts as two toward control and earns double cash. Ten players in the Hot Zone read as 20 under the mini-map, which is why a coordinated push there swings control faster than anything else on the map.
| Zone | Scoring value per player | Cash |
|---|---|---|
| Control Zone | 1 | Standard ($160/cycle) |
| Hot Zone | 2 | Double ($320/cycle) |
A cheap, lightly geared player still counts as a full body for score. If you keep dying in expensive kits, drop the loadout cost and just be present in the zone.
Open the match by taking a tower and building a FOB
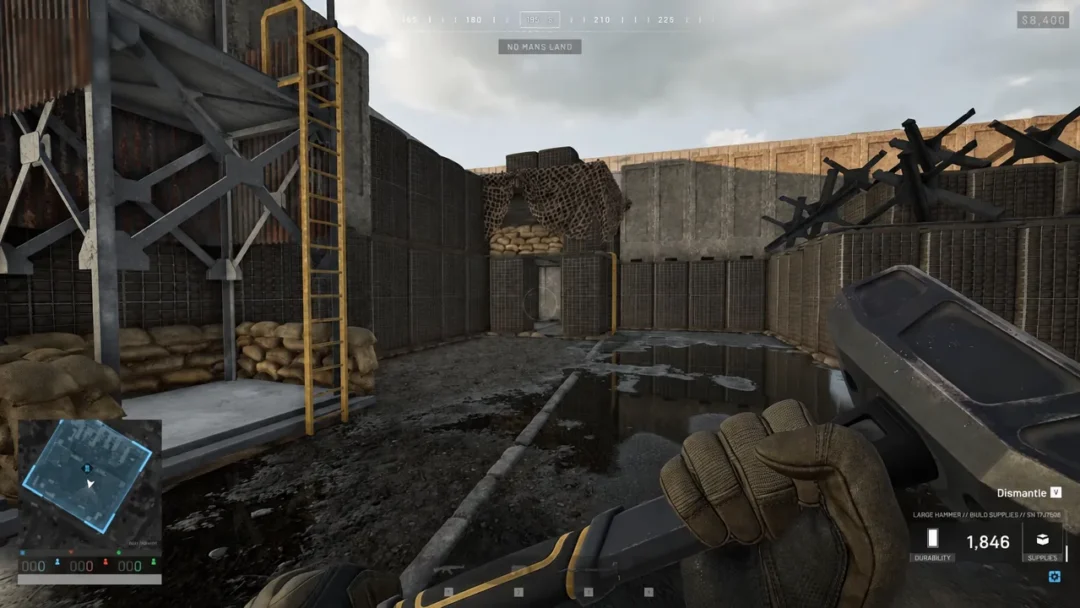
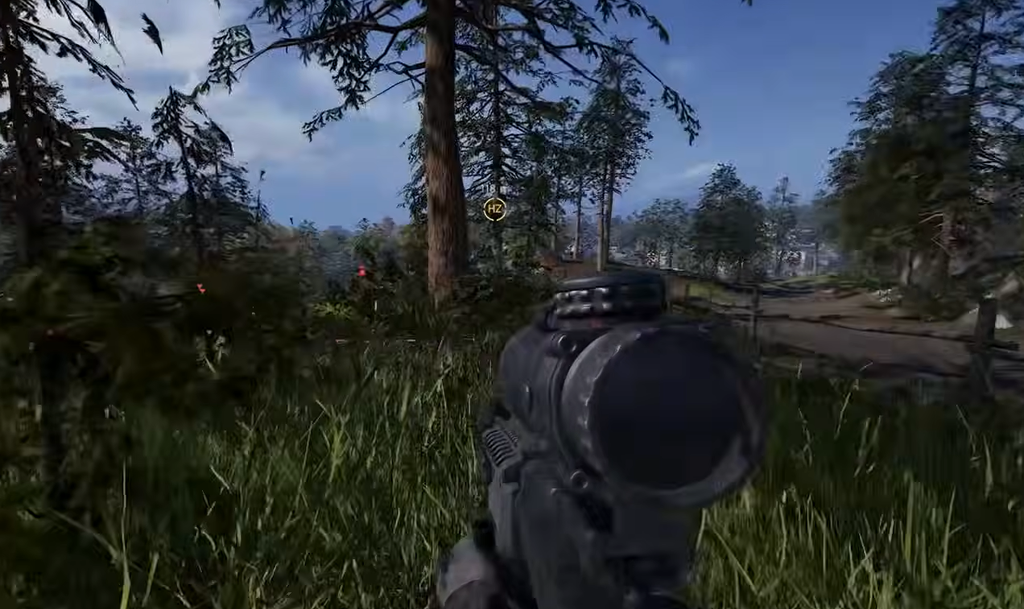
Your first job when the match starts is claiming a tower and setting up a Forward Operating Base at its foot. A FOB gives your faction a foothold, shared build and ammo supplies, and a place to fortify. Placing one pays you $1,000, and it costs $7,500 to buy, so it is worth coordinating with your squad rather than everyone dropping their own.
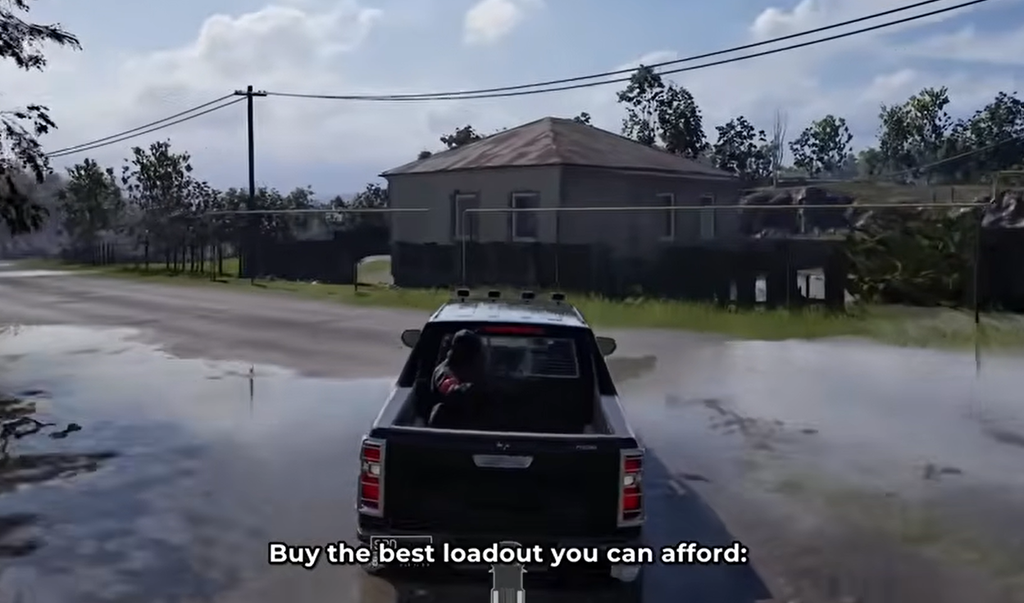
Because your HQ sits far from the objective, that respawn vehicle is one of the biggest time-savers in the game. Keeping spawns close to the action means every death costs your team seconds, not minutes.
Use towers to pull the Hot Zone where you want it
There are three to five towers inside the Control Zone, and each one you capture through its terminal hands you a digit of a code. Collect enough digits, enter the full code, and you can force the Hot Zone to drift toward a tower you already control.
That is where a fortified FOB pays off. If you have already dug in around a tower, dragging the Hot Zone onto it means fighting the double-value objective on ground you prepared. When you learn a digit, call it out to the rest of your team so everyone can chase the remaining pieces faster.
Pressure enemy towers in the mid game
Once your base is set, the middle of the match is about breaking the enemy’s grip on the zone. Send a small squad to hit enemy towers and disrupt their spawns. Forcing their players to fall back and defend thins out the front line, which opens space for the rest of your faction to move up.
As that pressure clears the front, commit bodies to the Hot Zone and move with it as it shifts. Holding and following the Hot Zone through this phase is where most of your points come from, so treat it as the priority rather than chasing kills across the map.
Go all-in on the zone in the late game
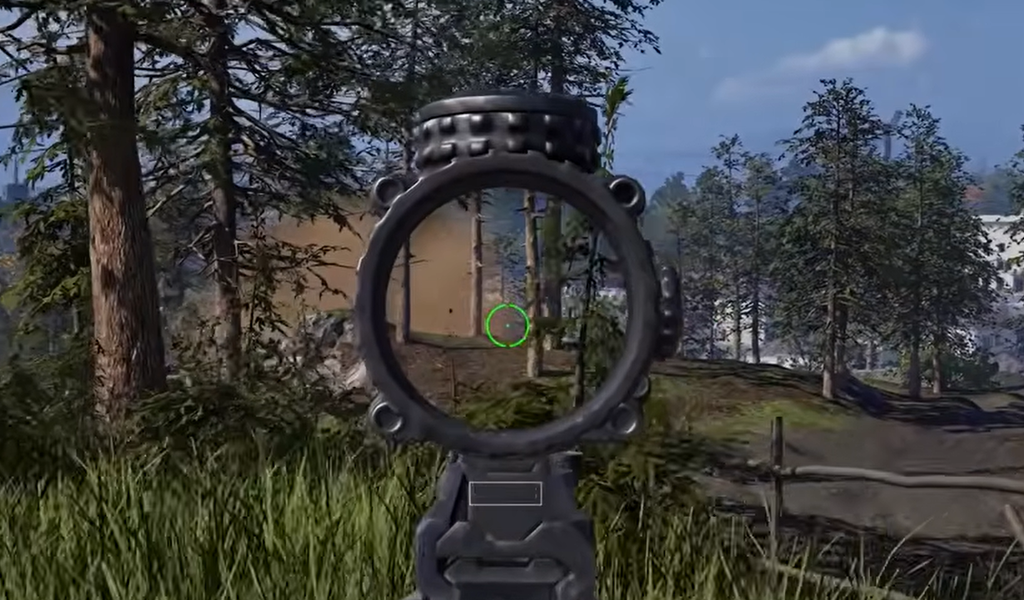
Around the 70 to 80 point mark, towers stop mattering much and the Control and Hot Zones become everything. Pour as many players as you can into the zone to farm the ticks that close out the match.
Push your APC deeper into the Control Zone, as close to the Hot Zone as you safely can, so teammates spawn right where the points are scored. Bringing in a tank helps you protect that numbers advantage while the round is on the line. The team that keeps the most bodies planted at the finish is the one that hits 100 first.
Stop turtling and keep moving
Sitting on a fixed position does not win Wardogs, even when your FOB happens to be inside the zone. The Hot Zone never stays still, so a base you refuse to leave becomes a base the objective moves away from. The counter to losing ground is not a bigger FOB, it is following the Hot Zone every time it moves.
Padding your personal kill count while your faction loses the zone accomplishes nothing. The score is a faction total, so play toward it rather than the scoreboard.
Small habits that decide close matches
- Talk to your squad. Built-in VOIP and the dedicated squad radio are how you call towers, coordinate pushes, and warn about vehicles over match noise.
- Carry loose ammo, not just spare magazines. It stretches your reserve further and lets you top off empty mags mid-fight.
- Do not rush every fight. Holding an angle and waiting beats charging in blind on a large map where deaths cost real time and cash.
- Close doors and gates behind you. Leaving one open hands enemies a clean path past every defense you built.
- Earn while you support. Reviving, spotting, ferrying teammates, and building all pay cash and XP, so a bad gunfight streak never has to bankrupt you.
None of this needs hours of grinding to click. Anchor a FOB early, fight for the Hot Zone, keep your spawns close, and refuse to sit still, and the blue team curse tends to disappear once your whole faction is playing the same objective.